Expeditions are 5-player dungeon activities that require the whole party to clear a list of objectives in another instance separated from the world. The Amrine Excavation is the first of many expeditions you will encounter in New World.
Most of the players go for this expedition to get better gear, play with friends, level up faster, learn about the story, or for the sake of experiencing it.
It is an enjoyable but challenging experience you need to partake in. This will familiarize you with what should come next and what the endgame PvE looks like.
In this guide, you will learn the ins and outs of the dungeon and learn how to complete the Amrine Excavation expedition in New World with no stones unturned.
How to Unlock the Amrine Excavation Expedition
After getting the Azoth Staff from the main storyline, you will end up with the New World Amrine quest that requires you to travel to the Amrine Excavation Expedition. The Azoth Staff guide discusses all the details more thoroughly, but you should be prepared before exploring.
Once you have the Azoth Staff already, you have the ability to break the seal and enter the Amrine Expedition with other players.
Preparing for the Amrine Excavation Expedition
You can unlock the Azoth Staff as early as level 18, but there are a few things you need to know before entering it. For one, you will need a team of 5 members.
Group Composition
With a total of 5 players in the group, you will need 1 tank, 1 healer, and 3 DPS classes. However, you can still mix things up to make it a safe run or a fast run.
The “DPS” role means that they are the ones who are going to prioritize doing damage for the group to clear the enemies faster. However, New World has a lot of flexibility when it comes to its weapon system.
Since the roles are easily interchangeable with how the class or weapon system works, a DPS can also play the role of an off healer. Intelligence-based classes like the Ice Gauntlet and Fire Staff can switch to a Life Staff with their secondary weapon.
For the role as an off healer, you will need the minimum Life Staff mastery of 8. With this number of mastery points, you will have the crucial abilities unlocked and the mana to sustain your heals when you switch from your DPS role.
As long as you have a decent amount of Focus allocated to your attributes, you can play the role of the off healer.
The safer group composition would be 1 tank, 1 healer, 2 DPS, and 1 off healer. There are a few pulls that could be dangerous for inexperienced players, which an off healer can offset. However, if your group is well-equipped, you can go through a fast run with 1 tank, 1 healer, and 3 DPS compositions.
Required Items
When you start forming a group, you will need one player to have an Armine Tuning Orb to enter. Everyone will get at least one from the main storyline after unlocking the Azoth Staff.
However, only one needs to use it. If you ever fail as a group, the run will consume the New World Armine Tuning Orb. Do not worry about it. This is easily craftable if you have the required materials.
You will also need to get Repair Parts for emergency purposes. If you wipe multiple times before reaching a respawn point, your gear might break. It is best to have emergency repairs while going through expeditions.
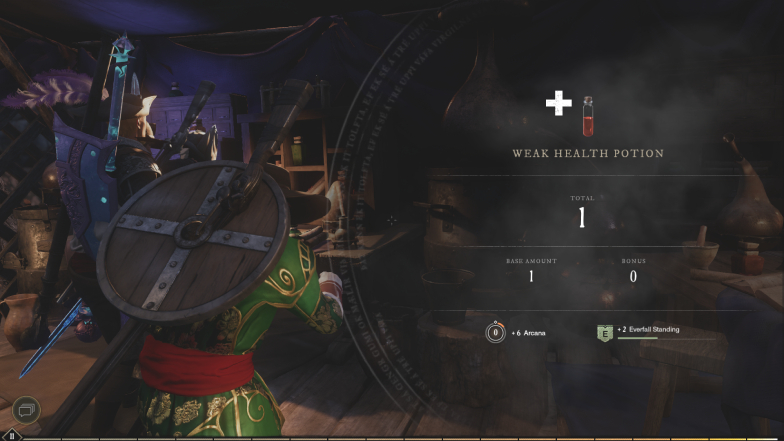
It is also a good idea to bring a few health potions no matter which role you play. The healer will always focus on healing the tank or the one getting aggro. To help the healers when things get a little rough, you can use a health potion.
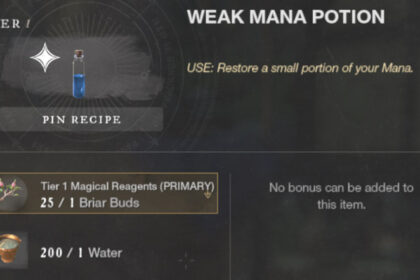
Getting weak health potions is enough for this low-level expedition. As for the healers, you would want to get weak mana potions along with the health potions.
Inventory Space
During the whole run, you will be getting an estimate of 200-300 items in terms of weight. With all the supply crates and treasure stockpiles inside the Amrine Excavation, you will fill up your inventory quickly.
You can salvage the items you do not need while on the expedition. However, you might want to keep a few items if you choose to switch classes or mod a few gears you acquire.
Accepting Quests and Missions
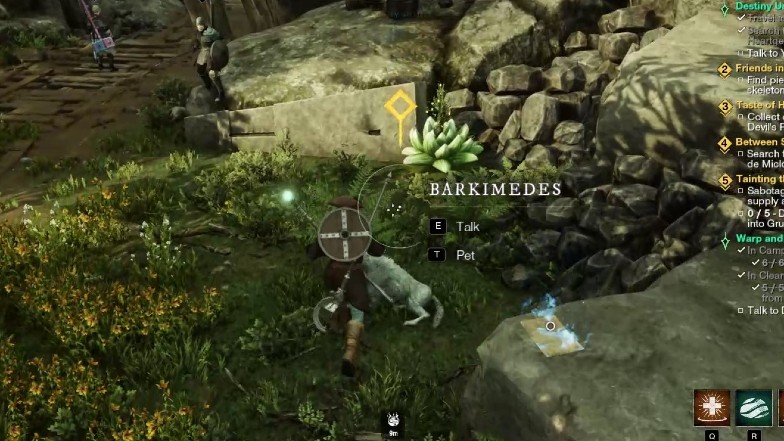
While you are still on the main storyline, you can also get faction missions and side quests that are done inside the Amrine Excavation. If your group is teleporting you inside the expedition, make sure you have accepted the side quest from Barkimedes at the entrance first.
Most of the faction missions that involve the Amrine Excavation in New Worldwill be in Windsward. But, make sure to check other settlements that you have access to.
Communication
This can be optional, but having active voice communication will help smooth the run. As a melee DPS, you should always avoid incoming damage or getting aggro from the tank.
As a tank, you should always face the enemy away from other party members. If they follow you, it would be their fault and not yours. While certain enemies have some fixed abilities, everyone will need to dodge them by themselves.
Recommended Level to Start
You might see a few players around level 22-24 but the recommended level is around 25 in the quest tooltip. Inviting them will be hard, especially if they are inexperienced. However, if they know the mechanics, they can be useful too.
The hardest role to play here might be the tank role. Being an underleveled and undergeared tank will increase the chances of failure for this expedition. I suggest finding a tank above the recommended level.
If not, you can have a few strong DPS to wipe the mobs quicker and help.
Finishing the Amrine Excavation
After preparing everything mentioned above, let’s finally get started on the run. As you enter the expedition, you will enter the excavation site. This tunnel is pretty linear. Follow it and dispose of the enemies as you go.
These will also be the objectives of Barkimedes’ quest. Keep following the tunnel, and you will see an open area. Clear the enemies and head towards the tent on the right.
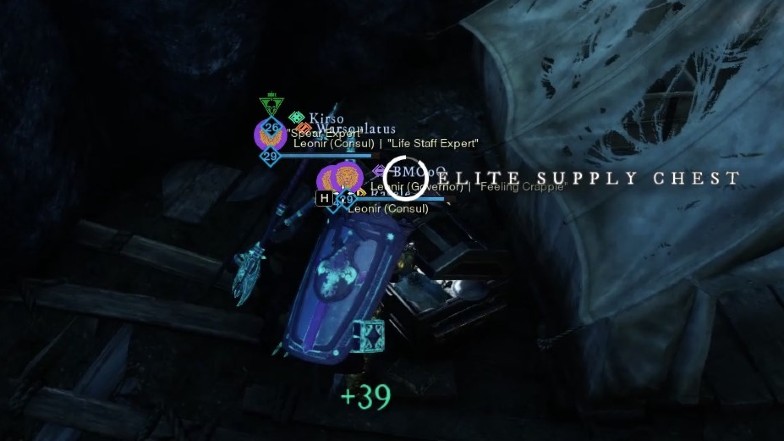
Focus on destroying the Withered Nest first, as it will consistently spawn enemies. Beside the tent, you will see a treasure stockpile for loot.
Everyone will be able to loot it and get loot separate from the group. Proceed to clear the whole area and go to the stone door with a seal. Before unlocking the seal, you will need to deal with an elite monster.
Let the tank face it away from the group. It has a dangerous cone attack that can deal heavy damage to the whole group. Other than that, it should be a tank-and-spank.
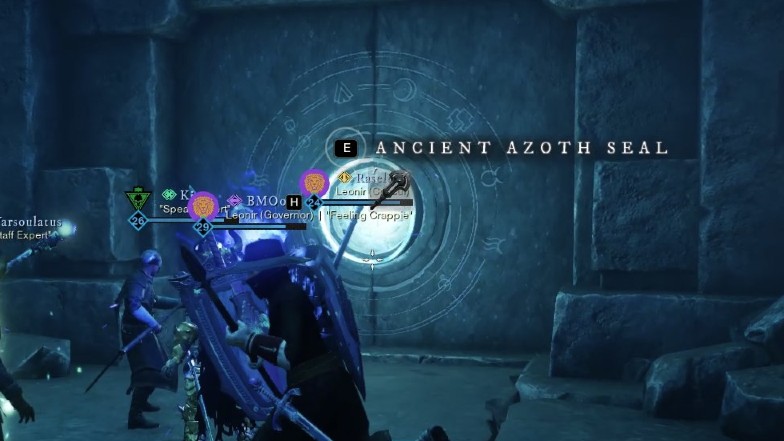
Open the Ancient Azoth Seal with the Azoth Staff. Enter the door, and you will see a path on the left and the right.
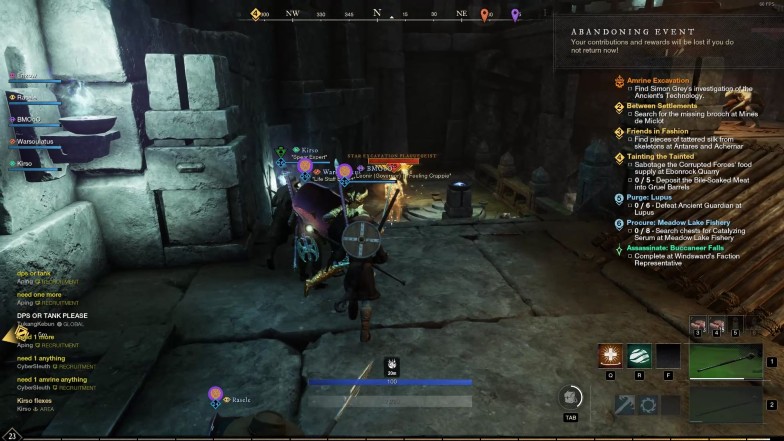
Clear the whole area and start with the left side.
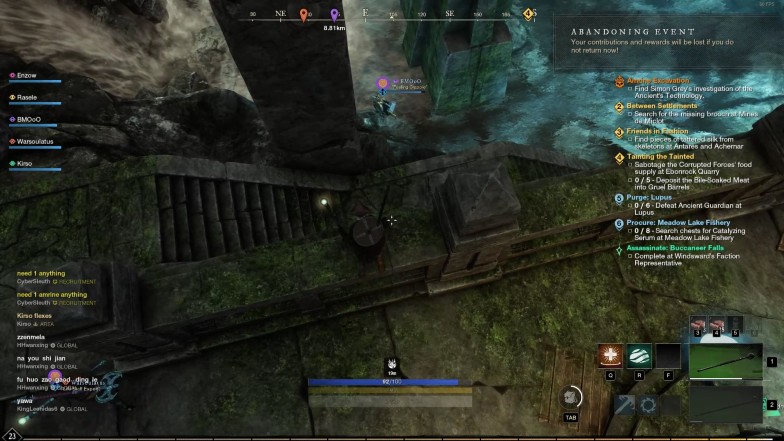
After clearing the enemies, including the elite monster on the left side, jump down the ledge or take the stairs going down. You will see a waterfall.
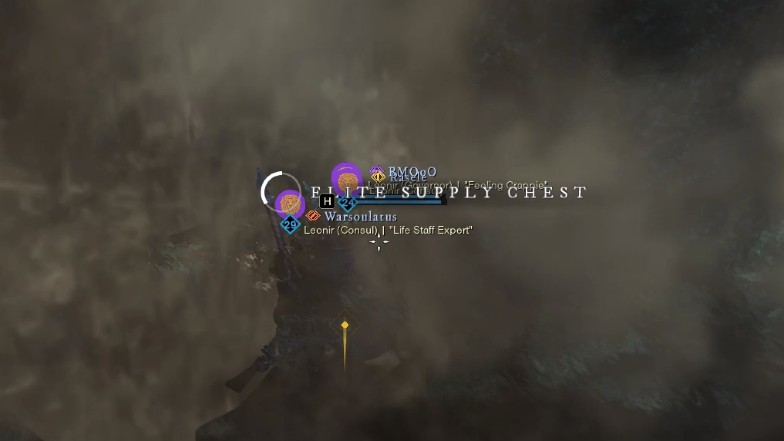
There is a hidden Elite Supply Chest for everyone under it.
Go back up and go to the right side. Follow the path and clear the enemies near the area. Let the tank face the Ravagers away from the party because they have an insane radius with their attacks.
Follow the linear path ahead, and you will see another Withered Nest. This time, there will be an elite mob next to it. Let the tank pull the enemies away from the party. The DPS should go for the Withered Nest first.
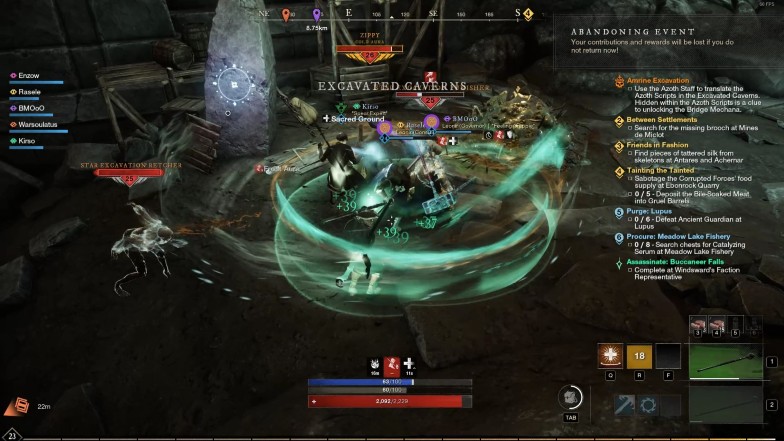
You can stack on the healer’s Sacred Ground and clear the mobs easily. Next to the Withered Nest, there should be a glowing stone next to it. You will use the Azoth Staff to translate it for your main quest.
Continue towards the path as it is still quite linear. You will enter the Broken Vestibule and start clearing the enemies again. The area is in a square, so it will be easy to find the path.
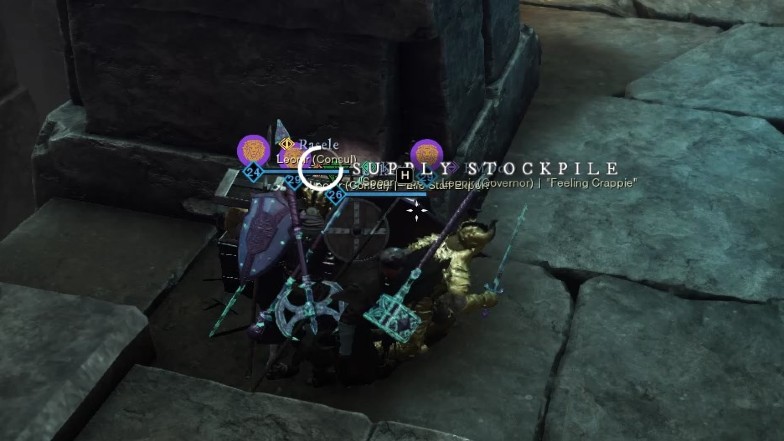
Ignore the stairs and go for the Withered Nest on each pull that has one. You will see a doorway at the end of the area. Before going there, go to the pillar on the dead-end first. There will be a Supply Stockpile here for everyone.
Activating the Bridge Mechana
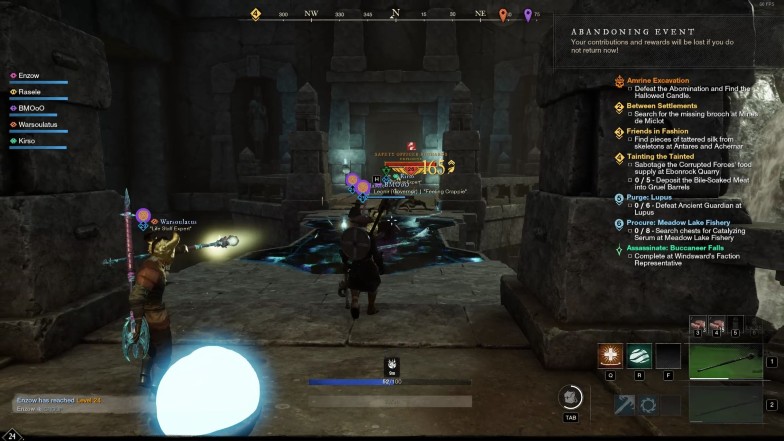
Head towards the door, and you will see a broken bridge in the middle. You will need to activate the Bridge Mechana to pass through the middle.
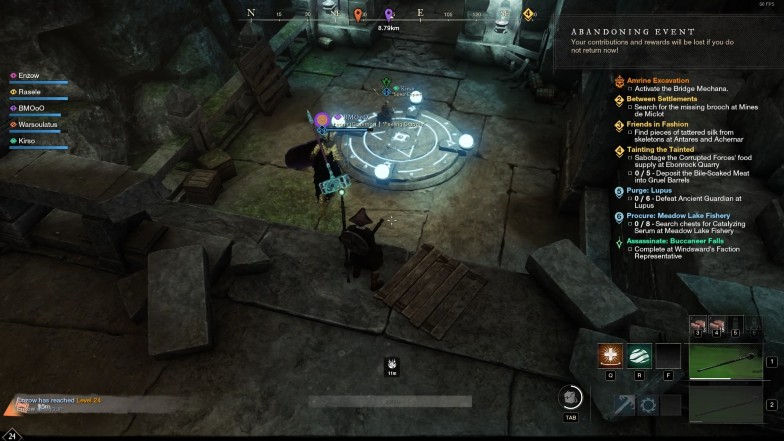
There will be a path on the left and right sides. Each side, including the middle, will have a floor seal you need to activate.
Upon activating them, you will have 2 elite enemies rush towards your party. If you split up during this time, regroup fast. Clear the enemies and make sure to face the Ravager away from the party again.
Getting the Hallowed Candle
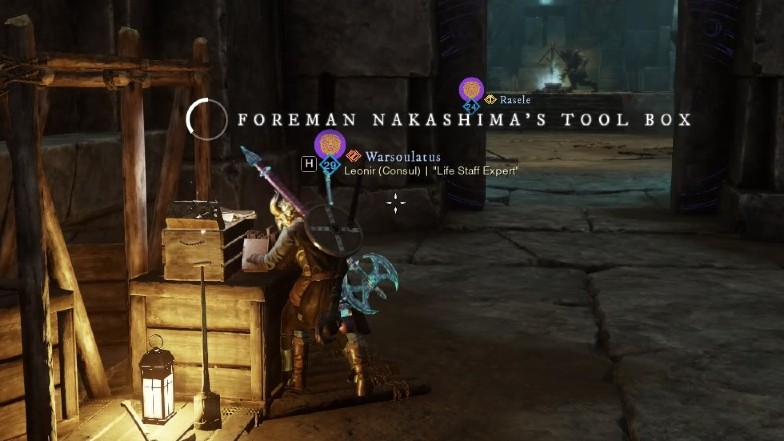
Now that the bridge is active, head towards the middle and cross it. Follow the path and deal with the single elite Ravager. In the hallway, you will see Foreman Nakashima’s Tool Box. Grab it, and you will get the Hallowed Candle for the main quest.
Head straight, and you will see an open area where you can see the Spectral Shrine in the middle.
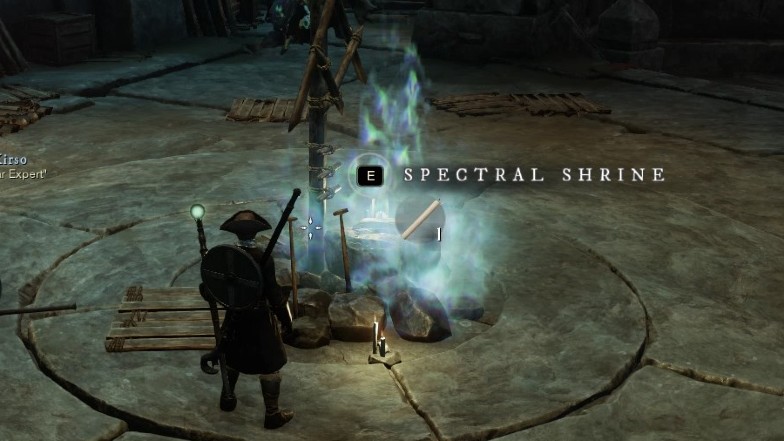
Clear the mobs one by one to be safe. After clearing the enemies, use the Hallowed Candle on the Spectral Shrine in the middle for your main quest. Once you use the Hallowed Candle on the Spectral Shrine, this will spawn the boss so, make sure to clear the area completely.
Foreman Nakashima Fight
You will face an elite boss, the ghost of Foreman Nakashima, where you need to know a few things. It has a lunge attack with a wide radius that normally hits the tank. It is fast so beware of this attack.
The boss also swings with a combo attack. The melee DPS will have no choice but to take the damage so they can do more damage. It is not that strong but you should consistently drop your Sacred Ground ability on the tank as a healer.
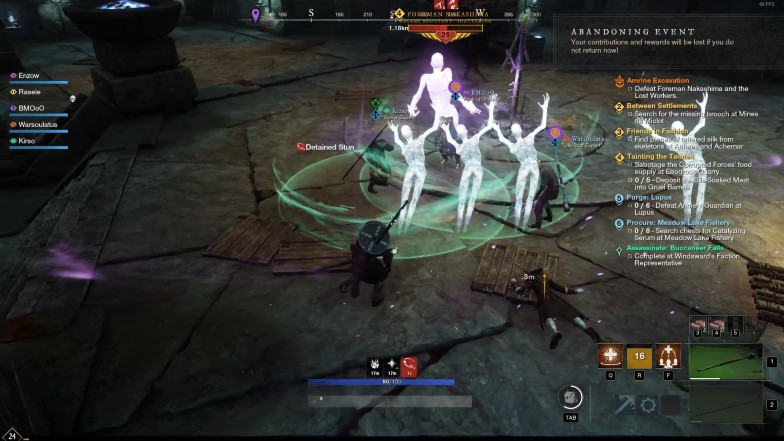
The off healer can alternate Sacred Ground abilities throughout the fight as well. Foreman Nakashima has another attack where it calls a line of ghosts to rush in a linear path. It is easily avoidable if the tank moves the boss away from where it was cast.
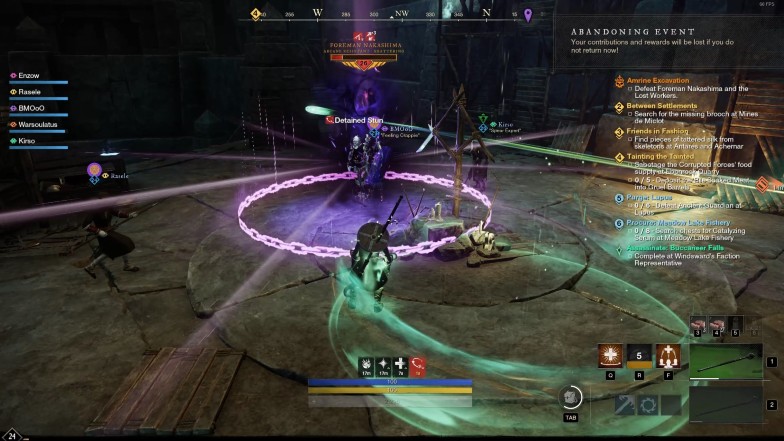
The boss’s most dangerous move is when it raises its hands and emits purple energy around itself. You will see a few purple lines stemming from the ghost. It will last for 3 seconds. Each line will spawn a ghost rushing towards the purple line twice.
Avoid it at all times. Tanking this as a DPS or a healer for the full duration can eliminate you in an instant if you are low-level. Since taking the first ghost will stun you, you will take the next one as well if you are close to it.
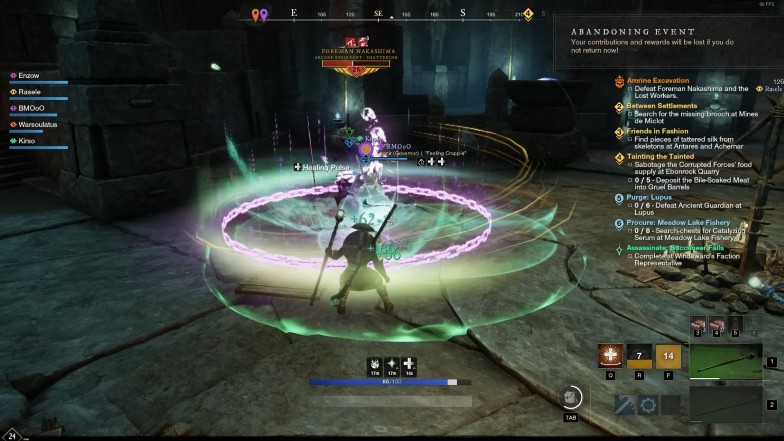
The ghost also has a circular purple chain attack cast in a random area near the player or itself. When hit, you will get a detained stun which is just a fancy term for being stunned.
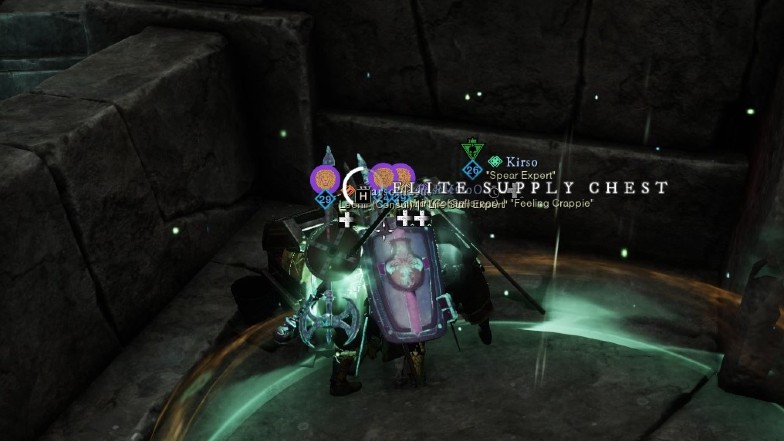
After defeating the boss, face the Spectral Shrine and go to the upper-left path. This is a dead-end with an Elite Supply Chest.
Go back to the Spectral Shrine and head to the upper-right path. The path will be linear again and keep clearing the enemies along the way. You will have a big open area at the end, leading to the final boss, Simon Grey.
How to Defeat Simon Grey
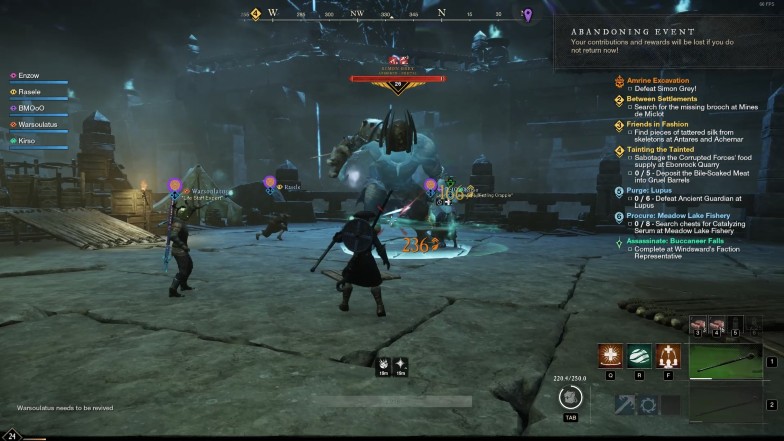
Simon Grey is fairly easy to defeat. You can treat it like an overpowered Ravager you have been defeating throughout the dungeon but with extra steps. It hits like a truck, so the melee DPS should be extremely careful here.
Taking a hit will give your healer a lot of problems. The boss spawns at least 4 elite enemies the run around chasing anyone. The tank can get aggro but he will be busy with the boss.
You cannot let the tank move too much. It might cause the boss’s attacks to hit random players since it can be erratic.
If the spawned enemies start to hit the healer or a ranged DPS, they should easily dodge their attacks. Even while healing, you can dodge every hit from the spawned enemy and regain your stamina back to dodge the next attack.
If you are being chased by the spawned enemy as a DPS or healer, at some point, you will find an opening where you can bring it to the tank. You can start to cleave them down if you can do this.
Repeat the whole process, and it should go down easily. The DPS can also try to help bring down the enemies chasing the healers. For healers, cast the Sacred Ground on cooldown, and if there is an off healer, alternate between casts.
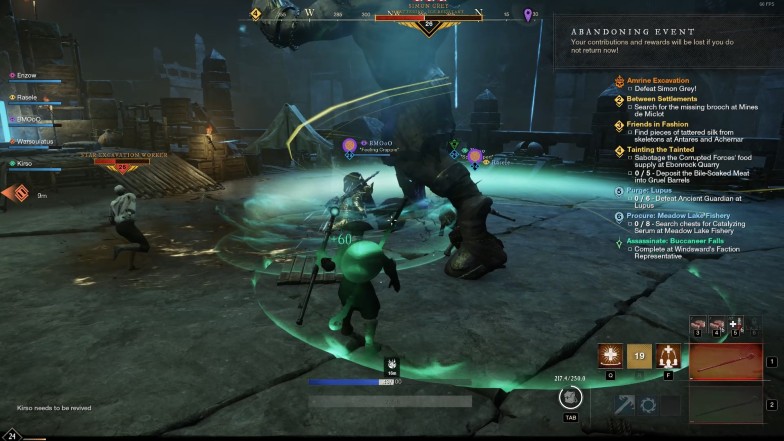
The DPS should always try to help the healers by standing on the Sacred Ground, avoiding unnecessary damage, and sticking to the butt of the boss. The healer’s attacks will constantly heal a small radius around its attacks. Everyone can benefit from it as long as they stick in a small radius.
If you get hit, you can use health potions to minimize the healing output needed. The tank will need all the healing from the healers as much as possible.
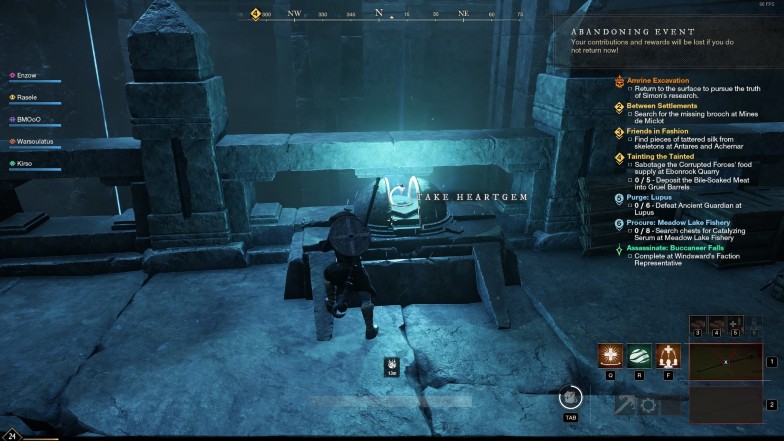
After defeating Simon Grey, do not forget to take the Heartgem in the area. It should be near Simon Grey’s spawn. You will need this for your quest. On the left side of the room, a glowing teleporter will exit you out of the expedition.
If you got teleported in, you would return to where you were before entering the dungeon.
All Drops in the Amrine Excavation Expedition
While there are multiple chests mentioned in the guide, the drops can be a little random. This can contain uncommon to rare items and valuable resources. But, from the boss drops, the items are fixed rare ones that will be listed below.
Simon Grey’s Toothpick
- Tier III Rapier
- Level Requirement – 25
- Damage – 269
- Critical Hit Chance – 5.0%
- Critical Damage Multiplier – 1.4
- Block Stamina Damage – 28
- Blocking Stability – 15%
- Thrust Damage – 111
- +17 Dexterity bonus
- Keen – +7.4 critical chance
- Keenly Empowered – On critical hits, gain 15% Empower for five seconds (10-second cooldown)
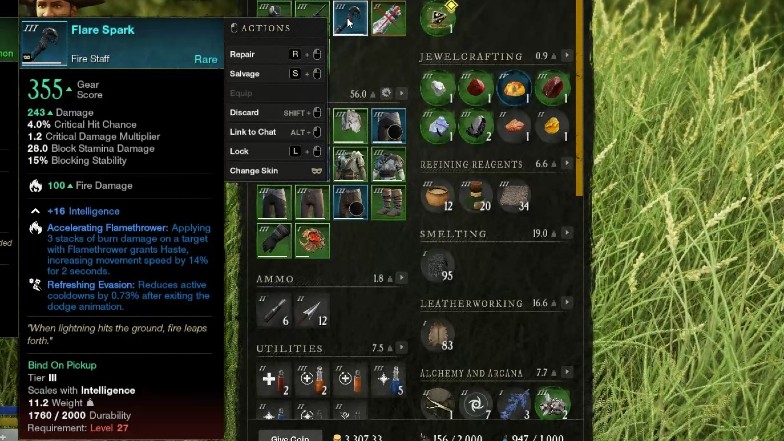
Flare Spark
- Tier III Fire Staff
- Level Requirement – 27
- Damage – 232
- Critical Hit Chance – 4.0%
- Critical Damage Multiplier – 1.2
- Block Stamina Damage – 28
- Blocking Stability – 15%
- Fire Damage – 100
- +16 Intelligence bonus
- Accelerating Flamethrower – Applying 3 stacks of burn damage on a target with Flamethrower grants Haste, increasing movement speed by 14% for 2 seconds
- Refreshing Evasion – Reduces active cooldowns by 0.73% after exiting the dodge animation
Darkness Defined
- Tier III Great Axe
- Level Requirement – 25
- Damage – 317
- Critical Hit Chance – 3.0%
- Critical Damage Multiplier – 1.4
- Block Stamina Damage – 56
- Blocking Stability – 25%
- Slash Damage – 149
- +17 Strength bonus
- Chain Void – On hit, cause a Chain Void attack that bounces between close targets. Does not trigger off persistent damage or damage over time effects.
- Enchanted – Light and heavy attacks deal 7.5% more damage.
Simon’s Hacksilver Ring
- Tier III Jewelry
- Level Requirement – 25
- +17 Strength bonus
- Physical Ward II – 1.5% physical damage absorption
- Slash Damage – You deal 4% more slash damage
Nakashima’s Keepsake
- Tier III Jewelry
- Level Requirement – 25
- +14 Intelligence bonus
- Physical Ward II – 1.5% physical damage absorption
- Mana Recovery – When you are hit while below 50%, gain 75 mana (1-minute cooldown) Does not trigger off persistent damage or damage over time effects.
Final Thoughts
In most MMORPGs, spamming dungeons, expeditions, or duty roulettes can be a good way to level up fast. However, in my opinion, it is not that effective in New World. It is not that efficient. You will only be looking to finish the expedition of Amrine in New World for better gear, quests, or helping others.
If you can finish it in under 20 minutes, it can give you decent experience to level up but you will need repeatable faction missions all the time to make it worthwhile. The whole experience is going to be new and fun. You can practice certain roles for expeditions in the future.

