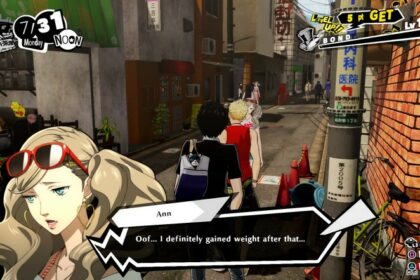
This ultimate guide on character combos, move sets, and Master Arts will greatly help your playthrough as keeping up with everyone’s combos will be jarring.
If you are playing casually, you are bound to forget some of the combos you have been using or new Master Arts you need to keep in mind. This guide will focus mainly on the best combos in Persona 5 Strikers and teach you tips on executing them.
Best Combos Every Character
For the buttons or controls, S will be Square and T will be Triangle (depends on the console you play on).
Makoto Niijima
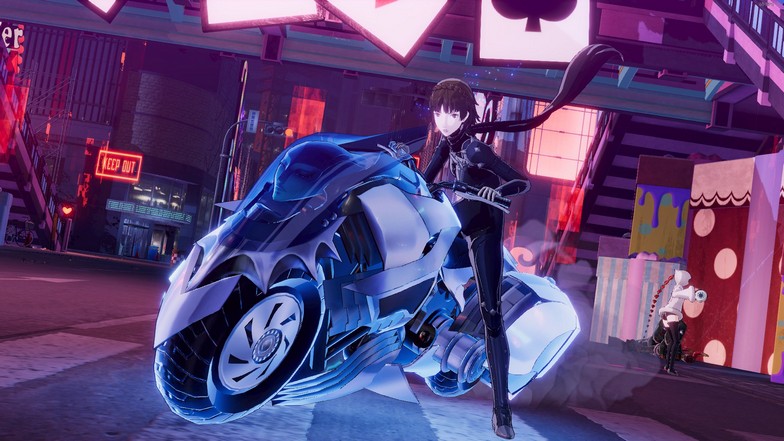
Personally, I believe Makoto Niijima is the strongest character in the game. Not only is she the strongest but also, she is the easiest one to use. Why? It is because of her braindead combos along with her Nuclear element buff. Her triangle, when used alone, buffs herself giving your attacks Nuclear damage and it gets absurdly stronger when you get her Master Arts rank 3.
Triangle – buffs Makoto’s attacks and adds Nuclear damage
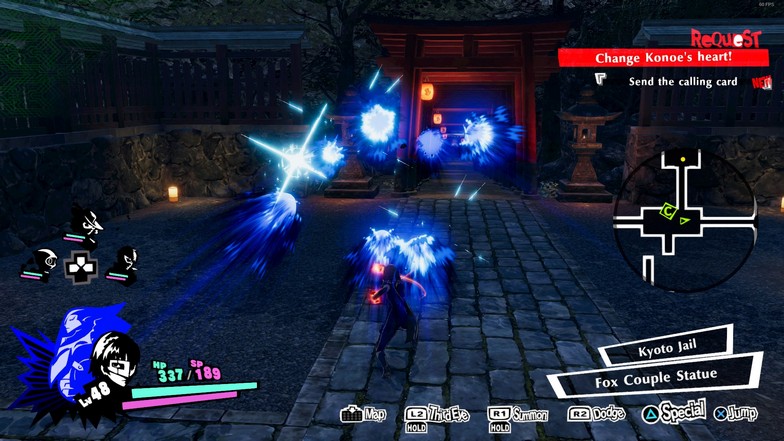
S + S + S + S + S + T (Hold)
This is the Queen’s strongest combo and with the Nuclear buff (Master Arts rank 3), the radius of her attacks compared to the number of hits is the second strongest combo in the game only behind Zenkichi’s Fury buffed combos. But with this, Makoto does not lose health while executing as oppose to Zenkichi.
Long combos are usually hard to pull off but with Makoto’s buff ability, she just becomes unstoppable while using the combo and it helps make enemies flinch so she can successfully execute all the time. You can also hold the special attack button to prolong the barrage of punches.
S + T + S + S + S + S + T (Elemental Spell Finish)
This is Makoto’s best combo that ends with an elemental spell cast at the end. It starts off with the S + T launch and while in the air, Makoto unleashes a barrage of strikes while in the air that can also hit whoever is on the ground. Just perform the normal combo of S + S + S + S + T while in the air. You can remove as many normal attacks (S) as you want as long as you start with one and it will still end up attacking with a Frei at the end of the combo.
S + S + S + T (Elemental Spell Finish)
This combo is Makoto’s elemental combo. It ends with her casting Frei (spell depends on your level) which should be used or spammed at all times when you encounter enemies weak against Nuclear damage. This goes for bosses like Akira Konoe and all the mini-bosses you encounter that are also weak against Nuclear.
S + S + T
This is a simple and fast combo that ends with Makoto’s Johanna slamming the ground in front of you with a short cone-like radius. It is a good filler combo if you are just looking to get some damage in before an enemy casts a spell so you can dodge right after.
Joker
If it were not for Joker’s ability to use multiple Personas, he might be the weakest character in the game. But because he is irreplaceable and can use all the affinities available, they had to nerf his combos so that players would have to use a variety of characters while playing.
Triangle – shoot
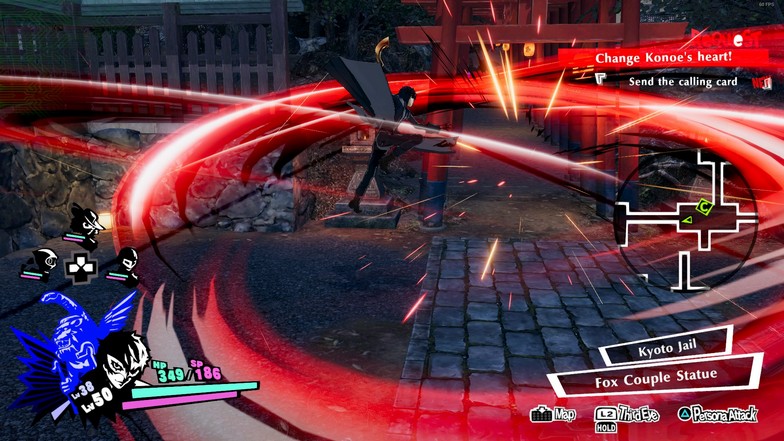
S + S + S + S + S + T + T
Joker’s longest and best mob melting combo. It is the same combo as Joker’s second Master Art ability (Wild Rush) and it adds another special attack at the end of this combo. As long combos go, they are hard to pull off if you have to dodge or flinch during the execution so this combo is not that strong compared to other characters. Since Joker can play around with countless Personas, it is good that he is not that overpowered with good combos.
S + S + S + T (Elemental Spell Finish) | S + S + T + T (Physical Spell Finish)
One of the strongest combos in the game. This is because Joker’s elemental cast combo can be changed with his Persona. You can alternate among all the elements as long as you have the Personas equipped and you are quick to swap among them.
Haru Okumura
Haru’s move set are all reliant on holding the special attack after the combo. Though they are easy to execute, you still might get flinched before you can finish the combo even with the Master Art. Her attacks are slow but thankfully, her end combos are easier to start.
Triangle – a ranged rocket shot
S + T (Hold)
This combo is easy to execute and has a fast attack speed. Haru smashes her axe down the ground 7 consecutive times with the last one having a bigger area of effect radius. It is the most fun ability to use considering how fragile and elegant Haru looks and how barbaric this move is.
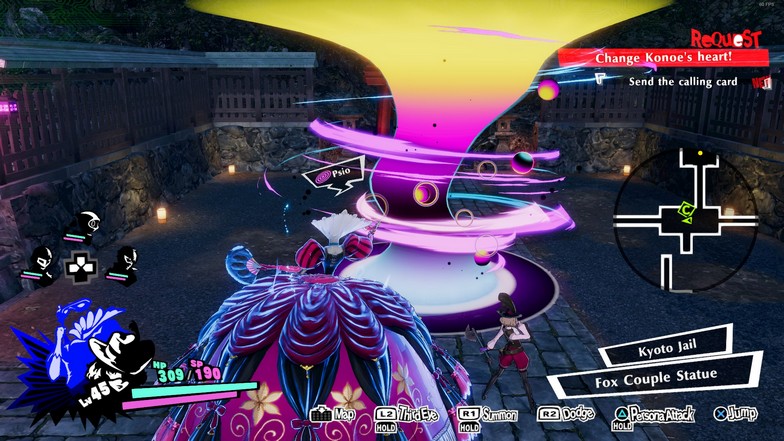
S + S + T (Hold) (Elemental Spell Finish)
Noir’s elemental combo is unique because you can hold the spell longer by holding the triangle button. With a shorter command to execute a Psy elemental attack, this combo is extremely powerful. Considering how slow Noir’s attacks are, she has been blessed with a spammable elemental combo.
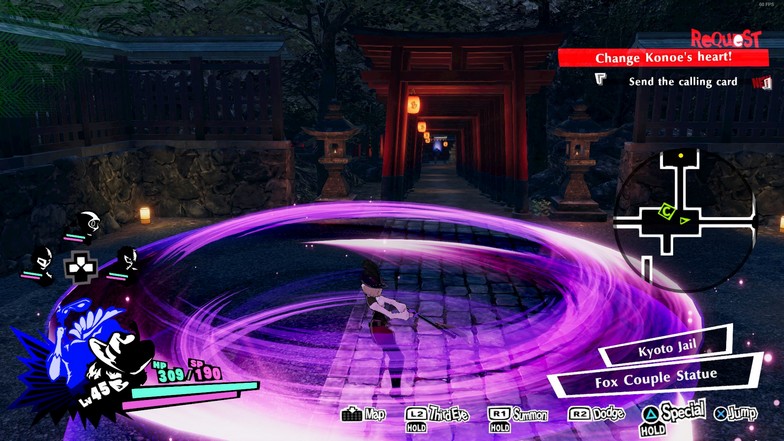
S + S + S + T (Hold)
My favorite Noir combo. This combo turns Noir into the Tasmanian Devil (figuratively, of course) where she performs a long spinning attack and hits everyone near her.
You can move during this and that is what makes it so fun. Although, the normal attacks leading up to the special attack are so slow that it is a bit dangerous to execute against strong enemies. I only use this when I am a bit far from the enemy and just let the whirlwind bring me to them.
Ann Takamaki
Ann Takamaki has underwhelming combos but she is mostly a support character in the game but has the power to clear waves of mobs that are not too thick. During most of my playthrough, Fire has been the weakness of most enemies including the first boss Alice Hiiragi.
Triangle – adds fire affinity to attacks
S + T + T + T (My personal mix of combos for Ann)
S + T lets Ann cast a Tarunda spell that decreases the foe’s attack and the next T + T combo adds fire affinity to Ann’s attack and lashes out for a wide-area whip attack that ends with a fiery explosion. It is a brainless combo since you can just spam T but you can change the combo if you want after S + T. The debuff is nice and I only use Ann as a supporting character.
S + S + S + T (Elemental Spell Finish)
It is plainly just a combo that finishes with an elemental spell cast of Ann’s Persona affinity. While it casts a free Agi spell, her next combo is stronger since it also deals intense fire damage.
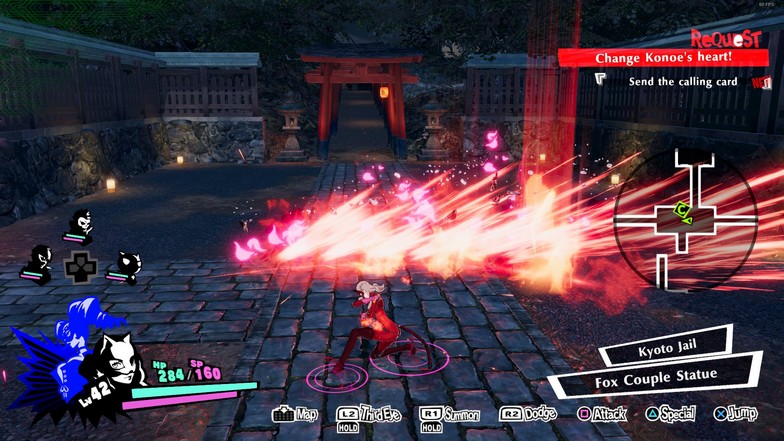
S + S + S + S + T
This combo ends with a small but wide fire wall attack at the end which is good in dealing area of effect fire damage. It also adds a free fire affinity buff so you do not have to press triangle to gain the buff again.
Morgana
Morgana is the weakest character in terms of move sets and combos. She has quick combos but lacks the damage output you see from other characters. She does gain a ton of support skills such as healing spells and the healing passive so she is considered a support character.
Triangle – turns Morgana into a van
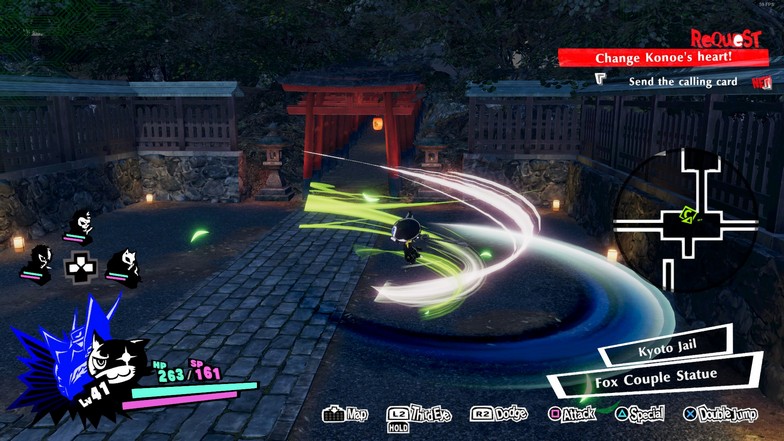
S + T + T (Mix of 2 attacks)
S + T is Morgana’s normal combo which is fast and a good way to stagger his opponents since their radius is big. Since this S + T combo ends with Morgana in the air, if you press T again, Morgana turns into a van and slams into the ground for another chunk of damage. You need the last Master Art for this one though.
S + S + S + T (Elemental Spell Finish)
Like the others, it is just a normal combo that ends with a Wind elemental cast at the end. Since Morgana attacks really fast, he gets it off quicker than anyone.
S + S + S + S + T + T
This combo is good against enemies that are all in a line and since Morgana’s normal attacks have a smaller cleave, you are banking on the enemies to line up for this combo.
Ryugi Sakamoto
Ryuji is more of a bruiser-type character where he shines as the party’s tank. His skills are also great but relies heavily on his 3rd and 4th Master Art skills. Without it, he struggles mightily with keeping attacks and combos up.
Triangle – buffs Ryuji with flinch resistance and decreased damage taken
S + T (Charge)
All of Ryuji’s signature combos are all charged attacks at the end and this first one is a charged slam directly in front of Ryuji. The radius depends on how long the attack is charged.
S + S + T (Charge)
This second charged combo calls Captain Kidd (Ryuji’s Persona) to go in a wide linear attack in front of Ryuji dealing increase damage depending on how long the charge was.
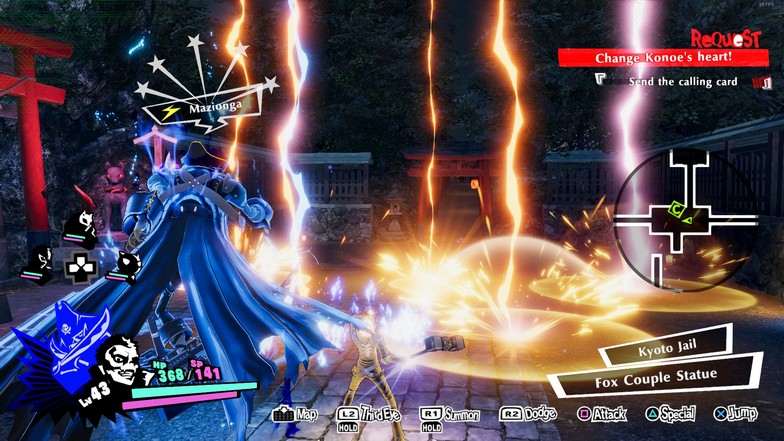
S + S + S + T (Charge) (Elemental Spell Finish)
Ryuji’s elemental combo but in this case, it can be charged up for a stronger spell cast with a bigger radius. It will take longer but if your goal is just to stagger the enemies with a lightning attack, you are better off attacking a non-charged one.
Yusuke Kitagawa
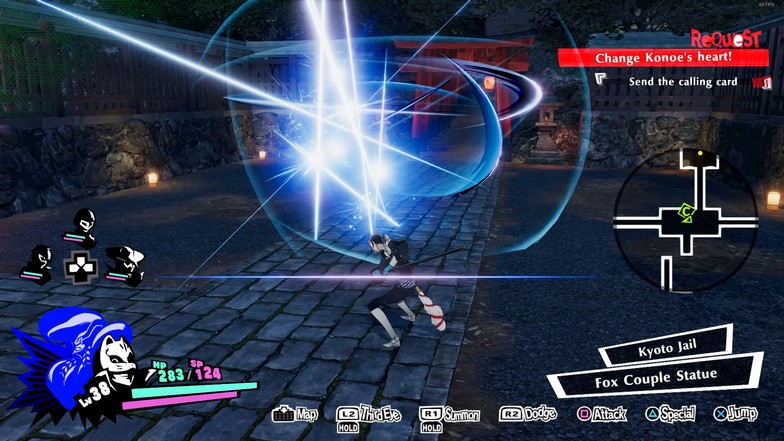
Yusuke is one of the strongest characters in the game. His combos are strong for both single target and massive waves of enemies. His move set are kind of like Haru’s but with more cleave and an insane buff that your whole party benefits from. Other than Mariko Hyodo’s jail, he is a staple party member for all jails in the game.
Triangle – counter stance into ranged area of effect attack
S + T + T (Spam repeatedly)
This is the best combo for Yusuke as it not only buffs you with Agi (crit and evasion) but also, it is a large area of effect attack that can be prolonged by spamming triangle. If you do hold the triangle to the max possible duration, the Agi buff is casted for your whole party. This makes Yusuke one of the strongest characters in Persona 5 Strikers.
S + S + T + T (Spam repeatedly)
This combo is a linear attack but with a slightly wider reach than Morgana’s longest combo. If spammed repeatedly, it increases the duration of the last linear attack and you can change directions while doing the attack.
S + S + S + T (Elemental Spell Finish)
This is your typical elemental combo that casts Bufu or your current tier spell but Yusuke’s combo is a bit different. You can choose to spam the triangle button at the end and it will delay the Bufu cast and add a strong and wide cleave attack before casting Bufu.
Sophia
Sophia is another top-tier character in Persona 5 Strikers. She is new to the series and her combos are above average. Her skills are mostly support and are mostly healing. Her affinity is usually normal or strong since she uses Bless and her self-buff amplifies her great combos by a lot. She is strong against the Ango Natsume and she already fills the role of support and damage dealer for the fight.
Triangle – Increase weapon range and damage
S + T (Spam repeatedly)
Sophia’s go-to combo for dealing with a ton of weak mobs especially during Futaba’s hacking phases. This attack is just Sophia spinning her yoyo in a windmill-like pattern and smashes anyone near it. Unlike Haru’s whirlwind, Sophia is unable to move during this attack. You need to buff Sophia first with the triangle button so that the damage, range, and duration (Master Art) increases.
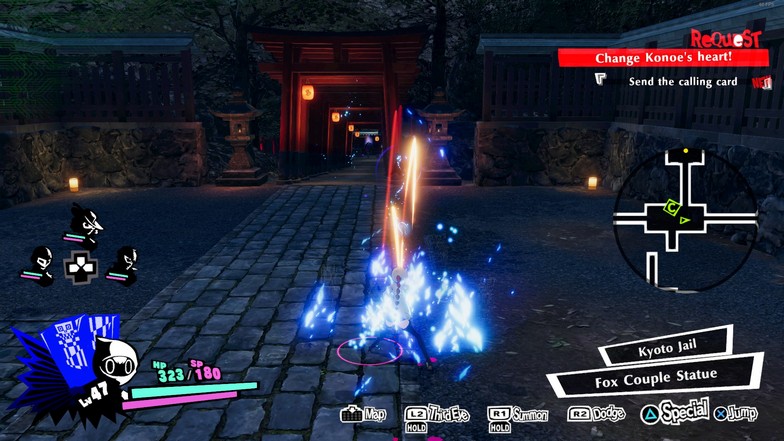
S + S + T (Spam repeatedly)
This is Sophia’s strongest combo and it casts a Rakunda (Decrease defense of foes) spell just before she unleashes her special yoyo attack. Her last attack is a barrage of linear attacks using her yoyos depending on how long spam the triangle button.
S + S + S + T (Elemental Spell Finish)
This combo is Sophia’s spell combo. It ends with Sophia casting Kouha or the current tier Bless attack. With her wide-area attacks, it is easier to execute since you might be able to flinch a few mobs that can stop your combo.
S + S + S + S + S + T
Sophia’s long combo where it ends with two strong attacks at the end. Her yoyos are extremely useful against normal enemies and the lead-up to her combo finish is easier to execute. It ends with a huge radius yoyo attack and a follow-up cannon blast.
Zenkichi Hasegawa
You will not be able to play Zenkichi for a long time as he shows up near the end as a playable character. Regardless, his kit has the best damage output among all the characters. This is just because of his Rage ability that allows him to deal damage from afar while destroying everyone near him. The only caveat, his HP drains while in Fury so you will need to utilize dodging every time and have everyone in your party with a healing ability.
Triangle – activates rage that increase your damage but lose life over time
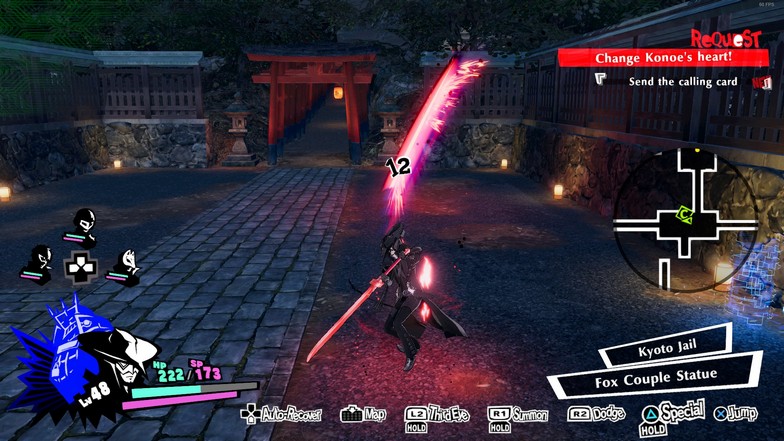
S + S + S + T (Spam repeatedly during rage) (Elemental Spell Finish)
The most broken combo in the game but requires the Rage to execute. With the high damage output from the buff, this full combo of repeatedly spamming slashes, which is both a melee and a ranged attack, will shred everyone in front of Zenkichi and it ends with an Almighty elemental spell at the end if ever they manage to survive.
Even mini-bosses take huge damage from this combo but you need to execute it safely first because you might get flinched before doing that last attack. You need the last Master Art for this upgraded combo.
S + T (Charge)
This is a shorter version of Ryuji’s S + S + T (Captain Kidd attack) since it requires one less normal attack to pull off but unlike Ryuji, you are not as immune to flinch making it a bit dangerous. The damage increases greatly and has a slightly wider attack if Rage is active.
S + S + T (Hold)
This is basically Haru’s S + T combo but with slower intervals between the attacks. Doing this with rage active adds the ranged slices to each attack which melts everything in a linear direction. It is strong but you would rather do the first combo.
Unlocking Every Character’s Master Arts
Makoto Niijima
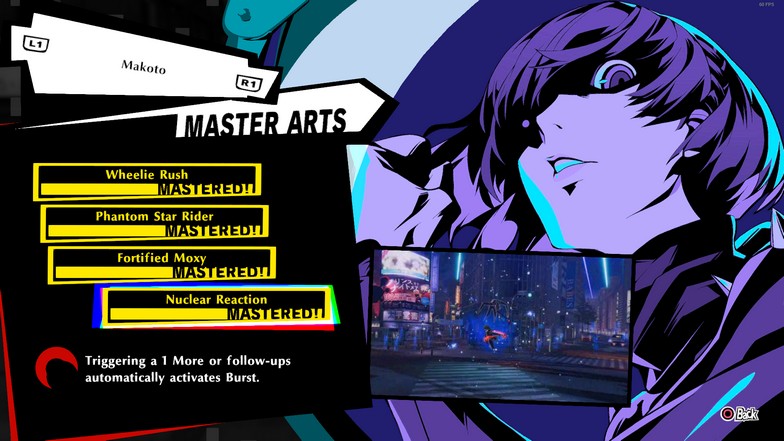
Wheelie Rush – Perform a follow up after S + S + T
Phantom Star Rider – Triangle buff strengthens Johanna’s special attacks
Fortified Moxy – Triangle buff strengthens Makoto’s special attacks
Nuclear Reaction – Triggering a “1 More” or follow-ups automatically activates Burst
Joker
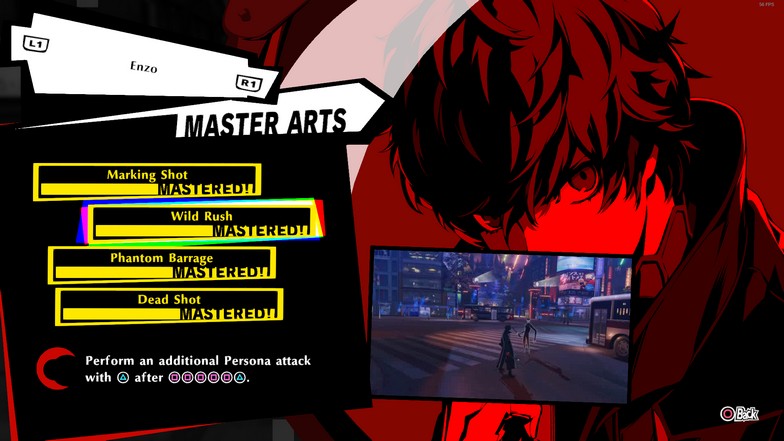
Marking Shot – Perform a follow-up after a T attack or a midair T attack
Wild Rush – Perform a Persona attack with T after S + S + S + S + S + T
Phantom Barrage – T attacks will not consume ammo. Press T after certain attacks to perform a three-shot attack
Dead Shot – While aiming with L1, holding R1 will gradually consume ammo to perform an increasing powerful shot (up to 50% of your ammo)
Haru Okumura
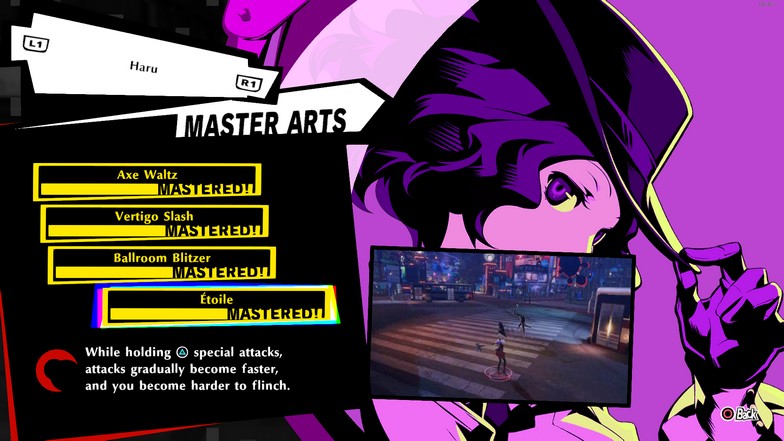
Axe Waltz – Perform a follow-up after S + S + S + S
Vertigo Slash – Chance of inflicting Dizzy after S + T
Ballroom Blitzer – Increase the range and damage of all gun attacks. While holding T, ammo will no longer be consumed
Etoile – While holding T special attacks, attacks gradually become faster, and you become harder to flinch
Ann Takamaki
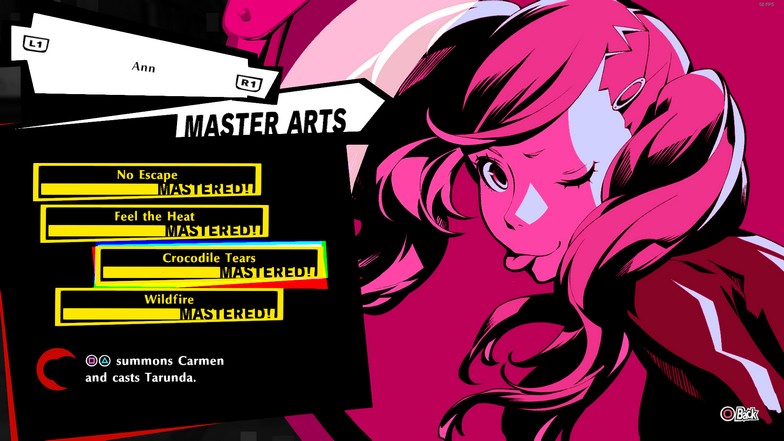
No Escape – Perform a follow-up after S + S + S + S + S
Feel the Heat – While T is active, perform a downswing attack by pressing T at the end of combo attacks
Crocodile Tears – S + T summons Carmen and casts Tarunda
Wildfire – Panther’s Fire affinity attacks do increased damage and have an increased chance of inflicting Burn
Morgana
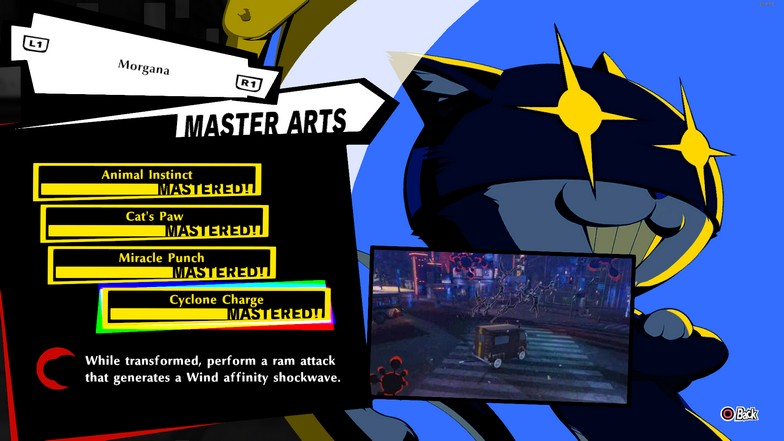
Animal Instinct – Perform a follow-up after S + S + S + S + T
Cat’s Paw – Enemies are pulled in during the spinning portion of S + T, or with S + S + S + T
Miracle Punch – S + S + T will have a slight chance of becoming a Miracle Punch
Cyclone Charge – While transformed, perform a ram attack that generates a Wind affinity shockwave
Ryugi Sakamoto
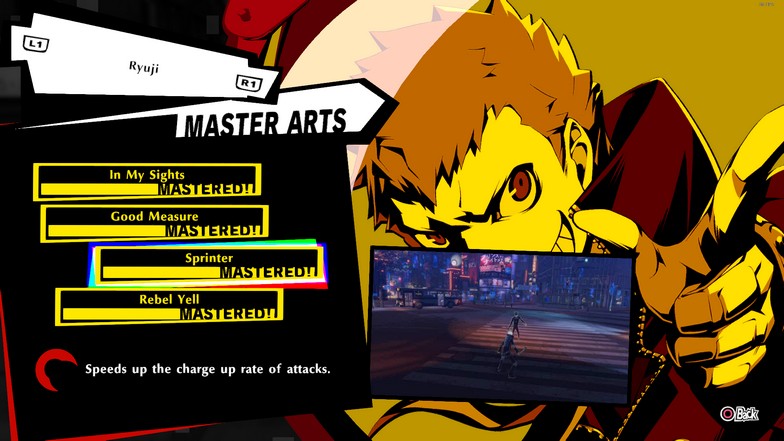
In My Sights – Perform a follow-up after S + S + T
Good Measure – S + T slam attack will do increased damage. If the attack is charged, Captain Kidd will also attack
Sprinter – Speeds up the charge up rate of attacks
Rebel Yell – Extends the active time of T Toughness and increases the chance of reducing damage
Yusuke Kitagawa
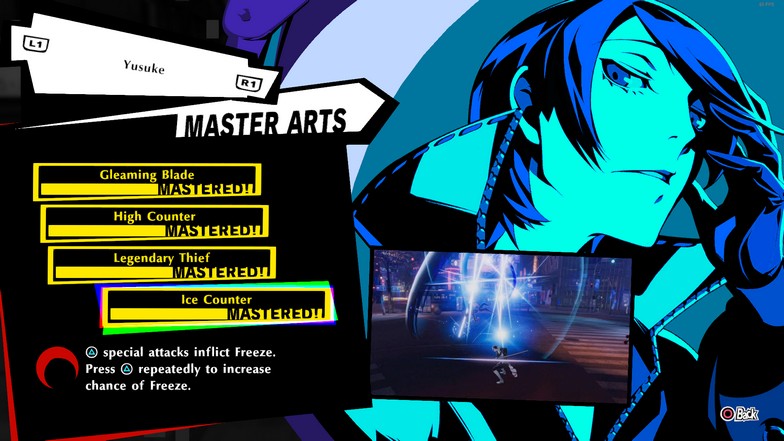
Gleaming Blade – Perform a follow-up after S + S + T
High Counter – T counters or performing S + S + S + S + T temporarily increases the number of hits triggered when pressing T repeatedly
Legendary Thief – S + T summons Goemon and casts Sukukaja. Press T repeatedly to cast Masukukaja instead
Ice Counter – T special attacks inflict Freeze. Press T repeatedly to increase chance of freeze
Sophia
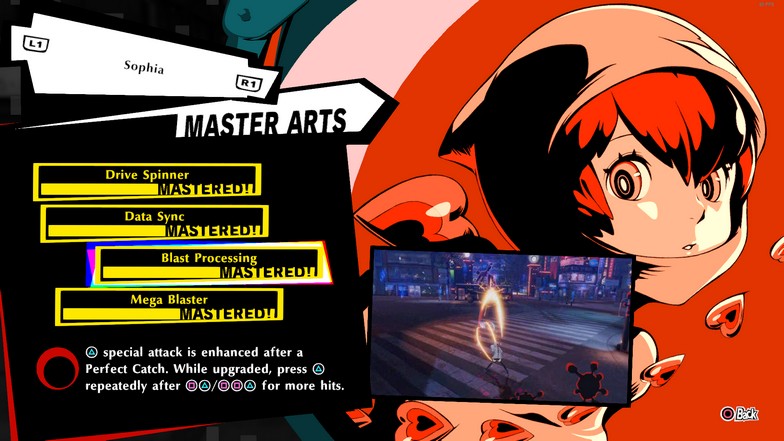
Drive Spinner – Perform a follow-up after S + S + S + S + T
Data Sync – Performing a S or midair S attacks with good timing will increase attack power by one upgrade leveel
Blast Processing – T special attacks is enhanced after a Perfect Catch. While upgraded, press T repeatedly after S + T or S + S + T for more hits
Mega Blaster – While aiming with L1, hold R1 to fire a gravity bullet. Successfully performing a Perfect Catch will replenish ammo
Zenkichi Hasegawa
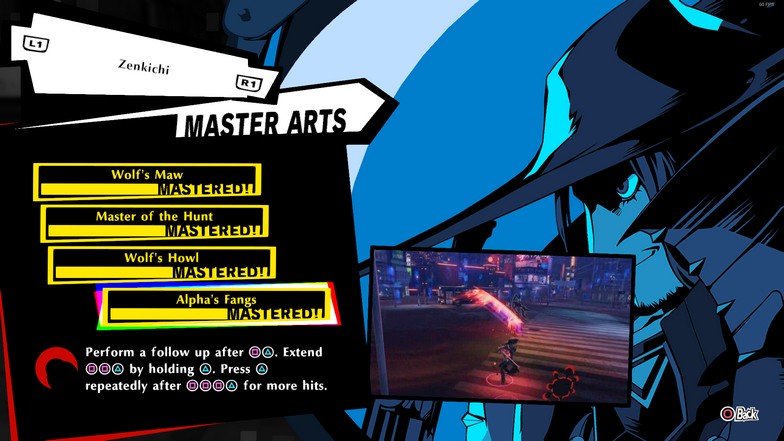
Wolf’s Maw – While T Fury is active, Almighty affinity is applied to all attacks
Master of the Hunt – Increase HP absorption while T Fury is not active
Wolf’s Howl – While T Fury is active, HP consumption is reduced and increases the chance of a critical
Alpha’s Fangs – Perform a follow-up after S + T. Extend S + S + T by holding T. Press T repeatedly after S + S + S + T for more hits (Note: these are all separate and not one big combo)
Conclusion
This ultimate guide on move sets, combos, and Master Arts will be a staple for your playthrough whenever you are struggling with combat. These moves are easy to forget especially when you are playing casually and plan on using all the characters.
While all the combos in the game are not mentioned, they are left out for a reason as they are just too terrible to use. Combine this guide with our beginner guide and you should be all set to finish up until hard difficulty.

