With the game going live and finally being out of early access, it is now possible to ‘beat the game’ with the added final stage and a final boss.
It is not that straightforward for new players to discover how to beat the game but experienced players who have thousands of hours in the game will notice something different in their playthrough.
This guide will talk about how to beat the game in Risk of Rain 2 and earn the achievement. Beware of spoilers and if you just want a hint, you can watch the first few minutes of the video below.
Which Survivor and Build to Use
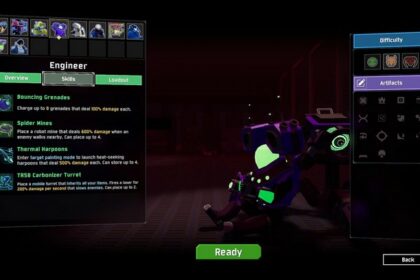
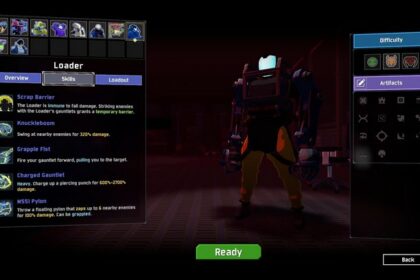
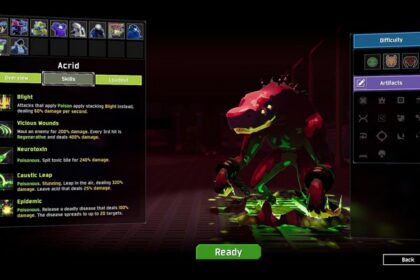
The video above covers the whole subject but is quite long. The final stage will require tons of mobility and survivors like Loader and Mercenary can make the obstacle course more manageable. Survivors such as Engineer and Acrid will require mobility items such as the Hopoo Feather, the Wax Quail, and the H3AD-5T v2.
The final stage will require multiple ways of traversing through the floating debris and the best way to do that is by getting as much jump as possible. You will also need a little bit of movement speed after finishing the boss fight because you will have to get back to your starting location with a four-minute timer.
Bring in a few defensive items such as Tougher Times and Aegis if you are lucky enough to get it when entering the stage. Mercenary will be the easiest survivor to use because of his mobility. It will also help with the Mithrix boss fight where you will have to run around and watch for pillars of flames on the ground.
Build That Can Be Used By Any Survivor
This will only work with the Artifact of Command turned on so that you can choose your own items. Grab as many Fuel Cells as you can with the uncommon drops and you should be able to cap out with 22 Fuel Cells with this build. You will be spamming an equipment called Disposable Missile Launcher where it will hit the closest enemy from where it was launched.
This attack will reach the whole map and if there are no enemies near your area, it will still chase enemies that are extremely far away. It will give you a hint on where to go and where the enemies are coming from. Lens-Maker’s Glasses also works with this build and can give the missiles double damage with the critical strikes.
With the 22 Fuels Cells, you will be able to pump missiles endlessly and watch all enemies get obliterated even before you get to see them. For the common item drops, you can build for mobility and defenses such as Energy Drinks, Paul’s Goat Hooves, and Tougher Times.
How to Reach the Final Stage
To reach the final stage, you will need to reach the Sky Meadows level. You can reach this area in stage 5 and will be available again every after 5 stages. You will see a message about a Primordial Teleporter aligning with the moon. This is the sign of a new teleporter that you can find on the stage. The trick in finding the teleporter is by looking for flakes floating in the air.
For finding a regular teleporter, the flakes in the air will be red. For the Primordial Teleporter, you will see that the color of the flakes is now blue and it will have a different appearance from the regular teleporter by having a reactor-shaped one instead of having horns.
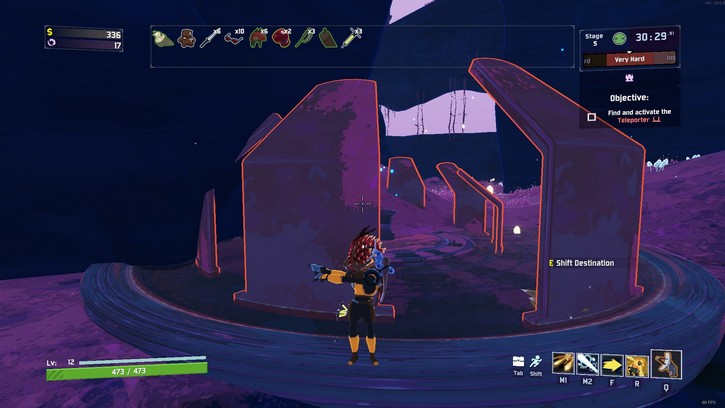
The Primordial Teleporter acts the same as the regular teleporter where you will have to activate it up to 100% while defeating hordes of enemies and a boss. Once you have finished and activated the Primordial Teleporter, you will enter the final stage.
How to Beat Mithrix
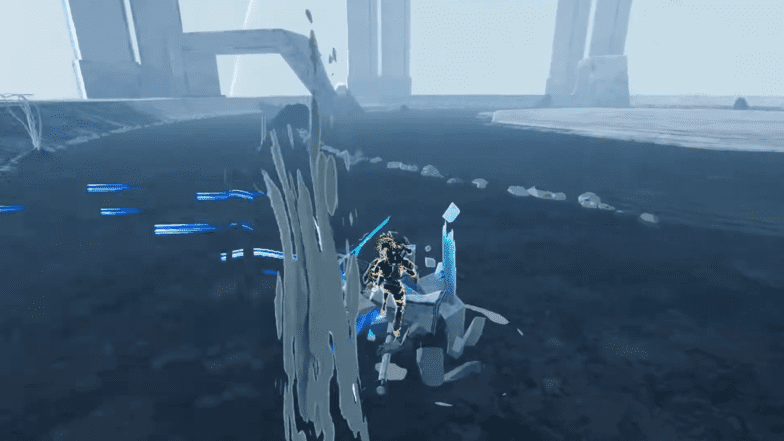
Once you reach the end of the final stage, you will jump pad up to a gladiator-looking arena and you will see a black ball in the middle. Once you approach it, there will be a short cutscene and Mithrix will spawn in the middle and the battle will start.
Mithrix’s moves are easy to telegraph in the first phase and you can just backpedal while fighting if you are a ranged survivor. If you are a melee survivor, his melee attacks should not be a problem if you get hit but it will be easy to dodge by just strafing around him. He teleports before he attacks which can be quite annoying because he does this frequently but it should be simple to push to the next phase.
The next phase is all about beating the monsters you have been killing to reach this point. Mithrix will spawn Lunar Chimera Golems which should be easy to hit with their large frame. You can take this time to recover if you are low and even take your time to wait for your equipment cooldowns.
After finishing phase 2, Mithrix will return and add a few more attacks to his arsenal. The most notable and most dangerous attack will be the pillars of flame that he throws around the arena. You will only have about 1-2 seconds to dodge this before it explodes and causes significant damage.
Keep doing the strategy you were using in phase 1 and keep dodging his normal attacks like usual. But this time though, you should be focusing more on the ground and somehow telegraph the pillars of flame.
It will be nice if you are holding a Dio’s Best Friend for an extra life but legendary items might be hard to acquire without reaching the area called Siren’s Call which guarantees a legendary drop after killing the Alloy Worship Unit.
After defeating him again, he will kneel down in the middle of the arena and start taking all your items away. Do not worry because he will slowly give it back to you while fighting during this phase. He is extremely weak at this point and will only be able to walk towards you. You can wait and kite until you get all your items back because he will gradually return them to you until you get them all back.
Once you defeat him, you will have to escape the area and a new waypoint will be seen. You will have to go back and traverse through all the floating debris again and this time, there will be a 4-minute timer for you to reach the ship to escape.
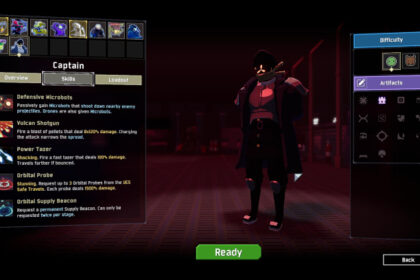
After escaping, you will unlock the achievement and you will be able to see the end scene along with the credits. You will be able to unlock the Captain after this and you will not be able to continue this playthrough.
Final Stage Tips and Tricks
With the build suggested before that is usable by all survivors, you can cheese your way through the entire boss battle and obliterate him in mere seconds in each phase. Once you reach the 4th phase where he takes all your items, you will still have a charge available for your equipment because he will not be taking your equipment during that phase. You will still be able to shoot him and kill him manually with your survivor’s abilities.
Invest in defensive items so that it will take multiple mistakes to take you down. You might waste time trying to unlock this achievement by dying early because you were too focused on getting your damage output up.
It is best to pick a survivor with mobility because the toughest challenge might be making your way back to the ship. Picking up a Volcanic Egg or a Milky Chrysalis will do the trick for survivors without abilities that can jump up debris.
Conclusion
By looking through the process of getting the achievement, you should try to ‘speedrun’ your way to stage 5 and just add a few Tougher Times to your items. The faster you finish and reach the final stage, the lower the HP and damage Mithrix does in the battle. Risk of Rain 2’s difficulty increases exponentially as the game goes longer so it would be best to beat the game as soon as possible.

