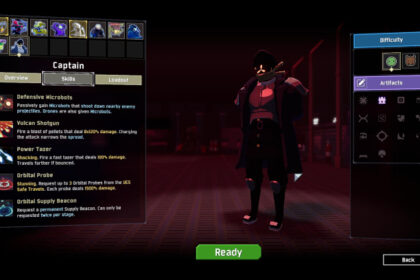
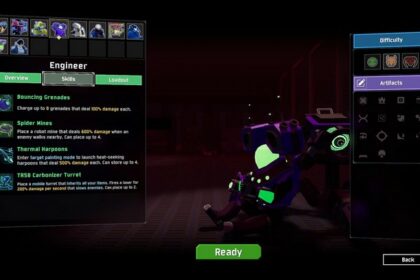
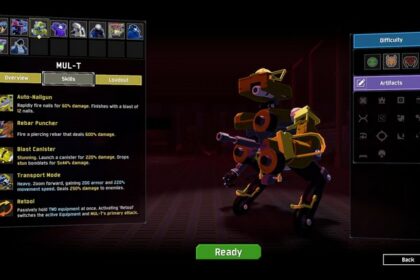
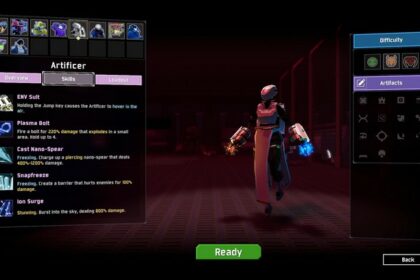
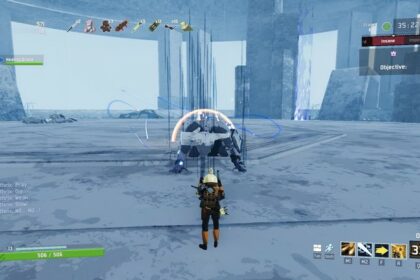
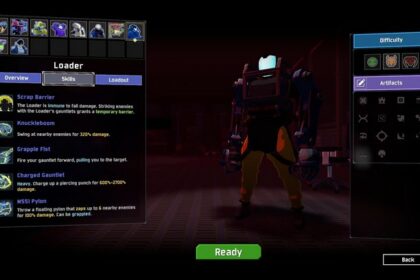
Commando is the first survivor and the main protagonist in Risk of Rain 2. He will be the first character you will be able to play and is extremely versatile when it comes to combat. The Commando’s skill set is basic compared to others and it can be a handful trying to unlock other survivors and even the Commando’s other skills.
This article will talk about the best builds you can use for Commando and how to unlock all skills from his loadout.
The Commando Best Builds to Use

The Commando survivor is reliant on on-hit builds because of how well he scales with a higher attack speed to help you beat the game.
His Double Tap skill has the highest on-hit proc efficiency in any primary skills in the game. It is similar to The Captain’s Vulcan Shotgun but is more of a consistent type of damage instead of a quick burst.
Shatterspleen, Soldier’s Syringe and Tri-Tip Dagger
This is a common new build that showcases the power of Shatterspleen with its ability to provide additional bleed effects and add an area of effect damage with a high multiplier. With how well the Commando can stack debuffs with the Double Tap, this build has one of the largest scaling damage output for any build in the game.
This also opens up options for other on-hit items that can cause debuffs like the Shattering Justice. By stacking enough debuffs and help from other party members, Death Marks can be effective. Old Guillotines are also necessary to shave off a huge portion of enemy elite monsters. They will be the hardest to deal with and you can never go wrong with having too many Old Guillotines.
Lens-Maker’s Glasses, Predatory Instincts and Harvester’s Scythe
This build is another common combination where these three items give you a combination of consistent damage and life sustain. The Lens-Maker’s Glasses should be capped at 10 pieces for a 100% critical rate.
With a 100% critical rate, you will effectively proc Predatory Instincts on every hit which gives you a significant boost to your attack speed that also stacks with Soldier’s Syringe. The Harvester’s Scythe provides sustain through critical strike health leech.
To make it even better, you should try finding an Aegis to significantly increase your max HP with shields. The health leech acts as a heal and therefore, can provide you extra shields even at max health.
It is better to combine this build with the previous build mentioned. Replace the Soldier’s Syringe with these 3 items and the build will look better. It will be harder to complete with the number of items needed. It should act as the final endgame build for the Commando and you should add items like Soldier’s Syringe and more legendary damage items like Brilliant Behemoths, Ceremonial Daggers, Shattering Justice, and Unstable Tesla Coil.
You will need to open Newt Altars with Lunar Coins during the run to make sure you get enough legendary items because they will be extremely scarce. If you have enough common items to carry you through the stages, it would be better to trade all your uncommon items for legendary items.
You can easily farm these lost uncommon items again and have a significant power spike with all the legendary items you got. Just make sure you have at least 1 Old Guillotine which is necessary when dealing with elites in higher stages. You can also add a Molten Preforator as additional damage when a boss item drops.
How to Unlock Tactical Slide
Unlocking the Tactical Slide skill will require the completion of the “Commando: Godspeed” achievement. It is completed by charging the first stage teleporter to 100% in under 5 minutes of play. This should be easy and repeatable so you should not worry about it.
During the start of the game, keep an eye out for the teleporter at all times when farming monsters. You should aim for at least one or two items before opening the teleporter. There will be red flakes or orbs floating around the vicinity where the teleporter is located and that is a good indication of assessing which part of the stage is the teleporter located.
Try to farm around this area when found and start looking for chests to open. Refrain from farming too much gold to open chests because the teleporter boss will get harder at each tick of the stage difficulty which is found on the upper right side of the screen.
How to Unlock Phase Blast
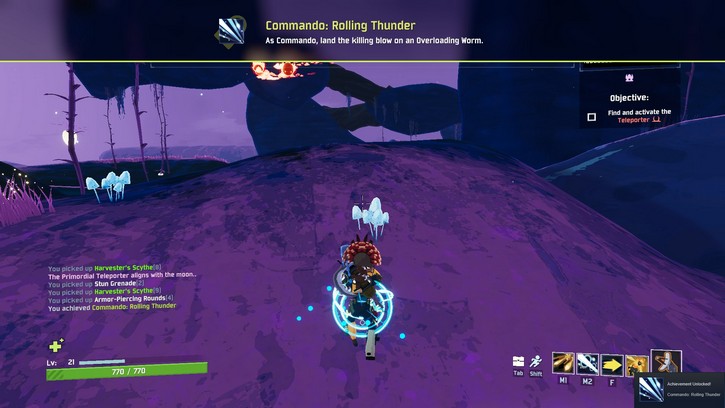
Unlocking the Phase Blast skill will require the completion of the “Commando: Rolling Thunder” achievement. To complete the achievement, you will need to land a killing blow on an Overloading Worm. This is achievement is easy and can be completed along with his other skill unlock.
For the Overloading Worm to appear, you will have to go past stage 5 and finish one complete cycle of the map rotation. The indication of this rotation is by reaching stage 5 where it is always the Sky Meadows map. The Overloading Worm will spawn randomly after this stage as a rare and upgraded mob from the Magma Worm version.
The difference from the Magma Worm will be obvious since the Overloading Worm is not made out of magma. It can spawn in maps such as the Abyssal Depths and the Sky Meadows. Every 5th stage will be the Sky Meadows so you will always have a chance at finding an Overloading Worm.
The Overloading Worm can spawn as a teleporter boss or just a normal mob but you will still get credit for the achievement either way. The teleporter boss will be harder to deal with but as long as you are following the build, you can stack an insane amount of bleed before it hides through surfaces. Keep doing this every time the Overloading Worm comes out and focus on dodging every time it goes into a surface.
How to Unlock Frag Grenade
To unlock the Frag Grenade skill, you must first finish the “Commando: Incorruptible” achievement. The achievement is completed by clearing 20 stages in a single run without picking up any Lunar items. The Lunar items are anything gotten from the Lunar Pod or the blue items purchased in the Bazaar Between Time after entering the portal through a Newt Altar.
Clearing 20 stages is no easy task because it would probably take you around 1 hour and 30 minutes to reach that stage. You can definitely finish faster but is better to be safe because this will be a marathon and not a sprint. Make sure to do this on Drizzle difficulty and maybe activate the Artifact of Command to choose your own items but it is optional.
Invest in sustainability every now and then. The monsters will grow stronger exponentially and once you reach stage 11 and above, there are enemies that can one-shot you even with an insane amount of HP and damage negating items. This means that you should also be investing on some mobility items so you can dodge more easily.
The playstyle during the late stages will always be to kite as much as possible. Commando can deal the same amount of damage in any range as long as you can hit the target. This also makes the bleed build effective as you can still stack bleed on multiple enemies while alternating between running and fighting.
When you reach stages 14 and above, you should always rush for the teleporter at this point. You will gain enough gold while killing all the enemies during the progress of the teleporter and just loot after. It is safer and you can focus more on killing instead of looking for chests.
Try to use the artifact portal every Sky Meadow stage to advance and skip the stage. If you enter through the artifact portal, it will be easier than looking for the teleporter and killing all the mobs. This is easier because the Bulwark’s Assembly is finished quickly depending on the artifact activated.
The Commando Tips and Tricks
Double Tap needs both attack speed and on-hit effect items so there must be a balance between them. If you invest too much in attack speed, you will lack the damage output to kill enemies faster. If you invest too much in on-hit items, you will not be able to stack them efficiently with a slow attack speed.
Keep a balance between Soldier’s Syringe and Tri-Tip Daggers or mix in some Lens-Maker’s Glasses and Predatory Instincts with them to have more variety. Use Tactical Dives before landing to avoid fall damage and you can add Hardlight Afterburners to help with dodging.
Do not just spam Suppressive Fire and use it wisely. You can stop enemies like Jellyfishes from exploding near you. Stone Giants can be stunned when they start to charge up their attack on you with a laser. Imps can be stunned before they blink so you can kill them easily.
The single Wax Quail can still be effective for mobility but it is recommended to just stack Paul’s Goat Hoof and Energy Drinks for speed because you will most likely shoot while moving. Having great mobility will also make stages faster by finding the teleporters faster.
Conclusion
The Commando is the first survivor and has the most basic build to master. His achievements take a great amount of time but it is usually where you try to get a feel for the game because this will be your one and only character at the start. To unlock all the skills, you should always do it on Drizzle difficulty if your main goal is to just unlock the skills. Overall, Commando is fun to play around with because of the unlimited potential you can mix with his Double Tap skill.

