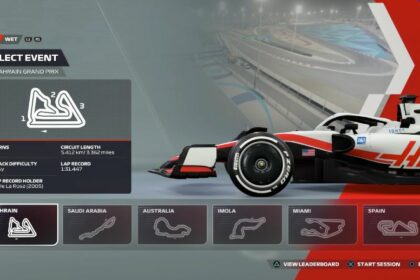
A mainstay of the F1 calendar since 1996, Albert Park returns in the F1 2022 calendar as restrictions have been easing throughout the world.
Once the starting point of many F1 seasons, the Australian Grand Prix is back sporting a few modifications to make racing much more exciting!
In this guide, we will be looking at the best Australia setups for F1 22. This will help you to maximize your qualifying and race results as you fly around the Australian track.
The Albert Park Circuit
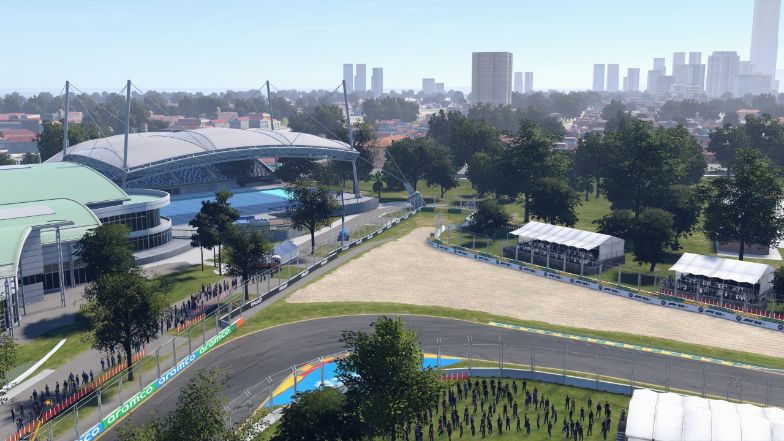
Although it might not look like it, the Albert Park Circuit is actually a street circuit, this is possibly due to the fact that the track is not entirely surrounded by walls and features grass and gravel run-off areas.
The track features just 14 corners making for a rather fast track to get around, but the corners take some getting used to, especially because of how the kerbs are placed. This is more apparent with the 2022 cars as kerbs unsettle them more than the previous regulations.
Otherwise, it is a pretty good beginner track with forgiving track limits if ever you do commit a mistake. The track itself is also pretty flat. With it being a street circuit, elevation changes are very limited which makes for a rather straightforward runaround.
The track also features 3 DRS zones, 2 of which are pretty short so the gains that you would get from them are pretty limited.
The track has seen some changes to its layout for this year though, the most notable of which is the removal of the chicane which would have led to the long lakeside left corner.
This change would allow for more overtaking opportunities as cars will have more time slipstreaming the car ahead and onto the rather fast and wide chicane.
Setups
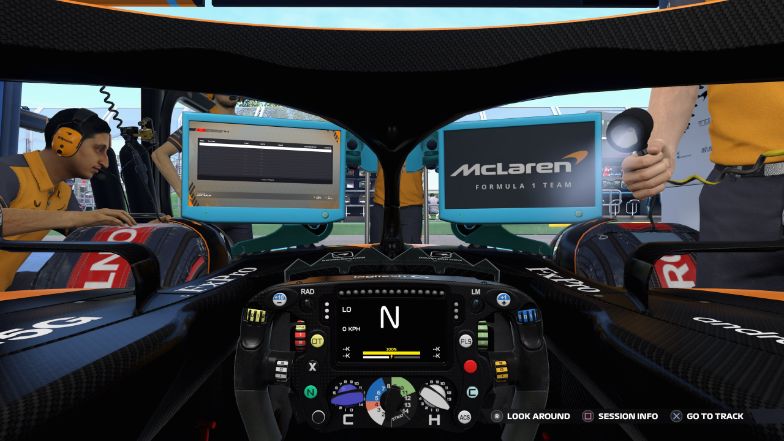
Below will be a list of setups that would act as great baseline setups. If you feel that the below setups are not working for you, feel free to adjust them to suit your driving style better.
You can read more about which component does what in our general setup guide to get a better understanding of which settings you need to tweak in order to further fine-tune the setup.
Dry Setup
- Aerodynamics
– Front Wing: 15
– Rear Wing: 18 - Transmission
– Differential Adjustment On Throttle: 60%
– Differential Adjustment Off Throttle: 50% - Suspension Geometry
– Front Camber: -2.50°
– Rear Camber: -2.00°
– Front Toe: 0.05°
– Rear Toe: 0.20° - Suspension
– Front Suspension: 4
– Rear Suspension: 2
– Front Anti-Roll Bar: 6
– Rear Anti-Roll Bar: 3
– Front Ride Height: 2
– Rear Ride Height: 4 - Brakes
– Brake Pressure: 100%
– Front Brake Bias: 50% - Tyres
– Front Right Tyre Pressure: 25.0 psi
– Front Left Tyre Pressure: 25.0 psi
– Rear Right Tyre Pressure: 23.0 psi
– Rear Left Tyre Pressure: 23.0 psi
Wet Setup
- Aerodynamics
– Front Wing: 20
– Rear Wing: 25 - Transmission
– Differential Adjustment On Throttle: 50%
– Differential Adjustment Off Throttle: 50% - Suspension Geometry
– Front Camber: -2.50°
– Rear Camber: -1.00°
– Front Toe: 0.05°
– Rear Toe: 0.20° - Suspension
– Front Suspension: 3
– Rear Suspension: 1
– Front Anti-Roll Bar: 4
– Rear Anti-Roll Bar: 2
– Front Ride Height: 3
– Rear Ride Height: 5 - Brakes
– Brake Pressure: 100%
– Front Brake Bias: 50% - Tyres
– Front Right Tyre Pressure: 23.0 psi
– Front Left Tyre Pressure: 23.0 psi
– Rear Right Tyre Pressure: 21.0 psi
– Rear Left Tyre Pressure: 21.0 psi

