In this guide, we will be looking at the best Bahrain setups for F1 22 in order for us to get the most out of our car and have us fighting for points in our My Career mode, maximizing our time in Time Trial mode or dominating the field in online races.
The Bahrain International Circuit
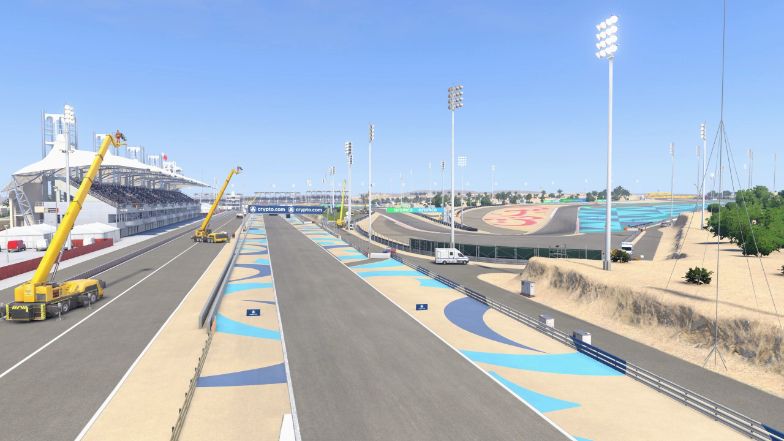
The Bahrain Internal Circuit is host to the Bahrain Grand Prix, the first Grand Prix to take place in the Middle East. Practice sessions here usually take place during the day and dawn while qualifying and the race takes place at night making for some interesting variables when cars speed through the track.
The track consists of a lot of pretty tight corners that lead to crests that can lead to instability of cars going on the power. It also has quite a lot of straights. In fact, there are 3 DRS zones on this track making top speed a bit of a priority.
In addition to this, there are also quite a number of rather quick switchbacks and sweeping corners, all going through elevation changes which unsettle the car quite effectively.
With 15 total corners, this makes the Bahrain International Circuit a rather tricky track to get right, especially since you will be wanting to ride the kerbs in some of the corners to get the apex of them.
Setups
Below will be a list of setups that would act as great baseline setups. If you feel that the below setups are not working for you, feel free to adjust them to suit your driving style better.
You can read more about which component does what in our general setup guide to get a better understanding of which settings you need to tweak in order to further fine-tune the setup.
Dry Setup
- Aerodynamics
– Front Wing: 20
– Rear Wing: 27 - Transmission
– Differential Adjustment On Throttle: 90%
– Differential Adjustment Off Throttle: 53% - Suspension Geometry
– Front Camber: -2.50°
– Rear Camber: -2.00°
– Front Toe: 0.05°
– Rear Toe: 0.20° - Suspension
– Front Suspension: 10
– Rear Suspension: 3
– Front Anti-Roll Bar: 10
– Rear Anti-Roll Bar: 3
– Front Ride Height: 3
– Rear Ride Height: 4 - Brakes
– Brake Pressure: 100%
– Front Brake Bias: 50% - Tyres
– Front Right Tyre Pressure: 23.7 psi
– Front Left Tyre Pressure: 23.7 psi
– Rear Right Tyre Pressure: 23.0 psi
– Rear Left Tyre Pressure: 23.0 psi
Wet Setup
- Aerodynamics
– Front Wing: 25
– Rear Wing: 32 - Transmission
– Differential Adjustment On Throttle: 50%
– Differential Adjustment Off Throttle: 53% - Suspension Geometry
– Front Camber: -2.50°
– Rear Camber: -1.00°
– Front Toe: 0.05°
– Rear Toe: 0.20° - Suspension
– Front Suspension: 8
– Rear Suspension: 1
– Front Anti-Roll Bar: 8
– Rear Anti-Roll Bar: 1
– Front Ride Height: 4
– Rear Ride Height: 5 - Brakes
– Brake Pressure: 100%
– Front Brake Bias: 50% - Tyres
– Front Right Tyre Pressure: 22.5 psi
– Front Left Tyre Pressure: 22.5 psi
– Rear Right Tyre Pressure: 21.0 psi
– Rear Left Tyre Pressure: 21.0 psi

