A new game, a new season, and new regulations. With the 2022 F1 season underway, F1 22 is there to accompany it, and with new regulations abound, setups are vastly different from F1 2021.
The second track on the calendar is one of the newer tracks, introduced only last year: let us race towards the Red Sea in the Saudi Arabian Grand Prix!
In this guide, we will be looking at the best Jeddah setups for F1 22 in order for us to get the most out of our car and have us fighting for points in our My Career mode, maximizing our time in Time Trial mode, or dominating other players in online races.
The Jeddah Corniche Circuit
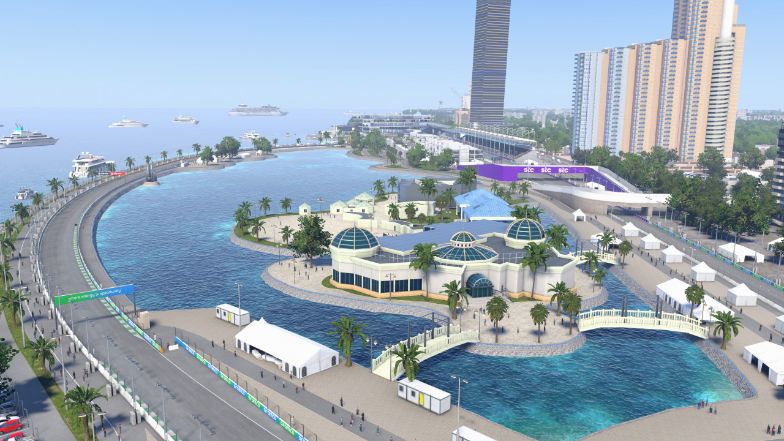
The Jeddah Corniche Circuit is host to the Saudi Arabian Grand Prix and is touted as the fastest street circuit in F1 history with cars reaching average speeds of 250 km/h in one lap. It is the second-longest track in the 2022 F1 calendar, behind only the Spa-Francorchamps circuit.
It is also an incredibly unforgiving circuit filled with narrow walls and deceptive curves that make for a claustrophobic drive. Track elevation is very much minimal though, with this being a street circuit, it is rather flat in terms of its profile which suits these 2022 cars very well.
The track has a total of 27 turns, most of which are fast, sudden, and taken at full-throttle making for a very flowing circuit that requires utmost precision when making your way through it quickly. It also requires a very planted car in order to take those turns at speed effective.
In fact, there really are only 3 heavy-braking zones in the track which are the 2 hairpin corners and the chicane right after the start / finish straight. There are also 3 rather long DRS zones on the track, making it a haven for top speed setups.
In addition to this, the track has also seen quite a bit of reprofiling from its introduction last year with barriers being pushed back and some corners having smoother barriers placed. This allows for better visibility of the track ahead as well as a better time attacking the corners due to the smoother barriers being more forgiving when tapped.
Setups
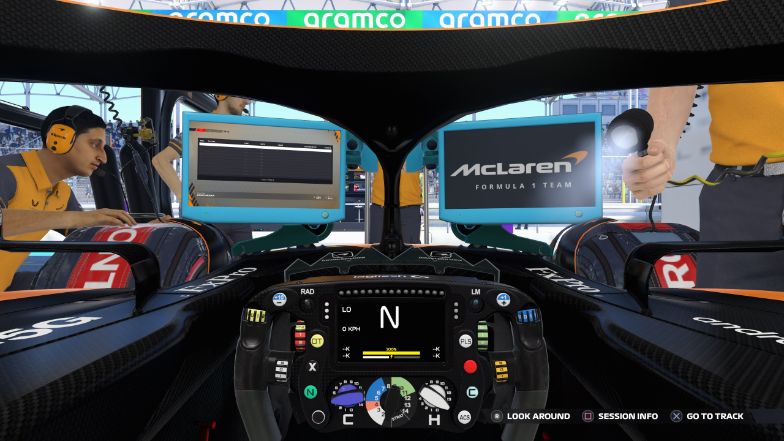
Below will be a list of setups that would act as great baseline setups. If you feel that the below setups are not working for you, feel free to adjust them to suit your driving style better.
You can read more about which component does what in our general setup guide to get a better understanding of which settings you need to tweak in order to further fine-tune the setup.
Dry Setup
- Aerodynamics
– Front Wing: 20
– Rear Wing: 24 - Transmission
– Differential Adjustment On Throttle: 50%
– Differential Adjustment Off Throttle: 52% - Suspension Geometry
– Front Camber: -2.60°
– Rear Camber: -2.00°
– Front Toe: 0.05°
– Rear Toe: 0.20° - Suspension
– Front Suspension: 4
– Rear Suspension: 1
– Front Anti-Roll Bar: 3
– Rear Anti-Roll Bar: 1
– Front Ride Height: 2
– Rear Ride Height: 3 - Brakes
– Brake Pressure: 100%
– Front Brake Bias: 50% - Tyres
– Front Right Tyre Pressure: 25.0 psi
– Front Left Tyre Pressure: 25.0 psi
– Rear Right Tyre Pressure: 23.0 psi
– Rear Left Tyre Pressure: 23.0 psi
Wet Setup
- Aerodynamics
– Front Wing: 25
– Rear Wing: 30 - Transmission
– Differential Adjustment On Throttle: 50%
– Differential Adjustment Off Throttle: 53% - Suspension Geometry
– Front Camber: -2.50°
– Rear Camber: -1.00°
– Front Toe: 0.05°
– Rear Toe: 0.20° - Suspension
– Front Suspension: 3
– Rear Suspension: 1
– Front Anti-Roll Bar: 2
– Rear Anti-Roll Bar: 1
– Front Ride Height: 3
– Rear Ride Height: 4 - Brakes
– Brake Pressure: 100%
– Front Brake Bias: 50% - Tyres
– Front Right Tyre Pressure: 23.0 psi
– Front Left Tyre Pressure: 23.0 psi
– Rear Right Tyre Pressure: 21.0 psi
– Rear Left Tyre Pressure: 21.0 psi

