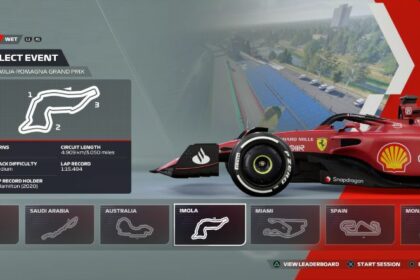
The only track to debut in the F1 2022 calendar, the Miami International Autodrome is the second Grand Prix to be held in the United States in this season’s calendar.
Snaking its way around the Hard Rock Stadium and featuring a rather curious dock in the middle of the track, Miami brings in more excitement and glamor to the F1 calendar.
In this guide, we will be looking at the best Miami setups for F1 22 to help you to maximize your qualifying and race results as you race around the newest street circuit to be constructed in the sights and sounds of Miami, Florida.
The Miami International Autodrome
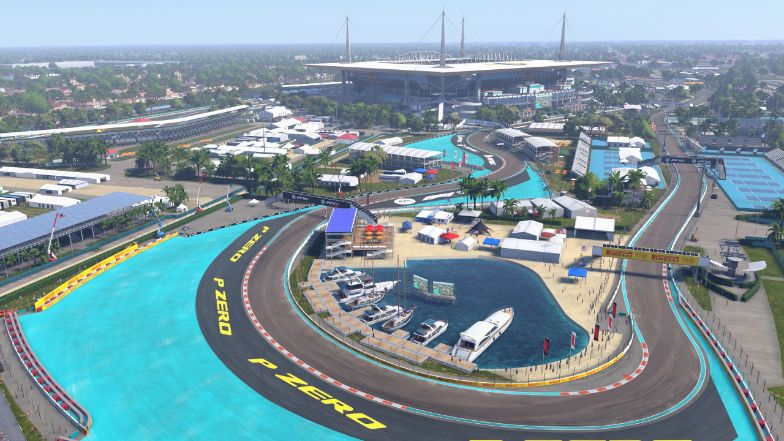
The Miami International Autodrome is the newest track to make its way to the F1 calendar. A street circuit through and through, the track is pretty claustrophobic at times but the track sectors flow pretty well into each other and are relatively fast sections.
The end of sector 2 on the other hand will test your reactions and bravery. Dubbed the “Mickey Mouse” section, it features a string of corners that are blind and has elevation changes making it quite the technical section of the track.
It is also quite disruptive to the track flow itself, which is why it is called a “Mickey Mouse” section, which usually pertains to a section of a track that is gimmicky but is not really good for racing nor for driving.
The circuit itself has 19 corners in total, and it being a street circuit, makes it a rather featureless track, meaning the track is quite flat in terms of elevation changes. The kerbs on the other hand can prove a bit challenging to tackle as they are a bit tall making for a gamble whether you would want to mount them or not. With a soft suspension setup, the effects of the kerbs can be mitigated though.
There are, however, 3 different DRS zones with one being situated in a part of the track that is not really straight in sector 2 making for some exciting battles as you make your way to the Mickey Mouse section.
Setups
Below will be a list of setups that would act as great baseline setups. If you feel that the below setups are not working for you, feel free to adjust them to suit your driving style better.
You can read more about which component does what in our general setup guide to get a better understanding of which settings you need to tweak in order to further fine-tune the setup.
Dry Setup
- Aerodynamics
– Front Wing: 12
– Rear Wing: 12 - Transmission
– Differential Adjustment On Throttle: 55%
– Differential Adjustment Off Throttle: 50% - Suspension Geometry
– Front Camber: -2.50°
– Rear Camber: -1.00°
– Front Toe: 0.05°
– Rear Toe: 0.20° - Suspension
– Front Suspension: 1
– Rear Suspension: 6
– Front Anti-Roll Bar: 1
– Rear Anti-Roll Bar: 6
– Front Ride Height: 2
– Rear Ride Height: 7 - Brakes
– Brake Pressure: 100%
– Front Brake Bias: 50% - Tyres
– Front Right Tyre Pressure: 25.0 psi
– Front Left Tyre Pressure: 25.0 psi
– Rear Right Tyre Pressure: 23.0 psi
– Rear Left Tyre Pressure: 23.0 psi
Wet Setup
- Aerodynamics
– Front Wing: 20
– Rear Wing: 20 - Transmission
– Differential Adjustment On Throttle: 50%
– Differential Adjustment Off Throttle: 50% - Suspension Geometry
– Front Camber: -2.50°
– Rear Camber: -1.00°
– Front Toe: 0.05°
– Rear Toe: 0.20° - Suspension
– Front Suspension: 1
– Rear Suspension: 4
– Front Anti-Roll Bar: 1
– Rear Anti-Roll Bar: 4
– Front Ride Height: 4
– Rear Ride Height: 7 - Brakes
– Brake Pressure: 100%
– Front Brake Bias: 50% - Tyres
– Front Right Tyre Pressure: 23.0 psi
– Front Left Tyre Pressure: 23.0 psi
– Rear Right Tyre Pressure: 21.0 psi
– Rear Left Tyre Pressure: 21.0 psi

