One of the oldest tracks in the calendar, Imola has found its way back into the modern F1 light due to cancellations of other tracks and venues because of the pandemic.
Not to be seen since 2006, Imola, which once hosted the San Marino Grand Prix, now hosts the Emilia Romagna Grand Prix and has since been modified for it to be safer and adhere to modern F1 standards.
In this guide, we will be looking at the best Imola setups for F1 22 to help you to maximize your qualifying and race results as you race around this infamous yet classic track.
The Autodromo Internazionale Enzo e Dino Ferrari (Imola)
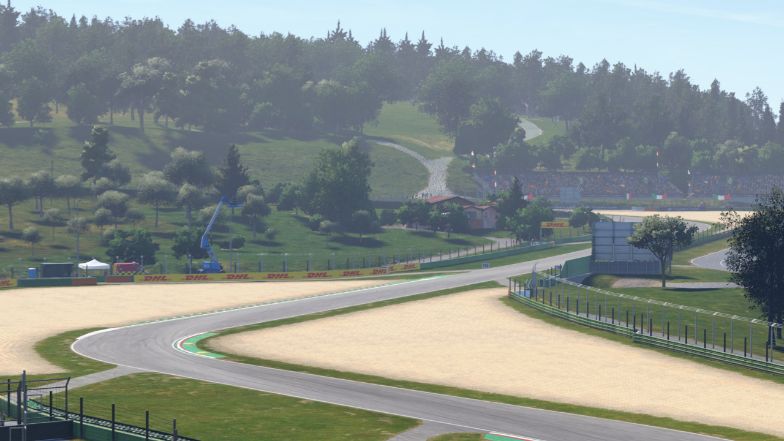
Rarely called by its real namesake (Autodromo Internazionale Enzo e Dino Ferrari), Imola is one of the more well-known tracks as it hosted races from the 1980’s all the way up to 2006 until it was replaced by other tracks due to its deteriorating state.
It is also infamously known as the track where Roland Ratzenberger and the great Ayrton Senna died on the same weekend, making for an ominous venue for a race.
The track consists of 19 corners, with a steady mix of fast sweeping corners as well as tricky chicanes to navigate with quite a lot of elevation changes. As this is a classic track, most of the run-off areas are filled with grass and gravel making mistakes quite costly if you miss your braking points.
The chicanes and kerbs have been updated though as they now consist of sausage kerbs as well as speed bumps on the kerbs themselves to help mitigate cutting these corners. This is especially true with the 2022 cars as any disruption of the ground effect aerodynamics will lead to catastrophic behaviour of the cars.
In addition to this, most of the heavy braking zones are either downhill or uphill making for some challenging braking as the elevation changes will definitely lend themselves to some instability for the cars when coming on and off the throttle.
The track also only has 1 DRS zone which is found in the start / finish straight but despite this, the track itself is actually pretty fast and flowing. Combine this with the narrowness of the track, it makes overtaking rather challenging.
Setups
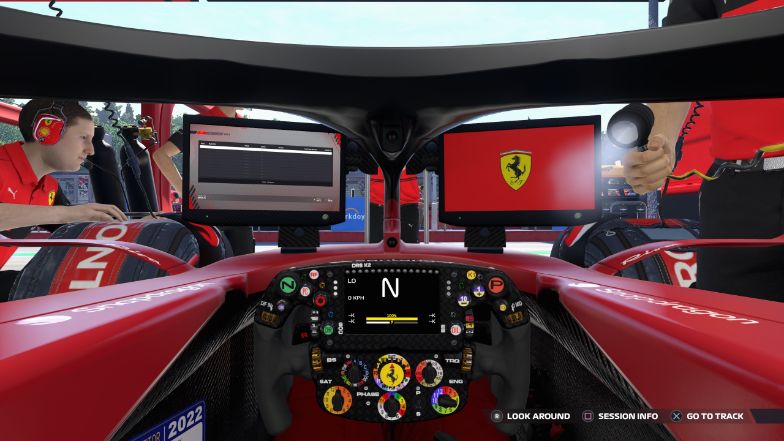
Below will be a list of setups that would act as great baseline setups. If you feel that the below setups are not working for you, feel free to adjust them to suit your driving style better.
You can read more about which component does what in our general setup guide to get a better understanding of which settings you need to tweak in order to further fine-tune the setup.
Dry Setup
- Aerodynamics
– Front Wing: 26
– Rear Wing: 25 - Transmission
– Differential Adjustment On Throttle: 60%
– Differential Adjustment Off Throttle: 55% - Suspension Geometry
– Front Camber: -2.50°
– Rear Camber: -1.00°
– Front Toe: 0.05°
– Rear Toe: 0.20° - Suspension
– Front Suspension: 8
– Rear Suspension: 1
– Front Anti-Roll Bar: 8
– Rear Anti-Roll Bar: 1
– Front Ride Height: 3
– Rear Ride Height: 5 - Brakes
– Brake Pressure: 100%
– Front Brake Bias: 50% - Tyres
– Front Right Tyre Pressure: 25.0 psi
– Front Left Tyre Pressure: 25.0 psi
– Rear Right Tyre Pressure: 23.0 psi
– Rear Left Tyre Pressure: 23.0 psi
Wet Setup
- Aerodynamics
– Front Wing: 32
– Rear Wing: 32 - Transmission
– Differential Adjustment On Throttle: 50%
– Differential Adjustment Off Throttle: 50% - Suspension Geometry
– Front Camber: -2.50°
– Rear Camber: -1.00°
– Front Toe: 0.05°
– Rear Toe: 0.20° - Suspension
– Front Suspension: 6
– Rear Suspension: 1
– Front Anti-Roll Bar: 6
– Rear Anti-Roll Bar: 1
– Front Ride Height: 4
– Rear Ride Height: 5 - Brakes
– Brake Pressure: 100%
– Front Brake Bias: 50% - Tyres
– Front Right Tyre Pressure: 23.0 psi
– Front Left Tyre Pressure: 23.0 psi
– Rear Right Tyre Pressure: 21.0 psi
– Rear Left Tyre Pressure: 21.0 psi

