Atreus has shown a great connection to animals since the beginning of the game. This connection leads him to feel the pain of a creature in Alfheim.
Unfortunately, Alfheim is taken by a massive sandstorm, making it very difficult for him and Kratos to see and explore the region.
However, there is a way to get rid of the sandstorm and help the creature that Atreus mentioned.
Here’s how to end the sandstorm in Alfheim in God of War Ragnarok and, consequentially, help the wounded creature in Alfheim.
How to Finish the Secret of The Sands Favor
This Favor — or side quest — starts as soon as you decide to stick around in Alfheim once you have already escaped the Temple of Light.
Kratos will follow Atreus and even encourage him to search for the creature and talk about it. You will have to find two abandoned feline-looking animals in the Barren that you will use to travel around.
Once you have command of the two beasts, head toward the sandstorm. Make sure to start from the center and check around slowly.
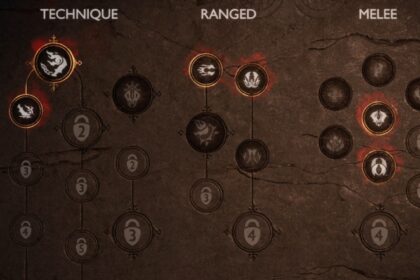
This side quest might be a bit challenging, so check the best early skills in God of War Ragnarok if you want to make sure this Favor won’t be unnecessarily hard.
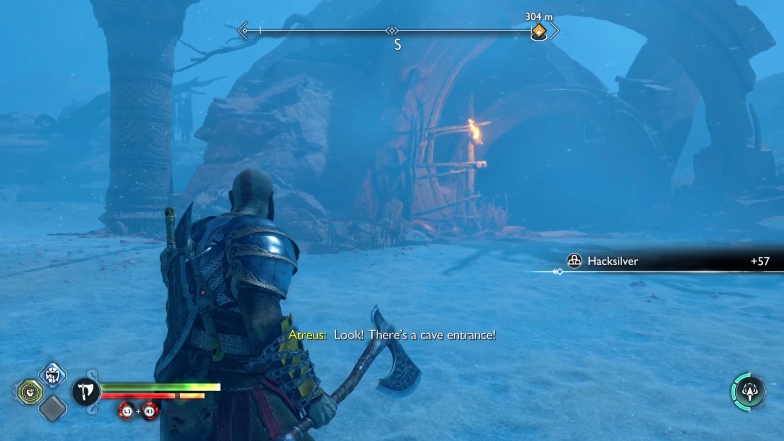
Get close to the center of the sandstorm and then look for shelter. You should eventually find the cave entrance after a while.
Another idea is to check our map for it if you are in a hurry.
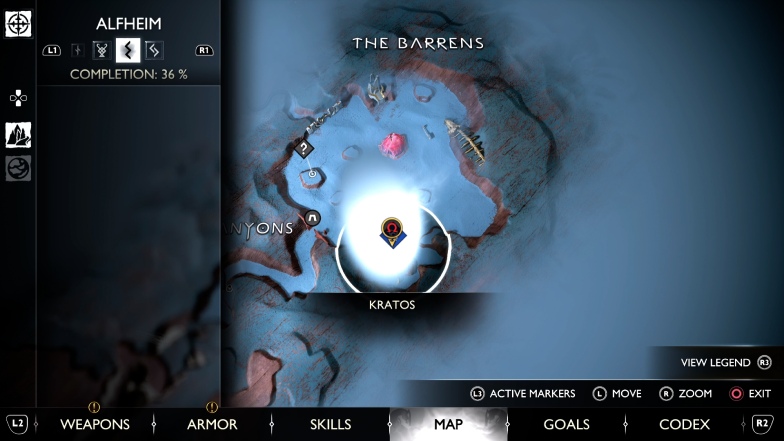
Once you locate the entrance, find a way to climb down. It’s a corridor quest for the most part.
Things will be pretty straightforward until you manage to get to The Below, which is the next area of this Favor — or quest.
This quest will put you through many challenges. For instance, you’ll start by fighting many dark elves.
Alfheim might introduce you to a new element, but the Barrens will remind you of an old one.
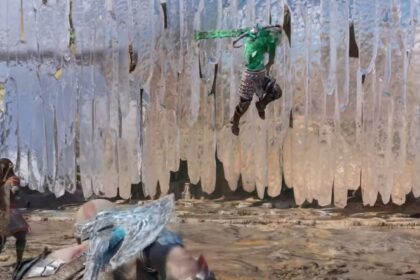
Vine-looking things, hive matter, that you need to cut within a short period of time to prevent them from regenerating.
If your axe manages to cut the cores at glowing parts at the same time, the hive matter will die, and you can walk through it normally.
The game will test you right at the beginning by combining this old puzzle element with the new twilight stone one.
Now keep advancing and going down. Soon enough, you will have reached The Below. Keep advancing, jump down, and fight the Dark Elves.
At some point, you won’t be able to advance due to the hive. Cut the hive matter that stands in your way until you find one that you can’t just throw your axe through.
Hive matter can’t simply be cut in most puzzles of The Below. You need to use the twilight stone to make the axe bound and cut them from behind.
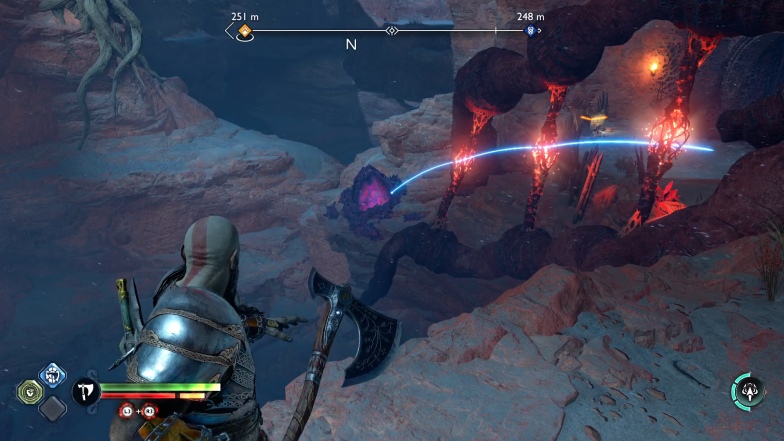
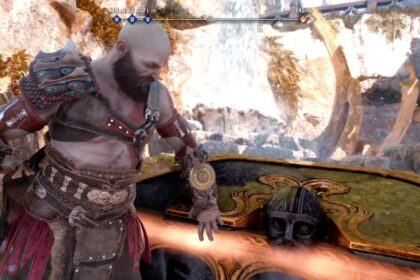
Keep advancing and fighting everything in your way. You will come across a Nornir chest behind a gate, but don’t worry. You can’t reach it yet.
Ignore the chest for now. You’ll have a way to open it later.
At some point, you will reach an area with hive matter to your left. You won’t have a way to cut them until you jump across the next platform, drop down to a lower area, and then throw your axe on the twilight stone.
To get to the other side, look for interactable spots on the hills’ sides.
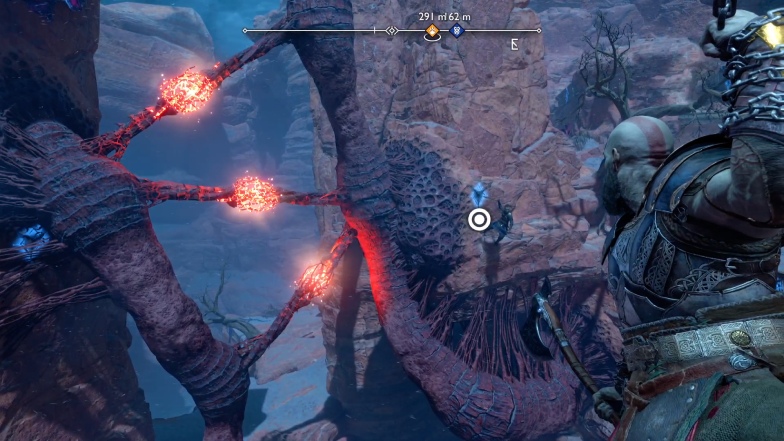
You will have to do it again once the hive matter is destroyed so you can continue advancing. However, this time you will go through the area where the hive matter was before you destroyed it.
Once you get to the other side, you will be close to the Nornir chest you’ve seen before. From this side, you will be able to open the gate that lets you access one of the runes.
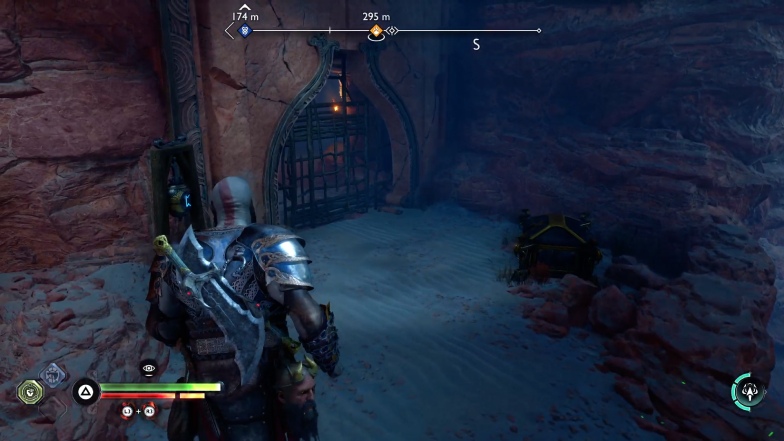
There is also a rune right in front of the Nornir chest. The third one is near where you have to go now, in a higher area.
The third is near where you need to go, but first, use the twilight stone to cut the hive matter.
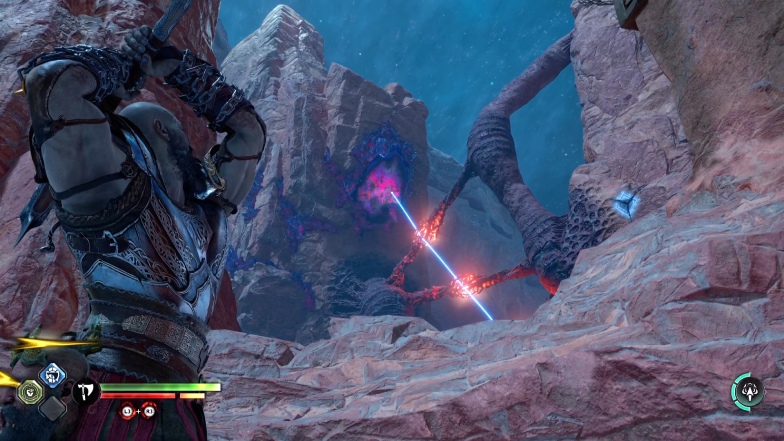
This will allow you to jump through the area where the hive matter was, which makes you able to reach higher ground.
This path both lets you advance in the quest and helps you reach the third rune to open the Nornir Chest.
Keep fighting your way through. You will eventually get to the next puzzle, which involves finding the explosive pots that will destroy the yellow ore that stands in your way.
The first one is right behind the obstacle. Go down and turn left to see it. Then, throw your hammer to explode it.
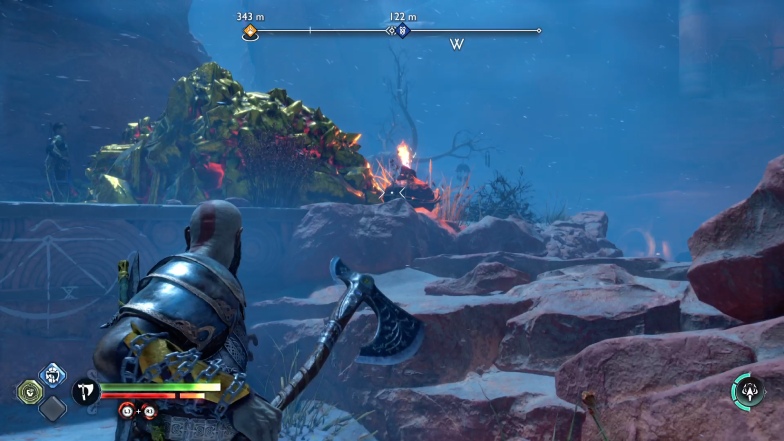
Next, go toward the hive matter and look down. You should see more of the yellowish ore and another red pot. Throw your axe on the pot to cause an explosion there, too.
This should reveal a twilight stone. Now, go back to the first area that you cleared up and find the right angle to make your axe bounce off the twilight stone and cut through the hive matter.
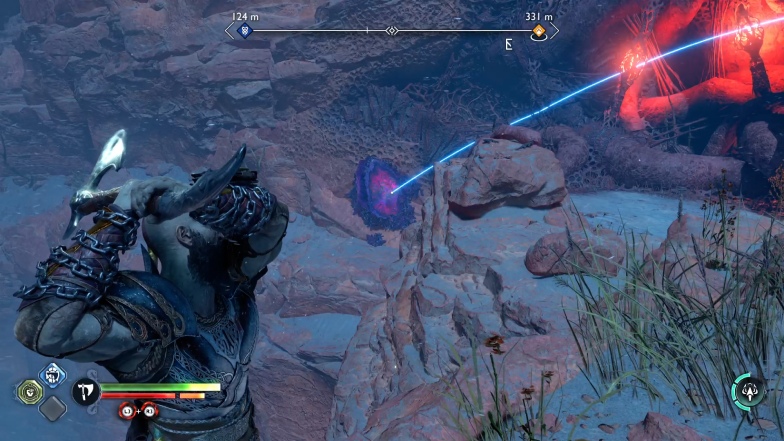
Once you get down, you will be greeted by Dark Elves and exploding wretches. The battle might be the easiest part. The next puzzles will be somewhat complicated to solve.
As before, use the twilight stone to cut through the hive matter.
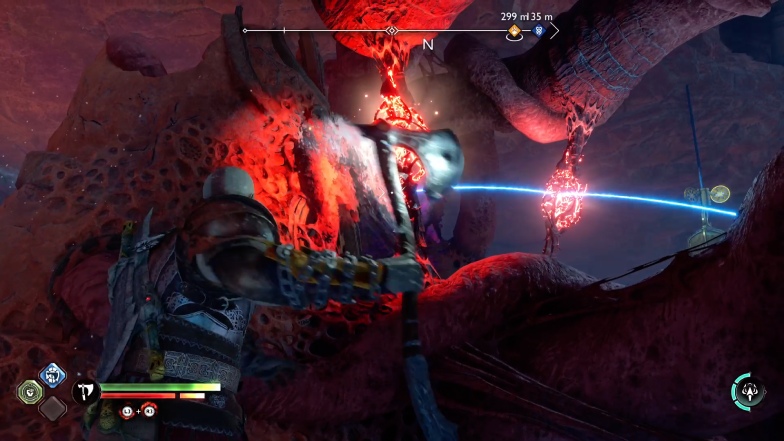
This should reveal a larger area with a pendulum-like structure hanging from the ceiling.
Now, look around for that yellowish ore. You will have to destroy them all so you can get to the next part. Jump over to where the hanging twilight stone is to get an angle and destroy the ore.
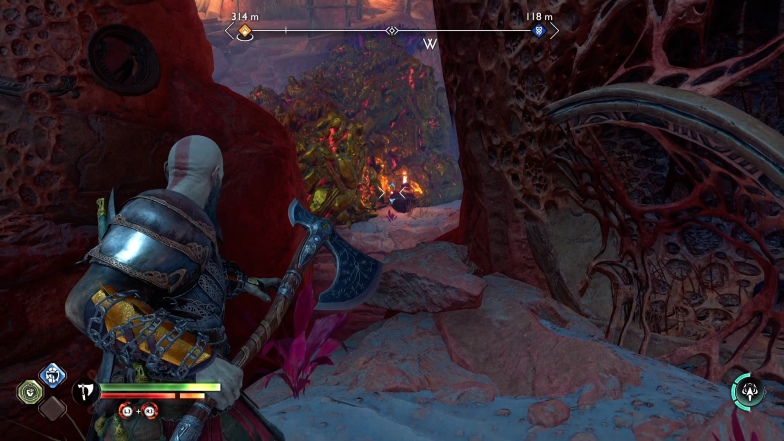
Once you jump to the other side, turn around and check your right. You should be able to see it.
After that’s done, jump back. Turn right, and use the twilight stone to get rid of more hive matter.
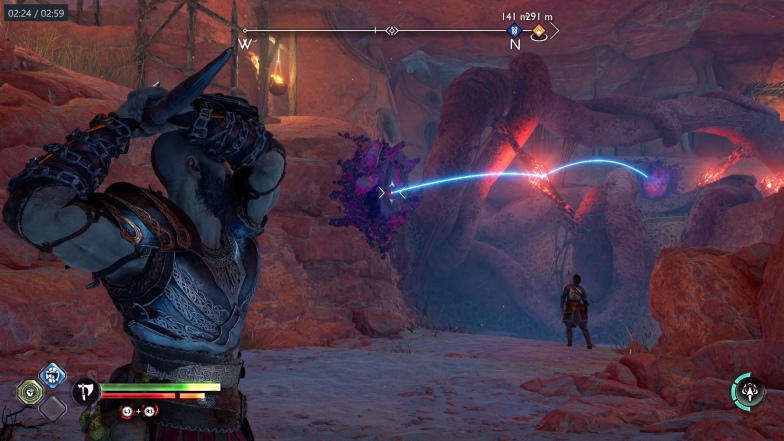
That will grant you access to the area that allows you to finally get the right angle to make your axe bounce from the hanging twilight stone and cut the hive matter that prevents you from reaching the next area.
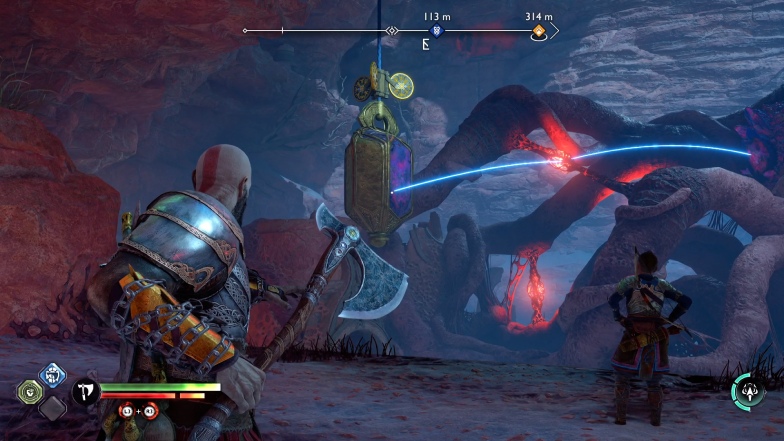
That said, you might have to hit the circles on top of the stone to readjust its position until you can finally make the axe ricochet the way you need it to.
Finally, you will get to the end of the Favor. Atreus, Kratos, and Mimir will find out that the sandstorm is being caused by a Hafgufa that got stuck in The Below.
The Hafgufa is also a beast in pain that Atreus could hear in the desert.
In order to free the creature, you will have to cut more hive matter. Look for the red pot behind the golden ore and throw your axe at it.
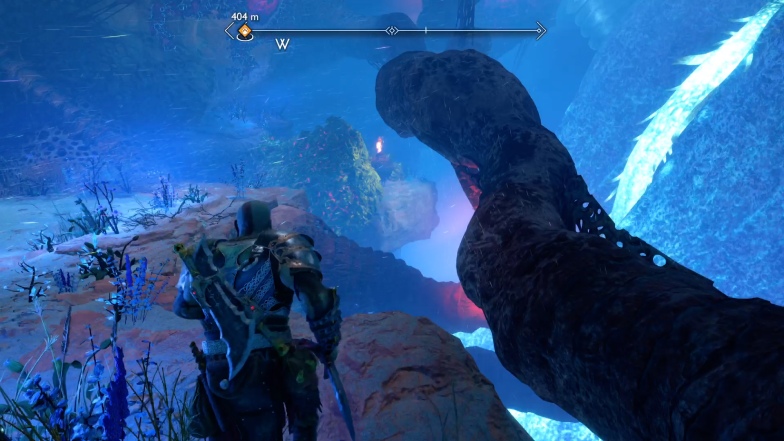
Once that platform is clear, go there and look for the remaining hive matter you must cut on the other side.
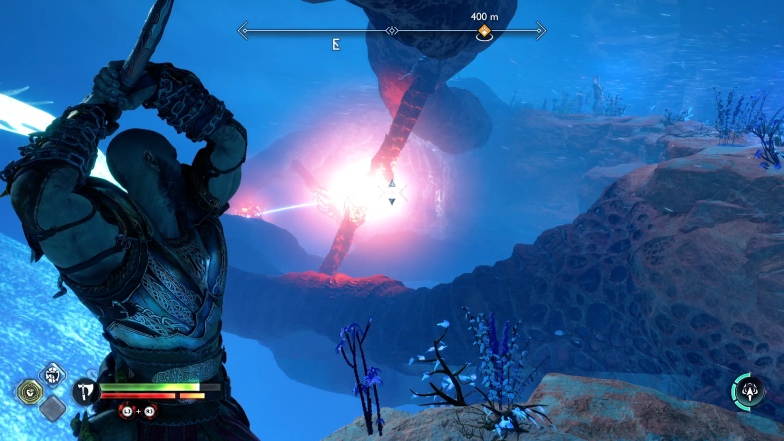
Now, make sure your Leviathan Axe will cut through the first core before hitting the twilight stone, and you should be able to cut them all before they regenerate.
After that, you will need to use another twilight stone to cut the rest of the hive matter that is restraining the gargantuan creature.
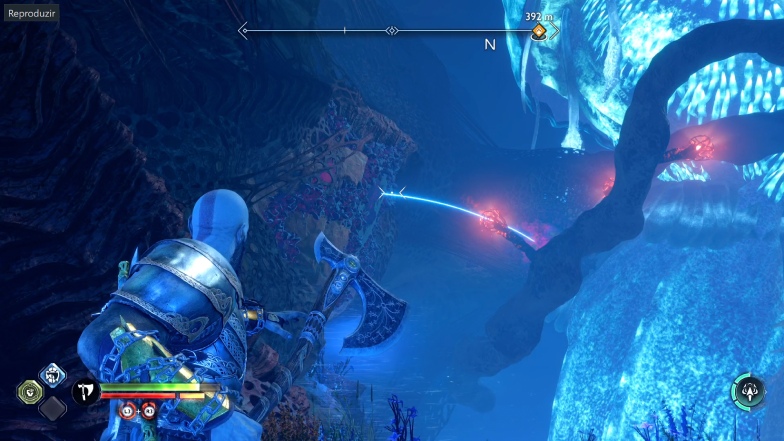
Make sure that your axe hits the first twilight stone before the glowing core of the hive matter first. Then, it should bounce to the other twilight stone.
With that out of the way, you now need to free the creature from the outside area. Get out of the below and follow your compass to find out where to go. Open the gate for the Hafgufa to finish the Favor.
The Aftermath
Kratos and Atreus will learn that all the storm was caused by a single, magical creature. The Hafgufa, a giant, glowing, flying jellyfish, was the responsible for the sandstorm.
Once freed, you will see it roaming on the skies and the will be no more sandstorm. However, the sandstorm in this region is not the only one in Alfheim.
There is another one happening, and you will have to return later, with Freya, in order to put and end to it.
The other sandstorm is also caused by a Hafgufa, and freeing the creature is part of a Favor called Song of Sands.

