Following the tradition of Kratos’ previous games and other games like God of War, Santa Monica kept secrets that keep the player engaged and doing more than just the main quest.
Nornir Chests contain great rewards that make Kratos stronger by getting a longer Health bar, Spartan Rage, or something else.
If you are having trouble, let’s start from the beginning. Here’s how to open all Nornir chests in Svartalfheim in God of War Ragnarok.
Svartalfheim Nornir Chests Locations
Combined with the best early skills, they can make Kratos very powerful before you leave Svartalfheim.
However, finding and opening all Nornir chests is more complex than solving the main quest’s secrets.
Aurvangar Wetlands Nornir Chests
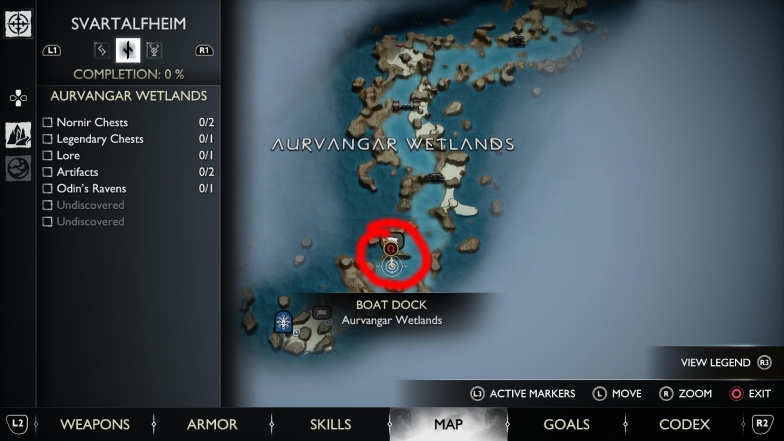
This area has two Nornir chests. Check the circles on the map to know where to go.
The first one is pretty simple to get. It is really hard to miss. Look for a geyser near the chest that doesn’t seem to be in your way.
That geyser will be hiding an interactable ledge that allows you to climb. Once you get to higher ground, you will see a body with an artifact near it and one of the runes exposed.
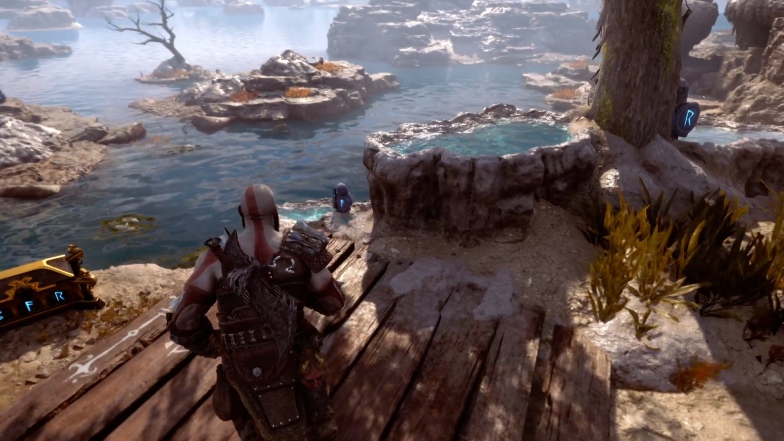
The other two are just a short distance from one another. The first rune is to the right of the chest, and the second one is behind it but a bit further than the second.
Hit them with your Leviathan Axe, and you will be able to open the chest. Inside, you will find an Idunn Apple. With enough of those, your Maximum Health is increased.
The second Nornir chest of the area will be further north. Check the map below to guide yourself. The place is marked by a red circle.
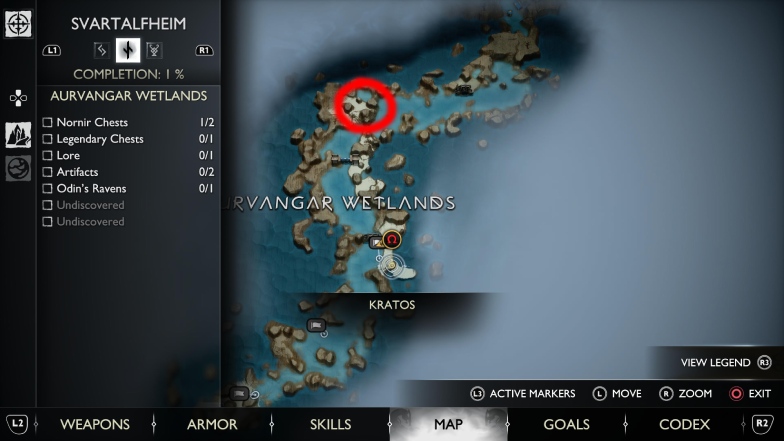
Defeat all enemies in the area before you do anything. The Nornir chest is pretty easy to find and won’t go anywhere, but the many enemies on the land will certainly get in your way.
Once the beach is cleared, look for these structures with glowing runes.
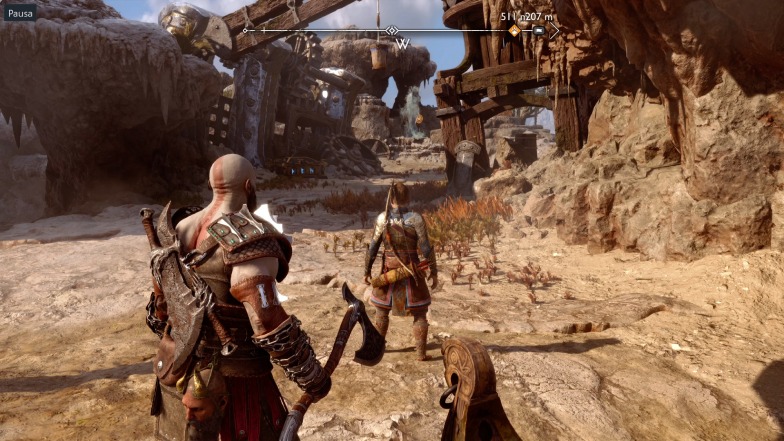
One of them will be behind a geyser, another will be in a lower area where you fight some creatures, and the third will be on the high ground to the left of the Nornir chest.
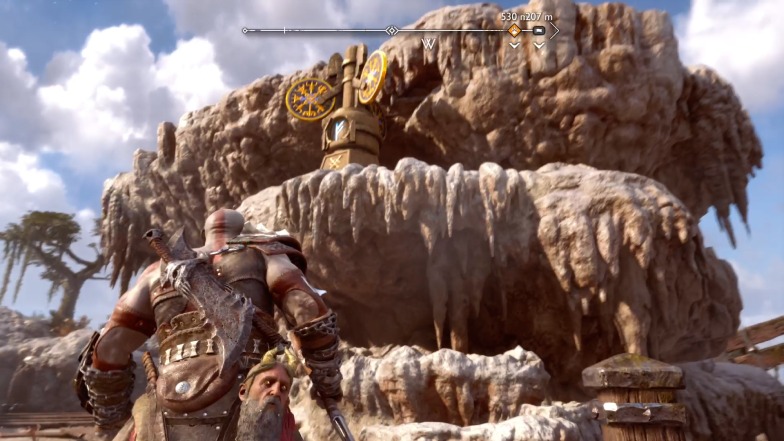
Now, you have to hit those circles with your Leviathan Axe so the center of the structure will spin and reveal a different rune. Once all of these show the same runes you see on the chest, you will be able to open it.
Bay of Bounty Nornir Chests
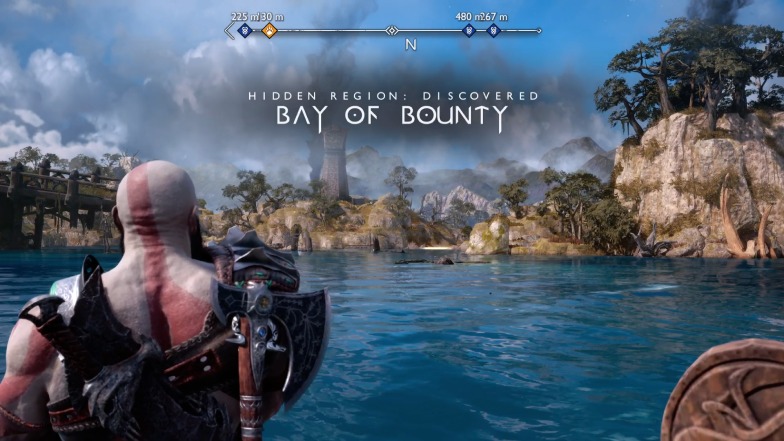
There are three Nornir chests in the Bay of Bounty. One of them you come across when doing a Favour to Mimir and the dwarves — Radvinn’s Rig.
There’s also one to be found at Dragon Beach, which is in the east of this region.
The third one is on the northeast, on Alberich Island.
Radsvinn’s Rig Nornir Chest
This one occurs during a sidequest — or a Favor as they are called in God of War Ragnarök.
The Nornir Chest won’t be hard to see. Once you climb to a platform near the end of the quest, you will see the chest in plain sight to your left.
In order to open the chest, you will have to find all braziers with a glowing rune and light them with your Blades of Chaos.
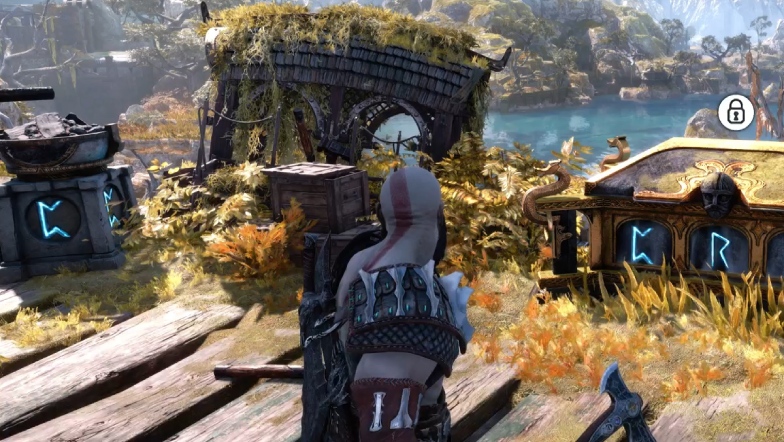
The first one is right next to the chest. The next one will be behind a couple of barrels. The barrels can’t be destroyed unless you hit them with Atreus’ special arrows that trigger sound stones.
Once that’s done, you will be able to see the brazier and reach it with your Blades of Chaos.
On the other side, you will see a red pot — the explosive kind — behind a metal grate. Find a high place that lets you throw your Leviathan Axe on the pot. The explosion will light the last brazier.
Once the three braziers are on fire, you will be able to open the chest.
Dragon Beach Nornir Chest
You should not have any trouble finding Dragon Beach in the east of the Bay of Bounty. The chest is also not hidden. Look around for a bit, and I’m sure you will see it.
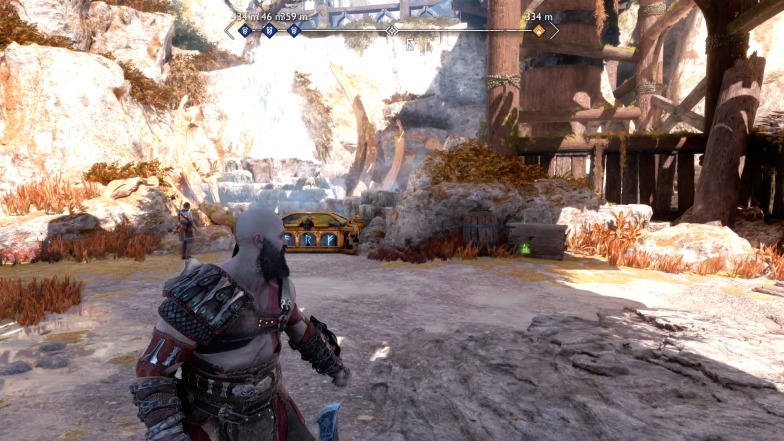
When facing the chest, turn to your right. You should see a crane with a sound stone in its middle. Make Atreus shoot that one and look for the others.
Once they are all gone, freeze the geysers so they will reveal a rune. Call back your Axe and throw it where the rune is. Memorize the location and do it.
One of the runes will be in a tricky place, protected by an iron grate.
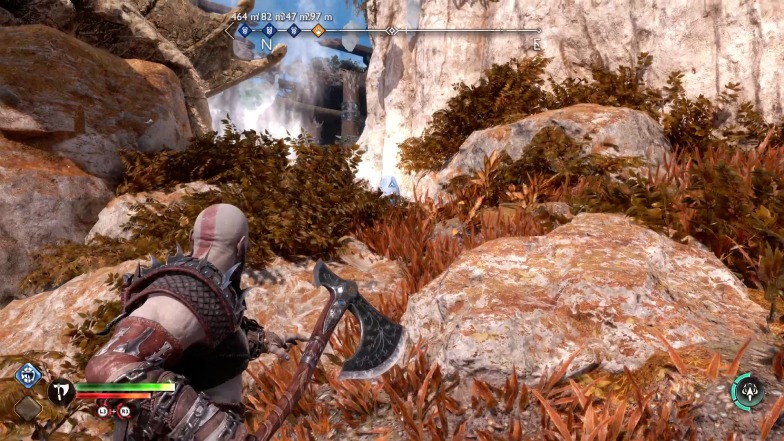
You just have to circle the area so you can get behind the rune and destroy it. The third rune will be hidden behind a geyser. That geyser should be behind you after you deal with this rune.
Alberich Island
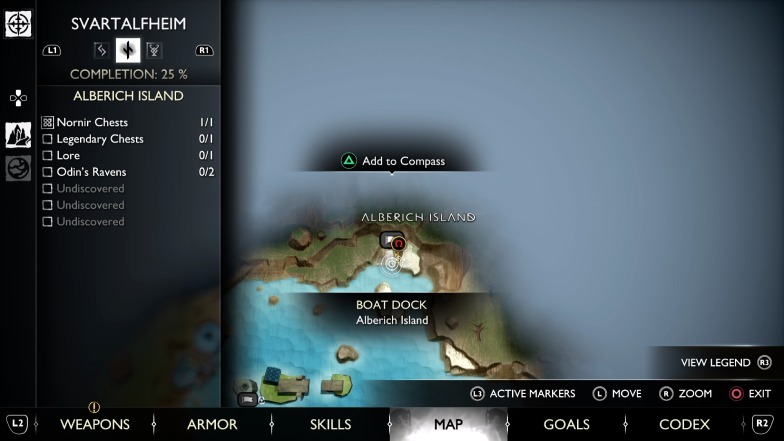
Once you get to the Bay of Bounty, look for Alberich Island. It is in the northeast of this area, as shown on the map. It’s quite easy to find.
Once you get there, you will see a somewhat more complex puzzle to open the Nornir chest. In this case, the runes work like bells, and you have a limited time to hit them all in order to open the chest.
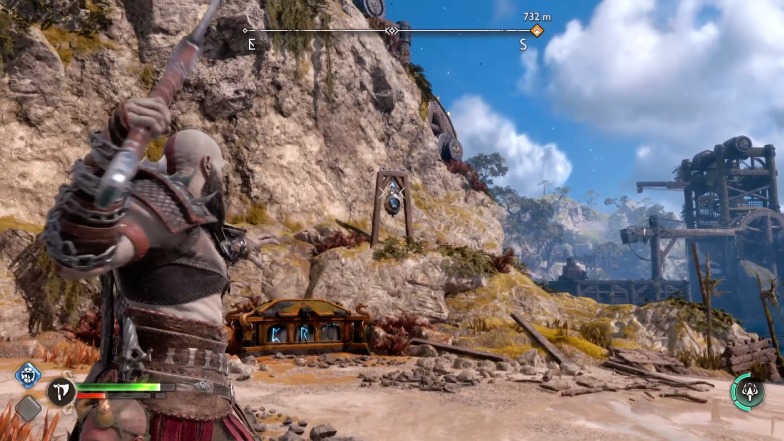
Once you hit a rune, that rune’s light will fade on the chest. If you manage to make all lights go out, you can open the Nornir chest.
First, look for a structure that looks like an old crane. It has a sound stone in it. You will have to destroy that part with Atreus’ arrows.
That way, the structure will lower the rune that is behind the grate so you can hit it with your Leviathan Axe.
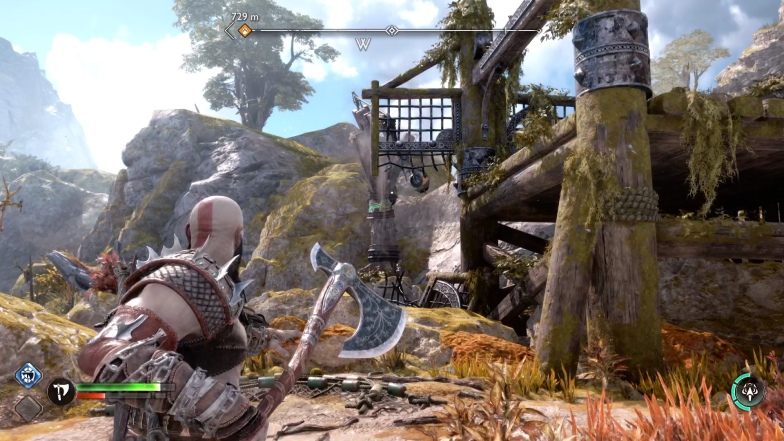
The other rune is behind a nearby geyser. You don’t need to freeze the water. Just make sure you memorize the rune’s position there.
The last one is behind a grate. To hit that one, check a nearby structure with a wood plate. If you hit it with the Axe, it will bring the rune up. You will have to be fast, so I recommend you go for this one first.
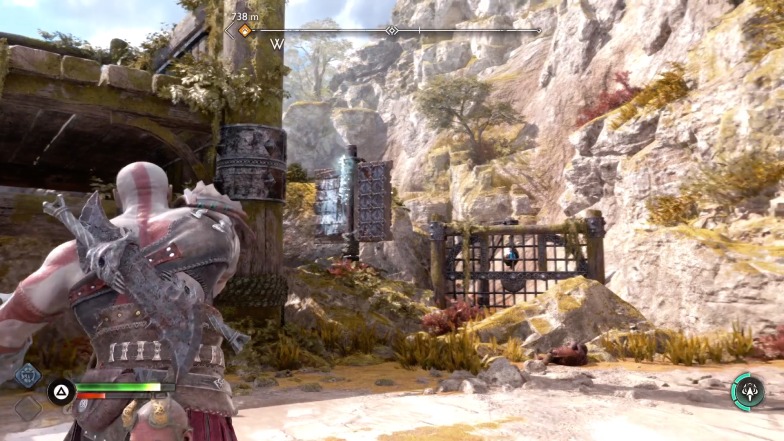
As soon as you hit the wood plate, call back the Axe and throw it at the rune. Then, go for the one behind the geyser and, finally, the one you revealed by destroying the sound stones.
Do it quickly enough, and you will have access to the Nornir chest.
The Forge Noir Chest
This one is tricky because you can’t solve it the first time you see it. The chest requires an item that you won’t have until much later in the game.
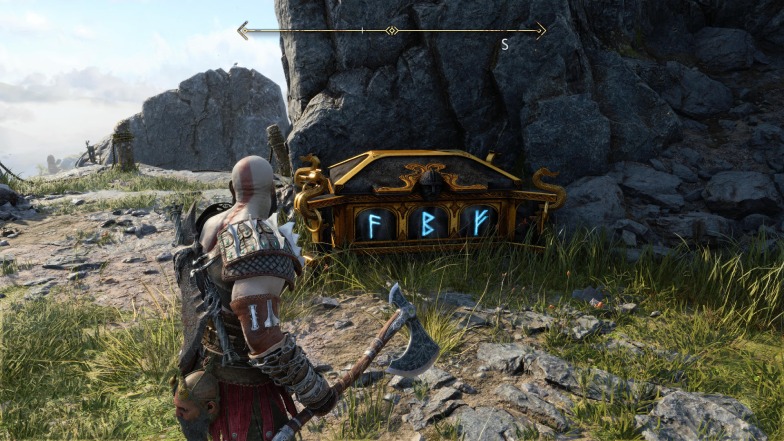
The runes are at a significant distance.
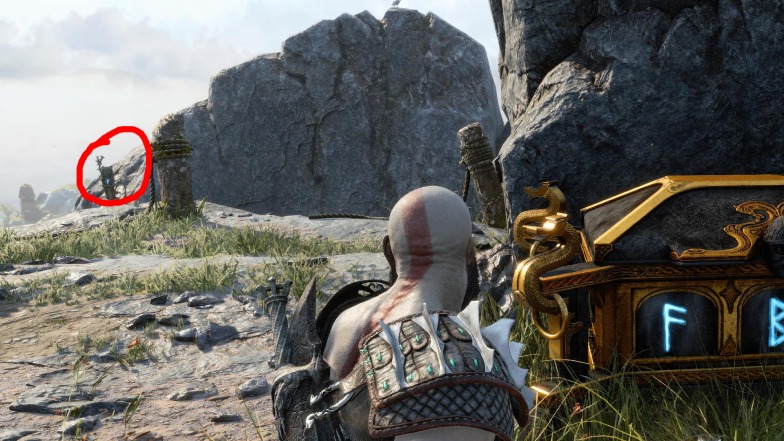
The first one is located to the left of the chest. The second rune is also to the left but over the edge of the cliff. The last one is near the train, on a rock.
Jarnsmida Pitmines Nornir Chest
You will see this Nornir chest in the Jarsmida Pitmines area. You will have to freeze the wooden chute, find a way to go down, and then light three braziers to open the chest, much like you’ve done in Radsvinn’s Rig.
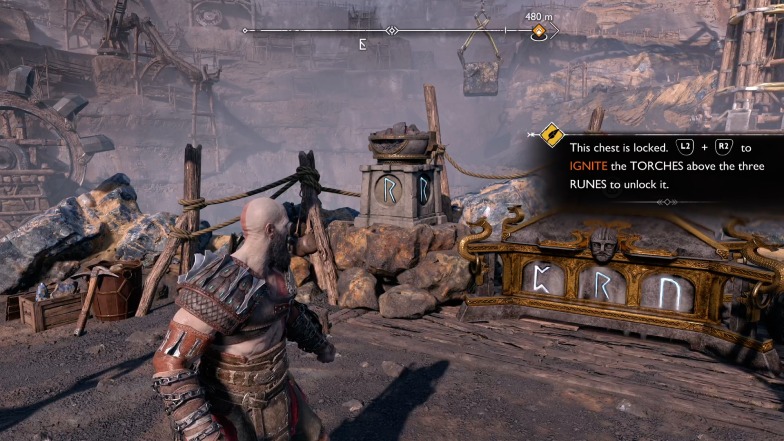
The first brazier is right next to the chest. The second one is down the left to the left and is also pretty easy to find.
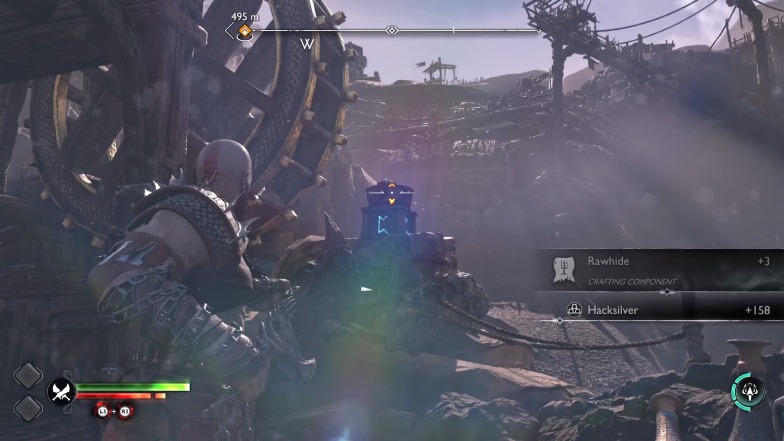
The last one is behind a passage near the second one. However, you will have to unfreeze the chute to reach the third brazier.
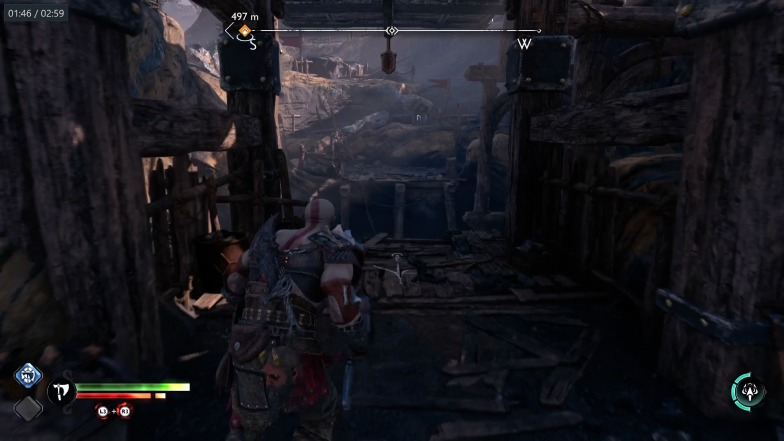
Unfortunately, this causes water to fall over the second one. If that happens, just return, freeze the chute again then light the second brazier once more.
Applecore
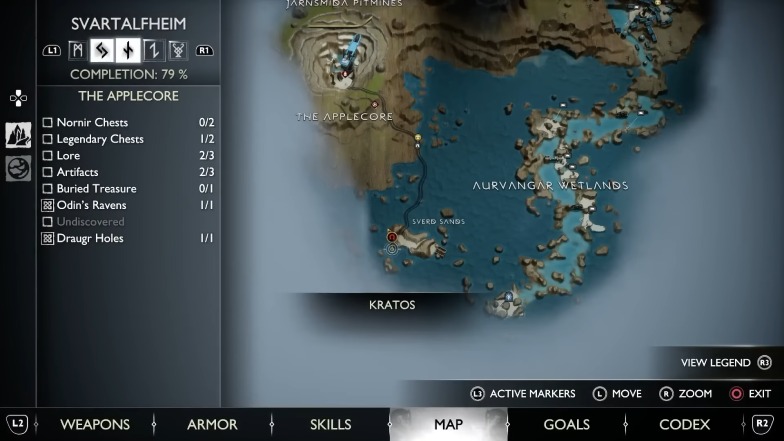
When going through the Applecore the first time, you won’t be able to open the two Nornir chests there.
It will be a while before you have the necessary resources to open those chests, so don’t worry if you have just started the game.
When revisiting the Applecore, pay attention to a moment when you fight two revenants. Pay attention to your surroundings. You should find an interactable point to jump up.
In order to open this Nornir chest, you need to destroy the three runes at the same time.
The same goes for the second chest, but this one will pretty much be on your way when you are doing the main quest.
Two of the runes will be easy to see, but the third one needs you to freeze the chute so you can reveal a rune behind the water.
Myrkr Tunnels
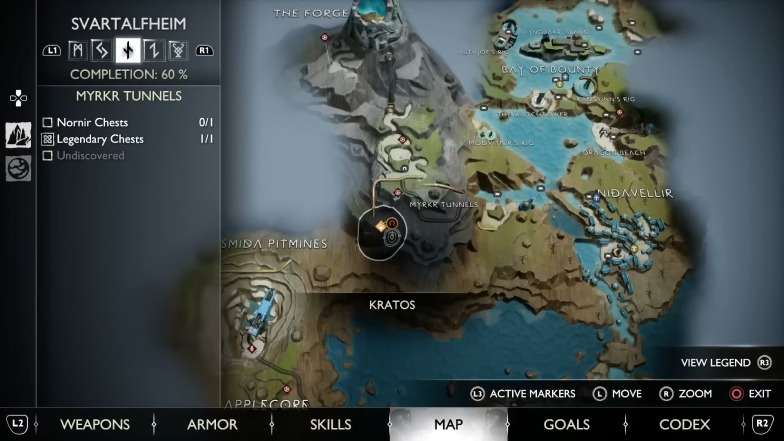
This chest is one of those that need you to light three braziers. Thankfully, it won’t be any hard.
Once you see the chest in Myrkr Tunnels, turn around. Once you’ve done that, you will see one brazier to your right. The other one is a bit further in the corridor behind boxes to your left.
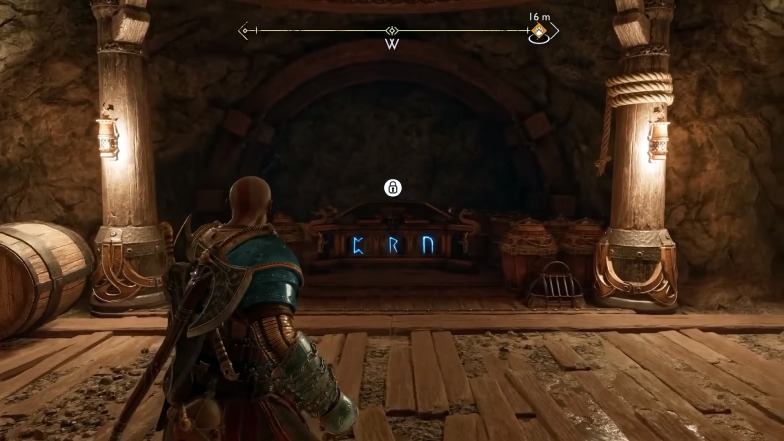
Once you’re done there, too, turn around once again. Go to the chest, turn left, and you will see the third brazier behind a gate.
Next, hit the barrel to the brazier’s right with your Leviathan Axe. It will drop a flammable liquid.
Light it up with your Blades of Chaos, and you can finally open the Myrkr Tunnels Nornir chest.
Alfheim Nornir Chest Locations
Alfheim is a very different realm. You navigate it using local creatures, clear sandstorms to reveal new areas, fight light and dark elves, and much more.
In this realm, players can also find six Nornir chests that contain precious items.
The Strond
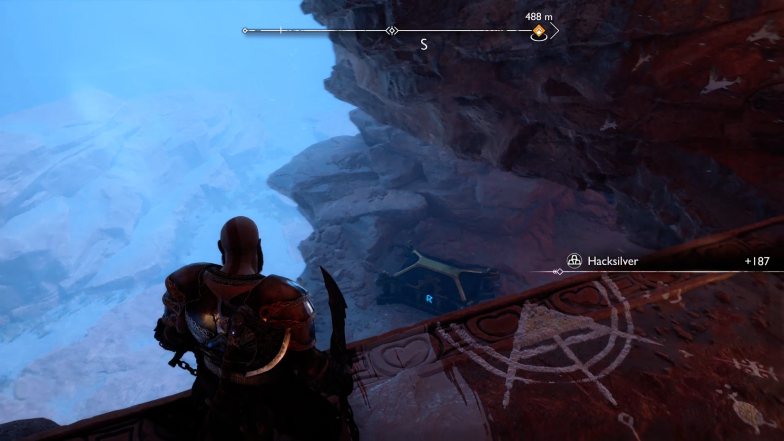
This first Nornir Chest can be found right when you first get to Alfheim. Keep an eye for an area to your left that you can go down to. It should be very easy to find since it’ll be not long after you go through the Mystical Gateway.
In order to open it, you must light up three braziers with your Chaos Blades.
The first one will be to the left of the chest. The second one will be on the opposite side. Look down on the ledge to find it.
The third one will be above the second one, and you will need to return and go up to where you came from. Advance a bit, and you should find an angle to light the third brasier.
Temple of Light
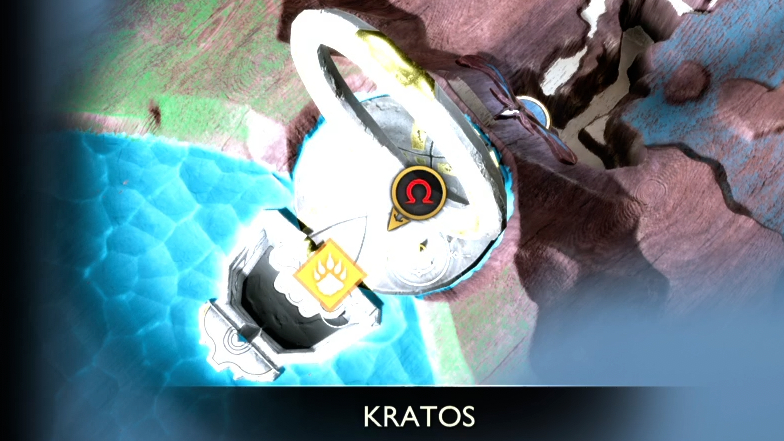
In the Temple of the Light, you will come across a Nornir Chest that will be right in your way. You can’t really miss it. Above it, you will see a rune in a bell.
The other one will be on a platform to the left, and the third one will be within the corridor. You must ring all the bells quickly and successively to open the chest.
To hit the third bell in time, you will need to hit the Twilight Stone to make the Leviathan Axe bounce onto the rune bell.
The Barnes
You will come across this one when completing Secret of the Sands. This is the Favor that you must complete in order to clear the Sandstorm in Alfheim.
You will see the Nornir chest once when going through this area. Ignore it until you come across the chest a second time.
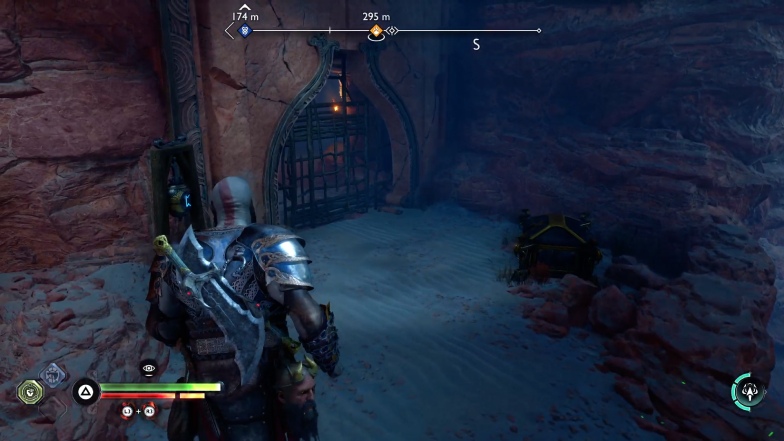
You will not be able to reach it until you get to the other side. From there, you will be able to open the gate that will allow you to reach the runes that are on both sides.
So, there is a rune on the other side of the gate, one right in front of the Nornir chest, and a third one on the way you must take to finish the Favor.
Look for hive matter on your path. You will see where the third rune is located. Then, position yourself to hit the three runes as quickly as you can and do it.
The Barrens
This Nornir chest is fairly easy to find. Make sure that you have cleared the sandstorm first. You will see the hive matter close to some braziers.
Clear the hive matter and go around the area, lighting up the braziers. The third one is the tricky one since it’s out of reach.
It will be on the top of the structure. However, there is a fire bomb near it. Throw the Leviathan Axe at it to cause an explosion that will light up the third brazier and allow you to open the Nornir Chest.
Forbidden Sands
This one will be to the southwest of The Burrows, in the Forbidden Sands.
It won’t be hard to find. This one also has three braziers that you must light up to open the chest. One will be to your right when facing the chest.
To find the second one, turn around and get out of the area where the chest is. You should see the third brazier to your right on a rock.
You won’t be able to reach it normally, but Freya’s enchanted arrows will make your fire reach the brazier.
After you light that one, check behind you to find the third brazier on a tall rock. You will also need to use Freya’s arrows here to make your fire reach the brazier.
Elven Sanctum
The last Nornir Chest in Alfheim is within the Elven Sanctum.
To free the Nornir Chest from the hive matter, throw your Leviathan Axe at the Twilight Stone above it. Once the hive matter is destroyed, go back a little and check your left for a brazier. It will be near a campfire.
A sigil arrow should spread the fire, making it light up the brazier. Check your right for another brazier out of your reach.
There is a campfire there too, but it is a bit far. Use the arrows to make the fire go from the campfire to the brazier.
Finally, now you must make the fire from the second brazier go upward to reach the third and last brazier.

