Blizzard has historically had a difficult time balancing Doomfist in Overwatch. As a damage dealer, Doomfist was either oppressive and unfun to play against, or so undertuned that it would be detrimental to your team to play as him.
However, in Overwatch 2, he’s been given a fresh rework and reassigned to the tank role. As a tank, Doomfist is uber fun, extremely mobile, and a massive nuisance to the opposing team.
While he can’t instant eliminate enemies in the blink of an eye, he still retains his identity as a disruptive hero with a high skill ceiling. It takes a lot of practice to be efficient with Doomfist, but it’s well worth the time invested.
This guide will show you how to play Doomfist in Overwatch 2. We’ll break down his abilities, discuss general gameplay tips, and even give away practical tech for his skills.
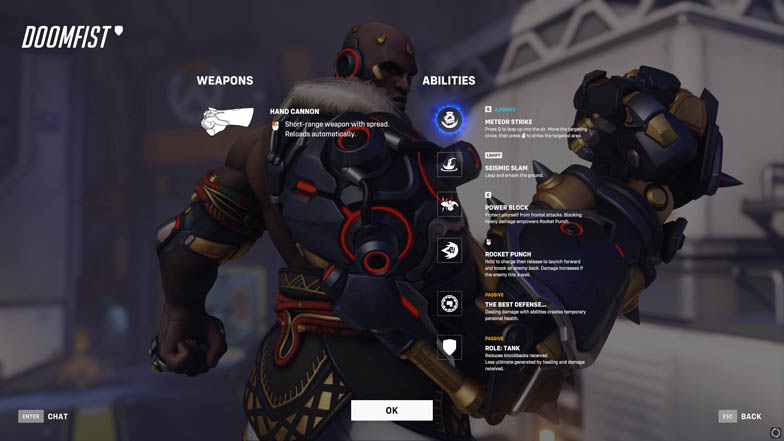
Doomfist Abilities
The Best Defense…
Doomfist passive ability is called The Best Defense. It is aptly named as dealing damage with his abilities creates temporary health.
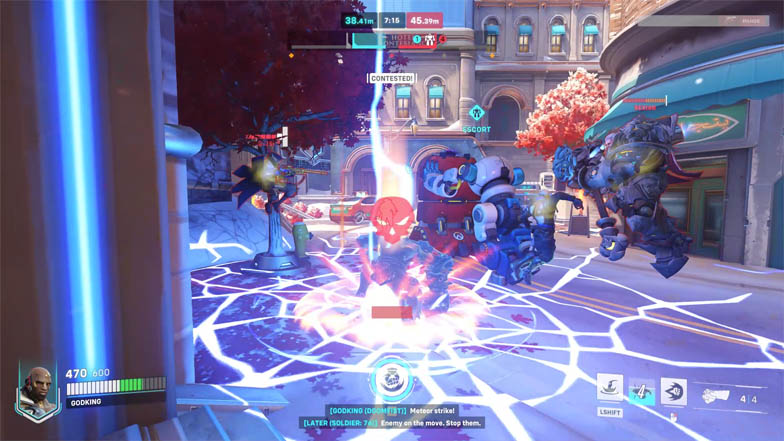
No matter how much damage his abilities deal, he’ll always gain 30 bonus health from landing an ability for each hero. For instance, a quick Rocket Punch will give the same amount of bonus health as a fully charged one.
Doomfist’s area of effect abilities lets him earn more bonus health from tagging multiple enemy heroes. The max bonus health caps at 150; also, bonus health starts rapidly depleting after approximately 2 seconds.
Remember that this is bonus health and not armor, so you shouldn’t rely on it to keep Doomfist alive. Doomfist’s best defense is his unparalleled mobility, not his extra health.
Hand Cannon
Doomfist’s primary fire shoots a shotgun-like spread from the knuckles of his left fist. It deals 66 damage if all pellets connect to the enemy. It can also deal headshot damage if you’re close enough.
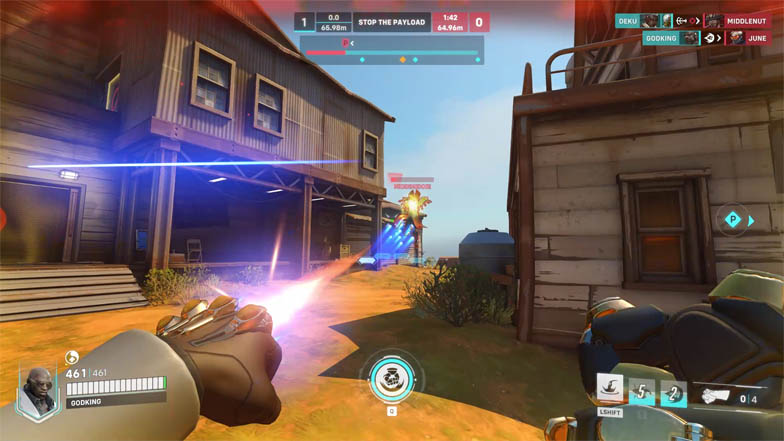
Hand Cannon can’t be manually reloaded. Instead, it has a capacity of four shots that reload after about half a second of not using the weapon.
As you only have four shots on the chamber, it’s very important to hit all of them to finish a target. Doomfist’s abilities don’t do much damage on their own. However, it will soften the target and get you close enough to finish them off with Hand Cannon.
Rocket Punch
Rocket Punch is his signature ability, and it’s crucial to understand in order to know how to play Doomfist in Overwatch 2. Using it charges his giant gauntlet, launching him forward and knocking back the first enemy caught.
Rocket Punch can be charged to deal more damage and further knock back the enemy. The initial impact deals 25 damage uncharged and 30 damage when fully charged.
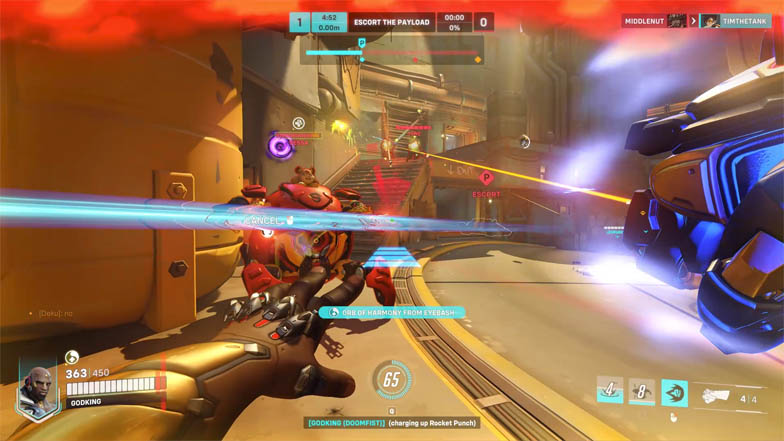
However, if you manage to knock back an enemy into a wall or obstacle, it will deal additional damage. For example, a fully charged Rocket Punch will deal 70 damage when the enemy comes in contact with the wall. Additionally, it also stuns them for a short duration.
Rocket Punch is much more than a damage ability, it’s one of the best movement abilities in Overwatch 2. The ability has a short cooldown, covers a long distance, and can mess around with the physics engine to create some truly fluid movement.
One drawback of Rocket Punch is that it slows your movement speed. Don’t be afraid of using the ability early or even cancelling it when you’re a sitting duck for the opponents. Prematurely cancelling Rocket Punch doesn’t consume it, so you use it to bait out abilities.
Longtime Doomfist mains are intimately familiar with how to play Doomfist in Overwatch 2, hence you’ll often see them zooming around the map at breakneck speeds. While we won’t cover the impractical and flashy rollouts, we’ll discuss practical Doomfist tech later in this guide.
Seismic Slam
Seismic Slam launches Doomfist in an arc, before slamming his gauntlet on the ground. Doing so sends out a shockwave in a wide cone, damaging all enemies caught in it for 50 damage.
Seismic Slam moves similarly to Winston’s leap, whereas it will launch towards your cursor. This means that you can easily reach enemies on the high ground by simply aiming before using the ability.
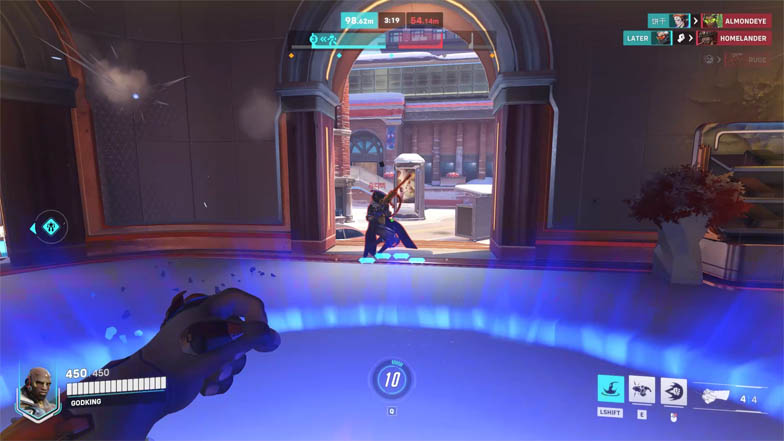
This ability is a multi-faceted tool that can be used for a variety of situations. For starters, Seismic Slam is an engagement tool meant to get Doomfist right in the middle of the fight.
Ideally, you should tag as many opponents as possible for more bonus health. It’s also important to have the presence of mind on where you’ll end up landing. If you’re easily accessible to all five players, there isn’t much you can do to survive.
Seismic Slam is relatively fast and leaps for a long distance. Doomfist players should keep track of where the enemy backline is positioned and seek to disrupt them as much as possible. For instance, a lone Zenyatta is a free elimination for Doomfist if you can catch him away from his team.
Finally, the ability is also a convenient movement tool that you can use to reposition with ease. There are game-changing ways that Seismic Slam interacts with the environment which will be discussed in the tech segment.
Power Block
Power Block replaces Doomfist’s Rising Uppercut from Overwatch 1. When activated, this ability blocks damage coming from the front of Doomfist.
Power Block doesn’t completely negate damage, rather it reduces all incoming damage by 80%. Take note that it only blocks damage received in the front, as you’ll still get hit from the sides and back.
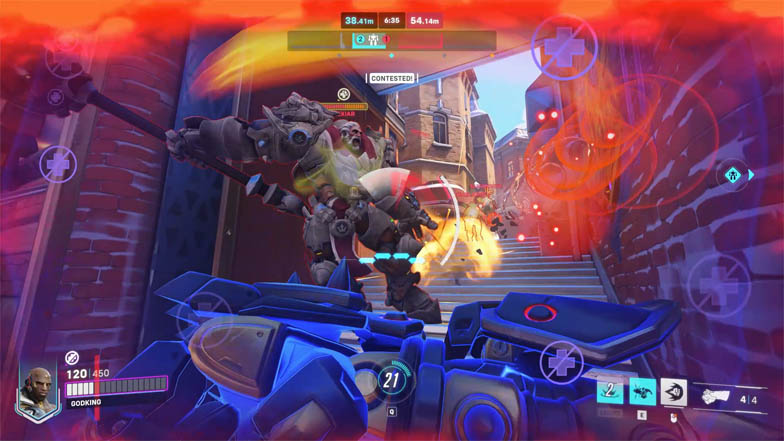
Additionally, it doesn’t block crowd control so it isn’t advisable to use this skill in front of a Sigma when his Accretion is off cooldown. Similarly, avoid leaping unto a lone Ana since you’ll be an easy target for her sleep dart.
As more players start learning the game, they’ll quickly learn to stop attacking you when you’re blocking. You can easily cancel the ability at any time to keep them on their toes.
Power Block has another function where it charges your Rocket Punch after blocking a certain amount of damage. If done correctly, your gauntlets will start to glow blue for the default skin. You can look down slightly so enemies will have an easier time hitting your head, letting you charge faster.
Doomfist’s gauntlet will stay charged until you use it. A charged Rocket Punch hits harder and will also apply the knockback effect in a small area behind the main target. This means that you can knockback and even wall slam multiple targets.
Receiving enough damage in Power Block will also reset the cooldown of the Rocket Punch. This subtle effect is game-changing in order to know how to play Doomfist in Overwatch 2.
Meteor Strike
Meteor Strike is Doomfist’s ultimate ability where he leaps high into the air before crashing down in a wide circle. Targets take 300 damage if hit in the center, dealing less damage the further they are positioned.
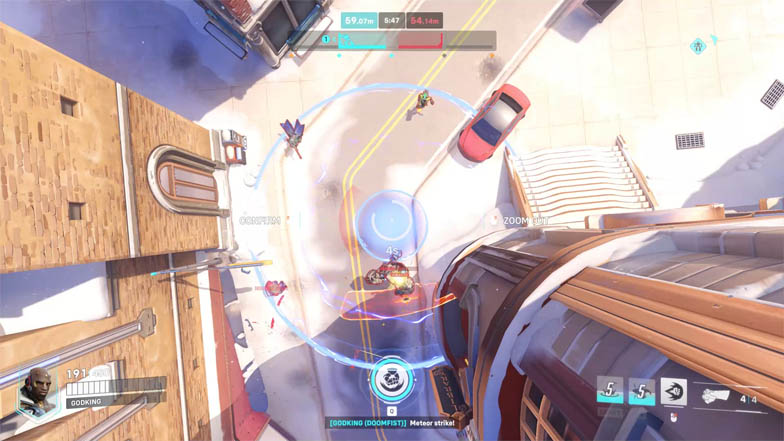
Meteor Strike is best used to take you away from the fight, not start it. Doomfist is invulnerable while he’s in the air, this gives you some breathing room and lets your other abilities come off cooldown.
Most of the time, you want to search for the enemy team’s backline and burst them with Meteor Strike’s big damage. If targetted correctly, you can instantly eliminate them or at least get them to a vulnerable state.
There’s a slight delay to Doomfist’s landing after selecting the location. During this time, the enemy team can see the outline of your landing zone. Therefore, it’s best to try to cut off your target away from their team.
Once you Meteor Strike down in the middle of the enemy team, chaos will ensue. Make sure you’ve allocated enough RAM in Overwatch to avoid detrimental stutters.
Doomfist Tech
Doomfist’s ability tech is fundamental knowledge to know how to play Doomfist in Overwatch 2. This guide will show the practical ones that can you incorporate often into your gameplay.
Momentum and Ability Cancelling
Seismic Slam and Rocket Punch both launch Doomfist forward. You can take advantage of their forward momentum to go further.
By cancelling either of these two abilities by using another skill you can proper yourself further with the momentum you had. Seismic Slam can also be cancelled manually by pressing the ability key or button again, while Rocket Punch can be cancelled by jumping.
For example, aiming directly upwards with Seismic Slam will cause you to leap in the air. Cancelling the ability lets you reach higher places that a Seismic Slam can’t normally reach.
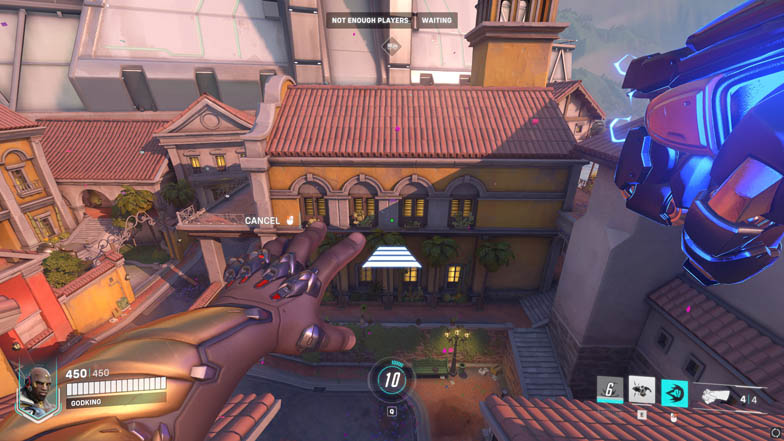
However, immediately cancelling Seismic Slam with another ability will take you up to ridiculous heights. For instance, aiming upwards with Seismic Slam and then immediately charging Rocket Punch will send you high enough to punch an airborne Pharah.
In the same vein, Rocket Punch can be cancelled with a jump to travel further away. One of the most practical Doomfist techs you’ll need to get used to is comfortably using an uncharged Rocket Punch jump boost.
You can gain a huge burst of momentum from an uncharged Rocket by jumping near the end of your punch. Doing this successfully will send you flying further away than a pitiful uncharged Rocket Punch. You can also hold the jump key while doing this for easier access.
Now, if you perform a fully charged Rocket Punch and jump near the end of your trajectory, this will also send you much further. A more advanced tech is using the jump boost near an object like small slope to propel you vertically.
Mastering Rocket Punch boosting and Seismic Slam cancels will let you experience the liberating and addicting flow of Doomfist’s movement. This is fundamental knowledge for anyone who wants to know how to play Doomfist in Overwatch 2.
An important note on how to play Doomfist in Overwatch 2 is to show restraint when using both Seismic Slam and Rocket Punch. If both of these abilities are off cooldown, you’re a sitting duck and at your most vulnerable.
Seismic Slam Interactions
As mentioned previously, Seismic Slam sends Doomfist leaping in an arc to slam down his powerful gauntlet, sending a damaging aftershock. Compared to Winston’s Jump Pack, Doomfist’s Seismic Slam’s trajectory can be influenced in many ways.
Excluding other factors, Doomfist will leap towards your reticle after activating Seismic Slam. If you want to go further, you should aim your reticle a bit higher as well. Seismic Slam also has good vertical reach so aiming even higher will send you to high ground.
Now, incorporating the directional keys before using the ability will influence Seismic Slam’s trajectory. For example, holding forward will send you a few meters further. Meanwhile, holding back will cause Doomfist to do a shorter slam.
It’s good to incorporate ways to extend Seismic Slam to know how to play Doomfist in Overwatch 2. One easy way is to hold the jump button after using Seismic Slam.
Doing so correctly will add a small jump after landing, effectively extending and delaying Doomfist’s Seismic Slam. You can do this after using Winston’s Jump Pack to also extend his landing.
A very key takeaway to knowing how to play Doomfist in Overwatch 2 is understanding how Seismic Slam interacts with slopes or stairs. Using Seismic Slam while standing on a slope or stair causes Doomfist to stick and slide across the ground.
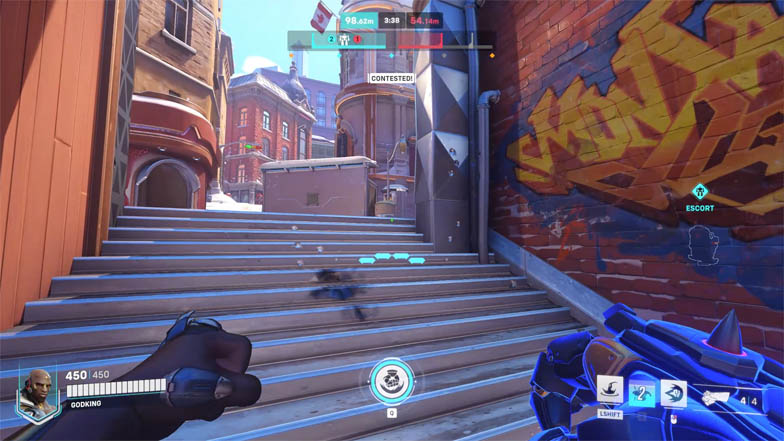
While in this state, Doomfist has amazing control over where he’s going. It’s almost comical how fast Doomfist can turn. He can even turn sharp corners with no issue!
This is an extremely practical tech that you could reasonably use almost anywhere. It’s especially useful if an enemy is shooting at you from the top of the slope and then attempts to run away from you.
Doomfist has so much control over his movement that he could effectively float in place. If you hold back before using Seismic Slam on a slope, he’ll stay exactly where he is. Remember to use that tech when you’re fighting an enemy above a slope so you won’t overshoot your Seismic Slam.
Doomfist Guide
Overwatch 2 only has one tank now compared to two in the first game. Generally, a tank is there to apply crowd control and to take damage away from their team.
Compared to other tanks, Doomfist can’t easily protect his teammates. Doomfist doesn’t have shields or barriers to guard allies against incoming damage.
However, Doomfist is extremely disruptive and good players will force the enemy team to focus their attention on him. Therefore, it’s important to make yourself a big threat in order to hold their attention.
Disrupt and Search for Key Eliminations
Even with all the engagement, disengagement, and movement abilities at Doomfist’s disposal, his weakness is starting fights at the beginning of the round. For instance, when matches first begin both teams are grouped together, and it might be difficult to find a suitable opening.
It’s awkward and sets a bad tempo for your team if you jump and immediately go down. Don’t feel pressured to immediately start fighting during these situations. For example, you can let the enemy team walk into the control point first so you have a better angle to engage.
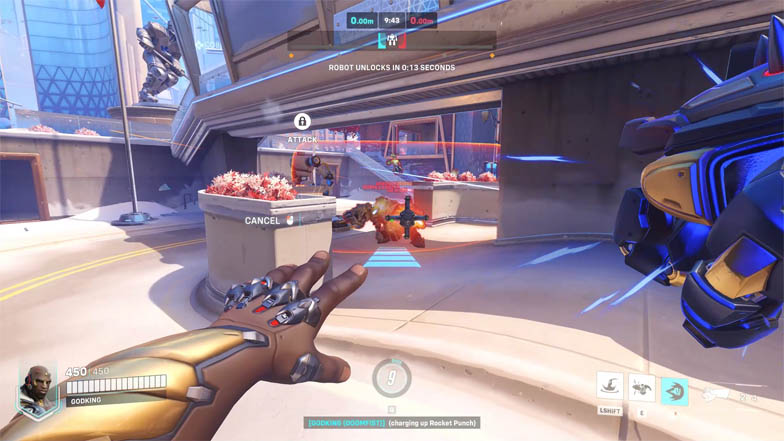
It’s crucial to understand when to test the waters and when to commit to knowing how to play Doomfist in Overwatch 2. Doomfist playstyle revolves disrupting the enemy team at every opportunity while searching to jump on key targets.
If left uncontested, Doomfist can easily reach and eliminate the fragile backline of the enemy team. Whenever the opportunity presents itself, you should go for it and gauge the reaction of the opposing team.
Most of the time, uncoordinated teams wouldn’t have the speed to turn around and peel Doomfist away from their support. If you’re fortunate to go against these teams, always seek to pressure and take down their backline first.
When diving in as Doomfist, try to aim for areas with near blind spots and obstacles. Bonus health isn’t reliable to help you survive so you’ll need a quick escape. Additionally, dipping out of the sight causes the enemy to panic since they don’t know what angle you’ll come slamming from.
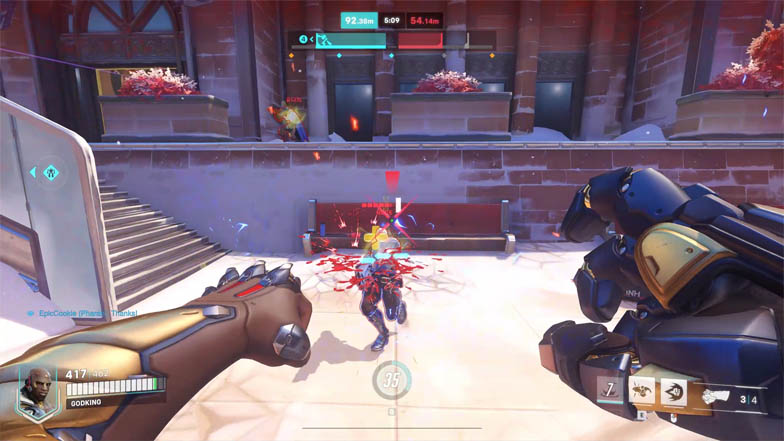
Doomfist’s unparalleled mobility will allow you to find favorable angles to ambush your opponents. Rocket Punch has a short cooldown so you should use it often to move around the map. Then, prioritize targets with little to no mobility to secure easier eliminations.
Keep in mind that Power Block only blocks damage received from Doomfist’s front. At the same time, it also slows you down, making you vulnerable to crowd control.
Don’t use Power Block when you’re in a bad spot as a panic button. Chances are, you’re making it easier for your enemies to take you down by surrounding you first.
That’s another reason why it’s important to dive into the backline. This gives you a better chance to block damage coming from one angle instead of multiple.
Once they know what you’re doing, cancel Power Block and run away. Hopefully, you bought enough time for your abilities to come off cooldown.
The sheer threat of a competent Doomfist will force the enemy team to waste their time and abilities on you. Play into this fear and you’re halfway done knowing how to play Doomfist in Overwatch 2.
Two Abilities In, One Ability Out
Cooldown management is another fundamental skill to know how to play Doomfist in Overwatch 2. Your abilities are your main source of damage, survivability, and mobility. Higher skilled Doomfist players can show restraint of when or when not to use them.
A great rule when you’re first picking up Doomfist is to use two abilities to attack while reserving one for defensive purposes. This simple guideline can help you stay effective while simultaneously staying alive.
For example, you can use Seismic Slam to quickly jump on the enemy backline. Then, pressure them with Rocket Punch and hopefully score a kill. Afterward, use Power Block to protect yourself as you disappear into the corner.
Against a team alert of your presence, don’t aim for kills but rather knock enemies into vulnerable positions for your team to follow up. Use Rocket Punch to knock back enemies off the high ground or towards your teammates.
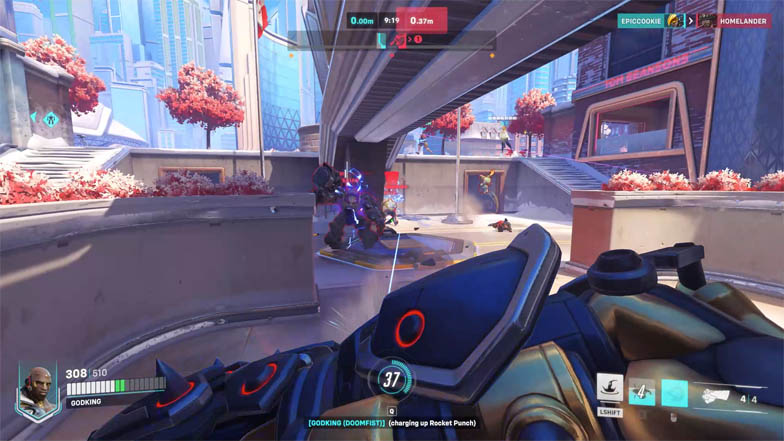
During situations where the enemy team is all grouped together, it’s difficult to find an ideal engagement. You can opt to remain relevant by trading blows with the enemy tank, as long as you remember that most tanks have the upper hand against Doomfist. For instance, a nasty Junker Queen player can melt your meager health pool down.
For this example, it’s a good idea to engage with Rocket Punch to get closer to the tank before letting loose a few primary shots. Then, use Power Block to charge up your Rocket Punch, before leaping away to safety using Seismic Slam.
While seemingly a small act, this takes attention away from your teammates while also building up a supercharged Rocket Punch. You can then look to knock multiple enemies away from the protection of their tank.
The rule is just a soft guideline to ensure you’re playing proactively while also remaining alive. However, you can overcommit if you can safely secure an elimination or have Meteor Strike ready to go.
Doomfist Synergies and Counters
While Doomfist isn’t heavily reliant on his team, he does synergize well with some members of the cast. There are some teammates who can take full advantage of the space he aggressively creates.
On the other side, there are some heroes who can nullify Doomfist’s key strategy, or downright shut down his offense-oriented gameplay. Understanding both is a key factor to know how to play Doomfist in Overwatch 2.
Doomfist’s best allies are those who can enable him to become more aggressive or those who can assist him to sweep up the enemy team. Heroes like Tracer, Genji, and Reaper can efficiently accompany doom to score quick eliminations.
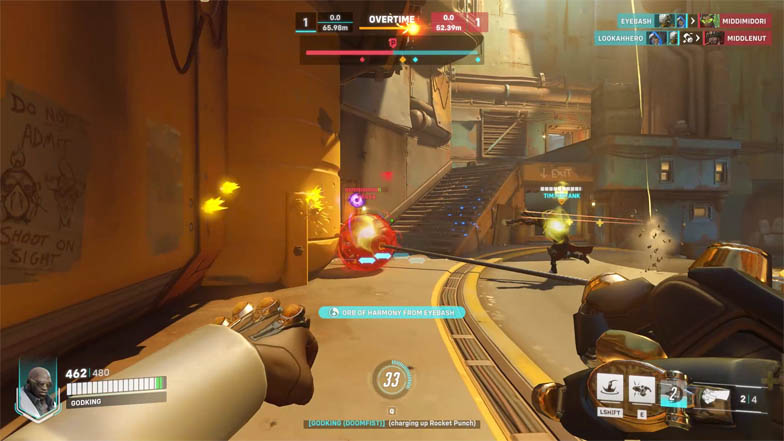
Pharah and Sombra are also great damage dealers to pair with Doomfist because of their unparalleled vision. Both of these heroes can pinpoint vulnerable targets for Doomfist as well as assist him on demand.
Specifically, Pharah is one of the few heroes Doomfist can protect. Her greatest weakness are uncontested hitscan heroes like Sojourn and Widowmaker, Doomfist can easily disrupt them from taking free shots at Pharah. Additionally, Concussive Blast can separate enemies away from Doomfist.
For a complementary support, Zenyatta can consistently heal Doomfist despite his erratic movement. In addition, Orb of Discord allows Doomfist to quickly take down key targets.
Meanwhile, Doomfist’s counters can stop him in his tracks, or simply pressure his team faster than he can. While this can be repelled with skilled play, it may be advisable to switch to a new tank if the enemy team knows what they’re doing.
As mentioned previously, Doomfist is at a disadvantage against most tanks in a straight-up brawl. But, he can always disengage from the fight.
However, a competent Winston can wreak havoc on your teammates, forcing you to play defensively. His bubble can also block healing away from you while simultaneously protecting Winston’s teammates from follow-up damage. Lastly, a well-placed bubble can negate a huge portion of your Meteor Strike.
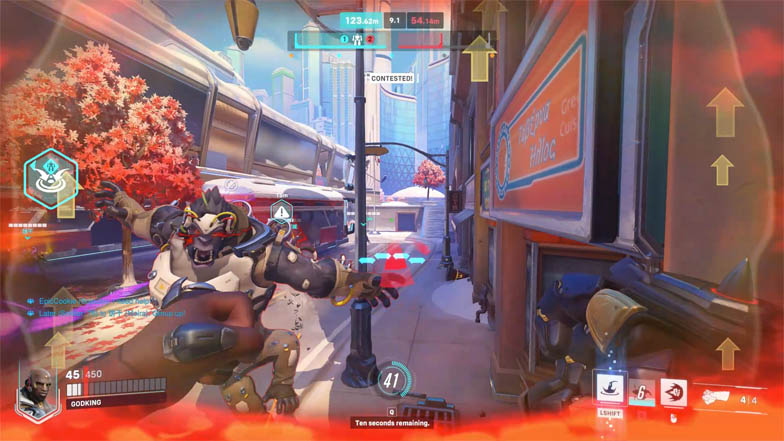
Sombra’s hack is absolutely deadly to Doomfist as it leaves you vulnerable. If the Sombra is playing defensively, take it as a complement to your competence and switch.
On the support side, Ana’s burst healing can completely outpace your damage. Finally, it’s difficult to charge up Rocket Punch and Power Block since you’ll be an easy target for her Sleep Dart.
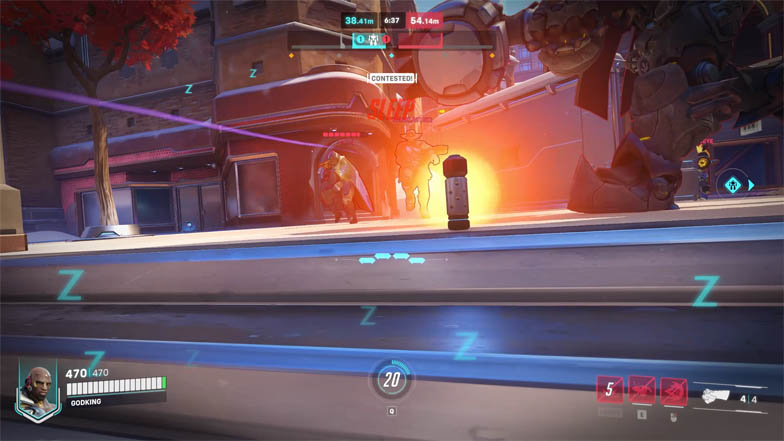
Overwatch 2 is still a team game so you can work with your teammates to counteract their bad effects. But if you know how to play Doomfist in Overwatch 2 and practice consistently, you don’t need to switch out if you’re skilled enough.
On the other side, Doomfist is great against stationary tanks like Reinhardt and Sigma. They’re limited movement and reliance on their barrier lets you have a great time against the teammates they’re struggle to protect.

