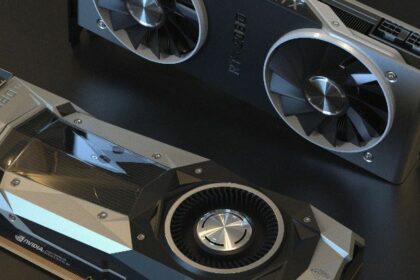
So, you have finally gotten yourself a graphics card to install into your PC to play the latest games or just to replace a faulty one and hopefully get back into playing games.
Learning how to install a graphics card, or the GPU, is one of the final steps in assembling your PC.
It is quite the investment so you would want to be as careful and as thorough as possible with its installation. In this guide, we will be showing you how to install a GPU whether you are upgrading your GPU to a much better model, putting back a GPU after removing it for a quick clean-up or if you are building yourself a brand new PC from the ground up.
We will be focusing on a generic PC build though so more complex builds that require water-cooling will not be covered in this guide.
1. Determine the Compatibility of the GPU with Your Case
You may skip this step if you are installing a similar GPU to your former GPU or if you are only putting back a GPU after a clean-up.
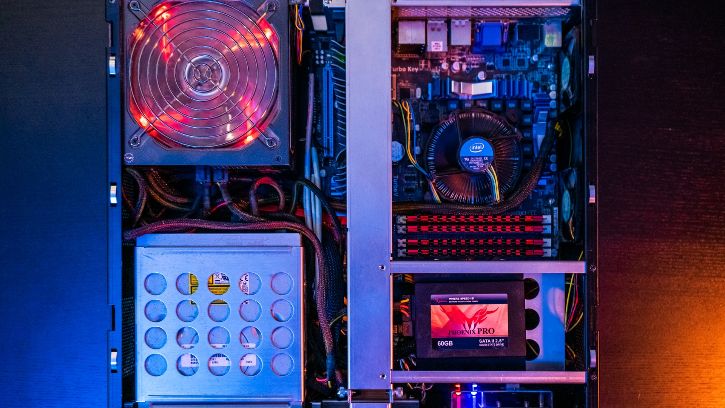
This step is more of a preparation step into buying yourself a GPU rather than the installation itself, but it is always important to note whether the GPU you have bought yourself would actually fit in your rig lest you end up wasting or spending more money on a different GPU or a case that would fit your proposed GPU.
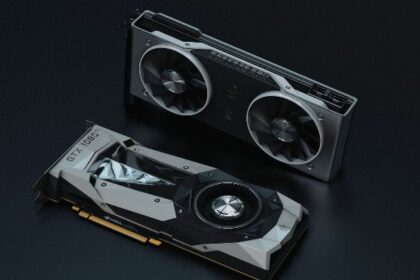
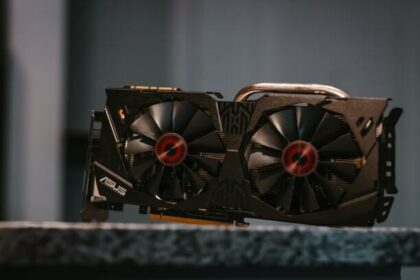
GPUs come in different shapes and sizes and there will be some GPUs that will be way too big for your rig. An example of this is trying to fit a triple-fan GPU setup into a small form factor build. In this case, you would be better off with a single-fan or a low-profile GPU setup for it to fit comfortably into your case.
Generally speaking though, most GPUs will fit in an ATX or mATX case while you might want to check out different options if you are building in something smaller than an mATX case.
2. Determine the Compatibility of the GPU with Your Power Supply Unit (PSU)
You may skip this step if you are installing a similar GPU to your former GPU or if you are only putting back a GPU after a clean-up.
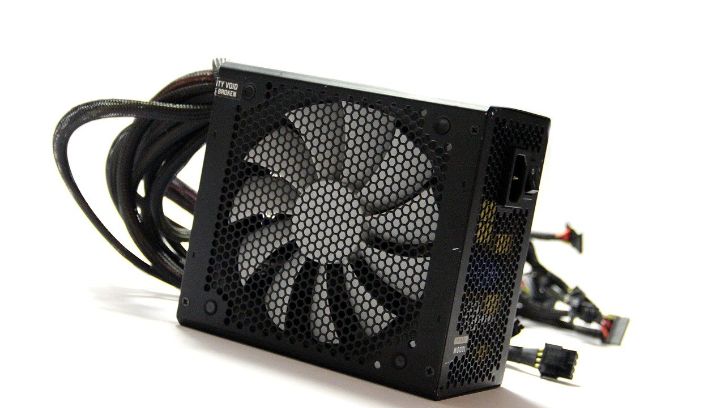
Another preparation step before actually getting yourself a GPU. GPUs are one of the more power-hungry components in your computer, so it is only natural to check if your Power Supply Unit (PSU) can handle powering up the GPU. This is especially true if you are upgrading from an old GPU to a newer one.
You always want to check how much wattage your GPU will need or your PSU will lack the necessary power to actually boor your system. Worse case scenario is that the PSU might actually catch on fire or just wreak havoc to other components in your PC.
3. Prep Your Workstation
Now that you have your GPU ready to be installed, we now need your PC to be ready to be able to have the GPU installed inside of it. Bring your PC over to a clean and clutter-free area such as a workbench or a table big enough for your PC so you can work on tearing down your PC with relative ease.
4. Remember to Ground Yourself Before Working on Your PC
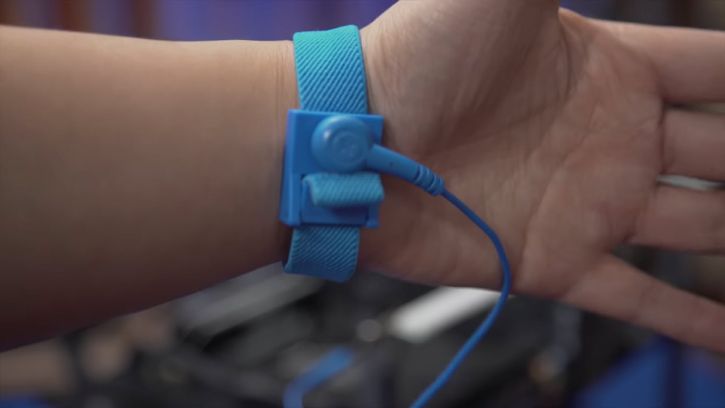
This step is more of a constant reminder than a specific step, but whenever you do work on the innards of your PC you would want to ground yourself to avoid shorting any component out because of static build-up that naturally occurs to you when you drag anything across the floor or table.
To ground yourself, simply touch any metal object on your PC case for the static to discharge onto that. The best thing to touch is the case of your PSU, but you can also touch the metal areas of your PC’s case.
Always make it a best practice to ground yourself before touching anything inside your PC (especially if you find yourself moving around a lot) as it can save you a lot of headaches in the long run!
If you think that you might forget doing this step from time to time, you can also wear an anti-static bracelet, which is a bracelet with a ground cable attached to it. Simply wrap it around your wrist or your ankle and clip the alligator clip to the computer’s PSU case. This ensures that you are always grounded and that your body continuously discharges static electricity.
5. Open the PC Case’s Side Panel
Now that you are ready to handle your PC innards, you may now remove the side panel of your PC’s case to access the internals of your PC. Simply undo the screws that hold the panel in place and set it aside to work on putting your GPU inside it.
Depending on your case, it may only contain thumb screws which are easily loosened with your hands, or it may contain actual screws for which you may need a screwdriver.
6. Determine the PCI Express (PCIe / PCI-E) x16 Expansion Slot on Your Motherboard
With the case now open and ready to receive your GPU, you should now be able to see your motherboard. From here, you must determine the PCI Express (PCIe) x16 expansion slow on your motherboard. This is important as the x16 expansion slot allows for the most bandwidth for your GPU and will enable your GPU to run in its maximum pace.
The PCIe x16 expansion slot is usually the slot located nearest the CPU slot of the motherboard, but to be absolutely sure, make sure to check on the manual of your motherboard. Some motherboards also have their expansion slots labeled, so if you do not have the manual handy, check on the board and see if the slot is labeled as such.
7. Uncover the Expansion Holes on the PC’s Case
Now that you have determined where the GPU would be sitting, you can now remove some of the shielding that covers the expansion holes on your PC’s case. Removing these covers is required as they will block the GPU’s interface if they are not taken out.
These expansion hole covers are usually held in by a single screw so make sure that your screwdriver is on-hand as you work on this step.
Depending on your GPU, you might have to remove 2 covers as the GPU’s interface will encompass 2 holes.
8. Insert the GPU into the PCIe x16 Expansion Slot
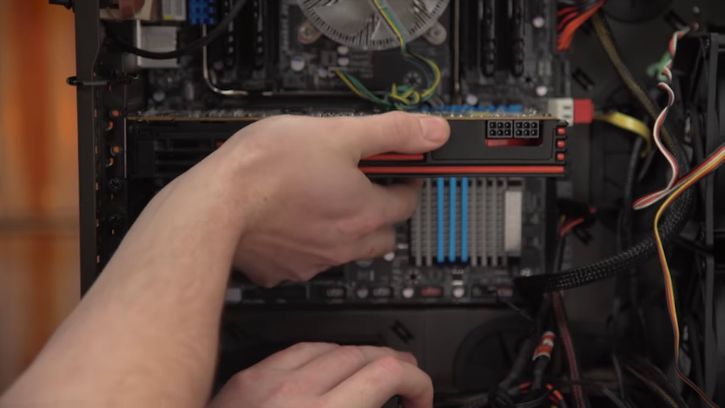
Now comes the actual installation of the GPU card into your PC. Get your GPU and hold on to it by its cooling system and line it up to the PCIe x16 expansion slot. If your GPU has a backplate, you can pretty much grab it with a full grip. Also, make sure that the retaining clips on the expansion slots are in the “open” position.
Push the GPU into the slot until you hear an audible click. This signifies that the GPU has been inserted into the expansion slot successfully and that the retaining clips have snapped into place keeping your GPU in place. The GPU’s pins are keyed which means that it is virtually impossible to insert it wrongly into the expansion slot.
9. Screw the GPU into the PC Case Brackets
Now that the GPU is installed in the correct slot, it is time to further secure it so that the GPU does not sag and that the expansion slot does not carry the whole weight of your GPU.
Using the screws that you have unscrewed from the expansion slot holes, screw them onto the brackets of the GPU found near the back of the PC case. Make sure to lift your GPU a little bit as you screw the brackets down so that you counteract the way your GPU naturally sags because of its weight.
Depending on your GPU, you might have to screw in 2 screws as your GPU will have 2 mounting brackets to compliment the 2 slots it occupies on the back panel of your PC case.
10. Plug in the PCIe Cables into Your GPU
Now that the GPU is secured in place, we are now in the final step that requires you to fiddle with your GPU.
You should now plug in the PCIe cables that come from your PSU. Depending on your GPU, you may have to plug in 1 or 2 sets of cables onto your GPU. You will know by the number of PCIe slots your GPU has. These cables are also keyed so it would be impossible to plug them in in reverse.
11. Turn Your PC On
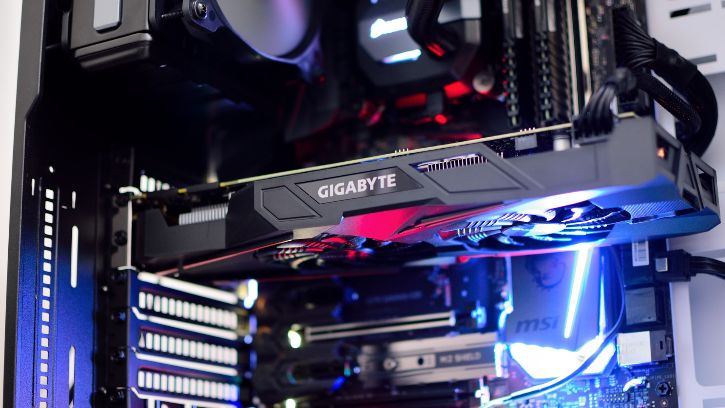
With your GPU now fully installed in your PC, it is now time to test whether it is running or not. Simply turn your PC on and if your GPU’s fans start to fire up, or if the RGB of your GPU lights up, then you are good to go and are one step closer to finalizing your PC build!
We also do this step before closing up the PC case just in case there are issues that arise when booting the PC up so then we can make adjustments to the GPU.
12. Close the PC Case’s Side Panel
With everything up and running, we can now close up the PC case and seal its side panel with the screws provided with the case.
13. Run Display Driver Uninstaller (DDU)
If you are only cleaning your GPU or if you are replacing your GPU with a GPU that is similar to your current one, you can completely skip this step as you will be using the same drivers as before.
Now that we have booted up our PC, we can now proceed with the software side of things in regard to installing our GPU. First, we would like to ensure that everything is “clean” in our operating system by running the Display Driver Uninstaller (or DDU for short) program.
This program ensures that the installation of a new GPU driver goes by smoothly as any remnants of an old GPU driver could potentially cause errors with your new GPU or when installing the drivers for your new GPU. This is especially true if you are jumping from one brand of GPU to a different one or if you are upgrading or downgrading your current GPU with one that spans a couple of years.
To download DDU, just head on over to this site for the download link. The site itself also has instructions on how to use the program, and if you somehow miss those instructions, the program itself has instructions as well. So just follow those instructions and you will have a painless time switching drivers and your PC will thank you for it.
14. Install Your GPU’s Drivers
With our PC clean of any remnants of old or pre-installed GPU drivers, we can now head on over to our GPU maker’s website to install the latest drivers available for our GPU.
Installing the latest drivers will ensure that our GPUs are running in the best conditions and that they have all the latest features that our GPU maker has patched in. Running drivers that are obsolete may cause compatibility problems that may see your PC display things weirdly.
Below is a list of the websites for both Nvidia and AMD GPU drivers:
Make sure to download the drivers that are specific to your model of GPU as downloading a different one may cause problems.
Conclusion
Installing a GPU may seem like a simple task, but it requires quite a lot of steps. Although as you may notice, these steps are more of cautionary steps than difficult steps to follow.
They serve to make sure that your GPU is running at its best and that you do not break your GPU just by clumsily handling it. We just want to make sure that your investment serves you as long and as effectively as possible.

