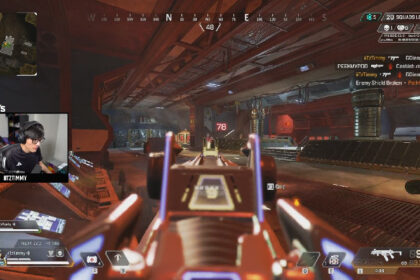
Good framerates are incredibly important in Apex Legends.
Good FPS and latency could spell the difference between a win and a loss in this epic battle royale.
Fortunately, there are lots of ways to maximize your FPS within Apex.
We’ve compiled the best ways how to increase FPS in Apex Legends without having to spend anything on hardware.
Lower the Field of Vision
One of the things we love about Apex Legends is that changing the FOV can easily be done in the settings, unlike in CSGO where you’d have to have a couple of tricks up your sleeve. Though, to be fair, Apex Legends is a newer game.
Anyway, this trick is fairly easy and is similar to the concept of lowering your graphic settings to get higher fps. By decreasing your field of vision, your PC would not have to render more things on the screen.
Just a warning though, do not do this if you’re still new to the game. Having a wide field of vision really helps in playing and spotting the enemies. On the other hand, the game actually recommends a FOV of 90 since this may not only improve performance but will also help with any personal visual issues.


Remove the FPS Cap in the Launch Options
If you’re a seasoned Steam gamer, you would know that the launch option is made to supersede any internal settings of the game. This could include something like the use of a graphic application like Vulkan to capping one’s framerate on a game like Apex Legends.
If you have a lower-end monitor and PC build, you’d be lucky to have 60 fps. Since I have a 144Hz monitor, the game was hovering around that framerate.

In order to remove this limitation, go to your Steam library and look for Apex Legends. Right-click on the game and click on properties, in the General tab, there is a “Launch Options” section with a text box. In that text box, type “-high +fps_max unlimited”. Alternatively, you can also type the command “+fpx_max 0”. Both should give you similar results.

Tone Down Some Video Settings
In particular: anti-aliasing, texture streaming budget, and impact marks. Anti-aliasing should be on none, texture streaming budget should be none or very low, and impact marks should be disabled.

Be warned though, doing this will result in some wonky and rather ugly details in the game. The care package may look like a big blob of mess, and some targets won’t look as clear.

If you do have a good PC though, it’s best to stick to medium graphic settings. Chances are, you’re not going to suffer an intense framerate drop that would severely impact your game.
Remove Shadows and Ragdoll Physics
This isn’t in the video settings of the game, but players can still do it without having to hack into the servers of Valve or EA.
First, press the Windows button+R and type “%USERPROFILE%\Saved Games\Respawn\Apex\local”. A folder will appear and there should be three saved files in that folder. Click on the file “videoconfig.txt” and make the following edits:
- “setting.cl_ragdoll_self_collision” “0”
- “setting.csm_enabled” “0”
Both of these settings will have an initial number of “1”. After making the necessary changes, save the notepad file.


Disable Windows Game Mode
Theoretically, the Windows Game Mode should improve the game performance because that’s literally what it’s for. While playing, it should block pop-ups and updates.
However, we’ve found that in Apex Legends, it does the opposite. The difference, at times, can be quite minor, so it’s entirely your call if you want to disable it.
We recommend that if you have a lower-end PC, have Game Mode enabled.
To enable or disable Game Mode, go to Settings and click on Gaming. On the left menu list, click on “Game Mode” and then turn the slider off.


