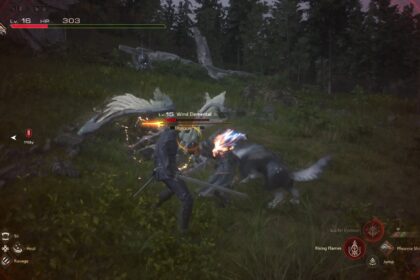
The 18th quest in Final Fantasy 16, “Holding On”, tasks Clive to find the old Bearer and defeat the Mud Dauber & Worgen. After that, the next quest. “Buried Memories” takes you to the ruins of Phoenix Gate.
This was where the Eikon of Fire and the Phoenix clashed in the early stages of the game, and it is now devoid of townspeople, but not quite completely abandoned.
As you play through this quest, you will encounter a host of enemies inside the ruins, including a couple of bosses that you have to defeat to progress through each dungeon.
These enemies will drop different types of loot for crafting or gil that can be used to purchase gear. Additionally, the dungeons contain treasure chests that hold more loot, including some rare items that will be very useful in crafting special weapons.
Crafting is an important element to master if you want to beat the game as quickly as possible because it helps to make sure that you’re always in the strongest possible position to face even the toughest enemies and bosses.
That said, this guide reveals where you can find each one of the treasure chests at Phoenix Gate Ruins and how you can maximize the use of loot that you get from them.
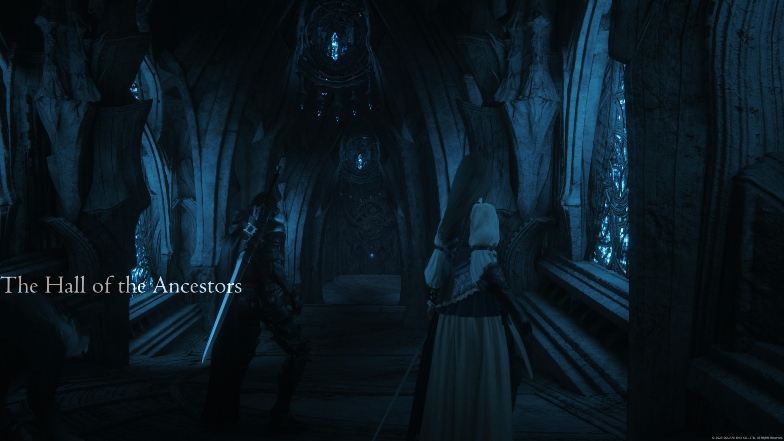
Treasure Chest #1
At the bottom of the elevator inside the Apodytery, you will face two types of enemies called Hunters and Nodes in a big open area.
When you defeat these enemies, you can head toward the lit-up doors and go through the doorway. Make quick work of the enemies here too and you’ll find a treasure chest on the right of the doorway.
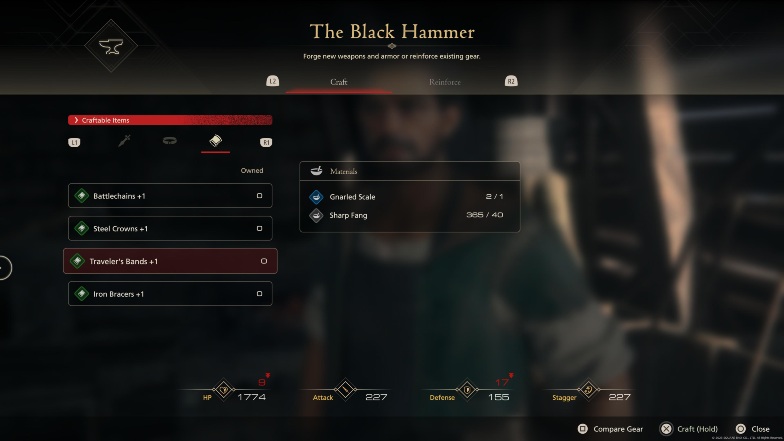
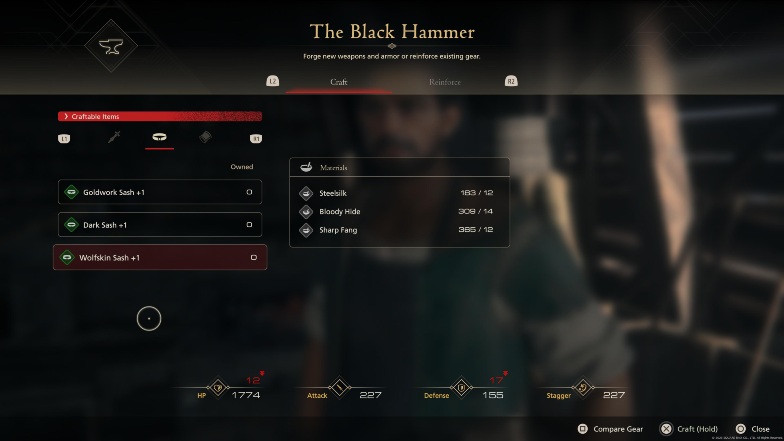
This treasure chest contains 50 Gil (in-game currency) and 5 units of Sharp Fangs. The table below shows which items require sharp fangs for crafting/upgrading, and the number of units needed.
| Item | Category | Craft | +1 upgrade | +2 upgrade |
|---|---|---|---|---|
| Defender | Weapon | – | – | 400 units |
| Everdark | Weapon | 400 units | – | – |
| Diamond Armlets | Armor | 81 units | 47 units | 60 units |
| Hunter’s Armcloths | Armor | 219 units | 129 units | 48 units |
| Platinum Cannons | Armor | 162 units | 96 units | – |
| Traveler’s Bands | Armor | 40 units | 6 units | – |
| Wolfskin Sash | Armor | 12 units | 2 units | – |
Note that there are multiple items required for crafting these items as well – sharp fangs are only one of the requirements.
Treasure Chest #2
As usual, you will find this chest on the right side of the doorway. This time, it is in the area where you defeat the Fallen Guardian.
Note that this placement is a recurring theme with the chests in Phoenix Gate. Be sure to pan the camera around the room after each battle to avoid missing any chests.
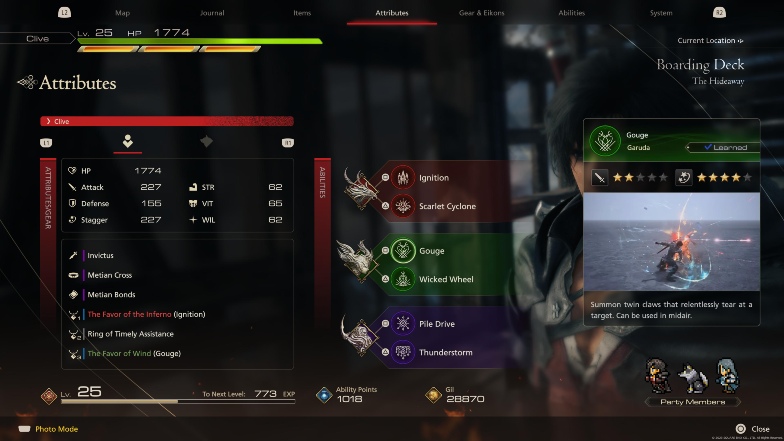
The reward from the treasure chest here is “The Favor of Wind (Gouge)” which is an accessory that can be assigned to Clive in the “Gear and Eikons” section of the pause menu.
When assigned, this accessory increases the damage of the Gouge attack by 15%. To use it in battle, you need to cycle to Garuda’s ability wheel and hit the corresponding button combo.
If the Gouge attack is not already assigned to Garuda’s wheel, you can assign it yourself in the “Attributes” section of the menu, under the “Abilities” sub-section. The section is pictured below.
Treasure Chest #3
The third treasure chest is located in the area you proceed to after defeating the Bombs. This time, it’s on the left side of the door, and the reward is only currency – 1200 Gil. This is still useful for purchasing gear upgrades or new items though.
While we’re on the topic, you should also learn how to farm gil in the game so you can purchase as many items as you need more easily.
Treasure Chest #4
The next treasure chest can be claimed after defeating the Fallen Bugs and Bombs. Again, you’ll find it on the left side of the door, but it’s a bigger reward this time.
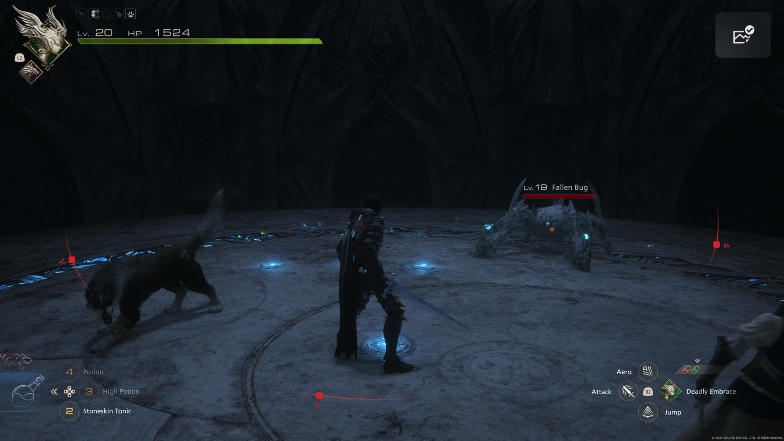
The reward is “The Will of Wind (Rook’s Gambit)”. When assigned, this accessory increases the will damage of the Rook’s Gambit by 10%. The Rook’s Gambit (illustrated in the picture below) is another one of the attacks in Garuda’s abilities wheel. It is a defensive counterattack that is great for dealing damage to the will of your opponent
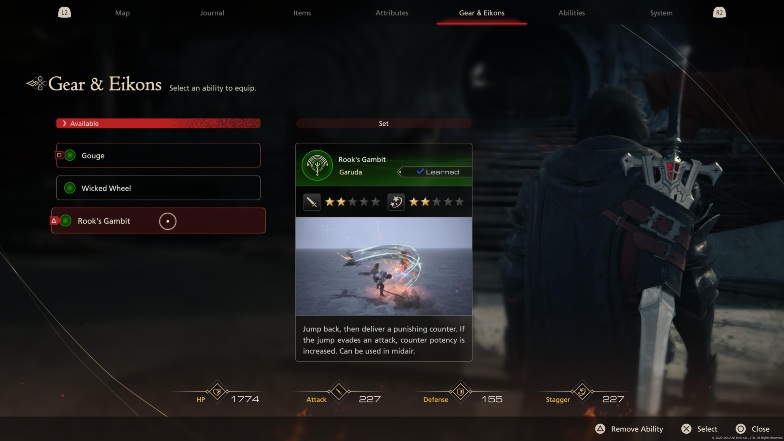
This attack should also be assigned in the “Gear and Eikons” section if you want to use the accessory.
Treasure Chest #5
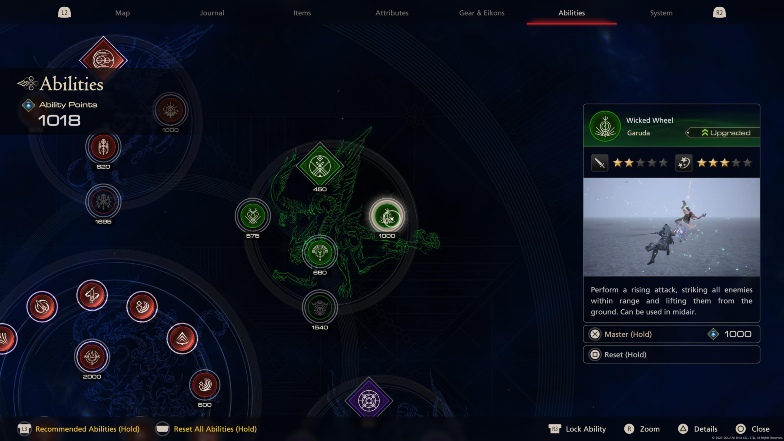
The fifth and final chest in Phenix Gate’s ruins yields another accessory, this time “The Favor of Wind (Wicked Wheel)”. You have a choice to make between the three attacks in Garuda’s abilities wheel as you can only assign two at a time.
If you have the Wicked Wheel assigned, then this accessory will increase the damage of the attack by 10%.
The treasure chest can be found on the left side of the door after you beat the Iron Giant.
The Iron Giant itself drops some useful loot: Fallen Iron, Wyrrite, and Meteorite. While Wyrrite and Meteorite are fairly easily obtainable throughout the game, Fallen Iron is a much scarcer commodity.
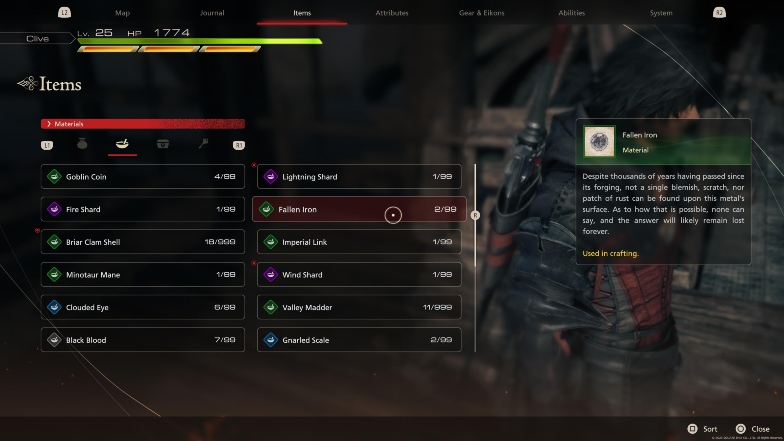
In fact, you can only obtain it by defeating the Iron Giant in this quest or defeating Atlas, an S-rank Notorious Mark.
In the same vein, the uses of Wyrrite and Meteorite greatly outnumber those of Fallen Iron.
You can use the two common materials to craft and upgrade several weapons and armor, but the only known use of Fallen Iron is for upgrading the Defender – one of the best swords in the game. This upgrade can be done by the blacksmith at the Forge in the Hideaway.
The accessories are the best part of the loot at this stage. However, you can further enhance the effectiveness of the extra damage that they provide by mastering the corresponding attack in the “Abilities” section of the pause menu.
If you don’t have enough points to do so, I strongly recommend checking out our guide on how to farm ability points in the game next.

