The Eikon battle was one of the highlights of the demo of this game before its full official launch, and it also serves as the prologue in the full game. If you’ve played it from the beginning, then you already have a taste of what an Eikon battle is like.
That said, this fight against Garuda (the Eikon of Wind) is the first Eikon battle in the main storyline, and it can be a bit of a challenge even though it happens fairly early on.
The battle happens soon after you defeat Benedikta, Garuda’s Dominant, and this guide should make it easier for you to beat Garuda herself. Before we get into it, let’s talk about preparing for the fight first.

Before the Fight
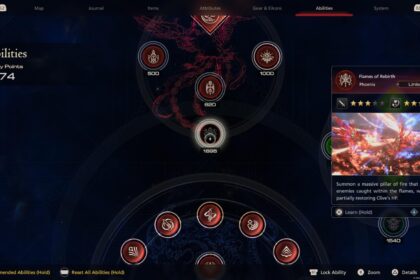
I always recommend maximizing the use of any ability points at your disposal before any boss fights in this game. There’s no point hoarding those points when you can make Clive as strong as he can be for that moment.
It also doesn’t really matter if you’ve previously assigned ability points to upgrade certain areas. You can always reset this and reassign them based on your current situation and needs.
There are specific upgrades that I found particularly useful for this fight. First of all, I expect that you must’ve mastered your Precision Dodge, Aerial Attack, Melee Attack, and Burning Blade at this point.
Now, since defeating Benedikta, you have gained some of Garuda’s powers, and you can alternate between using her Eikonic abilities and your standard ones.
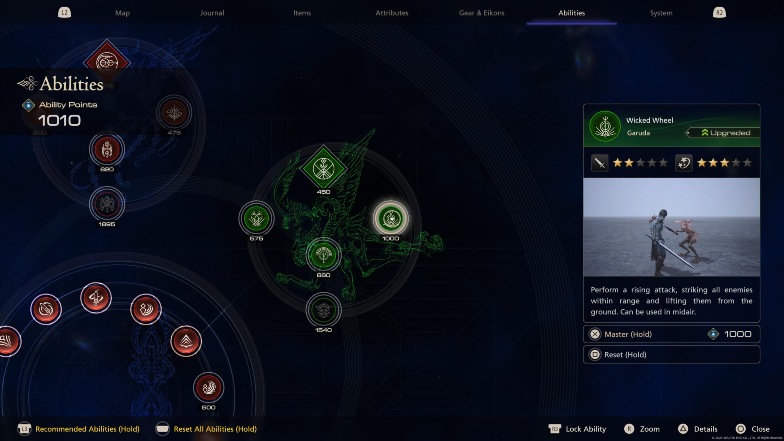
This means that you can also upgrade these new abilities as well. The Rook’s Gambit, in particular, will be very useful for the fight against Garuda as you’ll find yourself dodging attacks and relying on counterattacks often.
Paired with the Gouge ability, this combination is one of the most efficient ways to stagger Garuda’s Will and bring her to her knees. Those moments – however short – are the time that you can take full advantage and try to deal as much damage as possible before she recovers.
Alternatively, you can upgrade the Wicked Wheel if you have enough ability points to do so. It is more effective against larger enemies due to the fact that it is a rising attack.
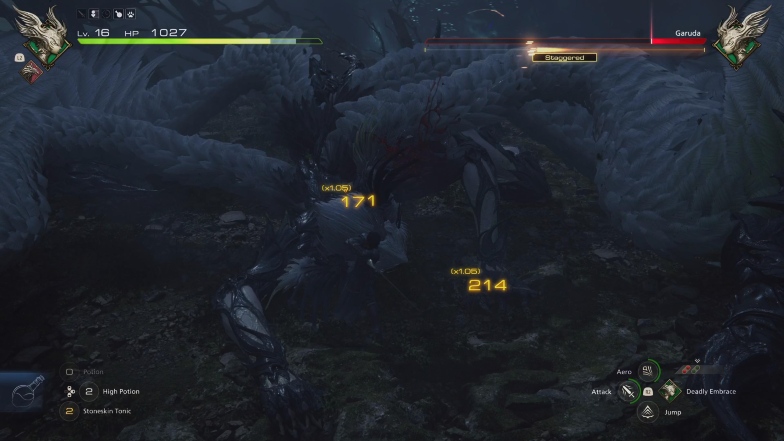
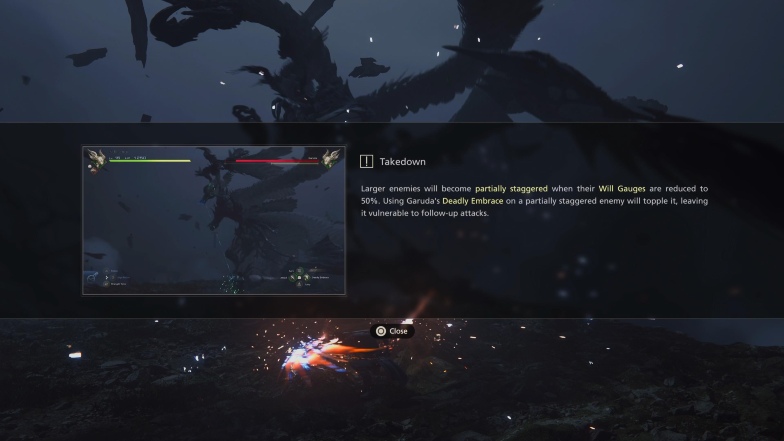
Finally, upgrading Garuda’s Deadly Embrace ability is also extremely useful. When you manage to stagger Garuda, using the Deadly Embrace executes a move called the Deadly Takedown. You can read all the extra information for these abilities in the “Abilities” section of the pause menu.
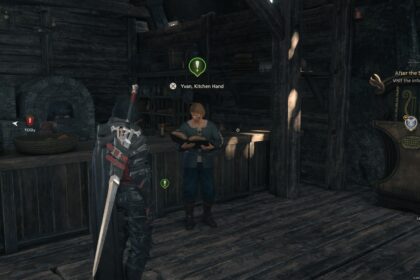
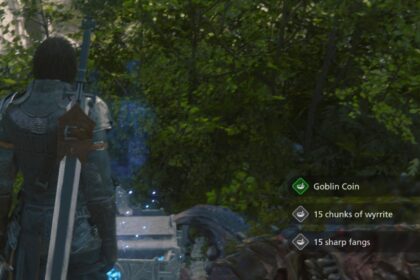
Before you actually get to Garuda, you will encounter a field littered with creatures called Wind Elementals. Beating these Wind Elementals will yield certain unique items that you can use to craft a better sword (the Bastard Sword) before going on to challenge her.
If you do go back to The Hideaway to craft the Bastard Sword after defeating the Wind Elementals, then you can find Garuda again by making your way to The Eye of the Tempest on the map.
However, if you pre-ordered the game and already claimed the rewards for doing so, then you already have a better sword than the Bastard Sword.
Cross-check that you have all abilities upgraded, and check your items slot as well. It is advisable to always have potions there, especially if you don’t have the Ring of Timely Healing assigned. Then, you’re ready to fight Garuda.
Human Clive Fight
First Phase
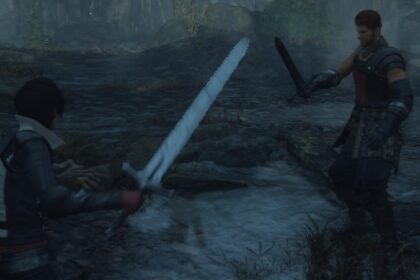
The beginning of the fight is marked by a cutscene where Garuda grabs Clive and a Cinematic QTE prompts you to attack and free yourself from her grasp.
Garuda is massive in comparison to the size of Clive, so it is very easy for her to attack from one spot. You need to be wary of her talons which will often come swooping down from either side or right in front of you.
The frontal attack is called Overhead Smash while the one from the side is called Sideways Swipe. Use your Precision Dodge to evade and counterattack. The best time to dodge is just when the attack is about to hit you.
There are two other talon attacks in this first phase but they’re relatively easier to avoid. The first is Spinning Attack and the second is Pounding Talons.
The former is easy to avoid because there is a slow spinning build-up to it that gives you enough time to get away. The latter has Garuda smashing the ground in front of her with her talons and is also easy to avoid because you just need to make yourself scarce from the area she’s pounding.
This fight, like many other boss fights, is all about timing. When you see Garuda building up an attack, that is not the right time to try to build up an attack of your own. Dodge and find an opening for a counterattack, rinse and repeat until you stagger her Will meter, and then execute Deadly Embrace to perform a Deadly Takedown.
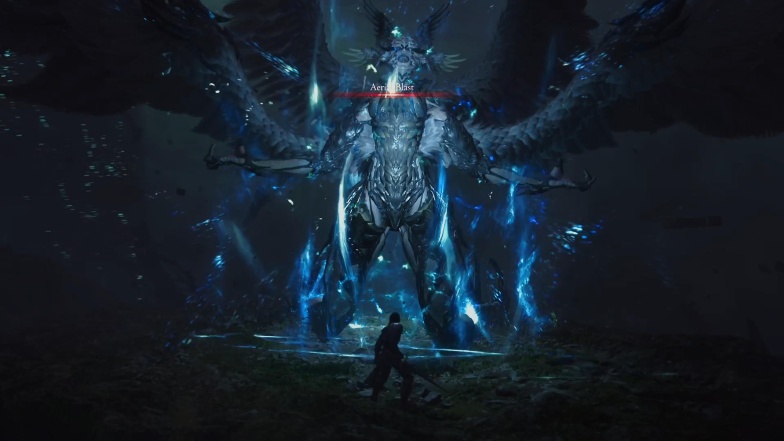
The end of the first phase begins when you get her health bar down to half, and is marked by a cutscene where Garuda introduces a new attack called Aerial Blast.
Second Phase
When Garuda uses the Aerial Blast attack, you’ll see flashes of electricity crackling around her as well as several tornadoes circling the battleground. You need to avoid these tornadoes and be sure to refrain from approaching Garuda as well. Stick to ranged magicked attacks.
The Spinning Attack also makes a return at this point but this time, it comes with horizontal slashes of wind magic that you need to avoid as well. If you can’t get away from one of these in time, try jumping.
The wind magic bursts from the Aerial Blast also never really go away, so keep an eye out for those as well and dodge the areas in which they appear.
Stick with this routine of mostly ranged attacks and dodging unless a clear opening presents itself to close down quickly and deal direct damage. You can find these openings more often if you actively try to be behind Garuda as often as possible instead of in front of her.
In such situations, the Wicked Wheel comes in handy because even if she does the Spinning Kick where she tries to clear you off the ground, the rising attack means you’ll likely be in the air still getting some combo attacks in. Try to maximize the use of the Rook’s Gambit for counterattacks as well.
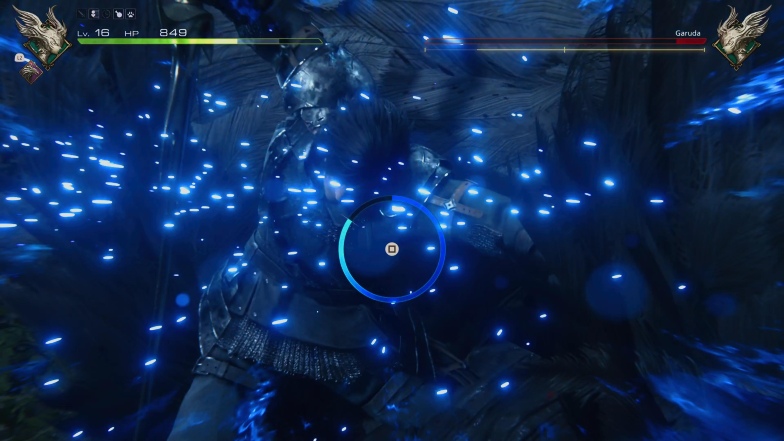
When Garuda’s health drops to about 5%, another cinematic QTE follows that marks the end of your fight with her as human Clive. The next reveal is pretty interesting!
Eikon Ifrit Fight
At this point, you now know that Clive is also an Eikon of Fire, and he embodies the Eikon Ifrit for this next phase of the fight with Garuda.
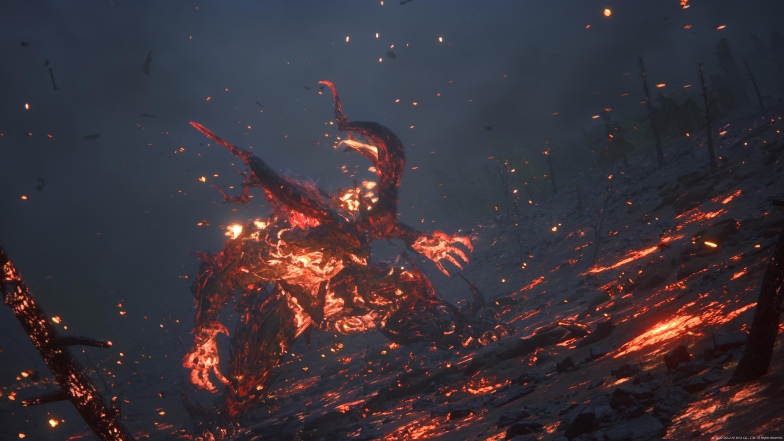
While you have much fewer options for attacks when you’re playing as Ifrit, the fight is still easier because Ifrit’s attack deal more damage to Garuda’s health, and her attacks deal less damage than they did with Clive. It makes sense because this is an Eikon vs Eikon fight after all.
As Ifrit, you have the options of a ranged fireball attack, a lunge, evasion, and melee attacks. I found the lunge and melee attack combo to be the most effective in dealing damage as quickly as possible, but be careful to evade when she’s firing off attacks as well.
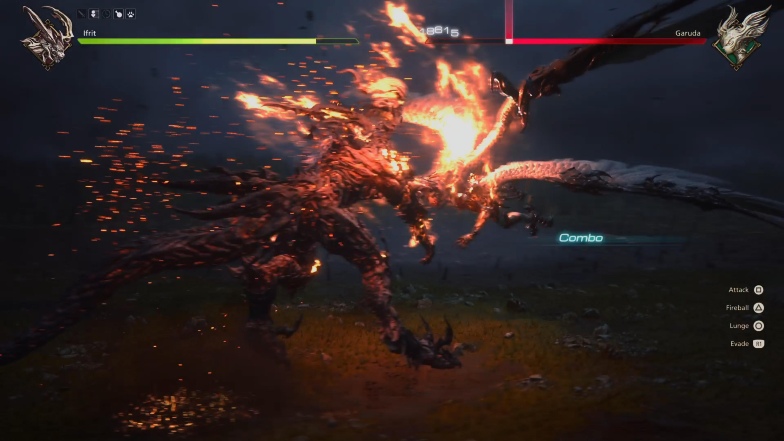
There are a few cinematic QTEs at this point that are easy to follow, but otherwise, the pattern of the fight stays the same. One thing to note is that when Garuda triggers the Aerial Blast attack in this phase, it is best to avoid it altogether and attack from another angle.
In the aftermath of the fight, it might be worth learning how to level up faster in the game. This will aid the process of making Clive stronger, and you should, in turn, find it a bit easier to win boss fights. Enjoy!

