Aside from driving skills, tuning is one of the cornerstones of being a great driver. A car that you have upgraded may have the most power, but a shoddy tune will leave it in the dust with more balanced and focused cars.
Forza Horizon 5 caters to a lot of demographics when it comes to its racing. In one race you could be racing on the highway with your foot to the pedal without much care for handling, while in other races, you will be navigating a twisty track in the dirt that requires a lot more handling and grip than just raw power.
The way you tune your car for one type of race is completely different from how you tune it for another.
In this Forza Horizon 5 tuning guide, we’ll be going through the best tuning setups in Forza Horizon 5 across several racing disciplines that the game has to offer and come up with the best tunes for each discipline and car class so you can smoke the competition.
How to Unlock Tuning
In order to start tuning your car, you will have to make sure that the appropriate upgrades are installed on your car. Several tuning options are only opened when you install a specific upgrade to your car.
You can find the upgrade menu in the Garage menu under the Upgrades & Tuning menu. From there, select the Custom Upgrade option and start installing those upgrades.
Below will be a list of performance upgrades that will unlock their specific tuning options. They are arranged by which upgrade menu you can find them in.
1. Platform and Handling
- Race Brakes – All Brake tuning options
- Race / Drift / Rally Spring and Dampers – All Alignment, Spring, and Damper tuning options
- Race Front Antiroll Bar – Front Antiroll Bar tuning option
- Race Rear Antiroll Bar – Rear Antiroll Bar tuning option
2. Drivetrain
- Sport Transmission – Final Drive tuning only
- Any Race Transmission – All Gearing tuning options
- Sport Differential – Acceleration Differential tuning only
- Race / Rally / Offroad / Drift Differentials – All Differential tuning options
3. Tires and Rims
- Any Tire Compound – All Tire tuning options
4. Aero and Appearance
- Adjustable Front Bumper – Front Aero Downforce tuning option
- Adjustable Rear Wing – Rear Aero Downforce tuning option
Auto Upgrade is also an option available if you are looking for a quick way to upgrade your car to another class but we generally avoid doing this as you have no control over what parts go into your car.
It is better if you yourself upgrade your car so you can prioritize and build how you want your car to drive.
How to Tune Your Car
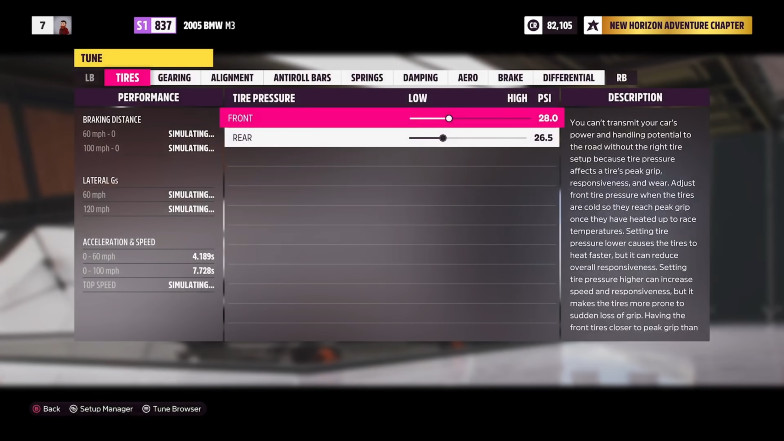
Now that we have our upgrades, we can now start tuning! Tuning your car might sound complex, but it is much simpler than you think it is, especially in a rather arcadey racing game like the Forza Horizon series.
The easiest way to get over this hurdle is to familiarize yourself with the tuning options and how they interact with your cars.
Below will be the tuning categories that you will find in the tuning menu as well as the tuning options per category. We will be breaking down these options and what they affect when it comes to driving.
Tires
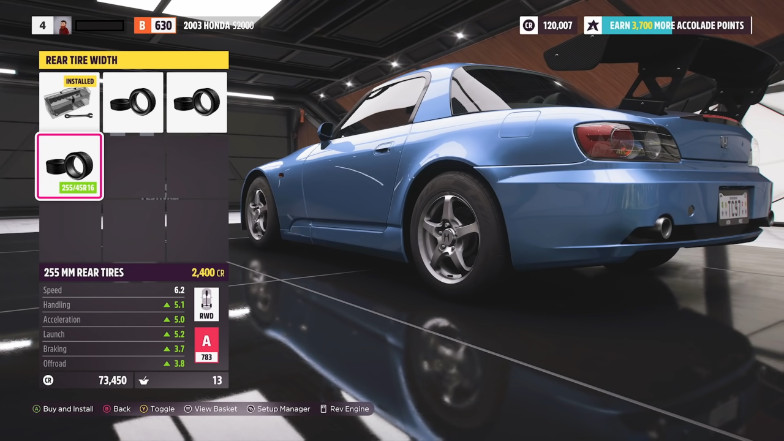
Although there are technically two options here (front and rear tire pressure), they generally do the same thing.
Adjusting your tire pressure affects how your tires react when going at speed as well as how much heat they produce. The softer you set your tires, the quicker they generate heat, and in turn, get grip much quicker.
The downside to this is if a tire becomes too hot, the tire starts to degrade, leading to performance loss.
The same goes for the opposite spectrum. A harder tire allows for more nimble handling but generates less heat, making the tires slide more.
Generally, we go for a softer compound on both rear and front tires as the majority of the races are not long enough to justify a tire that needs to be heated up versus a tire that is always at or near peak temperatures.
Gearing
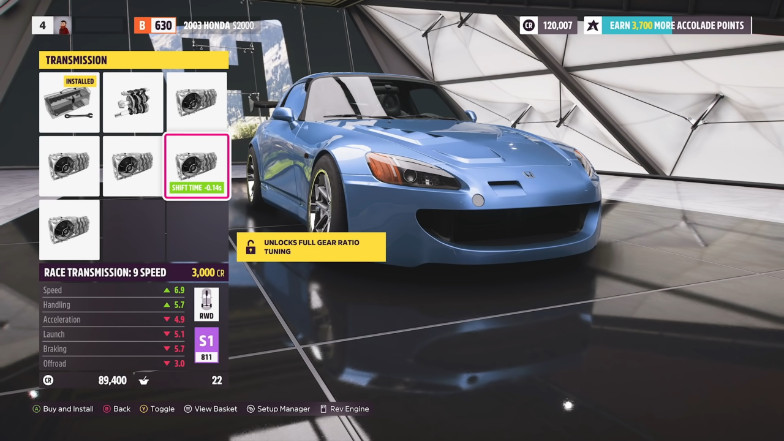
In the gearing menu, you can adjust the gear ratios as well as the final drive setting. Gear ratios pertain to the distance of one gear from another. A tighter gear ratio means that you will be rowing through the gears much quicker leading to better acceleration, but will also hinder your top speed.
A longer gear ratio takes advantage of the distance between the gears and you will be able to build up more speed, this is at the cost of acceleration though as it takes longer to get into a higher rev.
A general tip when tuning your gearing is to look at the gear ratio chart and adjust the final drive until you can see all the gear stems in the graph completely. Adjusting the final drive basically adjusts all gears in unison, preserving their ratios.
When tuning the individual gear ratios, you can then try and do some practice runs while shifting up on the redline.
If you shift up and hit the rev limiter almost immediately or are experiencing too much wheelspin, then try to distance your gear ratios more. Vice-versa if you think you shift into too low a rev range.
You can also tune your first gear into a longer gear if you think you are producing too much wheelspin when coming from a standstill. The opposite applies if you have an abundance of grip and not enough power to launch your car. For that, you must shorten your first gear.
Alignment
The alignment category pertains to how your tires and suspension are aligned to the road. We generally want to have a neutral alignment at all times so that our tires are always hitting the pavement fully.
That said though, tuning everything to 0 is not exactly the way to go as a moving car will shift its weight continuously and therefore will have a dynamic variable to your alignment. It is, therefore, better to tune for these variables.
Camber
When it comes to tuning camber, it is almost always better to go for a generally negative camber. While this might not be optimum going in a straight line, it is best for taking corners.
As you turn, your car’s weight shifts, and the amount of tire in contact with the road increases, which is where we want most of our grip anyway.
Toe
Toe can actually be left neutral as it pertains to how a tire is aligned to the road horizontally. The straighter the toe is, the better. However, there are some cases when tuning the toe comes in handy.
Tuning your toe to be toe-in may help stubborn cars turn in more by having the wheels point inward, leading to a tighter turning radius at the cost of straight-line stability.
Caster
Adjusting the caster also enhances straight-line stability. The more caster you dial in, the straighter your tires are to the road, too much will leave you with a narrower turning radius though. Adjust accordingly whether you need more stability (positive) or more turn-in (negative).
Antiroll Bars
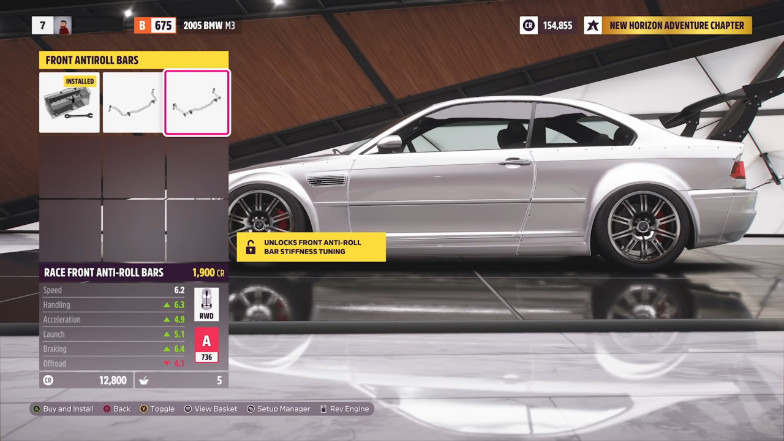
Anti-roll bars help with keeping the car stable during corners; it reduces the car’s body roll. Too soft and the car becomes very unstable through corners, too stiff and the car becomes prone to tripod which is the act of the inner tire in a corner coming off contact with the road.
A general rule of thumb with antiroll bars is to first find the sweet spot with the fronts (usually a quarter of the bar on the soft side) and adjust accordingly with the rear. By adjusting the rear antiroll bars, you can tune the characteristics of your car.
Making the rears stiffer than the fronts will result in more oversteer, while softer rears will result in more understeer.
Springs
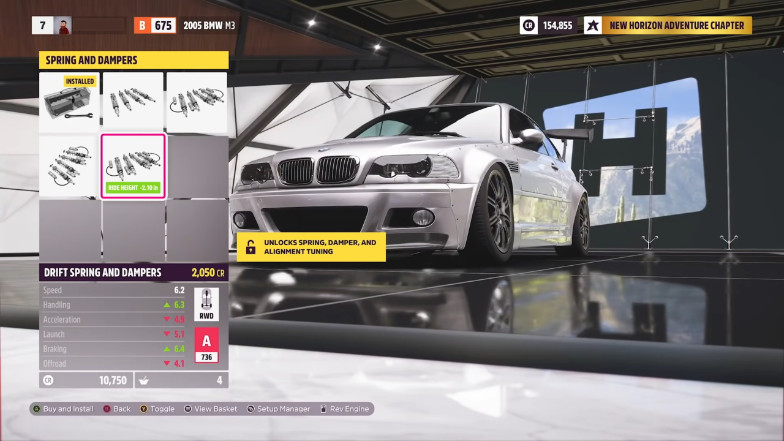
Tuning your springs has almost the same philosophy as the antiroll bars (softer rear springs result in more understeer, etc.) except that it encompasses more factors like squat during acceleration and weight transfer under braking.
It is also important to take note of the engine placement of your car and the weight distribution as you will want stiffer springs where most of the weight is to increase the stability of the car.
Springs
Springs that are too stiff will result in bumps and dips on the road being more prominent to the handling of a car while springs that are too soft will result in your car being unstable during acceleration and under braking.
In general, when it comes to road racing, stiffer springs are preferred to give more stability while softer springs are preferred in offroad races in order for the car to absorb the rough terrain better.
Ride Height
When it comes to Forza Horizon, the lower the ride height, the better. Lowering the ride height increases a car’s stability but in turn, adds the risk of the car bottoming out when going over jumps.
This is really only a problem in offroad races, so adjust your ride height accordingly if the course deals with a lot of jumps, but even then, the speed lost in jumps is gained by attacking corners better.
Damping
It is a very similar philosophy to the springs category but in damping’s case, it focuses more on how the car reacts to bumps and jumps rather than the general characteristics of the car.
In general, the settings here will be a bit of a mimic of the springs (if your front springs are stiffer, your front settings here will be stiffer as well) as this is more of a supplementary setting.
Rebound Stiffness
Tuning the car’s rebound stiffness alters how quickly the springs of the car expand after being compressed. The stiffer the setting, the more stable it will be on smooth surfaces. However, if driving on loose gravel, it is better to soften this setting up as stiff rebounds will unsettle the car very frequently.
Bump Stiffness
The opposite of rebound; bump stiffness changes how your suspension compresses. The general rule of tuning this is that you just get around 60-70% of the value of your rebound stiffness and that will be your bump stiffness.
Aero
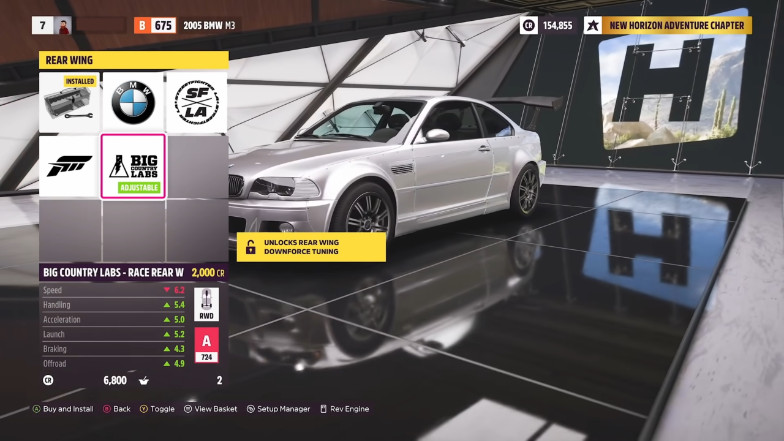
Adjusting your aero is basically deciding whether you want your car to be quicker in corners or if you want to go faster in a straight line.
Front Aero
The front aero is responsible for keeping your front tires glued to the ground so it is always best to max this out in order for grip and turning to be at their best.
Rear Aero
Rear aero on the other hand has a bit more freedom to it. You can opt to maximize this setting to keep your rear in check (and thus have more rear grip during corners) or set this to its lowest setting for better top speed.
Brake
The brake category is pretty self-explanatory. It gives you both brake balance and brake pressure.
Brake Balance
Having more front brake bias will have you stopping better but it will result in an increased chance of locking your brakes which will have your car going straight past a corner.
With this in mind, we will always go with more rear brake bias as though it decreases stability during braking, it allows for smoother braking. That and oversteer is better than understeer. This is especially true for drift and offroad builds as we would want our car sliding through corners.
Brake Pressure
Brake pressure is simply to be put at its maximum, especially if you have ABS on as one of your assists. This is to increase your braking power and in turn, have you slow down quicker and sooner.
Differential
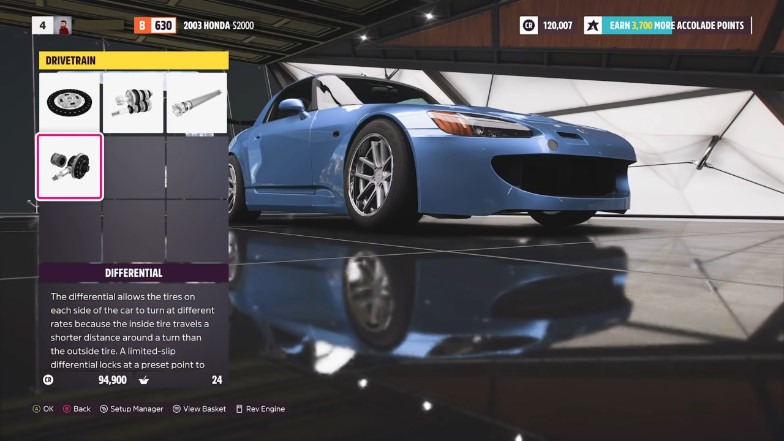
Differential tuning is the last category available. Differentials help with handling and power response by giving more torque to the tire with more grip. It can also let the wheels spin at independent speeds to keep stability under acceleration or deceleration at the cost of outright speed.
It is good to note that for FWD cars, you can only tune your Front Differential, for RWD cars, your Rear Diffs only, and for AWD cars, both front and rear diffs plus a center differential.
For single-drive layouts, increasing your acceleration slider on the differential will help you in distributing power evenly on both wheels. The problem is that too much acceleration will result in less stability when putting down the power.
For deceleration, it is better to go all-out independent so that braking is much smoother with little-to-no chance of locking up.
For AWD cars, you will also have the option to tune a Center diff. This affects how much power is being sent to either your front wheels or your rear wheels.
You would want to always make this biased towards the rear in order to counteract the understeering nature of AWD cars but not too much that you end up with an RWD car with added-on weight.
Tunes by Racing Discipline
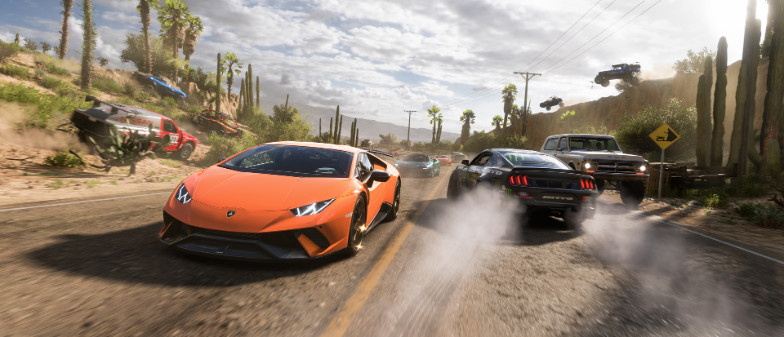
Now that we know what each tuning category and tuning option does, we can now apply this knowledge to our cars. But of course, it does not end there as we need to decide what our car will specialize in, whether it be a drag-strip demon or an offroad monster.
Below will be a list of the different racing disciplines available in the game and how you should tune your car accordingly.
Something good to note is that each car will be different from one another, so take this guide as something to start with rather than it being a template. Fine-tuning will be the one to set you apart from the rest.
Road Racing Tunes

Forza Horizon 5 is comprised of a lot of road racing tracks so learning to tune here is pretty much the gateway to much of your tuning prowess.
What we generally want from road racing tunes is a stiff suspension setup (close to half or halfway in the tuning bars) for stability and cornering aero turned to the max for faster cornering speeds. We also want to be at our lowest when it comes to ride height in order to make the most use of our aerodynamics.
Tires should also lean towards the softer side of things (20-25 PSI) as we want more grip when it comes to road racing.
Gearing will depend on your preference, but it is always a good idea to make your final drive tuned for top speed to take advantage of the long straights strewn across Forza Horizon 5’s map.
All-Wheel Drive (AWD) Tune
When it comes to the Forza Horizon physics system, AWD tunes are usually the best in competitive races since it gives you the most grip off the line, making for better acceleration, and an easier time controlling a car in the exit of corners since power is evenly distributed out to all wheels.
The downside of this type of drivetrain is that it is more prone to understeering and an AWD swap or AWD car in general usually weighs a lot more than either FWD or RWD cars.
To counteract this, make sure that your suspension and antiroll bars are stiffer in the rear in order for your AWD car to slide a bit more. Center differential also plays a huge part here as you can set your AWD system to be a bit more rear-biased (around 70-75%) for an easier time.
Caster should also be set a bit lower than usual (values of around 5.0-6.0 degrees) so that we are given more turn-in.
Lastly, we can also make our tire pressures mimic our suspension settings to further help our AWD car be a bit more forgiving in the corners.
Rear-Wheel Drive (RWD) Tune
Although slow off the line, RWD Forza Horizon 5 tunes come alive after the beginning of the race where their reduced weight and nimbleness shine better than AWD cars. They also attack corners much better since they have more control of their front tires.
The problem they impose is their love of power-sliding as well as a tendency to wheelspin in corner exits leading to spins.
To counteract this, we make the front suspension and antiroll bars of our car stiffer than the rears. Since our differential only affects two wheels, we set it to be at around 60 for acceleration and 0-20 for deceleration. This makes our RWD cars a lot more stable when coming out of slower corners.
We can also counter this abundance of power by tuning the gearing to have a longer ratio in order for power to come in at lower revs in order for the tires to catch grip first before going loose.
Front-Wheel Drive (FWD) Tune
Just like AWD cars, FWD cars are more understeer-heavy, but unlike AWD cars, they are way nimbler due to their unparalleled lightweight just like RWD cars.
As such, tuning for FWD cars should pretty much be a combination of both AWD and RWD cars in that we tune to reduce understeer while also keeping in mind that power only goes into 2 wheels.
Stiffer rear suspension and antiroll bars will do us well while a longer gear ratio can also be justified to control the power output to the front wheels.
Something a lot more important than the other drivetrains to consider here is the tuning of the brakes. Since the front tires will be doing most of the work, it would be a great idea to have a rear-biased braking setup to have the front tires be a little cooler to perform better.
Dirt / Rally Tune
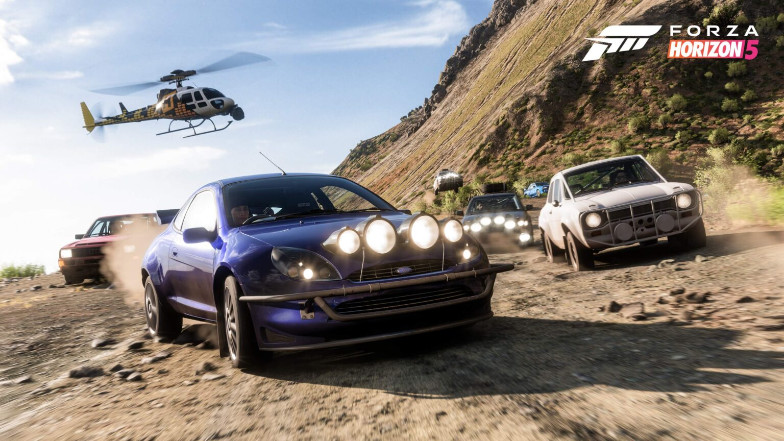
There really is just one drivetrain that dominates rally racing and that is AWD, so this section will only discuss an AWD tune.
When it comes to rally racing, we want our car to be as quick and nimble as possible but also tough enough to handle the uneven surfaces of dirt and gravel.
One thing to note is that not all rally races will be entirely offroad like the Dirt Racing Festival, there will be races that combine both dirt as well as tarmac, such as the Cross Country Racing Festival. With that, we should account for both disciplines.
As such, the most important setting to tune here is the suspension. When it comes to rallies, we would want a much softer setting than road racing, but also not too soft that it makes us unprepared for tarmac sections of a track.
Antiroll bars should also be on the softer side so as to not upset the car when going through uneven terrain.
Just like the AWD tune for road racing, we set our suspension and antiroll bars to be stiffer on the rears than the front to help us slide in the offroad sections.
Ride height should also be a bit higher, around an inch or 2 more than our road-racing counterpart just to be safe from bottoming out when going over moderate jumps and clearing some puddles.
Tires should be softer as well (10-15 PSI) to account for the rough terrain. For gearing, we go for a shorter gear ratio as when it comes to rally, acceleration is king rather than top speed. The faster we go through gears, the better as it also helps us keep traction on offroad sections.
Finally, for our differential, it is up to you whether you want to have a truly 50-50 AWD car to account for the low-grip sections, or something like 65-70 biased to the rear in order to make the car livelier on the corners.
Cross Country Tune
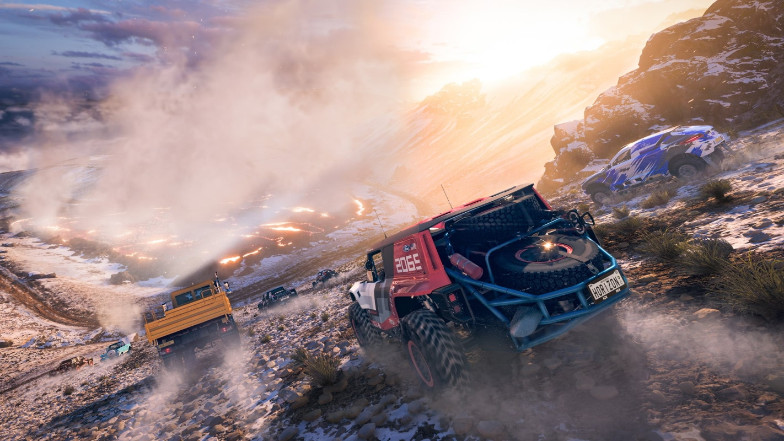
Just like our rally racing FH5 tunes, cross country is completely dominated by the AWD drivetrain so we will focus on that drivetrain when tuning your car.
Although largely similar to how we tune our rally racing car, cross-country racing involves a lot more jumps, more obstacles, and takes place almost entirely offroad.
With that in mind, we will want to have suspension and antiroll bars softer or on par with our rally build but ride height to be comparatively higher to account for the bumps and jumps that will be littered throughout the cross-country tracks.
Tires should also be a lot softer (less than 10 PSI) to account for the amount of terrain you will be racing on, as cross-country racing usually involves all types of terrain from dirt to sand, grass, and gravel.
Caster should also be reduced (around 5.0 degrees) as most of the cars used in this type of racing will be sluggish when it comes to steering, so a little more steering angle will help in the long run.
Gearing should also be a little bit longer than rally races since cross-country racing tends to lean towards faster, straighter tracks with long corners instead of the complexity of rally tracks.
Finally, when it comes to the differential, like rally racing, it is up to you how much you would want your car to slide, so tune accordingly.
Drag Tunes
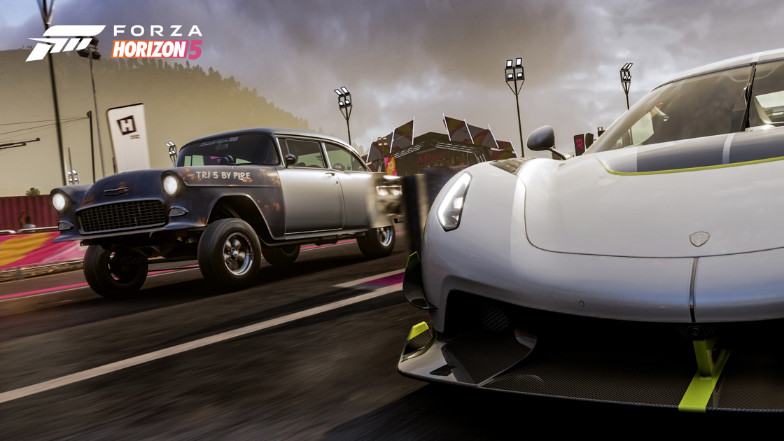
When it comes to drag racing, tuning knowledge from the other types of racing disciplines is pretty much thrown out the window as drag racing has its own priorities and deals with the extremes instead of the fine-tuning required in other racing disciplines.
Getting your gearing right is the most important FH5 drag tune when it comes to drag racing. We would want to make it so that our gear ratios always hit the peak of our power band (this can be seen in the upgrades section) so that power is always being used to its fullest.
We would also want to make it so that our first gear reduces the amount of wheelspin we produce as wheelspins in drag races are a waste of speed. Make it so that before even reaching the rev limit of your first gear, your tires have already found grip.
Do not make the gears too long though as too much grip will result in a very sluggish and anticlimactic launch with your car’s power not being enough to propel the car forward.
Camber and toe can be kept at 0 degrees (or dead straight) as there are no corners to be taken in a drag strip, but the caster should be set at its maximum so that stability in speed is also increased.
Brake tuning can pretty much be ignored because if you are braking in drag racing, you are doing it wrong.
For our differential settings, we put all acceleration options to the maximum to have the absolute best launch and have our tires working optimally at all times and deceleration options to the minimum as once again, we are not going to slow down in a drag race.
Lastly for aero, we should have any aero part unequipped to increase our speed, but if a car has its aero tuning options unlocked, just put it at the lowest to increase top speed.
All-Wheel Drive (AWD) Tune
With superior launching capabilities compared to your two-wheel drive counterparts, you will be sure to leave RWD and FWD tunes in the dust at the start, but your weight might just bring you down.
Drag racing in an AWD car is all about balance as we would want all our tires to have the optimum grip for us to launch very quickly.
With this in mind, we tune our suspension to be incredibly soft all around except for our bump stiffness and front rebound, which we should set to the maximum stiffness. This is to ensure that all our tires have the biggest contact patch on the road at all times.
For ride height, we usually put the rears to be higher than the fronts as most of the weight shifts to the rear when launching. This puts more grip on the rear tires and does not overload the fronts.
Finally for our differential settings, since most of the weight will be traveling to the rear at launch, we put more emphasis on power on the rear (around 70-80%) in order for our rear tires to deliver most of the power to the road.
Rear-Wheel Drive (RWD) Tune
Although its launch will not be as good as an AWD tune, its weight might just edge out an AWD tune when it comes to top-speed runs.
When drag racing an RWD car, you want to take the weight and power of the engine and have it shift from the front to the back and the front again. If the power pushed towards the back is not enough, this will result in a wheelspin. If too much weight is forced onto the back, the car will wheelie or lose power.
With this in mind, for damping, we would want our front rebounds to be soft to lift the front tires a bit and rear rebounds to be in the middle so that when coming from a launch, it lands smoothly.
The rear rebound should be stiff while the rear bump should be soft to help put the power down onto the tires even more.
Rear antiroll bars should be set to the stiffest so that power and weight are kept evenly throughout the rear tires while the front antiroll bars set to the softest to allow for better grip by the front tires.
Tires should be tuned with the rears being the softest while the fronts being the hardest. This ensures that the tires that power goes into have the best possible grip available at any given moment.
Front-Wheel Drive (FWD) Tune
Although not as common as the other 2 drivetrains, FWD cars are still plenty viable in the drag racing community.
Since power is being delivered to the front wheels, we will need to make sure that the weight stays in the front in order for the front tires to grip.
Tire pressure for both the front and rear tires should be the softest as we want both front and rear tires to be gripping the road as much as possible.
For our suspension setup, we can go for a stiff setup with the springs being a bit stiffer in the front than the rear. Antiroll bars should be set to be the stiffest as well as this will help in redistributing the weight to the front tires quickly when launching.
For damping, we go for soft front rebound stiffness and stiff front bump stiffness, and the opposite for the rear rebound and bump stiffnesses. This compounds the effect where weight is distributed to the front during a launch.
Finally, for our camber, we put the rears in a positive camber (around 1.0 degrees) for it to reduce a bit of drag when it comes to rear wheels and help with straightening the car out when launching.
Drift Tune
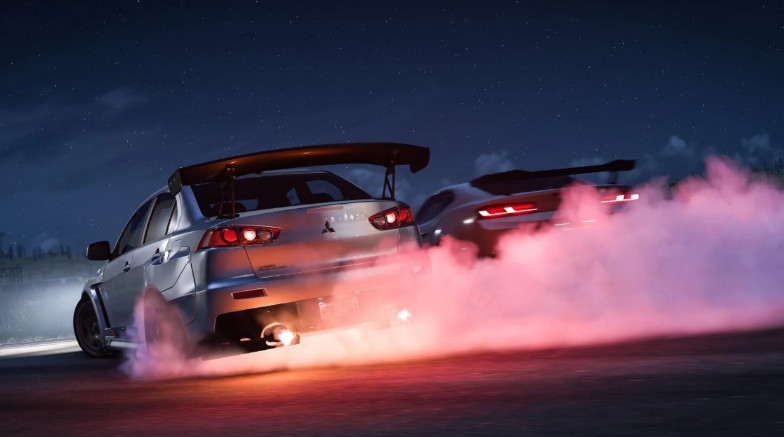
Although there are AWD cars that can drift, the most effective (and traditional) cars for drifting tunes are RWD, so we will be focusing on an RWD tune only.
Like drag racing, the rules for tuning drift cars are significantly different from tuning a normal race car because of the nature of drifting, where style goes beyond speed.
Let us start off with tires. The front tire pressures should be set moderately soft (around 25-30 PSI) while the rears are left to be at their softest. This allows for great amounts of grip in the rear while allowing for great transitions between grip and loss of grip which is pretty much how drifting is (a controlled powerslide).
For gearing, shorter gear ratios are preferred to get your car close to full rev all the time (which leads to wheelspin) while allowing you to accelerate fast and keep the wheels turning during a drift.
For alignment, always go for fully-negative camber for the front wheels while going slightly-negative camber (0-1.0 degrees towards negative) for the rear wheels.
Front toe should be set to full toe-in while the rear toe setting depends on the drifts that you are trying to pull. If you want more controlled and longer drifts, go for toe-out. If you want sharper and more angled drifts, go for toe-in.
Caster should be set to the maximum as it allows for better camber and the steering angle brought by the drift suspension makes sure you can turn on a dime despite this high caster setting.
For antiroll bars, set the fronts to be slightly soft while the rears are at their softest settings. This allows for maximum grip while drifting. If you are experiencing too much grip, stiffen the rear anti-rollbars by a little.
For springs, they follow the same logic as antiroll bars, only that your rear springs are just a tad bit softer than the front springs instead of them being fully soft. For ride height, you should always go as low as you can go.
For damping, drift setups will prefer a stiffer rebound setting (around half to 3/4 of the bar) and a softer bump setting (around 1/4 of the bar). This means that the cars will lean a lot due to the soft bump settings but immediately straighten out due to the stiff rebound settings.
For aero, simply set them to their lowest setting as we do not really need them due to aero being largely ineffective when traveling sideways.
Brakes should be set to a completely front-biased setting in order to have more control mid-drift and brake pressure to be set to its maximum as well for more aggressive transitions.
Lastly, for our differential settings, we will put both acceleration and deceleration to the maximum as we want our wheels to lock up easily and consistently.
Which Upgrades Should I Prioritize?
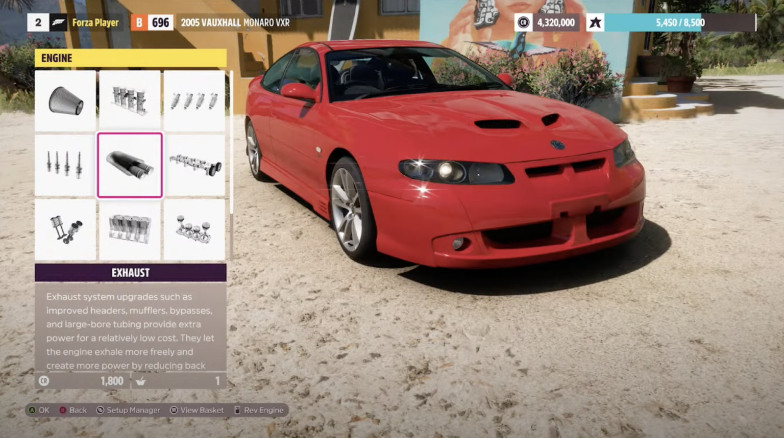
NOTE: This section can be ignored if you are building a drift or drag car as the rules on tuning for those types of cars differ very much from normal racing. That and class does not really matter with those types of cars.
Before we touch on tuning, we will first take a detour into which performance upgrades we should prioritize as these go hand in hand with tuning.
Deciding which upgrades to install into your car will also depend on the class you are trying to get your car to fit into due to how many Performance Index (or PI) points they add to the car.
We will also be looking at how effective these upgrades are to a class. You could have the best tires, but if you are only running a D-class car, those PI points would be better spent on another component like additional power.
Below, you will find the car classes in the game and the performance upgrades you should prioritize (and avoid), as well as explanations as to why this is the case.
Upgrades that you should always install
1. Platform and Handling
- Race / Rally Spring and Dampers
- Race Front Antiroll Bar
- Race Rear Antiroll Bar
2. Drivetrain
- Race / Rally / Offroad Differentials
3. Tires and Rims
- Front Tire Width (for FWD cars only)
- Rear Tire Width (for AWD and RWD cars only)
- Rim Style
- Front Rim Size
- Rear Rim Size
- Front Track Width
- Rear Track Width
4. Aero and Appearance
- Adjustable Rear Wing (for AWD cars only)
The Platform and Handling and Drivetrain upgrades are pretty much a must because they unlock a chunk of the tuning options available to the car while adding negligible amounts of PI points (usually they will only add 1-5 PI combined) to a car.
For the Tires and Rims upgrades, these too add very little PI points to your builds while increasing the drivability of your cars. In the case of the Rim Style upgrade, aside from being a stylistic choice, you can choose to equip the heaviest wheels in order to lose PI to spend on other upgrades.
Lastly, I put the adjustable rear wing as a necessary upgrade for AWD cars only because rear wings on AWD cars decrease the PI of the car even though it benefits its drivability.
Try to make it a habit to upgrade these parts no matter what car or class you are building.
Upgrades that you should avoid at all costs
1. Engine
- Intercooler
- Oil / Cooling
2. Platform and Handling
- Chassis Reinforcement / Roll Cage
3. Tires and Rims
- Front Tire Width (for RWD and AWD cars only)
These upgrades are to be avoided at all costs as they provide PI but in turn, almost always make your car worse. In the case of the Engine and Platform and Handling upgrades, they add a lot of weight but return very little gain in either power or stability. You are better off building your car without these upgrades.
Front tire width is a special case for RWD and AWD builds. We will want to avoid this upgrade as they add a significant amount of PI for little to no benefit. However, you can upgrade this if and only if your stock tires are too skinny.
Skinny tires lead to an abundance of oversteer and to counter it, you can increase the front tire width of a car. In general, it is best to keep it stock.
D-Class (500 PI)
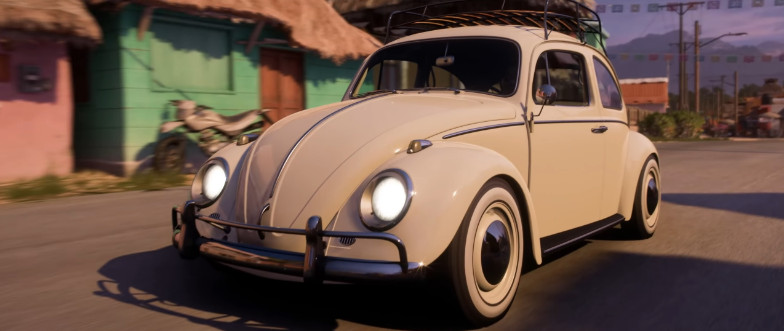
D-class is the lowest available class of cars in Forza Horizon 5, it is also one of the most restrictive classes in the game because of how many of the upgrades you are restricted to because of the immense PI gains you get from them.
Cars in this class usually top out at around 115-125MPH but their agility and predictability more than make up for their lack of power.
Engine
When it comes to upgrading your D-class cars, power is more than likely the number one priority as they usually lack power but are lightweight enough to compensate for it.
Their engines are also mostly naturally aspirated (or NA), meaning air intake is natural and there is no forced induction (something a turbo or a supercharger does).
Therefore, if you want a substantial power boost, you may install a turbo or a supercharger if your PI allows it. In the rare instance your D-class car has a turbo or supercharger, focus on upgrading that element in the Engine menu.
Otherwise, if you are strapped for PI, always focus on upgrading your exhaust and camshaft. Upgrading your exhaust provides quite a bit of power but it also reduces your weight by quite a lot making it a very cost-effective power and weight upgrade.
Upgrading the camshaft, on the other hand, increases your redline, making your engine stay at its peak power longer before shifting to a higher gear allowing for better power. It also increases your engine’s power by quite a lot.
As for the other parts in the engine, use them to maximize the amount of power you can get while keeping an eye on your PI. You can generally ignore the flywheel on D-class cars as the weight you reduce from it does not upset the PI you gain.
Platform and Handling
With spring and dampers and both antiroll bars being essential upgrades and chassis reinforcement/roll cages being ones to avoid, we are left with brakes and weight reduction.
For brakes, street brakes are more than enough for D-class as the speeds you will be stopping from are not high enough for sport and race brakes. It also saves us quite a lot of PI points to use in more important upgrades.
As for weight reduction, this depends entirely on you whether you will want more power or a car that is a bit nimbler. With heavier cars like the Hummer H1 and Unimog, you will want to upgrade this, but for lighter cars, you will want to look at engine upgrades instead.
Drivetrain
The upgrades found in the drivetrain menu are almost always worth it especially for classic and retro cars because of their slower clutches
Upgrading your clutch will lead to better shift times, therefore faster acceleration. I would probably always recommend the race clutch to get the best benefit for very little PI boost.
For transmission, you can choose to either go for sport transmission or race transmission. Sport transmission will let you tune only the final drive but cost less PI than race transmissions which let you fully tune your gear ratios.
Race transmissions also get heavier the more gears you decide to add. Since we are in D-class, the 6-speed race transmission is enough.
Lastly, you can use the driveline upgrade to put a bit more PI to maximize your build. It is not a necessary upgrade, but if you are looking to squeeze just a bit more PI to reduce your weight, then go for it.
Tires and Rims
Because of the PI added by any tire compound, we are forced to keep it stock. You can maybe opt for street tires if you want, but power will always be more important in races.
This also applies to rally and cross-country builds. Rally and offroad tires cost too much PI for a car to stay in D-class when equipped.
Aero and Appearance
The effect of aero on a D-class car is very negligible so it is best to ignore these upgrades if you are looking for performance gains.
Conversion
Engine swaps are sadly out of the picture as they just add too much PI to keep your car in D-class. Drivetrain swaps are also a bit useless in D-class as they add too much PI versus your stock drivetrain.
This leaves us with aspiration upgrades which are highly recommended. If your PI allows, equipping a turbo or a supercharger will help a lot with the power woes.
Equipping an aspiration upgrade also opens up the appropriate upgrade option in the engine menu for you to further increase your power.
C-Class (600 PI)
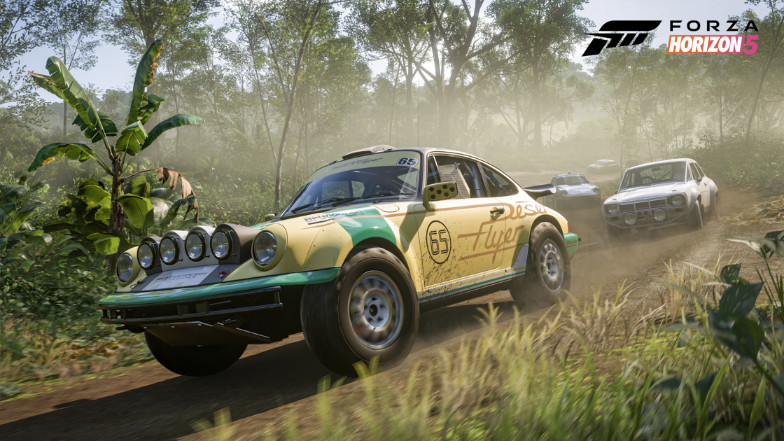
C-class cars are a bit quicker than D-class cars. Most of the cars found here are classic muscle cars and classic sports cars capable of reaching speeds of up to 130-145MPH.
Just like D-class, you would want to focus on power except this time, you will have a lot more room to upgrade due to the additional PI.
Engine
Similar to D-class builds, you would want to focus on your engine upgrades. Due to the additional PI that you are allocated, you have more freedom in choosing your upgrades after your exhaust, camshaft, and forced induction upgrades.
Next in line for engine upgrades to look at are your intake, pistons/compression, and intake manifold/throttle body upgrades. These upgrades offer a bit of power as well as a bit of weight reduction as well, making them great secondary options.
Platform and Handling
With the increase in PI allocation, we can now look more into the weight reduction upgrades. If you feel like your car feels a bit sluggish in corners and in its acceleration, go for weight reduction.
For brakes, we would still be going with street brakes as they are still a massive improvement from the stock brakes for the PI it gives out.
Drivetrain
Since C-class still deals with cars that are considered retro and classic, the clutch upgrade is still very much important because of its effect on decreasing the shift time of your car.
Transmission is still a matter of choosing between Sport and Race (6-speed only) since we are still dealing with relatively low-speed racing. Use the driveline upgrade to find that 1 or 2 PI that you need to push your C-class car to the limit.
Tires and Rims
As with D-class cars, C-class cars can still function fairly well with stock tires, however, if you are building a car with a higher top speed, you might want to invest in street tires to offset the power.
Aero and Appearance
The effect of aero on C-class cars is still quite negligible so treat it as an aesthetic choice rather than a performance upgrade still.
Conversion
With a bit more PI points at your disposal, engine swaps are a bit more viable now. There are some engines that will upgrade D-class cars to C-class and most of the time these bring bigger gains than upgrading the stock engine, so always try to see if you can engine swap.
Drivetrain swap is still a personal choice. All drivetrains in this class are still very viable. Finally, with the additional PI points, you should always be on the lookout if you can equip an aspiration upgrade as they bring the biggest power gains.
B-Class (700 PI)
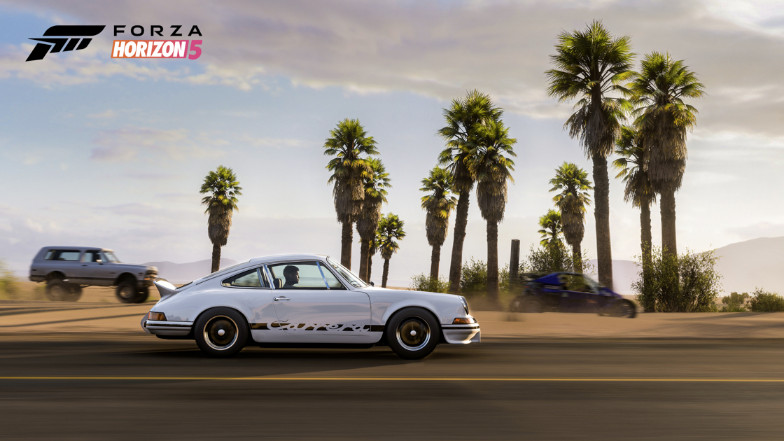
B-class sees even more choices to choose from with modern hot hatches and modern sports cars entering the mix. Cars tuned to this class can easily reach a top speed of 145-165MPH.
Power still plays quite a big part in this class, but the higher PI gives you more options if you want to branch out into a nimbler car with handling upgrades.
Engine
The upgrade path in this class is very similar to C-class, just that in this case you put higher stage upgrades to the main engine upgrades (camshaft, exhaust, and forced induction) and pair it with lower stage upgrades of the other options.
Platform and Handling
Sport brakes can now be an option here as we are dealing with a lot more power than in the previous classes. It also reduces weight which is always a great thing although street brakes can still be an option if PI is an issue.
Weight reduction should also be looked at but not prioritized. Stage 1 or 2 is enough for cars in this class.
Drivetrain
Clutch upgrades are starting to become a bit less important in this class because of how modern cars do not really have much to gain from them. Only upgrade it if it still shows a reduction in shift time.
The choice of transmission is still between sport or race (6-speed only) transmissions. Driveline upgrades are still to be used as a small PI gain upgrade. In this case, it is to be prioritized over clutch if clutch upgrades do not provide a reduction in clutch times since it reduces more weight.
Tires and Rims
Any tire compound below street should not be an option in this class anymore as the speeds are much higher and you will be needing the grip not only for cornering but for braking as well.
The same goes for offroad or rally builds, unless it is a pick-up or SUV as they usually have decent stock tires that count as offroad tires.
Aero and Appearance
Aero effects on B-class cars are still not big enough to warrant equipping them so it is still best to ignore them for performance gains.
Conversion
Engine swaps in B-class open a bit more customizability and options for you as there are a lot of engines that put your right in B-class. Consider doing these as they are a bit more cost-effective than upgrading your stock engine.
Drivetrain swaps are still a bit of a waste in PI as all drivetrains in this class are still viable.
As for forced induction, it is always a good addition to the car in this class, so long as your PI allows it. But it is always a good thing to prioritize it in this class.
A-Class (800 PI)
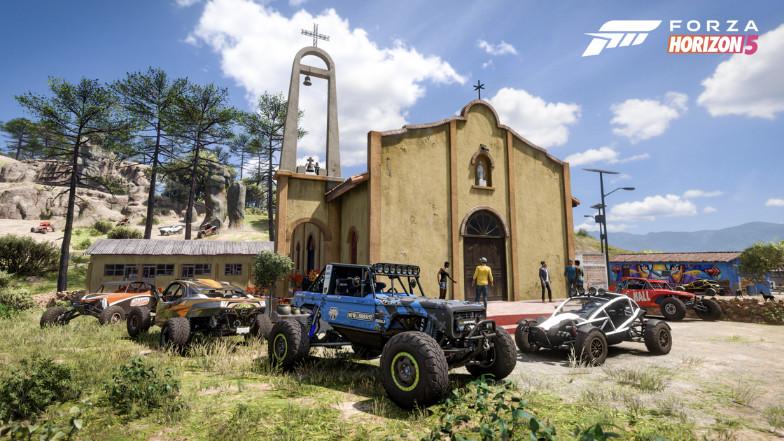
Moving on up to A-class which is considered to be the mid-range class. Some supercars make their way in this class, but you will most likely be seeing tuned-up retro and classic cars here as their starting PI leads to some crazy builds.
Cars in this class reach anywhere from 160-180MPH tops.
Engine
The increased PI definitely opens up a lot more options when it comes to engines. Just continue getting the higher stages of the main engine upgrades, and if they are maxed, max out the others as well. Power plays a huge part in A-class so try and prioritize this as much as possible.
Platform and Handling
Sport brakes are pretty much a requirement at this class as the speeds are a lot faster now and you will be needing that extra stopping power.
Higher-stage weight reduction should also be prioritized now as there are a lot more power upgrades you can get, and reducing weight just compounds those upgrades really well.
Drivetrain
As with the previous class, clutch upgrades see a reduction in priority because of the nature of the cars in this class. Start treating these upgrades like the driveline upgrades: something to gain a bit of PI by reducing a bit of weight.
Race transmission (6-speed) is a must in this class as it helps to tune all gear ratios now for better acceleration.
Tires and Rims
Tire compound choice in this class is a bit more complex than in the previous classes. What I do is equip sports tires for FWD or RWD cars since they need additional grip while only equipping street tires for AWD cars since they are a lot grippier in nature and do not need the additional grip from sport tires.
For off-road and rally builds, it is an option to look at the rally and off-road tires this time as cars in this class are a lot faster and you will need a lot more grip to deal with the power.
Aero and Appearance
Aero effects are still a bit minimal in this class, front bumpers especially. Rear wings, however, could be seen as an option now to provide a bit more mid-corner grip at the cost of a bit of straight-line speed.
Conversion
Engine swaps are practically a must in this class now due to the amount that is offered and their cost-effectivity.
Drivetrain swaps, I would argue, are still not needed, but if you are feeling a bit uncomfortable with either FWD or RWD at these speeds, then swap away to AWD.
If the engine swap you picked out is an NA engine, always pick out a turbo or supercharger to pair it with to give your car even more power for quite a moderate amount of PI.
S1-Class (900 PI)
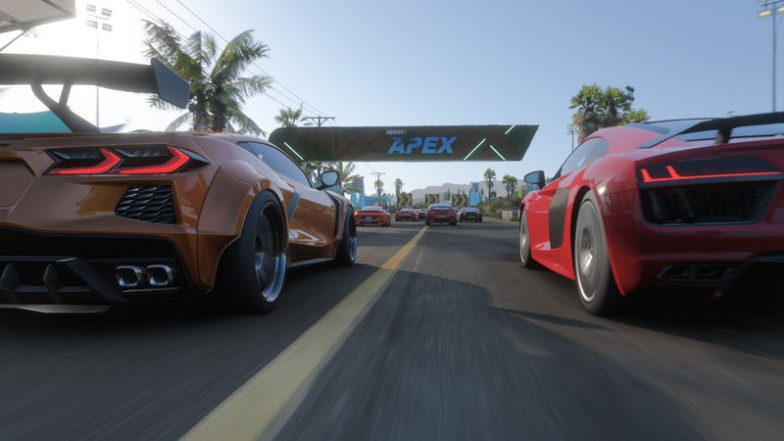
S1-class is the class where you will see the most variety in car types as almost any car type can be tuned up to here, barring the absolutely mental hypercars and track cars that already have a PI past 900. Cars in this class can reach speeds of up to 190-220MPH.
Engine
By this class, you will most likely be able to upgrade everything except maybe some select engine swaps that will shoot your car up immediately to S2-class. Power is still very important, just do not overdo it.
Just remember to prioritize your camshaft, exhaust, and forced induction upgrades when it comes to power. Then fill in your PI allocation with the other upgrades accordingly.
Platform and Handling
Race brakes can now be looked at as an option in this class but if PI is still tight, sports brakes are very much still relevant in this class.
Weight reduction also plays a key part in this class. Make sure to always get the highest weight reduction you can get available. The only exception would be if your weight is already very low and you need more power, then compromise.
Drivetrain
By this class, we will almost always be doing an engine swap so clutch upgrades should act like the driveline upgrades where they are used to eke out just that bit more PI to maximize a build.
As for the transmission, race transmissions are pretty much a must in this class, it is only a matter of choice on how many gears you will want, although I do recommend just sticking with 6 or 7 gears.
Tires and Rims
The choice of tire compound in this class will pretty much always be the semi-slick race tires (if road racing) as they offer good enough traction for less PI cost. They also do not suffer too much traction loss when going offroad for a bit, unlike the slick racing tires.
For rally and cross-country builds, always choose the rally or offroad tires.
Aero and Appearance
Aero in this class is pretty much a requirement so equip any adjustable rear wing and front bumper so that you can unlock the aero downforce tuning options.
Conversion
Engine swaps are very much a must in this class. Always take note of the power it gives out as well as the weight it reduces/adds to the car so pick wisely.
If you are good enough with throttle control, you can leave your drivetrain as RWD, but in general, you will want to swap to AWD as they offer better acceleration which is very important at the start of races.
As with the previous class, if the engine swap you picked is an NA engine or has a weaker forced induction part (single turbo versus twin turbo), swap it out for something a lot more powerful.
S2-Class (998 PI)
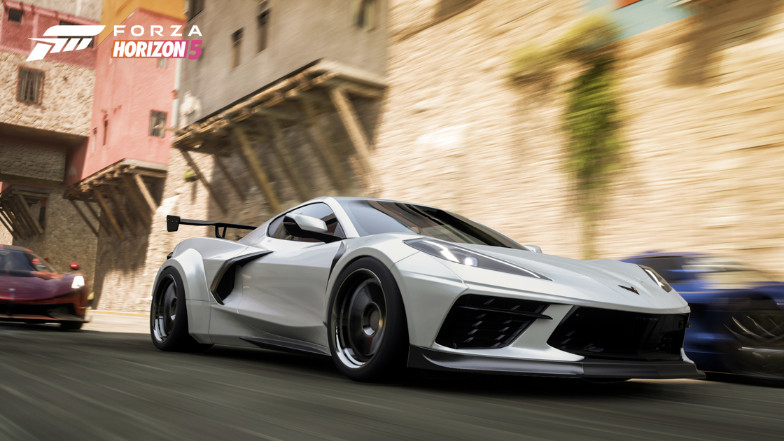
The class that any type of car can take part in. From your classic muscle cars to your hypercars, this is where they converge. Cars in S2-class can top out at 235+ MPH and beyond.
At this point, you can almost always equip every upgrade to a car and it will be under or just hit 998 PI, the only exceptions are cars that already have close to 998 PI like the Koenigsegg Jesko and the Ultima Evolution Coupe 1020.
Therefore, upgrades in this class matter a lot less than in previous classes and it will mostly come down to the driver’s skill and their tuning.
You can also start experimenting with the higher-numbered transmissions as the power from these cars certainly mates well with more gears to churn through.
If you are hitting X-class with your upgrades, just choose whether you will want more power or a better-handling car and focus on those specific upgrades.
Just make sure to always equip the appropriate tires to your racing discipline, all adjustable aero available, as well as conversion swap to AWD if your car is not AWD and you will do fine in this class in terms of upgrades.
X-Class (999+ PI)
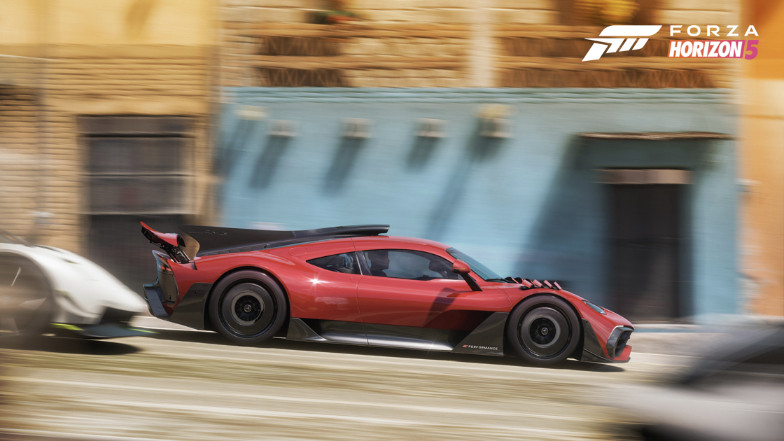
X-class is pretty much unrestricted racing, so go wild with your upgrades! Get the lightest wheels, swap in the most powerful engine, put on the stickiest tires, and basically max everything to get the edge over your opponents!
I would recommend swapping to AWD though as cars in this class have incredible amounts of horsepower making any other drivetrain near-impossible to drive with.
Final Thoughts
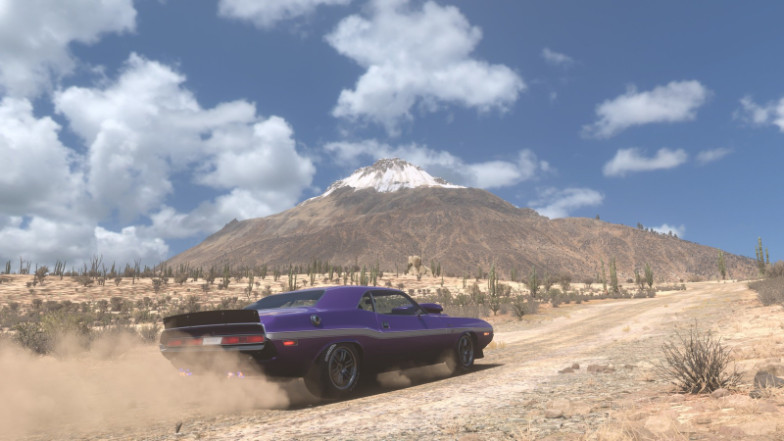
This brings our Forza 5 tuning guide to an end. Tuning is a process. Once you have set up a base tune, you must drive your car for a bit and see what other things can be improved upon. From there, you can fine-tune your settings to truly perfect your car’s performance on the track.
With that being said, tuning is also a key part of customizing your car. It makes the car distinctively yours as not everyone will have the same preferences when it comes to Forza Horizon 5 setups. It gives them a distinct personality. So have fun tuning and making your cars your own.

