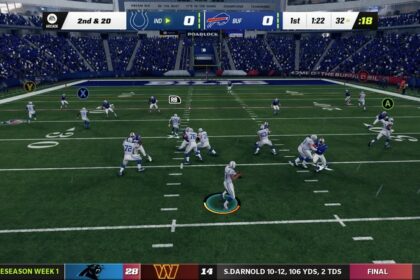
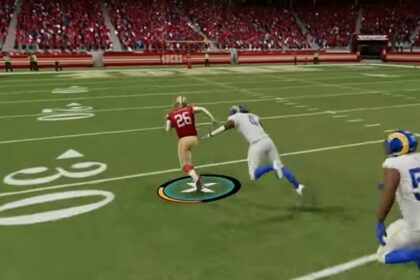
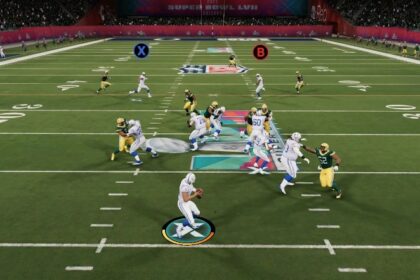
Great Madden players online, as well as computers set to All-Madden, often win more games because they utilize the best defensive playbooks in order to stop the passing game.
How do you beat each of these cover defenses that seem to work so well at slowing down your offense?
First, you need to be able to identify each cover defense in the game. Next, you need to know which plays work the best against those coverages. Finally, you need to be able to execute the plays with good timing and poise.
I’m going to teach you everything you need to know in this article.
Here’s exactly how to beat each cover defense in Madden 23.
Cover 1 Defense
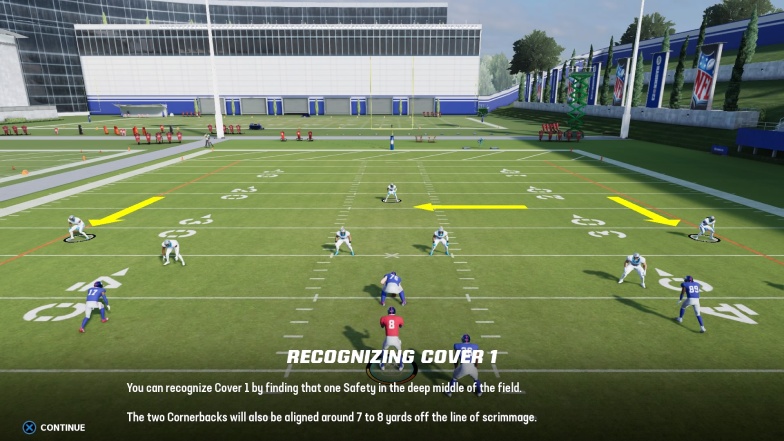
Cover 1 is a coverage formation that typically utilizes man-to-man coverage, and is usually accompanied by a fairly heavy blitz.
You can identify Cover 1 very easily by the one deep safety in the middle of the field.
The outside cornerbacks are also lined up about five to eight yards away from the line of scrimmage and will follow your receiver if you call an audible or flip the play. You should also take note of where the linebackers and shallow safety are lined up.
Depending on their alignment (3-4 or 4-3) and your offensive formation, the linebackers and shallow safety could be in numerous different positions.
One is assigned to each of your remaining ball catchers (receivers, tight ends, and running backs) so watch out for if the linebackers or safeties outnumber your ball catchers – that typically means they will be blitzing you.
In order to beat Cover 1, you should utilize crossing routes, such as mesh, slants, and drive plays.
This allows your receivers to run across the field, as the man-to-man coverage corners try and keep up, they should get open right in the middle of the field, however, you should always be careful of a potential zone linebacker lurking, ready to pick you off.
The other thing you can do to beat Cover 1 is to utilize the fact that there is only one safety deep in defense, so try to go with a vertical pass route for both of your speediest outside receivers. If they can both get past their cornerbacks, the safety can only stop one of them – throw it to the side he doesn’t end up covering.
Cover 2 Defense
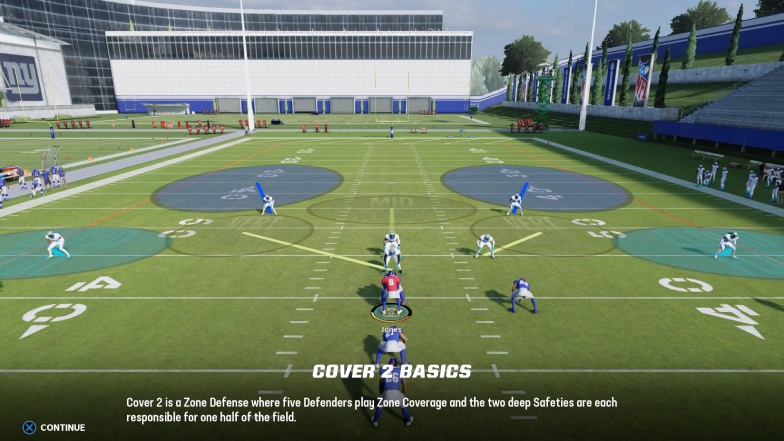
Cover 2 is the most commonly played defense that you will see and can utilize either zone or man coverage.
The defining feature of Cover 2 is going to be the two deep safeties in the middle of the field.
The safeties are typically going to be assigned a deep zone, each responsible for covering one side of the field from passes 20+ yards or longer. They are also there to make tackles on long runs or short passes. The safety’s job is always to prevent big plays in Cover 2.
All of the other coverage players (corners and linebackers) should be in either simple man coverage or in underneath zones.
You can tell if the opposition is in man or zone coverage depending on how close their corners are to the line of scrimmage. In zone, the corners will be 5 yards off the line of scrimmage, in man, the corners will be right on the line of scrimmage.
The key to beating Cover 2 defenses is to keep it short.
Hitch routes, spacing routes, and flood route concepts are great when you identify that the defense is in zone coverage. These routes could do a lot of damage to their defense if they do not know how to stop short passes in Madden 23.
When in man coverage, the key is to use the middle of the field with your tight ends or running backs, as your outside receivers run deep vertical routes that pull the safeties to the outside. This leaves only linebackers in the middle of the field, and your pass catchers should be able to consistently beat them.
Cover 3 Defense
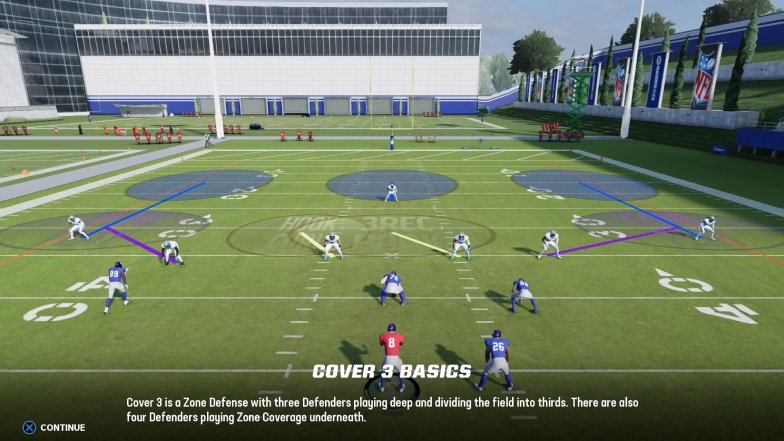
Cover 3 coverage uses one deep safety and two outside corners that play five to eight yards away from the line of scrimmage. This is the same formation as Cover 1. The difference is that in Cover 3, the corners play deep zone.
In order to tell if you are up against Cover 1 or Cover 3, call an audible and flip the play, which moves the receivers to the opposite side of the field. If the corners follow them, the defense is in Cover 1, if the corners stay put, they are in Cover 3.
In Cover 3, the field is covered in three deep sections, each covered by one deep coverage player.
The two outside sections are covered by the outside corners, and the middle of the field is covered by the safety. Underneath those coverages are zones covered by a mixture of linebackers, a safety, and/or a nickel cornerback depending on the specific defensive formation.
The best way to attack Cover 3 defenses is to hit your receivers in the seams between the deep cover zones. Much like a baseball outfield, if you can hit the ball between two of the three defenders, you should have plenty of success.
The best routes to hit the seam are post routes, dig routes, and Sean routes which have the receiver going from the outside to the inside, going from one zone to the other. You must make a well-timed throw in order to hit the receiver between zones.
Quarters Coverage (Cover 4 Defense)
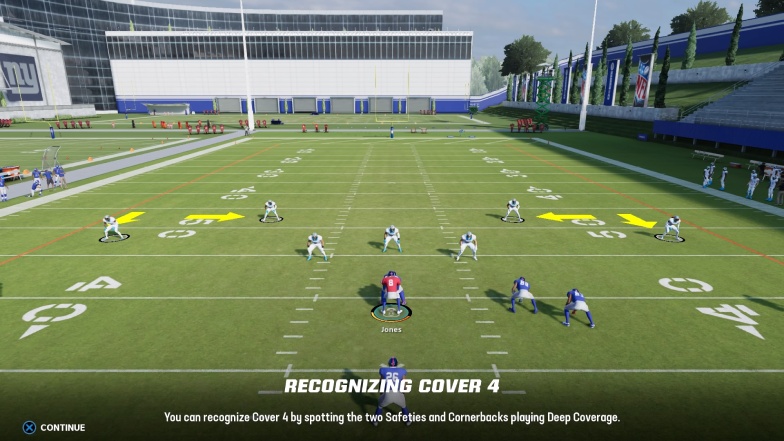
The quarters’ defense is exactly how it sounds, it splits the deep field into fourths, each covered by a different player. The two outside sections are covered by the outside corners, and the two sections in the middle of the field are covered by two safeties.
Cover 4 looks just like Cover 2 with two deep safeties in the middle of the field, but you can tell it’s Cover 4 because the two cornerbacks play about 8 yards away from the line of scrimmage, much deeper than in Cover 2.
Cover 4 also often utilizes a nickel cornerback in order to cover slot receivers or tight ends. The nickel corner typically plays underneath zone coverage.
The best way to beat the quarters defense is with quick passes to the outside, that hit receivers in the gap between the line of scrimmage and the deep corners.
The routes that work the best are hitch routes, stick routes, and curl routes.
Cover 6 Defense
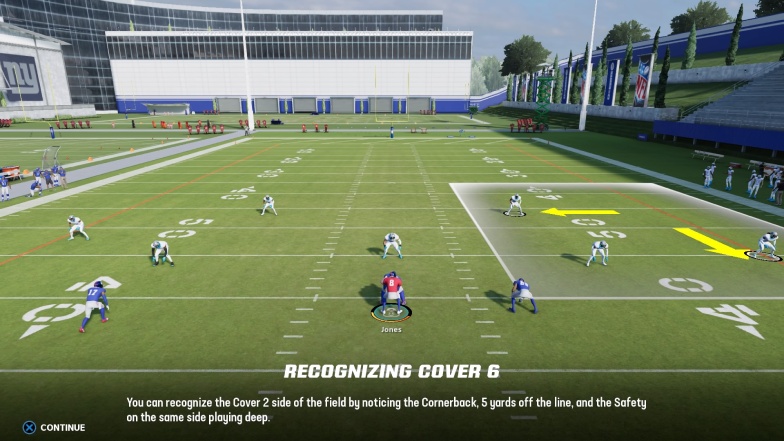
The least used of the defensive schemes, Cover 6 is a hybrid defense that uses Cover 2 on one half of the field, and Cover 4 on the other half.
You can identify Cover 6 because of the two deep safeties and the corners that are not equally aligned. One corner will be deep, playing eight yards away from the line of scrimmage, and the other corner will be shallow playing closer to the line of scrimmage.
This is an asymmetric defense that leaves gaps both deep down the field on the side that plays closer to the line of scrimmage and a shallow on the side of the field where the cornerback is playing quarters defense.
There are also gaps between the underneath defenders and the cornerbacks. The best way to exploit this is with corner routes and smash routes, as well as flood route concepts.
You should now know how to beat each cover defense in Madden 23. If you’re interested in more offense tips, check out our guide to the best offensive playbooks in the game.

