There are many different ways to farm various resources and material in Minecraft. From making specialized farms to using various techniques to make all your farming as efficient as can be.
Same can be done when mining for ores in caves.
Rather than leaving things up to chance, you can use an easy mining technique to make the most of your time and efforts.
In this tutorial we will teach you how to use the branch mining technique.
What is Branch Mining?
Branching is a ore mining technique that is most often used for farming diamonds in Minecraft, but it can be used for virtually any other cave resource.
Rather than leaving things up to chance and exploring caves in hopes you’ll run into ores, branch mining has you digging your own cave in a way that makes it easier to find what you need.
It has gotten its name from the shape you will be mining into the cave.
Using Branch Mining
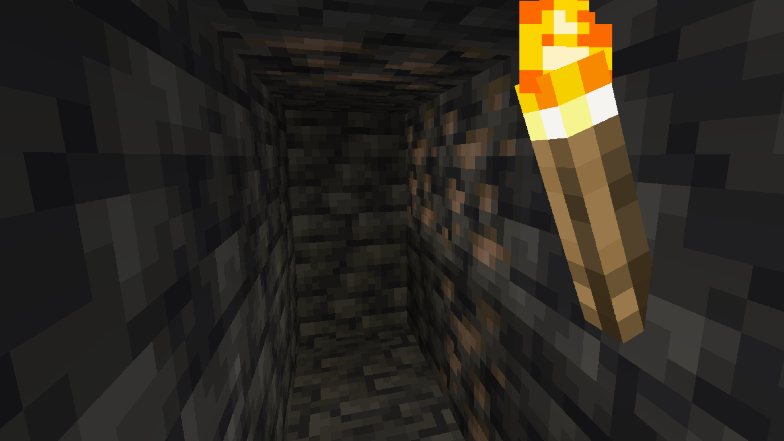
To start your branch mine you will first have to get underground. Preferably you’re at the correct ore level for what you wish to find.
First, create a corridor for yourself going along either the X or Z axis that is 1 to 2 blocks wide and 2 blocks tall. Then, every 2 or even 3 blocks you will make a side corridor or a branch on both sides.
This way you can certainly reach an ore vein by creating a branch or simply find one in between branches.

This was is extremely efficient, because you don’t need to mine too much stone or waste time. It is quick and allows you to see all the information you need about the cave you’re in.
Variation – Tiered Branch Mining
This is a very simple variation of branch mining that you can do very easily.
You will be layering your mines one on top of the other. Each tunnel or branch should have a minimum 3 blocks distance from each other and the next mine on top of it should rest directly on top of it, in the very middle.
In the picture below you can see the spacing between the branches.
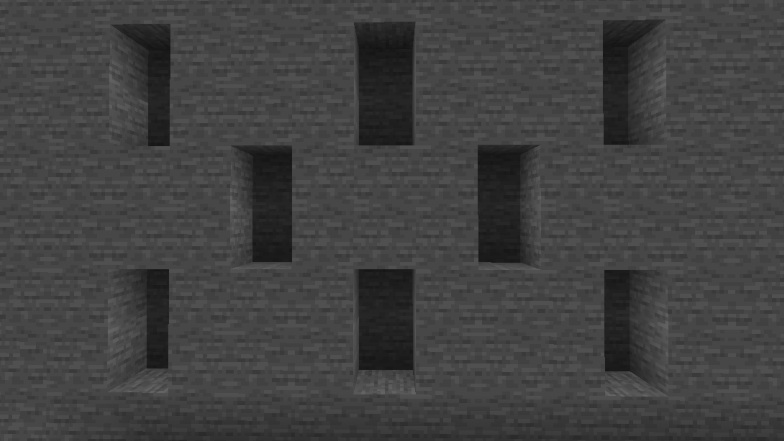
The typical way you’d reach these tunnels was by using stairs that diagonally pass by each tunnel entrance.
Ladders or even scaffolding are a great alternative. With scaffolding you can reach tunnels much easier and not risk falling with all your loot.
Variation – Pinwheel
There are some variations to branch mining that can be applied, some a bit more complex, but equally efficient.
One of these versions was named the pinwheel branch mining version. For this version, instead of using straight corridors, you actually make them “circle” toward each other.
Start with a room that is 10×10×8 blocks in size, with a 4×4 staircase in the middle. This is the very center of your mine and from it you will branch out.
Then, make 2×2 corridors from the center of every wall, like in the picture below.
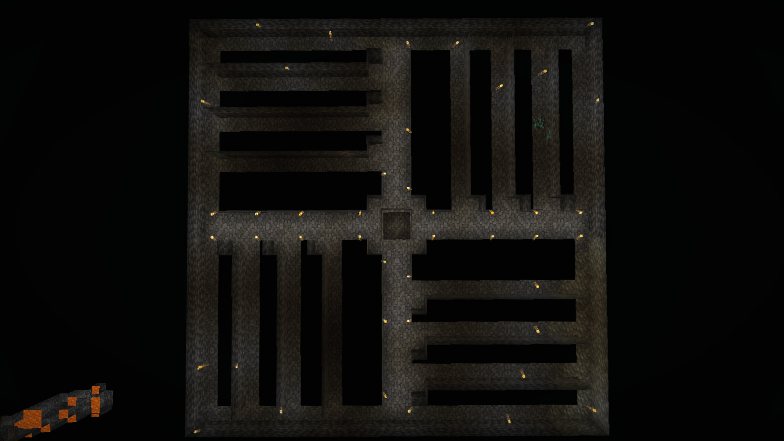
Then, once your corridors are ready, start mining one side of each of them, creating branches. You can do them clockwise or counter-clockwise.
You can then connect the different branches to make it easier to go from one to another.
In the final picture you can see how these should look like. Make sure to keep a distance of 2 or 3 blocks between corridors.
Recommended Tools
When mining anything you always need the right tools to get the job done. However, for this mining technique you’ll need more than the correct tier of pickaxe to mine the ores.
Because you will be digging a LOT of stone for all of your tunnels, you will want a good pickaxe.
An enchanted pickaxe that is quick and lasts long is the perfect tool for this job.
What to do Next
With all the stone and other extra material you will be mining out of these mines, you’ll quickly find yourself having way too much. There’s nothing worse than an overfilled inventory.
Building a trash can near your mine can help you get rid of all of those extra blocks quickly if you don’t need them.

