Your computer’s RAM is the easiest computer component to remove and replace.
Because of advances in technology, the motherboard’s RAM (DIMM) slots do not need screws anymore and most of them use clips. This makes it much easier to remove RAM nowadays than it used to be.
This article will teach you how to remove RAM from your PC in the simplest and safest way possible.
Opening Your PC Case
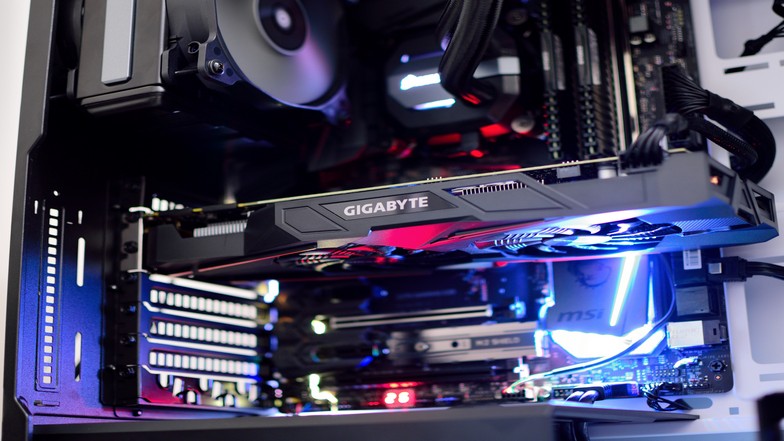
The placements of your computer components depend heavily on this first step.
If all the wires and cables are all mixed up, this whole process might be more difficult. Now, depending on your case, it might be a bit different.
Generally, you can open the case through one side where your parts are openly seen. Choose the side where the motherboard is facing. Once you know which side to open, remove the screws behind that side and slide open your PC case.
Finding the RAM Slots – DIMM Slots
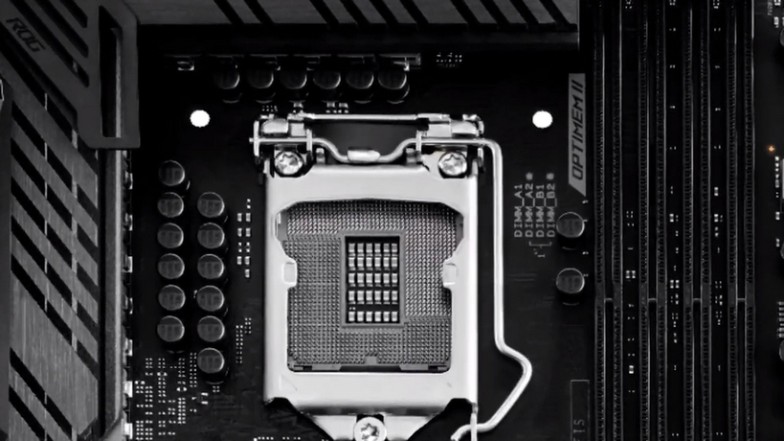
These RAM slots are almost always located next to the processor. You can find it on your motherboard next to the A1, A2, B1, and B2 markings for the RAM modules.
Once you find the location of where your RAM modules are installed, check out the surroundings near it if you have enough space to remove the RAM from the RAM slots.
Removing the RAM Modules
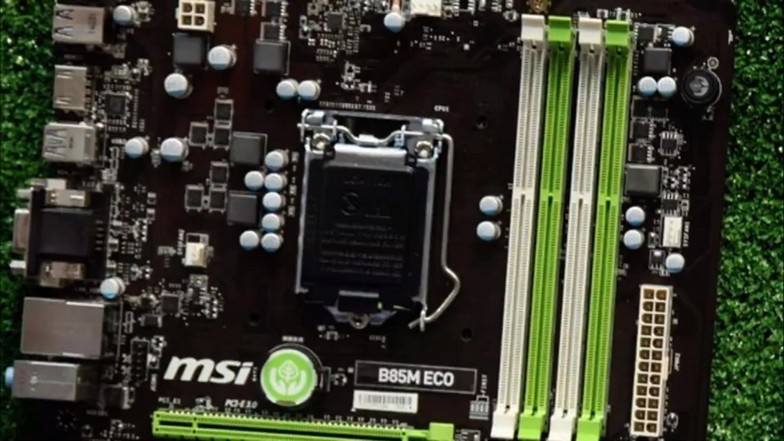
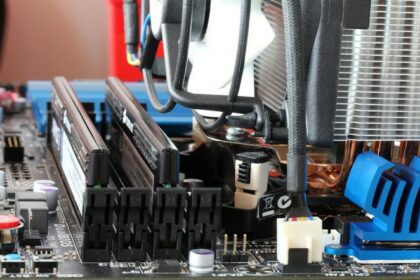
To remove the RAM from your motherboard, look at the tiny clip at the end of the RAM slot. If your RAM slots on your motherboard are color-coded, the clip should be too.
To unclip it, simply push the clip downward towards the motherboard. Be very gentle when you do this and it should push the RAM module up while the clip opens up.
After that, you can remove the RAM by gently pulling it upwards. Make sure you have room for your hand to pull the RAM module. If you have more than one RAM module, the order of RAM removal does not matter.
Installing Your RAM Modules
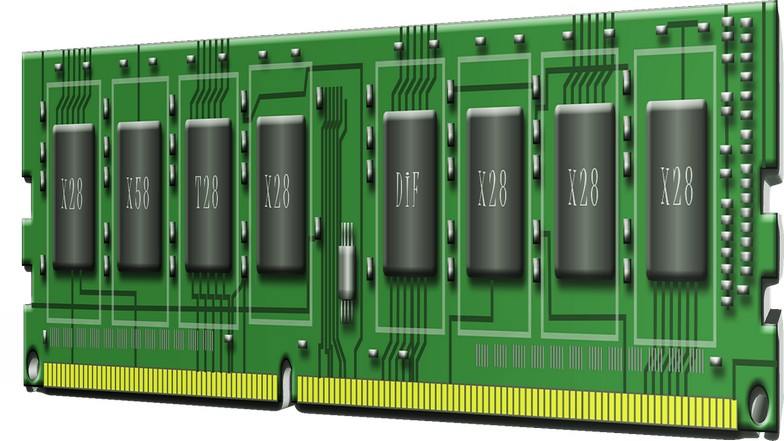
Now, if you want to return it back, look at your RAM module and look at the notch and match it with the RAM slot.
There should be a short notch and a long notch on your RAM to indicate the direction of how you should install your RAM module. Match the sizes and install it gently until you hear a click.
Clip it again and you can test it afterward. Boot up your PC and check your system information by typing it on the Windows search bar. Open it and it should indicate how much RAM you have installed on your PC.
When You Should Change Your RAM
Checking if your RAM is broken
An easy way to check if your RAM is broken is by using the HCI Design’s Memtest.
The instructions are clear and you just have to run it to have your RAM tested and checked on performance. As long as the test results come in and it shows no errors with the same memory capacity as the RAM module, your RAM should be fine.
Needing more memory capacity
RAM performance is a whole different issue. Once you think of other things to do with your PC simultaneously, you will need more and more memory capacity. This is where the 32GB memory investment comes in.
In terms of speed, you can last more than half a decade without any hiccups on the latest games. Even if the game you are playing takes so much memory, it might be the optimization of the game and you can wait for driver updates or patch fixes to fix the problem.
Generally, your RAM should last for 8 or more years in relevancy when it comes to gaming.
Upgrading other computer components
When it comes to upgrading your RAM, you should check what RAM is compatible with your PC. As a stronger processor needs a motherboard that is compatible with the processor and a RAM that can handle the processing power of the CPU.
When you think about how long does RAM last, it is dependent on how frequently you upgrade your PC as well. Your old RAM could still be relevant with the latest processors but it might not be as efficient so you end up upgrading the RAM as well.
Conclusion
Since RAM modules continue to advance in speed and performance, you might find yourself upgrading frequently.
Memory usage is a big factor when it comes to processing so make sure your processor can handle how much RAM you put in otherwise, it would be inefficient to spend that hard-earned money for a RAM upgrade.
When it comes to safety, it is better to declutter your computer first before removing your RAM. Good cable management is always the key to making a PC case look good and installing new components such as RAMs and SDDs will be a lot easier in the future.
Also, if you are using dual RAM modules, make sure to you know how to enable dual-channel mode so that it can run more efficiently. You do not want to remove your RAM again just to swap DIMM slots to run it.

