Twitch being a live streaming site is of course it’s entire purpose and main feature, but the “in the moment” nature of the platform can have it’s downsides as well. For example, what if you wanted to have access to your livestream content after the stream has ended in order to be able to use it across other platforms?
Thankfully, there’s various ways to save your Twitch stream after the stream itself has concluded and you’ve sent a raid over to a friend. This means that both you and your fans can have access to enjoy your content even after you’re no longer live.
Which method is the easiest, and which method works best for your particular needs? Find out in today’s article how to save your streams on Twitch!
Saving your Twitch stream using VODs
A VOD of your stream on Twitch stands for “Video on Demand”. A VOD is a recording of your entire stream, including the live chat as it happened. These VODs can stay saved on your channel for up to 14 days (or up to 60 days if you’re either a Twitch Partner or subscribed to Twitch Turbo and/or Amazon Prime).
In order to save your streams as VODs, you have to enable the option before beginning the stream. To enable saving your streams as VODs, the first thing you’ll want to do is make sure you’re signed into your account on the Twitch website. Next, click on your profile icon in the top right; this will cause a drop down menu to appear. From that drop down menu, select “Creator Dashboard”.
Once you’ve entered the creator dashboard, you’ll want to click “Settings” from the sidebar on the left side of the screen. This will present the drop down options from within the settings category. Select the “Stream” option from that settings drop down.
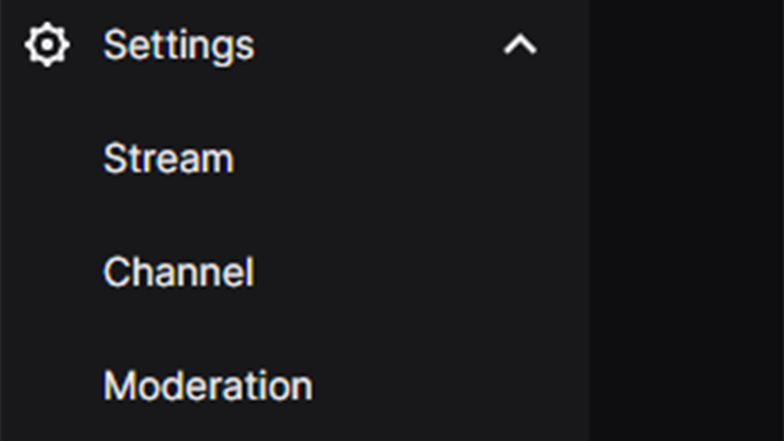
Once you’ve selected “Stream”, scroll down until you see “VOD Settings”. Under VOD Settings, toggle the option for “Store Past Broadcasts” to on.
Toggling this option to on will cause new settings options to appear. The main one to note is “Always Publish VODs” which will be set as on by default. If you’d like your VODs to automatically be publicly viewable, leave the option toggled on. Otherwise you can toggle it off, which will still automatically save your VODs but allow you to choose which ones can be viewed publicly as opposed to immediately publishing all VODs.
How to Delete VODs on Twitch
If you later decide that you’d like to delete a VOD, be it because you no longer feel like it’s up to your standard for quality of content, or maybe you no longer feel the VOD fits the vision you have for the content of your channel, deleting VODs on Twitch is a quick and easy task.
The first step is to find the VOD or VODs you’d like to delete. You can find your VODs through the Twitch Creator Dashboard, which you can access either through the Twitch website or the Twitch Studio application. Once you’ve located the VOD or VODs you’d like to delete, click the options button for that VOD, represented by three vertically stacked dots.
Clicking the options button will cause a drop down menu of options to appear, from which you can click “delete” (represented by a trash can icon) in order to delete the VOD.
It’s worth noting that your past broadcasts will also automatically delete themselves after a set amount of time, with that amount of time being determined by whether you’re a partner, prime, or turbo user (60 days), an affiliate (14 days), or other (7 days).
Saving your Twitch stream using Highlights
If you’d like to save your streams for longer than the 14 days (or 60 days for Twitch Partners or subscribers of Twitch Turbo/Amazon Prime) allowed by VODs you can convert the VODs to highlights, which have no limit as to how long they can stay saved.
In order to convert a VOD to a Highlight, you’ll first have to save them a VOD by following the process listed above under “Saving your Twitch streams using VODs”. Once you’ve successfully enabled your streams to be saved as VODs and then actually created a VOD you can begin the process of converting it to a highlight.
Once you have a stream saved as a VOD, head to Twitch’s Creator Dashboard. From the left sidebar, click “Content” followed by the drop down option of “Video Producer”.
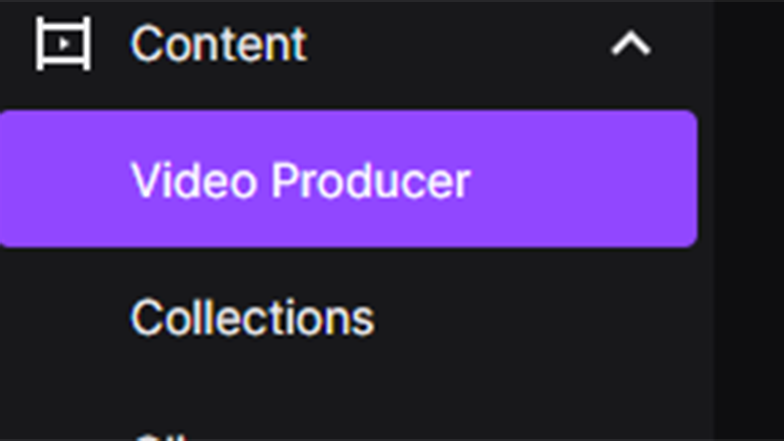
This will present you with a screen of all the streams you’ve saved as a VOD. Find the stream you’d like to convert, and select “Highlight” on the far right side of that particular VOD.
From there, an editing menu will appear that will allow you to choose how much of your VOD you’d like to convert to a Highlight. You can use the yellow bar at the bottom of the editing menu to trim the VOD to which parts you’d like to convert, or stretch the bar across the entire run time of the video to convert the entire VOD.
Once you’ve finished trimming the VOD to your liking, simply select “Publish Highlight” to convert the selected portions of the VOD into a Highlight for your channel.
Saving your Twitch stream to your computer
The final way to save your Twitch streams is to download a VOD into a video file on your computer. In order to do this, just like saving a video as a highlight, you’ll first need to both enable the saving of VODs, as well as complete the process of saving one of your streams as a VOD by following the instructions under the “Saving your Twitch streams using VODs” section of this article.
Once you’ve done that, you can convert the VODs into a video file on your computer. The first step, just like converting a VOD to a Highlight, is to click “Content” from the left sidebar of the Creator Dashboard, followed by selecting the drop down option of “Video Producer”.
This will present you with a screen of all the streams you’ve saved as VODs. From this screen, find the VOD you’d like to download to your computer. Once you’ve found the VOD you’d like to download, click the three dots on the far right of that particular VOD. This will cause a drop down menu to appear. From that drop down menu, select “Download”. From there, Twitch will prepare the video and download it into a .mp4 file onto you computer.
You can even upload these downloaded VODs of yours on to YouTube to create an archive of your streams seperate from the actual Twitch platform itself. Doing this can help ensure the survival of your archive (both from automated self deletion after a set time or any errors with Twitch itself) as well as potentially help you grow your audience, as the archived VODs on YouTube may expose your content to potential viewers who wouldn’t have found the content otherwise.
It is worth noting that if the video is large, it can take a long time for Twitch to compete the download process, so it’s worth making sure you have the time aside for Twitch to complete the process if necessary.
Final Word
There’s a lot of reasons you may want to save your streams after they’ve been live. Maybe you want to use clips for promotion across other platforms, or maybe you just want your fans to be able to watch the content on their own time if they weren’t able to catch it live.
Whatever your reasoning is, there’s multiple ways to save your Twitch streams from saving them publicly on your channel as a VOD, to simply downloading them as a video file on your computer, as seen in today’s article.

