Port forwarding is essential if you want to allow players outside your Wi-Fi network to join your Minecraft server.
By forwarding a port, you enable external traffic to access your computer. If you’re ready to set up port forwarding for your Minecraft server, follow these steps:
Prepare Your Minecraft Server
Ensure your Minecraft server is set up and configured correctly on your computer.
If you haven’t done this yet, you should first check how to create your own Minecraft server.
Find your router’s IP address.
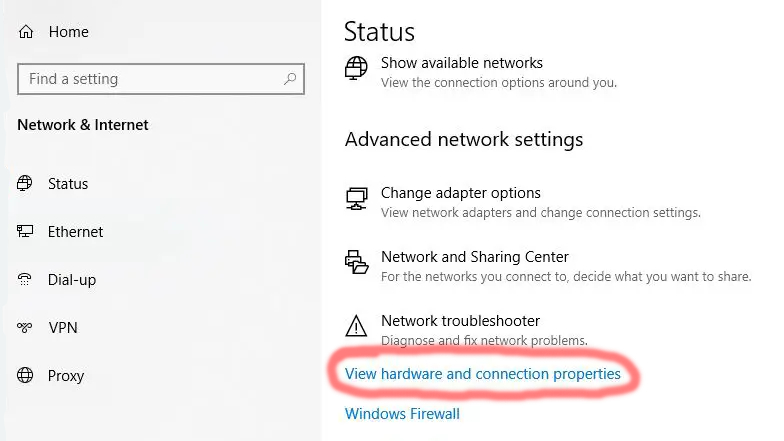
You need this address to access your router’s page. On Windows, open Start > Settings > Network & Internet > View your network properties.
Look for the “Default gateway” section. On Mac, go to the Apple menu > System Preferences > Network > Wi-Fi > Advanced > TCP/IP > Router. Linux users can open a terminal and type “ip r” to find the router’s IP address.
Discover your computer’s IP address. Locate the IPv4 address which identifies your computer. It can be found in the same menu where you found the router’s IP address.
Close your Minecraft server to ensure the port is not in use. Though not mandatory, this step prevents potential errors during the port forwarding process.
Access Your Router Page
- Open a web browser of your choice.
- Click the address bar at the top of the browser window and remove any existing text.
- Enter your router’s IP address (e.g., 192.168.1.1) into the address bar and press Enter.
- Log in to your router’s page using the username and password. If you don’t know the login information, try factory-default credentials, which are usually “admin” for the username and “password” for the password. Consult your router’s sticker, manual, or model number for specific login credentials.
- Wait for the router’s page to load, which may take a few seconds if it’s your first time accessing it.
Assign a Static IP Address
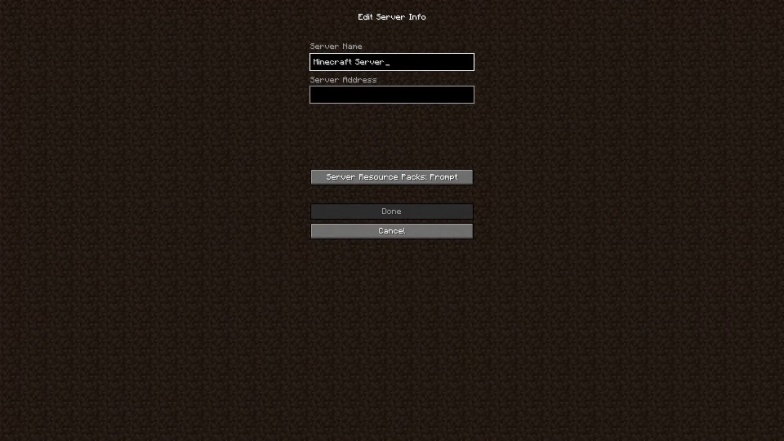
- Understand that each router’s page looks different, but the general location of menu items may be similar.
- Know that assigning a static IP address to your computer prevents it from changing, making it easier to forward the port in the future.
- Find the list of connected devices on your router’s page, which may be under various menus like “Connected Devices,” “Settings,” or “Network.”
- Locate your computer’s IP address in the list. It should match the “IPv4” address you found earlier.
- Lock the IP address to prevent changes. Click a lock icon, reserve the address, or check a “Reserve” box, depending on your router’s settings.
- Save your changes, and the router may need to reboot.
Forward Your Minecraft Port
- Know that the default Minecraft port number is 25565, which is the number you’ll use unless you’ve changed it manually in your computer’s Firewall settings.
- Look for the “Port Forwarding” section on your router’s page. It may be referred to as “Port Forwarding,” found in “Settings,” “Advanced Settings,” or similar.
- Enter a name for your rule (e.g., “Minecraft”) in the “Name” or “Rule” text box.
- Enter the Minecraft port number (25565) into the “Inbound” text box and the “Outbound” text box.
- Type in your computer’s static IP address in the “Address” text box.
- Select TCP and enable UDP in the “Type” column, or check the “TCP” checkbox if TCP is already listed.
- Save your changes, and the router may reboot.

