
Minecraft has vast, randomly generated worlds of Minecraft waiting to be explored. These worlds can be so vast that exploring with friends can make the experience much more enjoyable.
Setting up your own Minecraft server allows you to customize the world, use admin commands, test out fan-made Minecraft mods, and play with your friends.
The best part is that you are in control. There’s no need to rely on third-party hosting services.
In this guide, we’ll walk you through the process of creating a Minecraft multiplayer server, from installation to port forwarding.
Setting Up a Basic Minecraft Server
To set up a basic Minecraft server, follow these instructions:
Downloading the Required Files
- Open your preferred web browser (e.g., Google Chrome) and go to
minecraft.net/download. - Scroll down to “Server Software” and select “Java Edition Server.”
- Click the link to download the
minecraft_server.jar(this file will have a number that matches with a version of the game). - Once the download is complete, move the file to your desired location, like the desktop or Documents folder.
Creating the Server Folder
- Right-click and create a new folder, naming it “Minecraft Server” for simplicity.
Creating and Running the start.bat Server
- Open the newly created “Minecraft Server” folder.
- Create a new text document inside the folder and name it
start.bat. - Edit the
start.batfile and copy-paste the following command:
java -Xms1G -Xmx1G -jar server.jar
- Save the file and close it.
- Run the
start.batfile. Make sure you have installed Java 17 or above before doing this.
Accepting the EULA
- Once the
start.batfinishes, open the server folder and find theeula.txtfile. - Open the file and change
eula=falsetoeula=true. - Save the file and close it.
Configuring the server.properties
- Edit the
server.propertiesfile in the server folder using a text editor. - Customize the server settings according to your preferences. For example, you can enable the whitelist or set the maximum number of players.
- Save the file and close it.
Joining Your Server

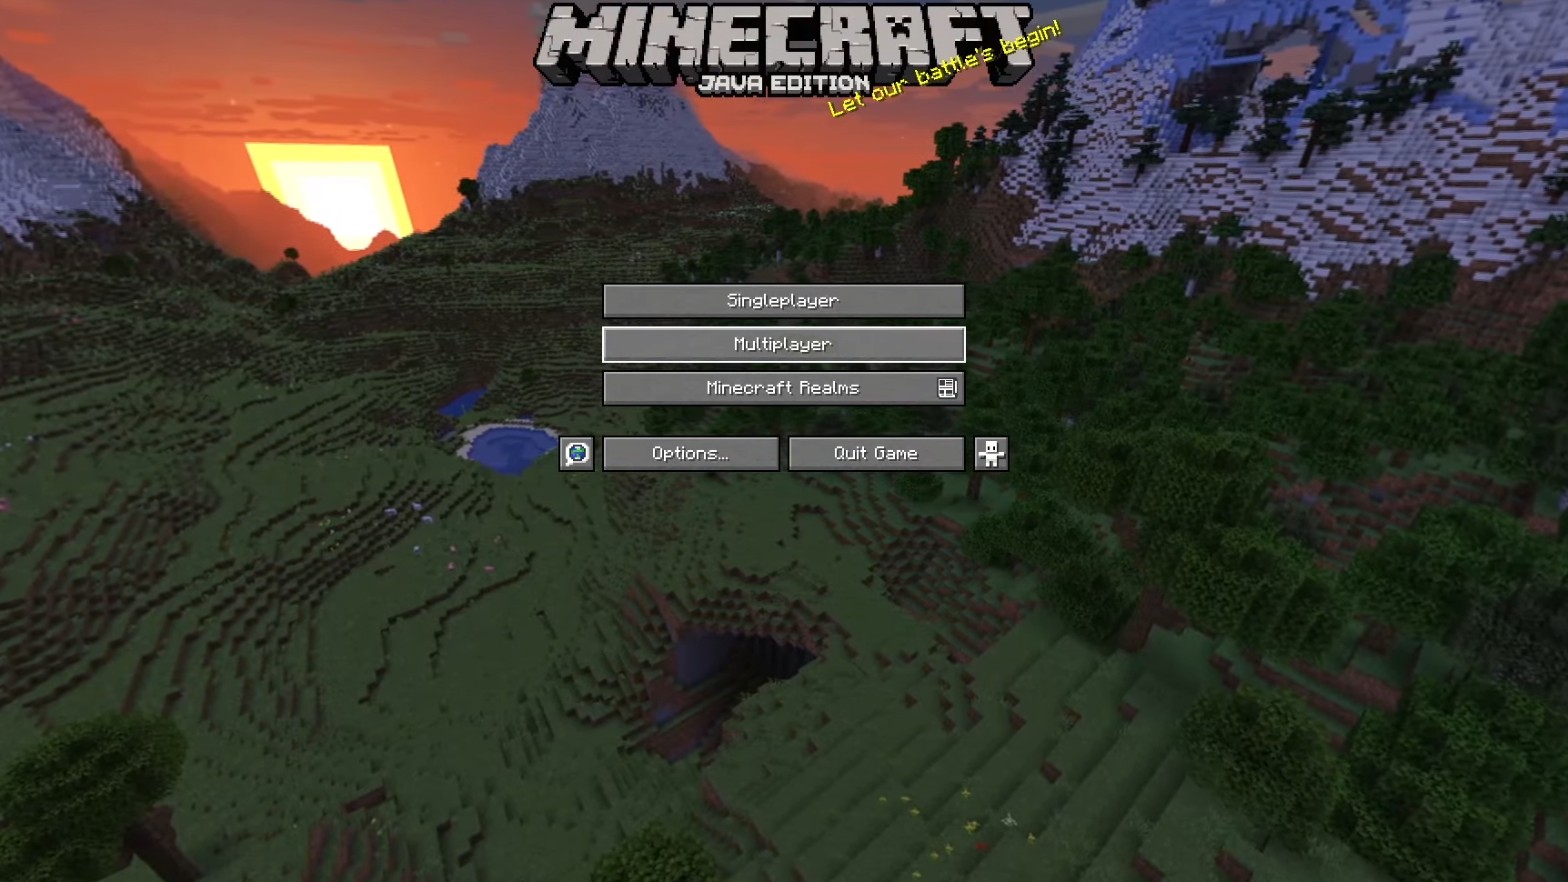
- To join your server, open Minecraft and go to “Multiplayer.”
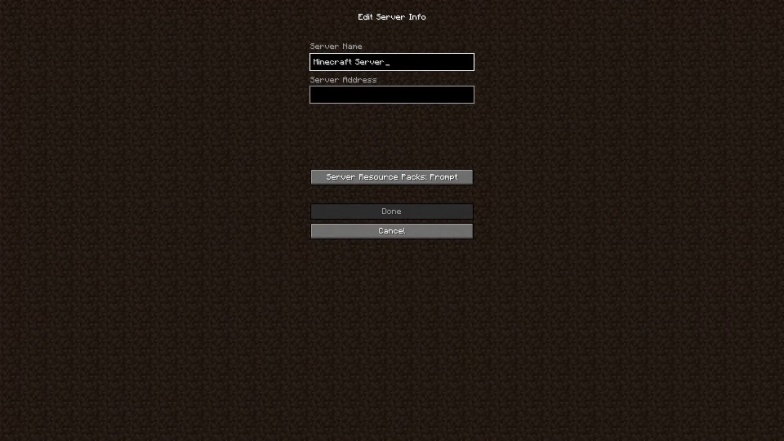
- Click “Add Server” and use either “0” or your local IPv4 address (found via Command Prompt with ipconfig). You will need to use your IPv4 if you want to let other players play online on your server (more details about it can be found below).
- Give the server a name if you want, then save it.
- Click on your server’s name in the multiplayer menu to join and start playing with your friends.
Make a Whitelist
At first, your server will not allow anyone to join. Not even yourself.
Adding people, including yourself, to the whitelist on your Minecraft server allows you and your friends to join and play together.
Follow these steps to add players to the whitelist:
- Open the server.properties file: In your Minecraft server folder, locate the server.properties file. Right-click on it and choose “Edit.”
- Enable the Whitelist: Look for the line that says “whitelist=false” in the server.properties file. Change “false” to “true” to enable the whitelist feature. Save the changes and close the file.
- Start the Server: Run the start.bat file to start your Minecraft server. Keep the server application open while playing.
- Find your Minecraft username: Before adding yourself to the whitelist, ensure you know your Minecraft username.
- Add Players to the Whitelist: In the command prompt/console of your Minecraft server, type the following command to add players to the whitelist (replace “username” with the player’s Minecraft username):
whitelist add username
For example, if your Minecraft username is “bravejohnny,” you would use:
whitelist add bravejohnny
- Confirm Whitelist Addition: After entering the command, the server will display a message confirming that the player has been added to the whitelist.
Allow Your Friends to Join the Server
In case you want to play online with your friends, they will need to be able to find your server. As mentioned above, this is done by using your IPv4 when creating a server:
- Find your IPv4 address by opening the command prompt and typing “ipconfig.” Look for the “IPv4 Address” section, and copy the address.
- Share the IPv4 Address: Give your friends the server’s IPv4 address so they can add it as a new server in their Minecraft multiplayer menu.
Your friends can now join the server using the IPv4 address you provided or by using your server’s domain name if you have one.
Remember, the whitelist ensures only players on the list can join the server.
Keep the start.bat file running while you play, and you can always modify the whitelist by adding or removing players as needed.


