If you have your own Minecraft server and your friends are experiencing FPS drops and lag spikes, it might be because of one of two things.
These are; a lack of memory usage, and a lack of good internet connectivity.
It is heavy on the host of the server to provide the memory usage to load the server for everyone playing. This guide will teach you how to allocate more RAM to Minecraft servers.
Explaining RAM Usage in Minecraft
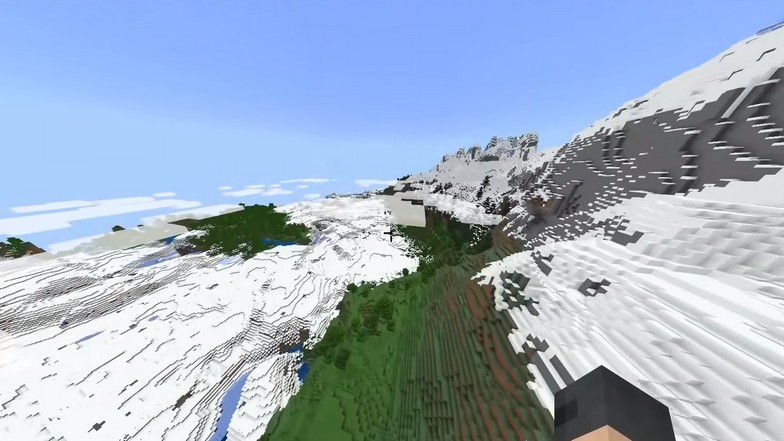
Even when the game looks pixelated, the number of things or assets that run in the game can be intense.
Each block will have a role in memory usage since the game will be loading them individually. When you reach a certain point where you are loading thousands of active blocks, it will cause your PC to stutter, drop some frames, disconnect, or even crash.
This is because you do not have enough RAM to compensate for the number of things going on.
This is true for most games, but Minecraft is a different animal.
Games that are this deep fluctuate on memory usage because they are all dependent on the number of assets that are being loaded and what they do. An example of this is the usage of Logic Gates.
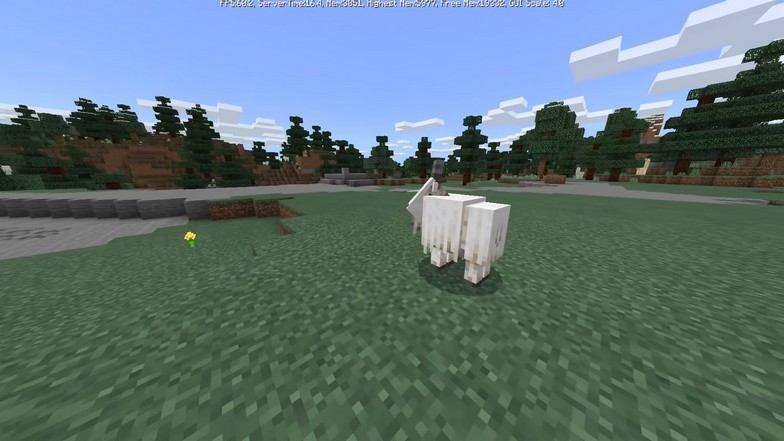
Imagine having a nicely designed home that is purely aesthetic.
Compare that to an egg farm or animal farm that uses Redstone or Logic Gates that processes things. Even if the house is twice as big as the farm, the farms will require more memory usage than going to the house.
This is because once you load the house, there is nothing else that is processing, whereas farms are constantly processing things like the animal’s behavior, conditions to store items, and production.
Another event that can cause lag or FPS drops when you do not have enough RAM is village raids. When a lot of monsters suddenly pop up and attack, they are being loaded simultaneously and if you have automated defenses, this will require more RAM usage as well.
If you start building up, you will have a ton of blocks to load in your field of view.
When the server’s creativity by building up gets out of hand, you will need to allocate more RAM to the Minecraft server as each player will load these each time they are viewing the area.
How to Allocate More RAM to a Minecraft Server
With the explanation of how RAM usage works in Minecraft, this is section will be different from the RAM usage for each player as it is focused on the Minecraft server itself.
This is only available to the host of the Minecraft server and they will be the one to adjust this.
Before allocating RAM, make sure to check how much Memory is being consumed when you play Minecraft. You can open the Task Manager by holding CTRL + ALT and pressing DEL on the keyboard. Look at Minecraft under the “Processes” tab and find out how much Memory is being consumed.
Go to the “Performance” tab after and click the “Memory” tab.
Here, you can see how your PC’s total Memory is being consumed and how much you have available. It is wise to keep this under 60% for the longevity of your hardware. No one really knows how long does a gaming PC last, but working it too hard will definitely be a factor in longevity.
There are multiple methods to add RAM to your Minecraft server without adding more RAM sticks.
If you want to buy more RAM, make sure to read our “what RAM is compatible with my PC?” and “how many RAM slots do I have?” guides.
Minecraft Launcher
With the Minecraft Launcher constantly changing over the years, there is still one general way of doing it.
All you have to do is find the settings button (gear icon) on the current version of Minecraft you want to run and add RAM. Under the Installations tab, pick the Minecraft version you will be playing. Press the settings button or the 3 dots on the right side and click “Edit”.
Once you clicked edit, you will see some information about the game and click “more options” to find the RAM allocation settings.
It will be under the JVM arguments and there will be a script written there. The first one will read “-Xmx2G” which signifies that this is being run with 2GB worth of RAM and you can change “2” to any number you desire as long as your PC has enough to run it.
ATLauncher
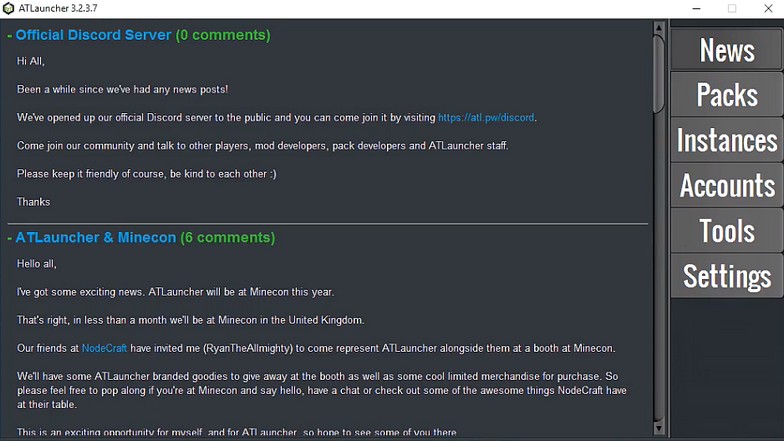
If you were playing around mods before, you have probably heard of ATLauncher and have it installed. Once you open ATLauncher, you will see a list of tabs on the right side of the window.
Select “Settings” and open the Java/Minecraft tab.
Under this tab, you will see Initial and Maximum Memory/RAM options. Increase the Maximum Memory/RAM by inputting the amount of RAM you want to allocate into your Minecraft server.
You can use the arrow keys to make it easier as it adjusts 500MB of Memory per arrow clicked. Click save when you are done and open the game through ATLauncher to test it out.
Note: If you are already having lag issues or memory issues with your game and decided to add more mods, you might need to adjust it further by compensating for the mods that you have added.
Twitch App or Overwolf
Like most games with mods, the Twitch App or Overwolf has been popular in offering accessibility and managing mods with ease.
Unfortunately, Twitch has switched their mods section from their application to redirect it to Overwolf.
Overwolf specializes in applications that help you in the game without changing the game. Basically a 3rd party application instead of a direct mod to the game.
If you want to use these, you still can as long as you use a different launcher.
Before, it was possible to change RAM allocation through the Twitch App. With the changes made, it is much easier to just go through the ATLauncher for mods and if you have applications you want to use on Overwolf, you can still use them after you have launched the game.
Conclusion
Just to add more relevant and important information to the topic.
Generally, the host of the Minecraft server is the one that determines the RAM allocation for the whole server.
If you have a group of friends that you want to start a Minecraft server with, make sure you have the one with the most decent setup host the server and have them allocate more RAM to the Minecraft server before launching.

