Since Tiny Tina’s Wonderlands is pretty much a Borderlands game, it also has its share of raid bosses, and they are so much more fun than the ones in the main franchise.
The raid bosses are secret bosses in this game, and they are part of the late-game content that you only have access to after you defeat the Dragon Lord.
However, there’s much more to it than going into the Chaos Chamber. You have to complete very specific tasks, and they are different for each of the secret bosses.
This is a really old-school move from Gearbox. Although I personally find it pretty cool, it also means that some players will end up not ever seeing this content.
If you are looking for a guide that tells you how to fight all the secret bosses in Tiny Tina’s Wonderlands, you just found it.
This guide will explain what you have to do, step by step, to find each of the raid bosses and what you need to defeat them.
Fight Bunnidhogg, the Keeper of Sands
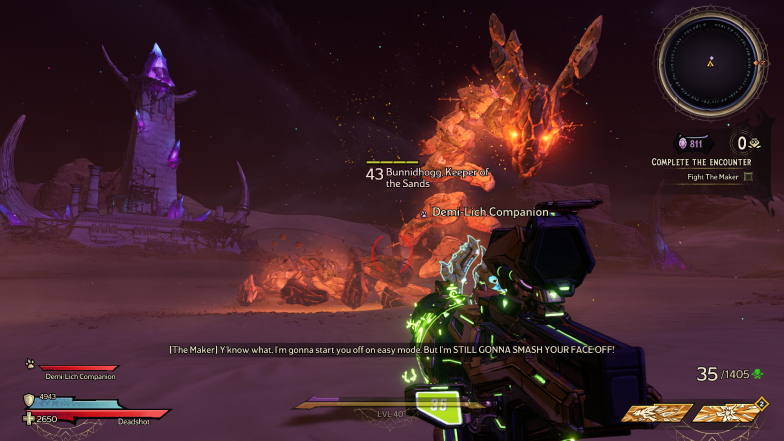
This is usually your first raid boss because it’s the easiest to stumble upon by accident.
First, you must find a yellow rune. Once you do, activate it by interacting with it.
The rune will fly away and turn into a rock. Destroy this rock to make it expose the rune. Avoid the light and shoot down the rune until it disappears.
After finishing your Chaos Chamber run, you will see two portals instead of one. The yellow portal will take you to the final room where you can spend your crystals. The red one will take you to a raid boss.
If you have only solved the yellow rune puzzle, you will be taken to Bunnidhogg’s arena to fight the Keeper of Sand.
You can check our guide on how to fight Bunnidhogg in Tiny Tina’s Wonderlands for more details.
Bunnidhogg is a colossal stone snake with a yellow life bar, meaning it’s an armor bar. Since armor health bars take extra damage from poison weapons and spells, make sure you have a way to deal poison damage to this raid boss if you are about to face it.
Defeating The Keeper of Sands will grant you more crystals and experience but no specific gear.
Fight Barkenstein, the Keeper of Nature
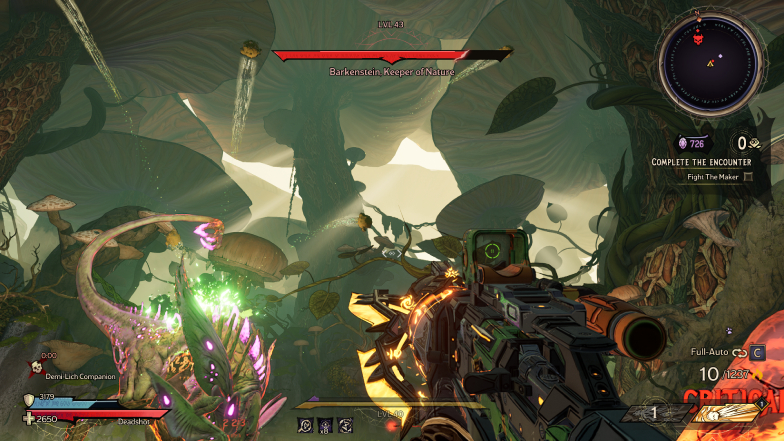
Barkenstein’s puzzle is a bit harder to figure out on your own, but it is possible.
In order to fight the Keeper of Nature, you must first find his green rune. Generally, it appears after the yellow rune. It will be on a wall or on the ground, much like any other rune in the Chaos Chamber.
Once you find it, the rune will fly away to reveal the puzzle location. It will land on the ground and make a mushroom spawn there. The Mushroom won’t do anything until you jump on it. Once you do, the little puzzle challenge starts.
The Mushroom will shoot a set of spores that will slowly fall. One of the spores will have a purple glow. Shoot that spore and look at the others since this should cause another spore to start glowing.
Your objective here is simple, shoot the glowing spores before any of them hit the ground. Each time you succeed will cause the Mushroom to launch another set of spores in the air, each with one more spore.
You have to succeed on this task three times, and you only have three chances.
Much like it was described before, you will have to finish your Chaos Chamber run and then go through the red portal. This should take you to where the maker is, and she will put you against this raid boss.
Barkenstein is an aggressive four-legged creature with a huge flesh health bar. Use fire guns and spells to deal as much damage as possible to it. When attacking, Barkenstein reveals a rune in its claws or tail. You must shoot it to interrupt its attacks. You can check how to defeat it in detail in our guide.
Check our guide on how to fight Barkenstein, the Keeper of Nature, to learn the best way to find and defeat this raid boss.
Your reward for defeating Barkenstein is some extra crystals. The number will depend on the number of curses you collected before fighting it.
Fight Gloopathoth, Keeper of the Abyss
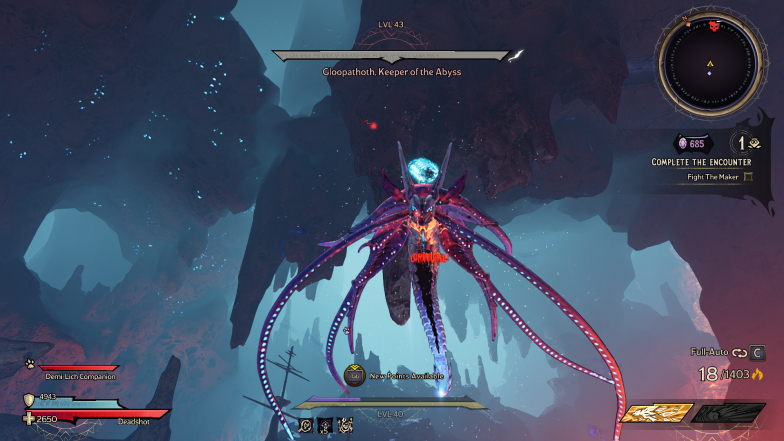
Gloopathoth’s puzzle is by far the hardest to figure out without any guides. Not only that, depending on the map where the encounter happened, it can be quite hard to solve.
First, you must find Gloopathoth’s blue rune. It is usually the last rune to be found, so you will have seen the others by now.
Once you find it, this rune will fly away and bounce on the ground before landing. This means that it will reveal two different locations that are part of the same puzzle.
It will spawn a pool and three little orbs when it first hits the ground. At the second location, you will find a big water orb.
Your objective here is to explode the water orb. To do that, stand under the small spheres until one of them shines and becomes an ice orb. The ice orb will slowly move towards you.
Now things get tricky. You must make the ice orb get really close to the water orb and then shoot it.
This might be complicated because sometimes the water orb spawns in the high ground or other complicated areas. Besides, the ice orb will disappear if it hits anything. All those things make this the most annoying puzzle out of the three raid bosses.
In any case, succeeding on this will make the water orb disappear, and you will face Gloopathoth once you go through the red portal at the end of your Chaos Chamber run.
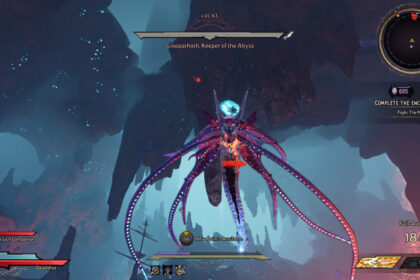
This boss has a huge bone health bar, and you might want to check our guide on how to fight Gloopathoth for more details on how to find it and the best way to defeat it.
Fight the Maker
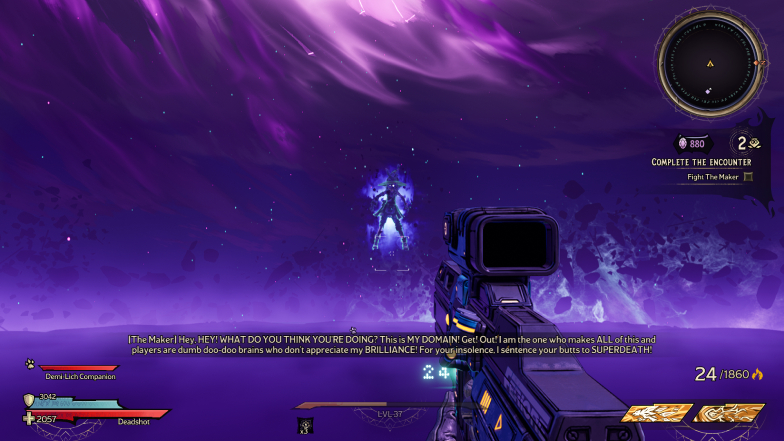
In order to fight the maker, you must first succeed in defeating all the other raid bosses.
However, there is a catch: you must do it all in a single run.
Although it makes no sense, the ultimate challenge is Tiny Tina herself. The good news is that she grants you a much greater reward than the other raid bosses.
Check our guide on how to fight the Maker in Tiny Tina’s Wonderlands for more details. Also, make sure to go prepared.
Remember, you will have to fight Bunnidhogg, Barkenstein, and Gloopathoth before fighting Tiny Tina. It might be wise to carry many different guns and collect buffs instead of curses from the Dragon Lord.

