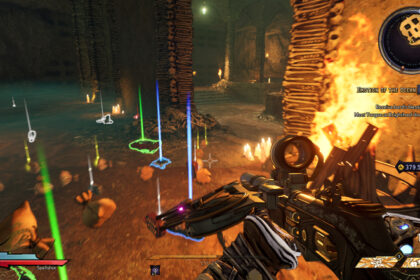
Gearbox is a passionate team, and it shows in the games they make. Tiny Tina’s Wonderlands has a campaign with a decent length, and it can be extended with the many side quests they added to the game.
The best part about the sidequests is the fact they are just as polished and detailed as everything you see during the main quest. The magic bean one comes to mind when I think about it. However, that’s not all.
The developers even added the Chaos Chamber to this title. In this late-game challenge, players fight randomized challenges with rogue-like elements. They didn’t stop there, though.
Tiny Tina’s Wonderlands also have hidden bosses in their late-game content. You have to find secret runes and solve specific puzzles to face them. It’s very reminiscent of old-school gaming.
So, for instance, if you want to fight Bunnidhogg, you will have to learn the specific steps to fight it. The same for the other bosses.
This guide will show you how to find and how to fight Barkestein in Tiny Tina’s Wonderlands. The Keeper of Nature is an aggressive and overwhelming foe, but there are things you can do to make the battle much easier, and we’re about to share them with you.
How to Find Barkenstein
Finding any of the secret bosses in Tiny Tina’s Wonderlands is done by following similar methods.
First, you will have to find a glowing rune and interact with it. This will cause the rune to fly away. Chase it to find the puzzle that foreshadows some mechanics the bosses use.
Finally, solve the puzzle to have access to one extra portal at the very end of your Chaos Chamber run.
Activate the Green Rune
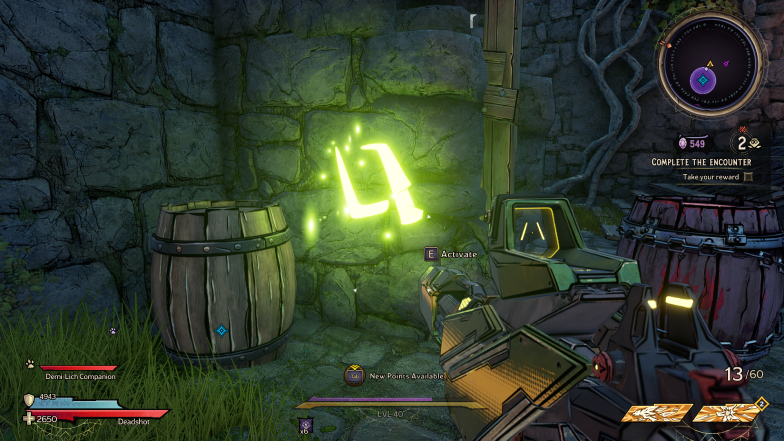
When looking for Barkenstein, the Keeper of Nature, you will be looking for a green rune. Note that they usually show in encounters that occur after you have already come across the golden rune.
Once you’ve found the green rune and activated it, follow the glow as described above to find out that it made a big mushroom sprout out of the ground where it landed.
This rune won’t always be easy to find, so make sure that you check every corner of an area after the encounter is finished. It might also help you get more crystals since you might come across some glowing skulls.
Solve the Puzzle
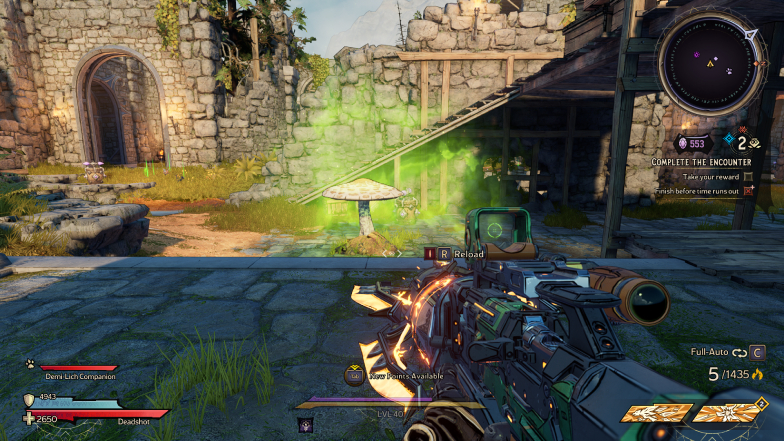
Once the mushroom grows, you will have to jump on it in order to get the next phase of the puzzle started. Once you do it, you will be knocked back, and the mushroom will shoot green spores up in the air.
Pay attention to them. You will have to shoot those in order. Look for the one with a purple glow. Once you do it, another one will start glowing. You must destroy all spores before any of them touch the ground, and you have three chances to get this right.
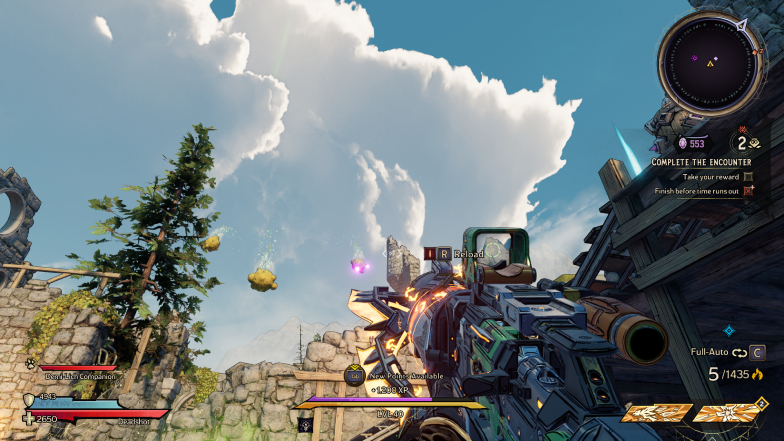
Once you destroy them all, the mushroom will, once again, launch a few spores upward. You will have to go through it three times to complete the puzzle. Each set of spores comes with an extra spore for you to shoot.
You will know you have completed it once the mushroom explodes. If you fail, the green light will go somewhere else. Another mushroom will grow where it lands, and you will have to start over. However, you have a limited number of chances to get this done correctly.
Go Through the Red Portal
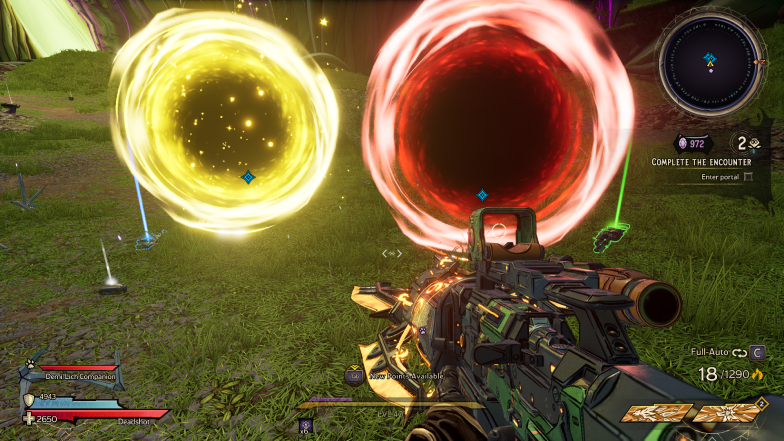
You won’t really know if you have done everything correctly until you reach the end of your Chaos Chamber run.
After defeating your last boss, you usually have to go through a yellow portal. However, a red portal will show up if you finish the mushroom puzzle correctly. This is the portal you want to go through.
By going through the red portal, you will meet Tiny Tina. She will be floating and talking about how you should not be there. If you want, you can actually skip this dialogue by shooting her.
After that, she will wish for your death and send you to meet Barkenstein, the Keeper of Nature.
How to Beat Barkenstein
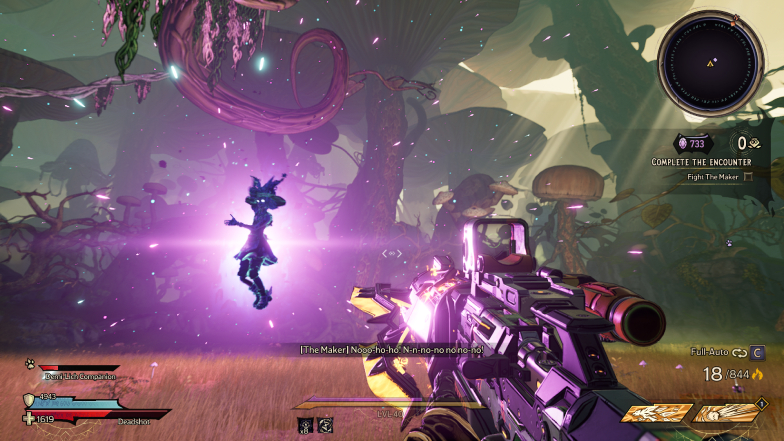
This is not an easy enemy when you first encounter it.
Barkenstein is aggressive, deals substantial amounts of damage, has the potential to one-shot you and can overwhelm you with enemies and poison attacks.
Yet, if you pay attention, you are going to realize that Barkenstein has recognizable patterns and ways to be handled.
First of all, Barkenstein has a single, long red health bar. Meaning, get ready to use all you have that deals fire damage. I use a fire SMG, a fire Shotgun, and a fire rifle.
However, I have a black powder shotgun, too, because the damage output of that thing is really high. It works just fine in Barkenstein, but make sure that you have a good way to deal damage to it, especially fire type.
Also, make sure you only use shotguns when the boss is staggered. Barkenstein is a mobile, heavy hitter, and you might want some good rate of fire and agility to deal with it most of the time.
Shoot Barkenstein’s Rune
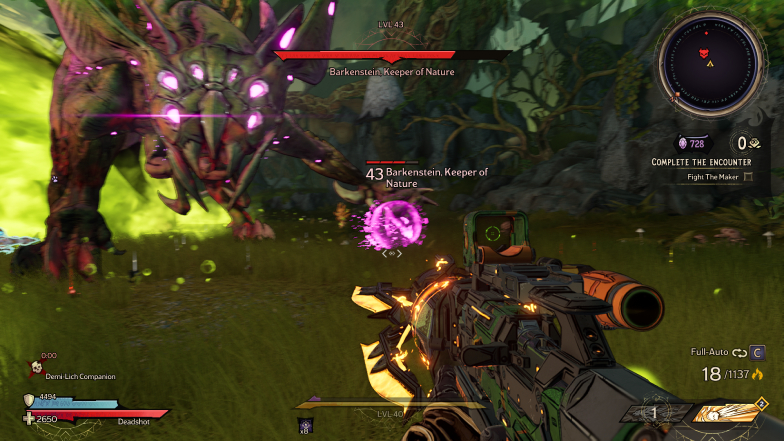
When attacking you, Barkenstein will telegraph his moves. Unfortunately, it’s highly unlikely that you will be able to avoid it.
Barkenstain’s attacks are fast and devastating. This boss will certainly break your ward and leave you nearly dead. Depending on the attack, it might completely deplete your hit points.
For that reason, you might want to pay extra attention to what it does when it gets a bit close to you.
Barkenstein’s claw attack might be performed with either of its paws. However, there’s a short moment before the attack in which you can see a rune in its claws.
Shoot that rune to briefly stagger the boss. It won’t remain staggered for long, but it will cancel the attack and grant you some time to shoot all your bullets at it.
You also have to worry about the other two attacks, the tail strike, and the jumping spinning attack.
The one from the air looks like Barkenstein is turning into a spinning ball before launching itself against you. It will jump really high and stop in the air for a short moment. You have to find the rune and shoot it before the boss starts descending.
It is important that you use a weapon with a decent range that you can unload while trying to hit the rune.
Shotguns might deal a lot of damage, but they will be your doom in this boss fight. Rifles can work well, but make sure you get one with serious damage and a really good rate of fire.
If you successfully shoot the rune while Barkenstein is in the air, it will fall and stay on the ground for a while. This will be more than enough for you to deal decent damage to it with your spells, skills, and at least a full magazine.
Finally, we have a grounded, spinning tail attack. Like all other attacks, there will be a moment for you to shoot the rune that shows up on Barkenstein’s tail. This is probably the hardest attack to avoid, and missing the rune will cause you to be severely punished by the Keeper of Nature.
Shoot the Spores
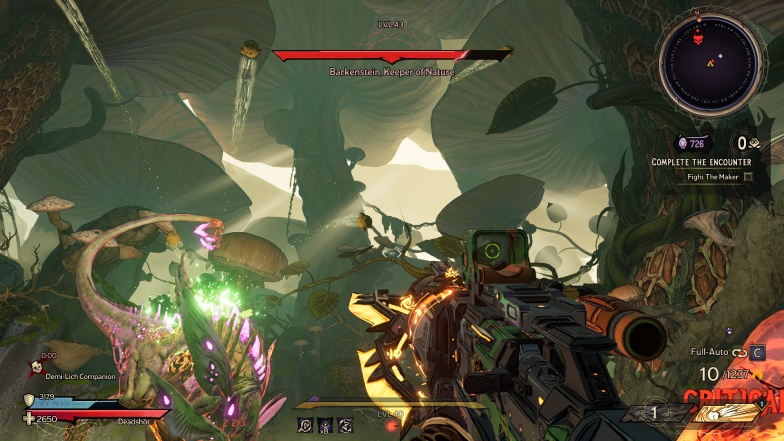
The Keeper of Nature will throw spores in the air that will glow and slowly fall. It works much like the puzzle mechanic that brought you here when you found the green rune.
There’s a big difference, though. If Barkenstein’s spores hit the ground, they explode and create a harmful poison zone that covers a large part of the arena.
To make it worse, it lasts a long time and stays there even if they kill you. This is why it is so important for you to pay attention to the boss, even if it’s not attacking you.
Once it shoots the spores, make sure to focus on the ones closest to you. It will be nearly impossible for you to clear all the spores, but you must at least find a way to create a safe for yourself.
This is important because not only do the poison areas deal damage, but they also obscure your view. If you can’t see anything, you won’t be able to shoot Barkenstein’s runes when it is attacking. This will also make it much harder for you to take down lesser enemies and save your soul when you’re in trouble.
Watch Out For Green Barkenstein
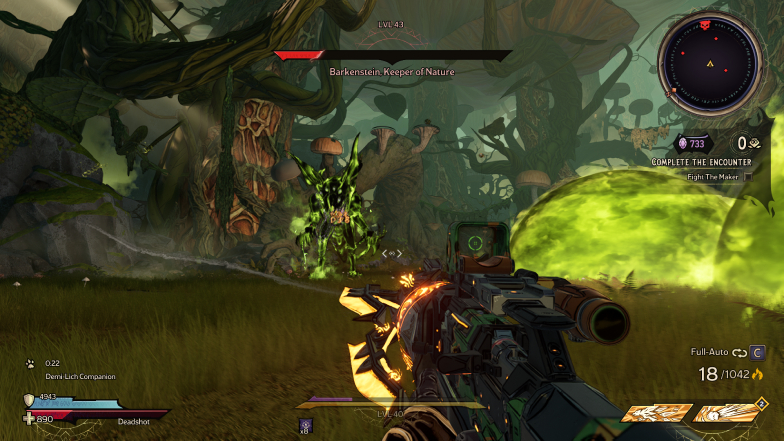
When Barkenstein turns green, it will become way more aggressive and dangerous. It will feel like the Keeper of Nature is much faster too, and you certainly will have much more trouble dealing with its attacks.
The main reason behind the perceived danger of its green state is the missing runes. When Barkenstein attacks, if he is glowing with a green aura, the runes won’t show up before each attack.
This means that you will have to recognize the patterns and shoot the Keeper of Nature where the runes usually show up in order to stagger it.
What Do You Get From Barkenstein?
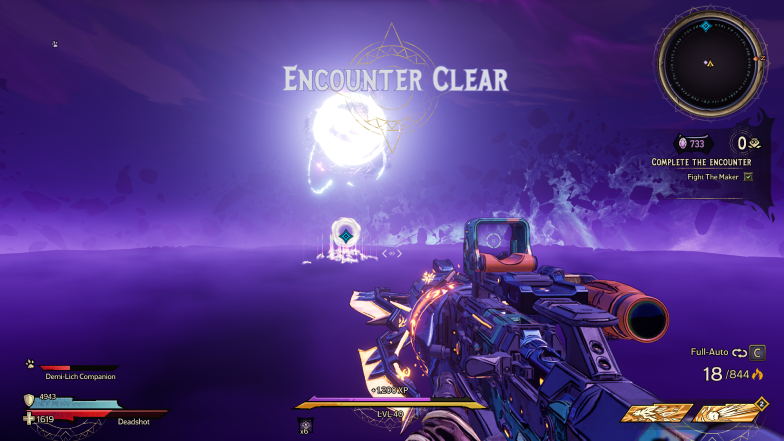
In my opinion, just like when you fight Gloopathoth or Bunnidhogg, the rewards are a bit underwhelming.
You get a lot of crystals and perhaps some decent loot, but it doesn’t seem like there’s anything exclusive to these bosses.
However, they are fun, and the number of crystals received can increase significantly if you accept some curses from the Dragon Lord. The game will make the Chaos Chamber much harder, but it is possible, especially if you increase your Myth Ranks.

