The Dragon Lord is not the hardest final boss in FPS history. However, I’m not going to deny that I spent some time trying to understand what was going on during phase 2.
The previous Fate Maker and current villain of Tiny Tina’s story brings more than just a bunch of hard to dodge magical attacks and a mighty sword. The Dragon Lord also has a DracoLich on his side, which makes things very complicated at some point.
Tiny Tina’s Wonderlands is a game that adapts its difficulty to the player’s current level. For that reason, there is a chance you will be fighting a much harder Dragon Lord if you’re maxed out. That’s because your gear doesn’t always keep up with your level, and the game doesn’t seem to account for that.
When you think about it, you can see how it is possible to have trouble fighting the Dragon Lord. Besides, there is a chance you will have some trouble facing the Dragon Lord if you don’t bring the best weapons for the job.
He causes too much damage and leaves little to no room for you to dodge. Not only that, his vulnerabilities change throughout the boss fight. However, don’t worry too much. If you are having any trouble in the game’s final battle, we’re here to help you.
Stick around to learn how to defeat the Dragon Lord in Tiny Tina’s Wonderlands and finally get access to the game’s Chaos Chamber.
How to Defeat the Final Boss
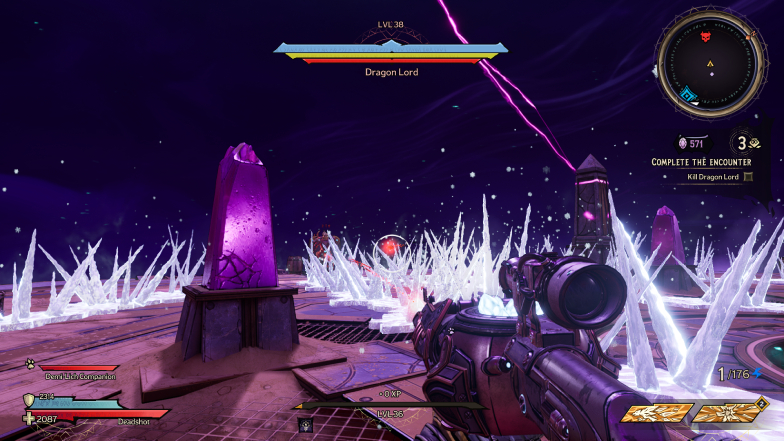
The first thing to notice about this boss battle is the arena. There is limited space, and you can’t just walk around looking up.
There is a big chance you will fall if you don’t pay attention to everything that is going on. Also, note that falling from the platform, even if just once, means that the Dragon Lord wins. You will be taken back to a respawn point, and the boss fight will restart.
Your positioning is crucial in this fight. You don’t want to walk out of the arena by accident, but you also must avoid staying on the edges since some attacks might knock you away.
This is a boss that throws a bunch of enemies at you, and some have special interactions with him. He also uses some area of effect attacks and overwhelming crowd-controlling spells that diminish your movement freedom.
Also, like many other annoying bosses in Tiny Tina’s Wonderlands, the Dragon Lord has a few different health bars.
This means that you will have to bring your best weapons and think of weapons and spells that you can use in any context. Have a good spell or class ability for crowd control and ways to cause poison, electric, and fire damage.
Dragon Lord’s Phase 1
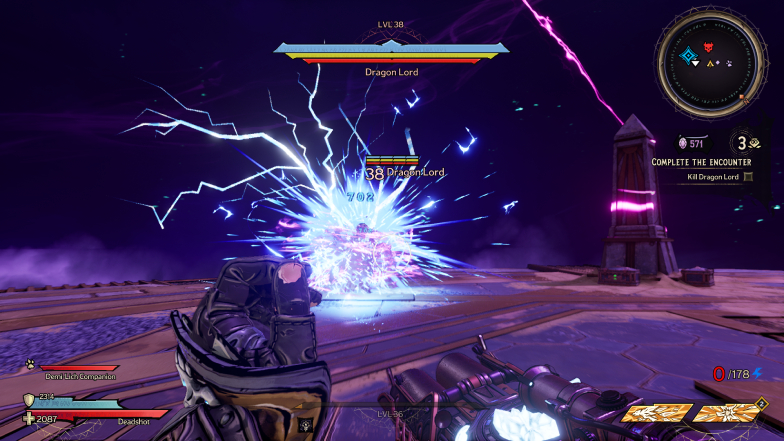
The Dragon Lord will have three health bars when he first shows up. As mentioned before, he has a blue ward bar, a yellow armor bar, and a red flesh bar.
That means you will have to use at least three different types of damage to effectively fight him unless you want this fight to last forever. However, you can’t just use them in any way you want.
Each of those HP bars defines the phase in which you’re in when fighting this boss. The first one only ends when you deplete his blue bar.
First, you need electric damage to deal with his ward. Attack him with that kind of damage as soon as the battle starts.
The Dragon Lord will fill the arena with ice trails during this part of the fight. Just avoid touching those.
He also mainly uses two large spell blasts. Jump over the green one and crouch to avoid the purple ones, and you should be fine for the most part.
Just like most boss fights in Tiny Tina’s Wonderlands, the Dragon Lord won’t fight alone. There will be a bunch of zombies going after you during the boss battle.
They are a minor nuisance at most, but this is a good thing. However, these enemies can actually help you save your soul and succeed in a saving throw when you are reduced to zero hit points.
The Dragon Lord also summons Spectral Tramplers, which are really hard to see and can deal lots of damage. Just make sure to check your mini-map so you won’t be caught off guard and shoot those as soon as they spawn.
Dragon Lord’s Phase 2
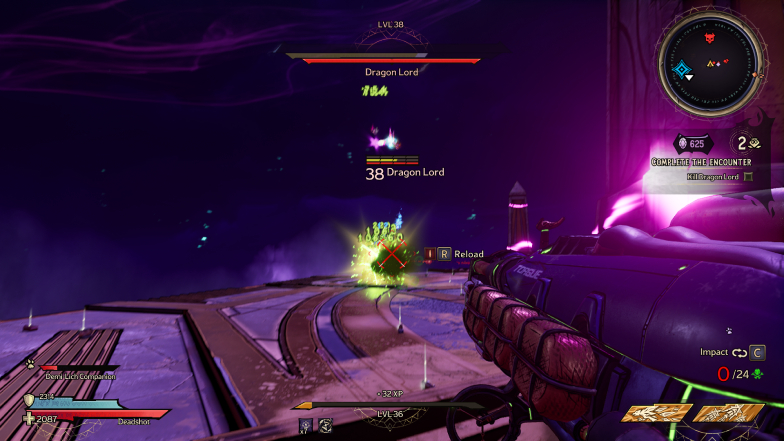
If you got to Phase 2, it means that you have depleted the Dragon Lord’s ward, and now you have to go through his armor.
At this point, you should be using poison damage to deal with him. Heavy weapons are usually indicated for the more significant lingering damage.
Spells work well too, but beam SMGs can be ruthless if you hold down the trigger.
During phase 2, the Dragon Lord might start trying to regenerate his ward by summoning spectral aegis. You will be in trouble if you don’t pay attention to what the Dragon Lord is doing. Keep an eye on the creatures he summons since some are really troublesome.
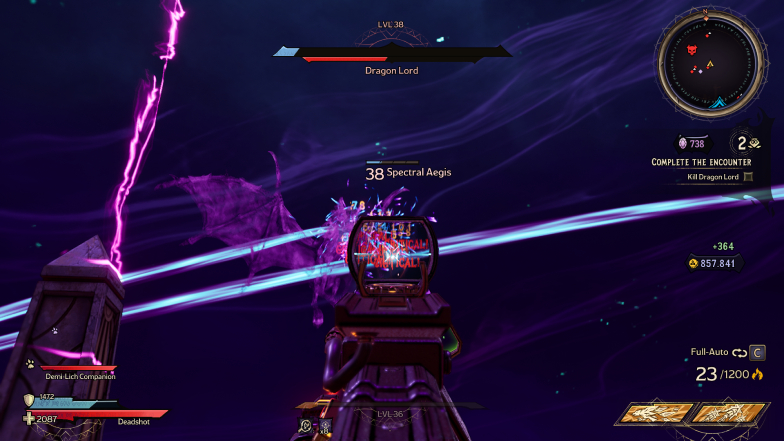
The boss regenerates his wards by summoning spectral aegis that charge him up. Make sure to target those spectral creatures as soon as they show up. As soon as you are done with them, go back to hitting the Dragon Lord with poison damage.
Keep paying attention to the Dragon Lord and the creatures surrounding it. You don’t want him to have his ward back since it can make the fight last way longer than usual.
You might have to switch back to electric damage if you don’t handle the spectral aegis quickly. After all, the Dragon Lord will have regained some of his ward.
Watch out for the Dragon Lord’s spectral blades and other attacks that can knock you back, such as the ones from spectral tramplers. Make sure you’re always close to the center of the arena.
Since these attacks can force move your character, there is a chance you will be knocked out of the platform where the fight happens. This would cause the battle to start over.
Dragon Lord’s Phase 3
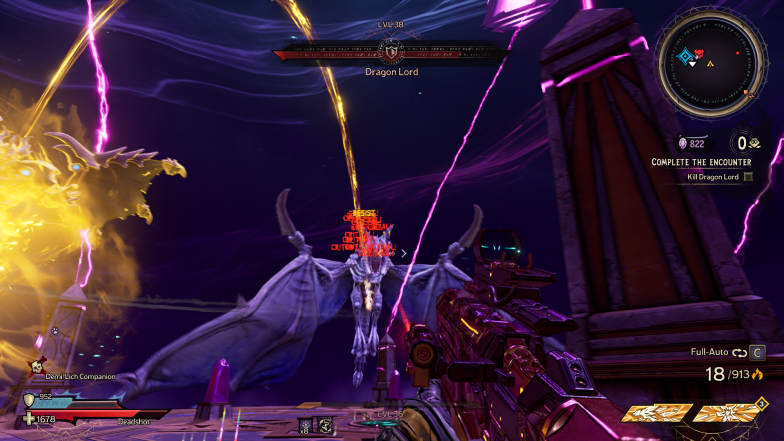
You dealt with the Dragon Lord’s ward and armor, and now you have a red health bar to deal with. The red bar indicates flesh, meaning that the Dragon Lord is now vulnerable to fire damage.
Equip your best fire weapons and spells to deal with him, but make sure you have a black powder weapon or ice weapons to deal with the dracolich he summons, Bernadette.
During the third phase, the Dragon Lord’s beloved will possess a dead dragon, and they will fight together against you.
Bernadette’s breath weapon is a golden beam that can knock you back really far, and it might knock you out of the arena if you are not careful.
This phase is a bit hard because Bernadette is a damage sponge. She has a huge HP pool, so it might take you a while to damage her.
On top of that, while Bernadette is targetable, the Dragon Lord will be immune to damage, which means that you will have to deal with the draconlich to make the boss vulnerable to your attacks.
If Bernadette suddenly becomes invulnerable, target the Dragon Lord immediately since they can’t both be immune to your attacks at the same time.
What do You Get From the Dragon Lord?
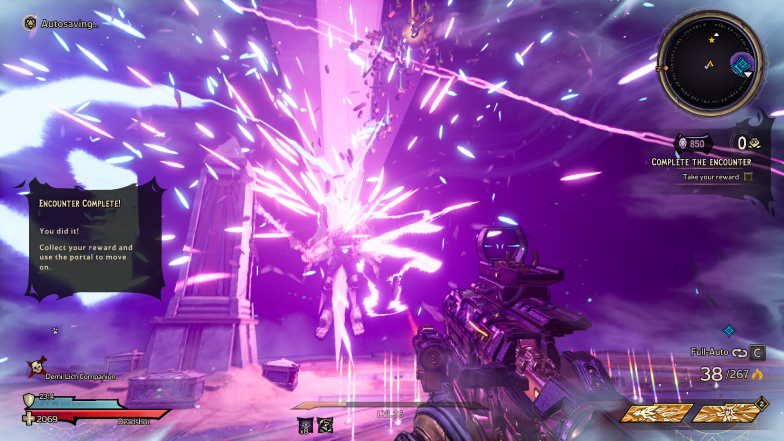
There is no specific drop for when you defeat the final boss in Tiny Tina’s Wonderlands, so don’t go in expecting a legendary weapon.
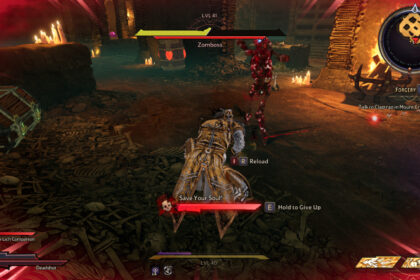
In fact, when it comes to rewards and experience, the Dragon Lord isn’t even the best way to level up fast in Tiny Tina’s Wonderlands. When it comes to farming, there are better options. Personally, I’d still go with Zomboss, depending on your level.
However, once you defeat the final boss, not only do you gain some decent loot, but you are also given access to a room with eight chests.
These are not super special chests, but there is enough loot to sell for a decent sum of gold. Also, since there are eight chests, you might end up finding a pretty good rare or epic gun.
You can also find the Dragon Lord in the Chaos Chamber, but you won’t have access to that room with the better loot.
Weirdly, although he is the last boss of the game, I’ve faced more challenging bosses when exploring the late game content of Tiny Tina’s Wonderlands. The game even has some secret bosses who can one-shot you even when they are level appropriate.
Also, it becomes a relatively easy fight once you’ve learned how to deal with the Dragon Lord and have found the right tools for the job.
In the end, although he is a pretty good final battle in the main quest, the Dragon Lord ends up being a comfortable final battle in the Chaos Chamber to make sure that you will leave with all the loot and crystals you collected.

