Many players will go through the quests in Tiny Tina’s Wonderlands and think they have seen all the content that’s available in the game.
Luckily, that isn’t the case. The late game content has a few surprises for you. Even if you have explored the entire Wonderlands, there are some secret things waiting for you in the Chaos Chamber.
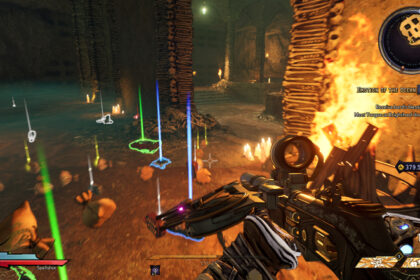
When fighting your way through the Chaos Chamber in order to get better loot, you might come across some mysterious runes of different colors. Those runes can be interacted with to start a puzzle.
If you haven’t found any secret boss fight so far, it means that you either have not found one of those runes or didn’t know what to do after seeing one.
Well, now you know that they are your ticket to secret boss fights, and there are three of them in the game.
If you are looking for even more loot, you better face as many powerful enemies in a single run as possible.
Don’t worry, though; we’re here to help. This guide will let you know how to find and how to fight Bunnidhoog in Tiny Tina’s Wonderlands.
Not only that, but we are also going to give a few tips that make the battle against the Keeper of Sands much easier. That way, you will leave the Chaos Chamber with all your crystals and a bunch of weapons to sell.
How to Find Bunnidhogg
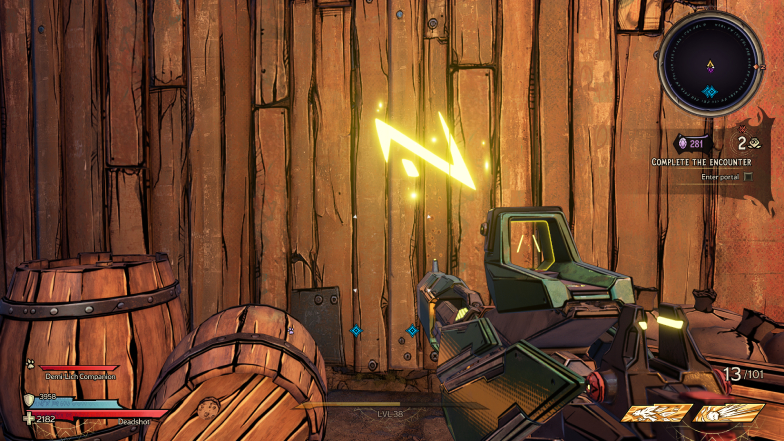
In order to fight Bunnidhogg, the Keeper of Sands, you must first find a golden rune in the Chaos Chamber. You should see it in the first few challenges. It will be on a wall or on the floor.
Look carefully around the map once you’ve finished each encounter. Sometimes the runes might spawn in obvious places, often close to the Dragon Knight, but it isn’t always the case.
Once you’ve seen this rune, interact with it, and you will see it fly away. Follow the trail until you find a floating rock with a golden aura. Shoot the rock so it’ll become a floating rune within a circle.
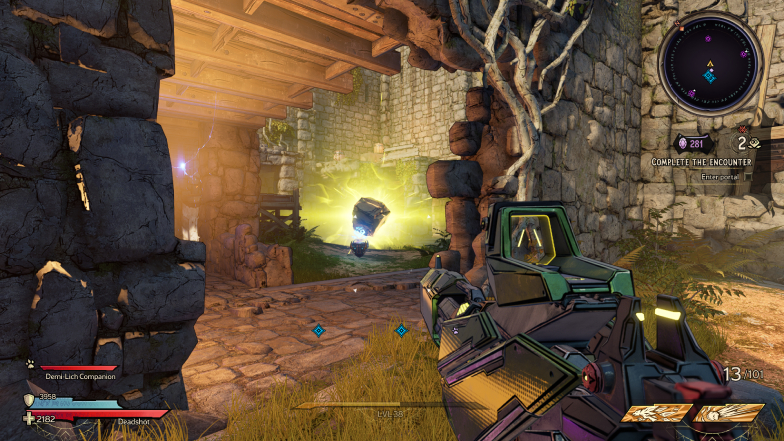
This rune will shoot a damaging light in a circular pattern. Watch out for it and hide behind a wall when the light is about to hit you.
That light will deal a lot of damage to you and will also make you blind for a while. Your objective here is to avoid this attack while dealing damage to the rune until it disappears completely.
If the rune moves to a different area of the map because you got hit or for any other reason, just follow it. Again, avoid being hit and shoot at it until it is nowhere to be found.
Once you’ve permanently dealt with the golden rune, keep going through the portals and fighting enemies in the Chaos Chamber as you usually would.
After fighting all the bosses that normally appear in a Chaos Chamber run, you will be shown two portals instead of one.
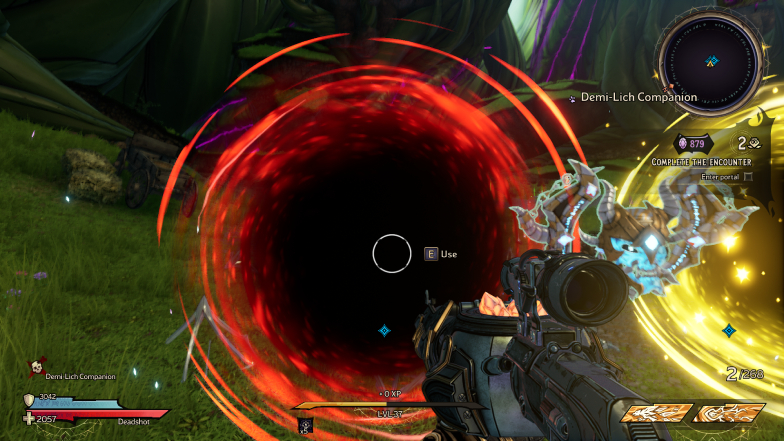
The yellow portal will end the Chaos Chamber run and safely return you to Queen Butt Stallion’s castle. But let’s face it, you’re reading this guide because you want more than a normal run.
That being said, if you decide to enter the red portal, you will be taken to a special area where you will see Tina complaining about your presence.
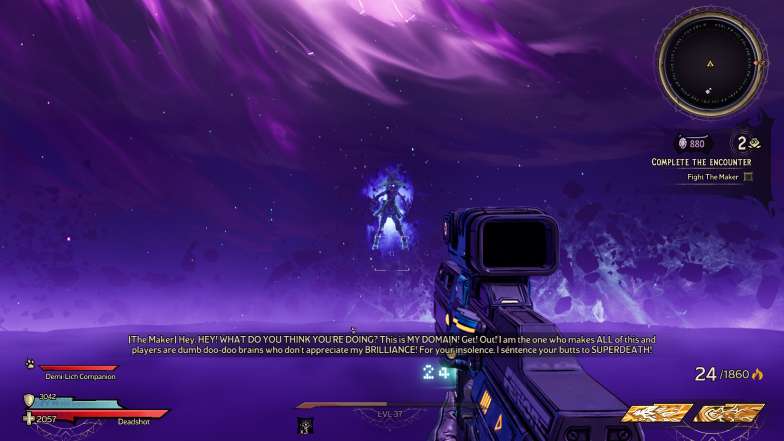
She will make you fight Bunnidhogg, the Keeper of Sands. This is her way to punish you for being in a place where you are not supposed to be.
How to Defeat Bunnidhogg
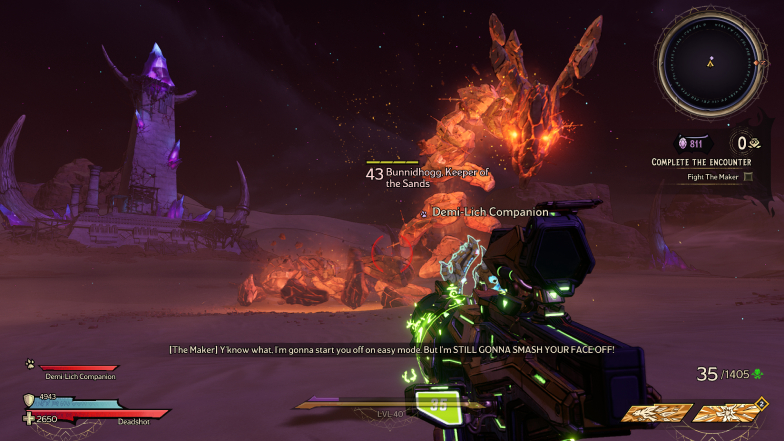
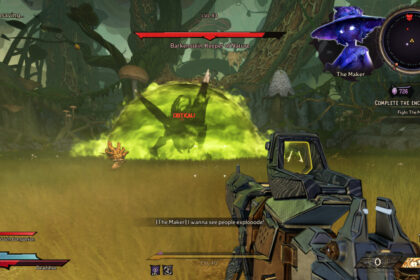
Bunnidhogg, the Keeper of Sands, is a massive serpent-like, stone-looking creature that has a huge yellow health bar.
Since its health bar is yellow, which represents armor, your best way to deal damage to it is by using poison damage.
I like using heavy poison weapons against the Keeper of Sand. The idea is to cause a decent amount of damage over time, so you can focus on your surroundings a bit and still deal a lot of damage to the boss.
Like most bosses in Tiny Tina’s Wonderlands, including the Dragon Lord, Bunnidhogg will not fight alone. This is good since you can use its skeleton allies to save your soul when your HP is reduced to zero.
Bunnidhogg can cause immense shockwaves when burrowing under the sand. Those shockwaves knock you back and deal quite a lot of damage.
Although there is a cliff in this arena, there is almost no risk of falling to your death unless you are staring at the abyss. Still, the shockwave alone deals enough damage to cause problems.
Luckily, it’s relatively easy to deal with this attack. Pay attention to Bunnidhogg’s movements. Once you spot that he is going under the sand, make sure to look at the ground and jump over the shockwaves.
Make sure to stay out of Bunnidhogg’s way when it leaps to go underground. Just run away when you spot it coming your way.
Bunnidhogg also has some sort of breath weapon attack. Keep your eye on its head and, once he uses his breath attack, run away since the targeted area will be covered by lava. Running towards the boss tends to be a good move when it uses this attack.
Finally, the most dangerous thing that this boss does is move around while shooting light blasts around it. It works a lot like how the golden rune works. In fact, you will see the golden rune over Bunnidhogg’s head while it is attacking you with the golden light.
In order to deal with it, you will have to quickly identify where Bunnidhogg is — you can also just look for the rune — and shoot the golden rune until it disappears.
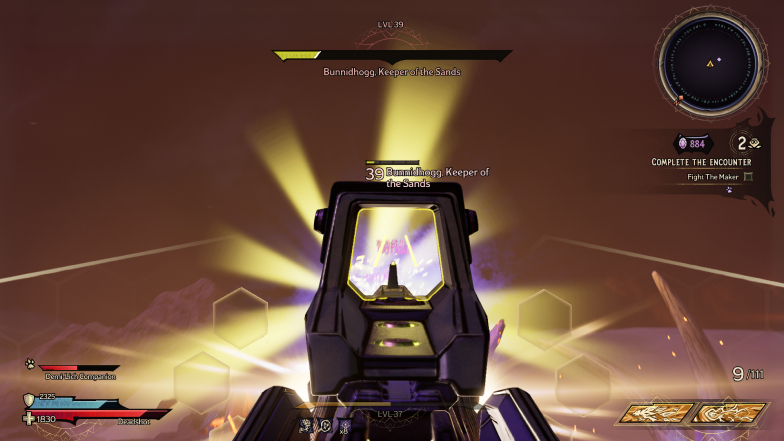
It is not going to be easy. While Bunnidhogg does that, a sandstorm will make your life much harder by heavily obscuring your vision. However, you must keep your eyes on the boss and try your best to shoot that golden rune down.
If you don’t do that, you will be attacked by that gold light blast that might be able to take you down with a single touch. On top of that, since you won’t be able to see around very well, you might not be able to save your soul when that happens.
That being said, keeping some lesser enemies alive is always a good idea in a game like Borderlands or Tiny Tina’s Wonderlands.
Best Weapons to Defeat Bunnidhogg
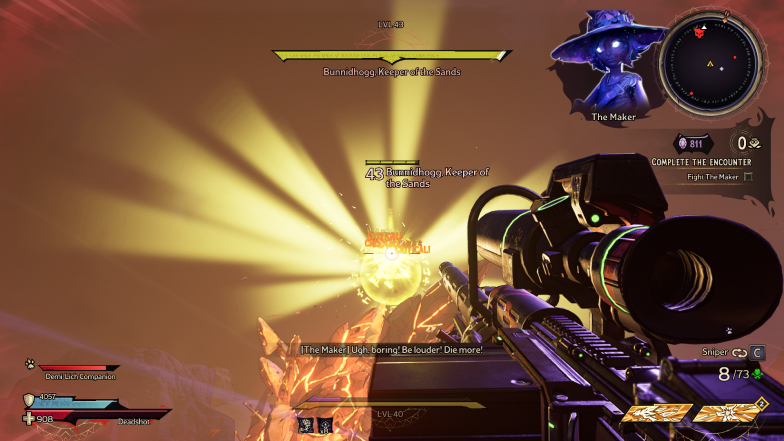
As mentioned above, Bunnidhogg has a single life bar. It is huge, but at least it’s just one. That means that you can bring a few good poison weapons and spells with you, especially for this boss fight.
I do recommend that you bring a long-reaching back powder weapon to hit the golden rune when Bunnidhogg starts to use the golden rune against you. Such a weapon is also essential when you are hit by a powerful attack and must take down an enemy to save your soul.
That being said, I’d undoubtedly carry a bunch of poison weapons and poison spells with enchantments that increase your damage output.
You don’t have to use them throughout your entire run, though. Other items might be better for you to use throughout the Chaos Chamber. And some bosses might have strong wards and flesh health bars.
However, once you know that you are facing Bunnidhogg, the Keeper of Sands, you better change your equipment to poison-based weapons and at least one rifle to hit targets far from you. Make sure this rifle is precise and hits like a truck too.
There are also a few other tricks to deal lots of damage without depending on poison guns, like using Spellshot’s ability to add a damage type based on the last spell you cast.
However, these are very specific cases. They demand you to know which is the best class and skills for the job, so it might be safer to just carry the most effective guns instead.
The Reward
Honestly speaking, I find the reward for defeating secret bosses somewhat underwhelming in this game. Yes, you end up getting more guns, but those almost always end up being sold.
So, in the end, your actual reward for defeating Bunnidhogg, the Keeper of Sands, is about 250 crystals and some experience to help you level up or increase your badass rank.
So, you might just want to face this boss for fun. Mostly because if you collected a bunch of curses from the Dragon Lord and decided to face it, you’re in for a treat.
Invulnerable enemies and creatures over level 40 combined with a damage-sponge like Bunnidhogg can be a frustrating experience. Unless your character has this amazingly powerful build and a very high badass rank, you might lose all your lives to Bunnidhogg.
In other words, facing this boss with a bunch of curses means you have a good chance to be sent back to the spawn point without any of your hard-earned crystals.
On the other hand, challenge-seeking players might want to go through the Chaos Chamber and invite all the possible adversities to put their builds to the test.

