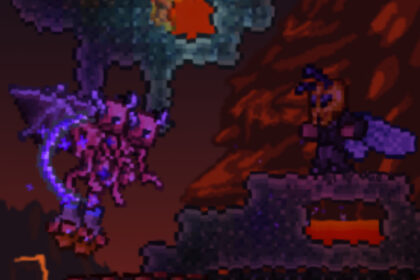
Advancing to hardmode is a pivotal point in your adventure. It unlocks a vast array of new content and gets much more difficult. Due to this increased difficulty, it’s essential to know how to prepare for hardmode in Terraria.
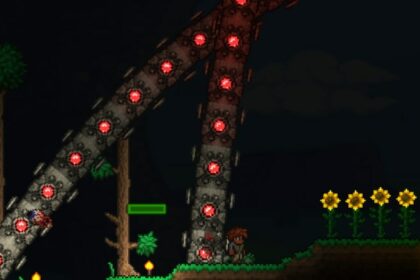
After defeating the Wall of Flesh, your world will permanently be put into hardmode. Entering hardmode unlocks a plethora of new content, including weapons, tools, armor, bosses, biomes, accessories, and enemies – some of which will appear as “upgraded” versions of pre-hardmode enemies.
The increased difficulty will prove a challenge if you’re not sufficiently prepared, so there are several measures you can take to ensure you’re fully prepped for the challenge of hardmode.
Get a Molten Set
Prior to entering hardmode, it’s important to make sure that you have the best equipment available. This will allow the transition from pre-hardmode to hardmode to be as seamless as possible.
The best armor available pre-hardmode is Molten Armor and, while it’s quite difficult to obtain, is practically a requirement for activating hardmode. Molten Armor is crafted with Hellstone Bars, and a complete set consists of 35 in total.
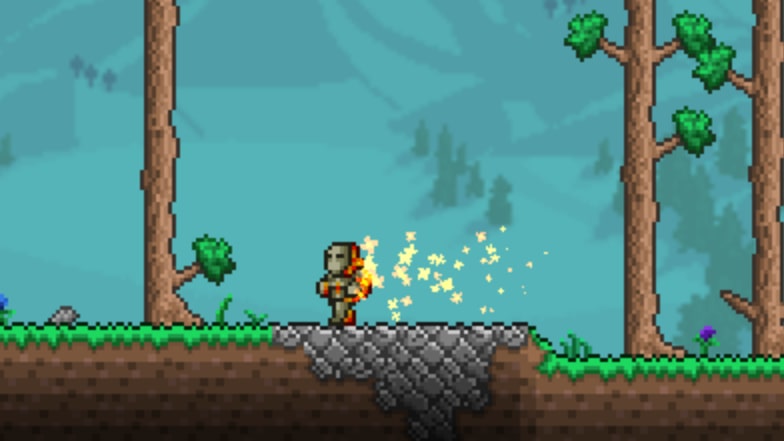
Additionally, acquiring a Molten Pickaxe is a necessity – as this is the best pickaxe available pre-hardmode in terms of pickaxe power. You’ll also get an achievement for crafting your first Molten Pickaxe; this highlights how important Molten Pickaxes are for game progression.
Without a Molten Pickaxe, you won’t be able to mine any new ores unlocked in hardmode. To craft a Molten Pickaxe, you’ll need 20 Hellstone Bars.
Hellstone Bars are made at an Iron or Lead Anvil using Hellstone and Obsidian.
Hellstone is found in the Underworld (otherwise known as Hell) in clusters. To mine it, you need at least a Nightmare or Deathbringer Pickaxe. It’s worth noting that, pre-hardmode, it cannot be harvested with explosives.
Obsidian is created at the collision point of water and lava. It can be mined using a Gold or Platinum Pickaxe at the minimum (these have 55% pickaxe power). However, unlike Hellstone, Obsidian can be harvested using explosives.
To create 1 Hellstone Bar, you’ll need 3 Hellstone and 1 Obsidian. This means that, in total, for a full Molten Armor set and a Molten Pickaxe, you’ll need to farm 165 Hellstone and 55 Obsidian.
The crafting station required to craft Hellstone Bars is a Hellforge. You can find Hellforges in Ruined Houses in the Underworld. Ruined Houses are considered Treasure Rooms – a type of miniature biome.
Craft a Night’s Edge
On top of having the best pre-hardmode armor and pickaxe, it’s important to ensure you have the best weapon. Arguably the best weapon available before hardmode is the Night’s Edge.
The Night’s Edge is a sword that becomes available after defeating Skeletron and has the highest base damage of all swords pre-hardmode. This base damage value is 42. On top of having high base damage, the Night’s Edge has a fast use time, further increasing its damage output.
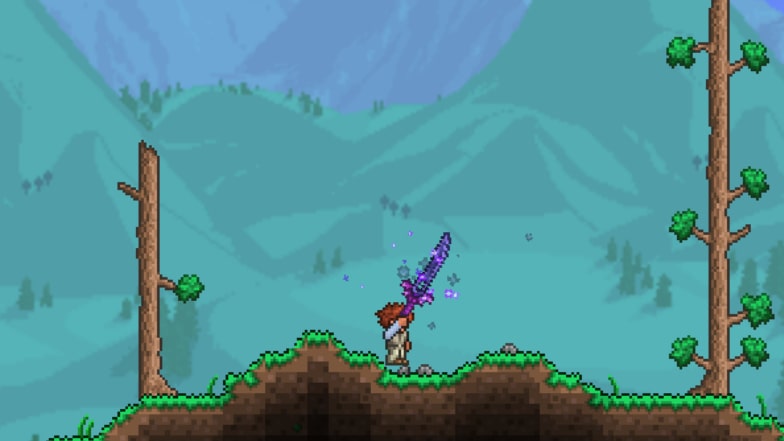
There are two recipes for crafting a Night’s Edge, each containing four swords. This means that the Night’s Edge is a very complex sword to craft, and doing so can be time-consuming; however, it’s completely worth it to prepare you for hardmode adequately.
The three constants in the Night’s Edge recipe are the Muramasa, Fiery Greatsword, and Blade of Grass. The fourth and final sword in the recipe is either the Blood Butcherer or the Light’s Bane – you can use the two interchangeably for this recipe.
Additionally, the Night’s Edge acts as a base ingredient for many powerful swords throughout hardmode. For example, after entering hardmode, you can upgrade the Night’s Edge into the True Night’s Edge, which has the highest base damage of any pre-Plantera sword. On top of this, the True Night’s Edge is used in the crafting of the Terra Blade, which is an ingredient of the Zenith – arguably the strongest weapon in Terraria.
All things considered, you should always craft a Night’s Edge before entering hardmode. Not only will it aid your ability to fight the stronger enemies in hardmode, but it will also act as a crafting ingredient as you progress through the game.
Prepare for the Spread of Evil
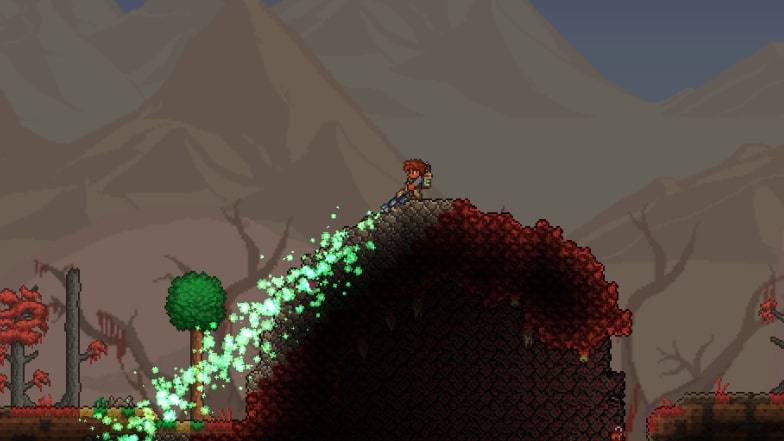
When you defeat the Wall of Flesh, a message will appear: “The ancient spirits of dark and light have been released.” This is a reference to the diagonal strips of Hallow and Corruption/Crimson that form in a “V” shape when you enter hardmode.
On top of this, the spread rate of all evil blocks (Hallow and Corruption/Crimson) is greatly increased. Ultimately, if not kept under control, the evil biomes can take over your entire world.
Therefore, it’s important to keep the spread of evil at bay. Knowing how to get rid of Crimson or Corruption can be tricky, but there are ways to do it effectively; however, these methods are time-consuming.
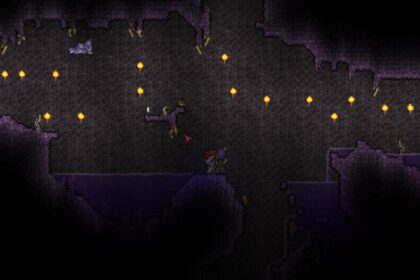
The most common and arguably effective way of preparing for the spread of evil is segregating the evil biomes with containment tunnels – both vertical and horizontal. Containment tunnels are a simple way to control the spread of evil in your world, and the only resources they require are a pickaxe and patience.
You should scatter containment tunnels across your world, and each one should be a minimum of 6 blocks wide, extend down to the Underworld, and be lined with blocks not affected by the spread of evil, such as dungeon bricks, hay, and wood.
Additionally, you should scatter horizontal containment tunnels that join up each vertical one. The horizontal containment tunnels should have a height of at least 6 blocks and also be lined with non-corruptible blocks. Essentially, you are aiming to split your world into many sections to limit the spread of Hallow and Corruption/Crimson.
This requires a lot of patience pre-hardmode as the tools available to you are very limited. However, this patience will pay off when you don’t have to worry too much about the spread of evil in your world.
Organize Storage
Throughout your time playing Terraria, you’ll have inevitably gathered a large number of resources. It’s common to have not organized your resources pre-hardmode due to lack of time, feeling it’s not necessary, or simply forgetting.
Managing your resources and storage methods is a crucial part of Terraria and will save you lots of time in the long run. Putting items in the “Trash” is not recommended, especially this early in the game, as they will likely come in handy later.
There are many different chests available in Terraria, and making chests is a straightforward task. However, it can be difficult to know what to do with the chests, where to place them, and how to structure your storage.
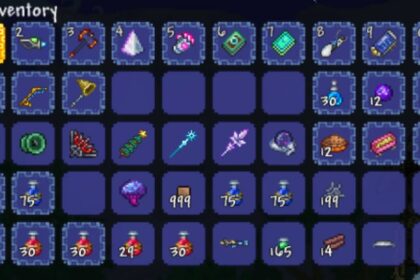
A common and effective way of organizing your resources is by splitting them into sections: weapons, armor, potions, blocks, ores, bars, etc. While keeping all your chests in one place is recommended for ease of access, splitting the storage area into different rooms is a good idea; a room for each storage section.
Managing your resources is a crucial part of Terraria. Keeping all of your resources in one place also allows you to utilize the quick stack feature accessible in your inventory fully.
Build a Skybridge
Skybridges are – as the name suggests – bridges that cover the sky area. They can be at any altitude but are most commonly 200-300 blocks above the ground, as they won’t be affected by mountainous terrain and will be the right level to find Floating Islands (also known as Sky Islands).
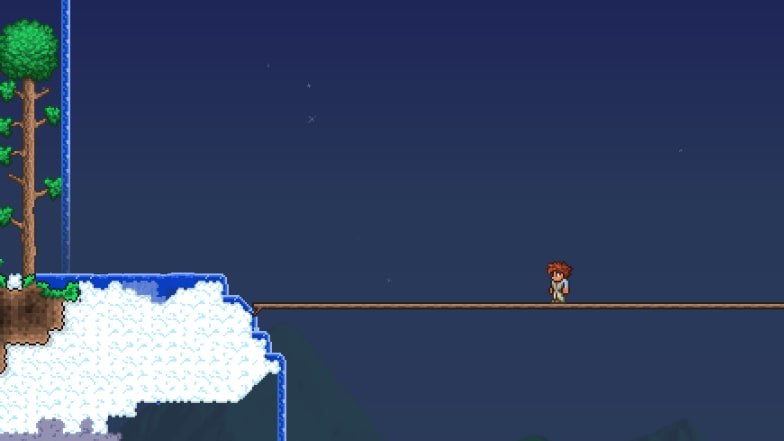
Often, a Skybridge is made from platforms, but this isn’t a necessity. A Skybridge can span any amount of your world, but it’s recommended to build a Skybridge that covers the entire width of it, regardless of whether it’s small, medium, or large.
Skybridges can be a great way to farm Fallen Stars by simply running back and forth across it. Additionally, they can prevent Meteorites from damaging your world or any structures in it – as well as make them easy to find and access, especially on large worlds.
Defeat the Goblin Army
Defeating the Goblin Army isn’t essential before entering hardmode but is recommended, if possible. While the Goblin Army itself doesn’t reap any particularly good rewards, defeating it allows the Goblin Tinkerer NPC to spawn into your world – in an NPC-appropriate house.
The Goblin Tinkerer is a crucial NPC in Terraria as he provides the option to reforge your tools and weapons.
Having items with a good prefix becomes increasingly important as your progress through the game, and the Goblin Tinkerer accommodates this. Prefixes provide the tools or weapons with additional stats – some beneficial, some negative. While reforging is a great thing to do, you should remember not to go overboard with it, as it can get costly – especially early on in hardmode, where your coin supplies are limited.
There’s no way to spawn the Goblin Army having not previously defeated it; however, if you have already beaten it and wish to battle it again, you can craft a Goblin Battle Standard.
Making a Loom is required to craft a Goblin Battle Standard, and the recipe for the Goblin Battle Standard is simply 10 Tattered Cloth and 5 Wood (of any type).
Build a Universal Boss Arena
Often, building boss arenas are specific to particular bosses, such as the Wall of Flesh, Skeletron, or Duke Fishron; however, there are still many bosses where a generic boss arena will suffice.
The three Mechanical Bosses are significant bosses in Terraria, and you can use the same boss arena to fight all of them. Typically, your boss arena will develop as you progress through the game, although creating a standard one will help you get started with hardmode.
Boss arenas generally consist of several layers of platforms that are jumping-height distance apart. Scattering Campfires and Heart Lanterns around your boss arena is practically essential as this will increase health regeneration.
Additionally, if you have found any Heart Statues in your adventure, you can utilize these by wiring them up to timers. Heart Statues can be found in Underground Cabins and drop health-restoring Hearts when activated.
Create Extra NPC Houses
As you venture through the game, you’ll need to create a lot of NPC-appropriate houses along the way.
In hardmode, you’ll be able to get many NPCs to move into your world, provided there is suitable housing for them. This is why building extra NPC houses is recommended pre-hardmode. It will save you valuable time later in the game, and the NPC houses will be much easier to build pre-hardmode than hardmode because of the less potent enemies.
It’s important to remember that NPC houses have specific requirements allowing NPCs to move into them.
You can check if housing is suitable by clicking the housing menu’s top button – a question mark (“?”).
A house must be a minimum of 60 tiles (including the frame) and can be a maximum of 750 tiles. It must also have a Table, Chair, entrance (usually a door), and light source. Note that NPCs can open Doors themselves. Tables and Work Benches can be used interchangeably. The entrance to the NPC house does not have to be usable by said NPC (for example, NPCs cannot use Trap Doors). Finally, all NPC houses must have full background walls.
Secure Your Base
Securing your base is crucial in preparation for hardmode due to the massively increased difficulty and frequency of enemies.
You can do several things to help secure your base, but you must remember that, in Terraria, your base will never be 100% secure.
The main purposes of securing your base are to prevent you from entering a death cycle if your spawn point becomes inhabited by difficult enemies and to protect your NPCs from harm. While they will respawn the next Terraria day upon death, keeping them alive is preferred.
Building a basic lava trap is one common, effective, and simple way to secure your base from enemies.
Dig a pit of 10 tiles wide and at least 5 tiles high. Then, simply place one Lava Bucket in the pit. This lava pool is shallow enough not to burn the loot that the enemies will drop, meaning that it can be collected. This defense is especially useful in defending your base against invasions such as the Goblin Army.
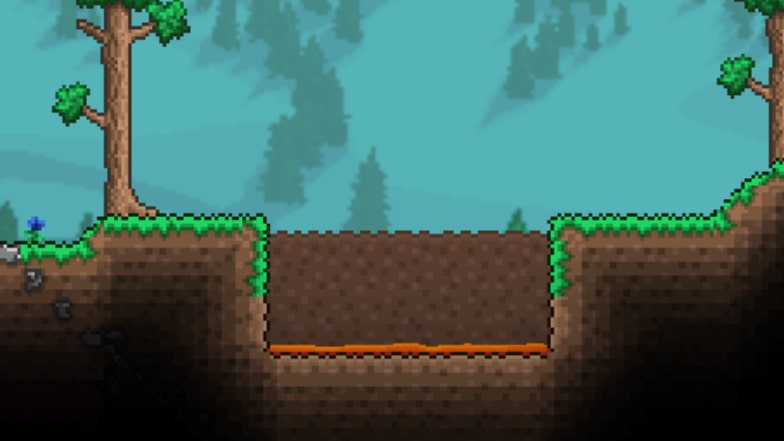
Another thing you can do to help secure your base is elevate the NPC houses.
Elevating them above the ground will negate the risk of most enemies, as many cannot leave the ground farther than a few blocks. Raising your NPC houses around 10 tiles off the ground is recommended.
You can use Ropes, Chains, or similar to get to them. Alternatively, you can use mobility accessories.
Conclusion
Preparation for hardmode is the key to survival. When the difficulty is heightened by hardmode, having sufficient measures in place to help you survive is crucial. As this guide has shown, there are many ways to do this, and they are all just as important as each other.

