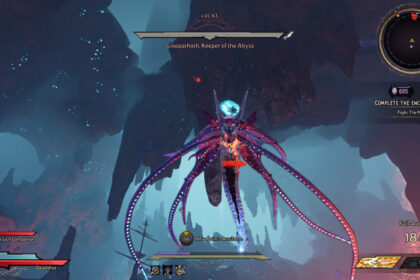
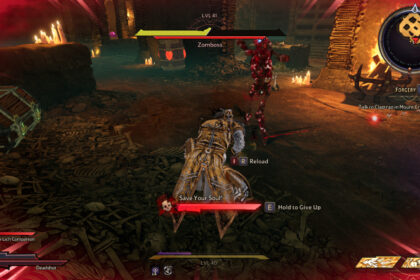
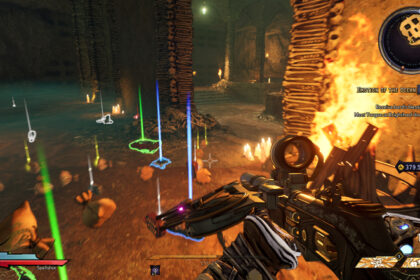
The Chaos Chamber, Tiny Tina’s Wonderlands late-game content, is a rogue-like challenge mode that you only have access to once you’ve beaten the main game.
In this mode, players can farm their Myth Levels and keep gathering better gear for their many different playstyles.
The Chaos Chamber is also good to get some legendary items, such as the Goblin Pickaxe of Blistering, which is excellent for farming gold in Tiny Tina’s Wonderlands.
Some bosses have a much greater chance of dropping certain items. Since you can face bosses you’ve already defeated in the Chaos Chamber, you have more opportunities to find one of those legendary items by fighting those bosses again.
Not only that, but players also have a chance of getting better gear by spending their crystals if they manage to complete a Chaos Chamber run.
In order to do that, they must defeat all the bosses in their path and choose the kind of item they want in the last room. The more crystals they have to spend, the more items they can get, and the greater your chance of getting something outstanding.
For that reason, getting a lot of crystals is essential if you’re hoping to make your time worth it. With that in mind, we came up with this guide to help players get better guns, spells, and wards.
Keep reading to learn how to gain more crystals in Tiny Tina’s Wonderlands.
Find the Glowing Skulls
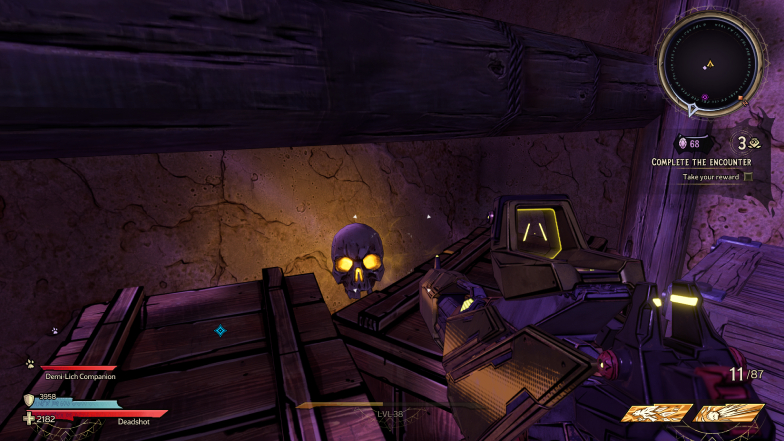
Weirdly, Tiny Tina’s Wonderlands has something very similar to the glowing skulls in Elden Ring.
This doesn’t happen in every encounter of the Chaos Chamber, but it does happen in many of them.
Once you’ve finished all the enemies in an area, look around for a glowing skull. There might be a few others for you to find. They won’t be colored the same, though.
Once you’ve found at least one, shoot it to make it reveal a glowing trail. Follow it to be taken to a magic device activated by the light you released from the glowing skull.
Now, you just have to interact with this object. The device should now be glowing much like the skull you destroyed, meaning that it can be activated.
Once you do it, it will shoot a bunch of crystals.
I’ve managed to find three skulls of different colors in a single area, resulting in three additional sources of crystals. That being said, you might want to search for other glowing skulls and make sure not to go through the portal until you explore the entire arena.
It’s also a good idea to be aware of deactivated devices since they mean that a glowing skull is most likely nearby.
Defeat Elite Creatures
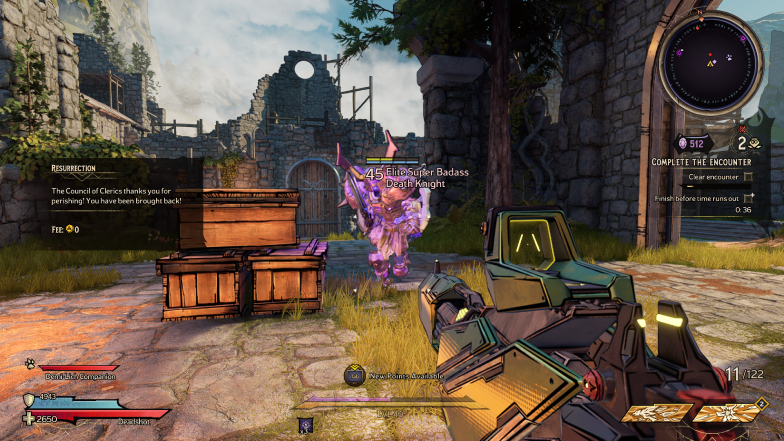
You will often run into some elite enemies when you’re going through the Chaos Chamber. These enemies will be a much more significant problem to deal with than the regular ones.
Although they are stronger, elite enemies also drop a bunch of crystals when defeated. If that’s what you are after, make sure to aim for the elite creatures instead of beating a bunch of regular ones. This will result in you coming across more crystals than you’d typically expect.
Honestly, sometimes you won’t even have a choice. Some elite enemies are super aggressive, and you might have to deal with them first anyway.
However, there are those that remain hidden and might not ever come out to fight you unless you get much closer.
On top of that, there are entirely optional elite creatures. Those ones will be hidden, and you will have to actively look for them.
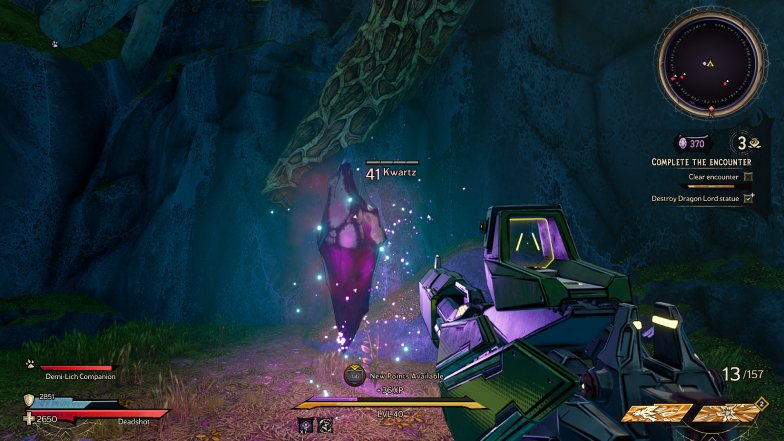
When you are in an encounter and want to know if there’s a hidden elite enemy, you will have to explore for a while first. Once you do, see if you come across a floating rock with a health bar. If you point your mouse at it, you should see the name “Kwartz.”
Destroy that rock to release an elite enemy. That enemy will most likely have two health bars of different colors and powerful attacks. Once you defeat it, that creature will drop many crystals.
Look Around When the Encounter is Over
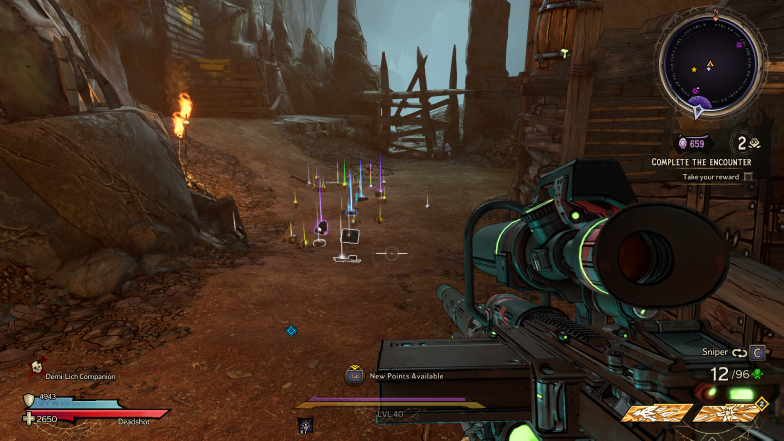
It sounds way too obvious, but it isn’t. Sometimes, spells and other attacks will send some enemies flying away.
In a game like Tiny Tina’s Wonderlands, it’s fairly easy to lose sight of something, including drops from one of the many enemies you exploded.
Sometimes, these enemies will be knocked away, ending up behind a wall or falling off a cliff. There is also a chance you hit them with lingering elemental damage, such as fire or poison, causing them to fall down away from you.
This often results in players never getting the items dropped by those enemies.
Either way, you might lose a few good items if you don’t go looking around. Sometimes those enemies also drop crystals, so it might be a good idea to just walk around before entering a portal.
Get a Curse from the Dragon Lord
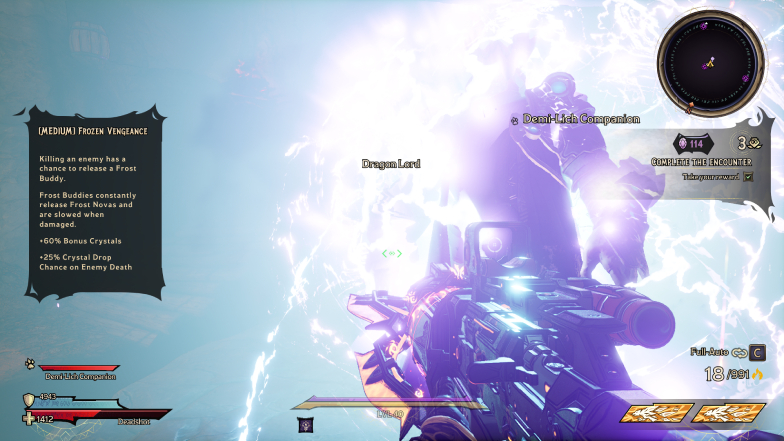
Sometimes, the Dragon Lord’s face will show up in the center of a Portal. That generally happens when the other portal has Queen Butt Stallion’s face.
Once you finish an encounter in the Chaos Chamber that came after a portal with a Dragon Lord’s symbol, you will meet the final boss at the end.
Once you do, he will give you two choices. Both make the Chaos Chamber hard. One of them will most likely be much more challenging than the other.
Making the chaos chamber harder also makes the rewards better. However, it also increases your chances of losing all lives before finishing all challenges.
You might want to start choosing the lowest difficulties first and then go for the hardest curses once you’re feeling confident.
Fight Secret Bosses
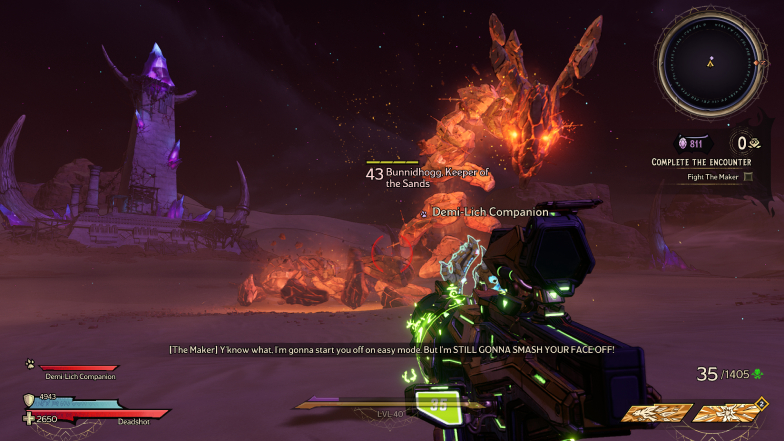
There are three secret bosses in Tiny Tina’s Wonderlands. They grant you a decent number of weapons and crystals when defeated.
In order to fight secret bosses, you will have to look for glowing runes on the walls or floor of each area. Once you interact with the rune, it will fly away and start a puzzle.
You must successfully complete the puzzle in order to have a chance to fight a secret boss. The fight only happens after you go through a red portal that only appears once you’ve completed all the regular areas.
For instance, solving the golden rune puzzle is how you fight Bunnidhogg in Tiny Tina’s Wonderlands. There’s also a green rune and a blue rune, so keep an eye out for those as well.
Choose the Portal with a Crystal Chest
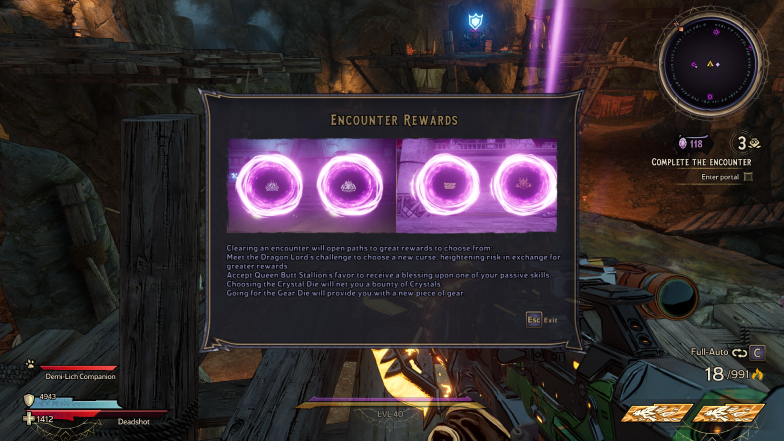
When you finish an encounter in the Chaos Chamber, you will often have to choose between two different portals.
These portals change a bit of your gameplay and reward you once you finish the next area. For instance, going through a portal with the Dragon Lord’s face will grant you a curse at the end of the subsequent encounter.
On the other hand, going through the one with Queen Butt Stallion’s face will grant you a bonus once you’ve finished the objective.
However, there are also portals that have a loot chest or a crystal chest on them instead of faces. The loot chest is the simple-looking one and grants you better gear as a reward. The crystal one is pointy, and it rewards you with more crystals once you finish the next area.
Make Encounters Harder
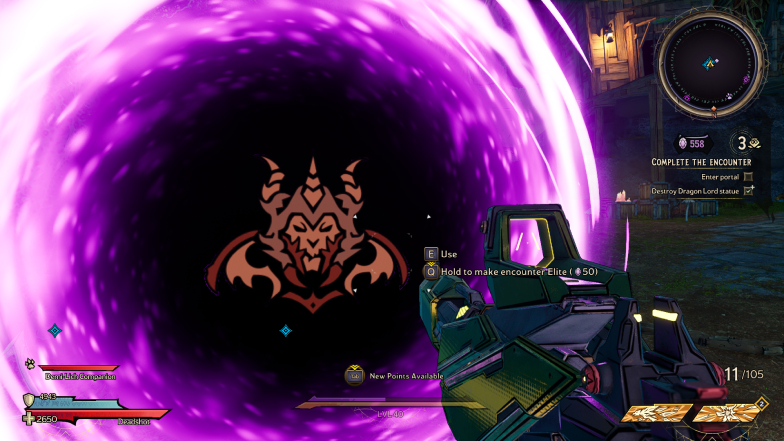
This isn’t recommended for everyone, but some characters and builds are very powerful. They can quickly deal with max-level enemies.
There are also characters with high Myth Levels who can often easily erase enemies.
If you have the best gear you could possibly have and a robust build, you should think about spending 50 crystals to make an encounter Elite.
This would add elite-level creatures to the next section. Yet, it also means that you are potentially increasing the number of crystals you will get.
Beat the Chaos Chamber
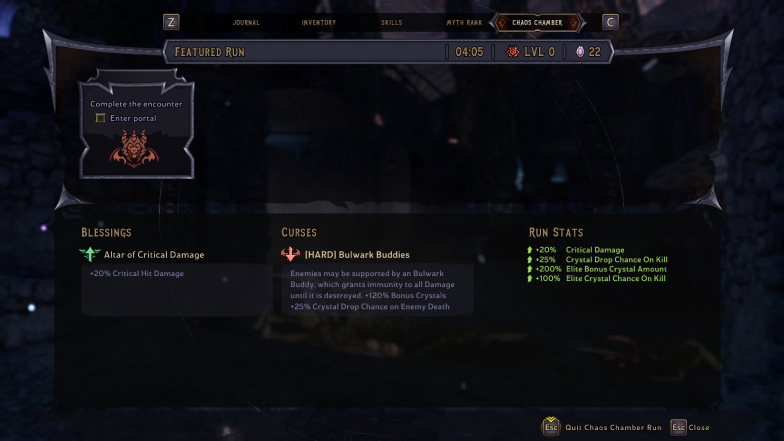
This is very important. Make sure that you do it the easiest way possible if you don’t feel powerful enough to take on a bunch of high-level Elite creatures.
Taking the most challenging route is indeed the way to get the most crystals. Still, it is also an easy way to get constantly defeated and frustrated.
Make sure to work on your Myth Ranks and gear until you feel like the max-level elite enemies are not even too much trouble for you. That’s when it’s safe to start choosing a few curses and using crystals to make some encounters more difficult.

