Dragonflight introduced a big twist to Mythic+ dungeon content with a rotation that includes dungeons from past expansions. Experienced players may find this easy, but it’s important to note that there have been changes made to each dungeon to keep them fresh.
As you may know, it is exciting to finish high M+ dungeons and get your weekly reward. Other than the gear you can get from M+ dungeons, it is also interesting to see which M+ key you will get after your next run.
Knowing which Mythic+ Dungeons are easier than others is a great way to make sure that you’ll be getting your maximum weekly chest. It’s also useful to know which ones are more approachable than others so you can test out new specs or classes.
In this guide, we will look at the easiest M+ dungeons to finish in Dragonflight.
What Are Mythic+ Dungeons?
In World of Warcraft, M+ dungeons, also known as Mythic+ dungeons, are a special type of challenging endgame content for players who have reached the maximum level for a current expansion.
These dungeons are more difficult than normal dungeons and they are typically completed by groups of highly skilled and well-coordinated players.
The difficulty of Mythic+ dungeons varies from one dungeon to the next, and the specific challenges that players will face can vary greatly depending on the chosen difficulty level.
Some Mythic+ dungeons are generally considered to be easier than others, but the difficulty of a particular dungeon can also depend on the skill level of the players and their ability to work together as a team.
However, it’s worth noting that even these dungeons can be challenging for players who did not prepare or find a strong group. It’s important to make sure that you and your group are properly geared and have a solid understanding of the mechanics of the dungeon before attempting a Mythic+ run.
Difficulty Criteria
Since Mythic+ dungeons are different from regular Mythic dungeons, it can be tricky to find the easiest dungeon for every week with absolute certainty. However, it is possible to look at certain affixes that can make a particular dungeon extremely hard or extremely easy.
The biggest ones we will cover for each dungeon will be Fortified and Tyrannical. These two affixes either strengthen all the mobs or strengthen all the bosses, respectively.
We will rank each dungeon by tiers, with S-Tier being the easiest. Each dungeon has different timers for completion, and we will also factor speed into the criteria rather than just the difficulty.
For example, The Azure Vault dungeon might take longer, but it could also be easier to finish than Ruby Life Pools with certain affixes.
Other small factors that can matter are your mob density, layout, and other unique mechanics that can play around with your timer.
When a dungeon has a lot of mob density, it is easier to plan which mobs you will be fighting to get 100%. If you make mistakes at certain points of the dungeon, you can easily cover the 100% by getting a few more random mob pulls.
The layout can play a factor because it is generally easier to go through a linear dungeon.
There are dungeons with unique mechanics too, such as The Nokhud Offensive that forces you to go around a big area with your dragon. Because of this, the timer for the dungeon is 40 minutes, but only players who are familiar with the paths can take advantage of this.
If you don’t know where to go or how to get your 100% enemy forces throughout the dungeon, you will end up losing time.
Algeth’ar Academy A-Tier
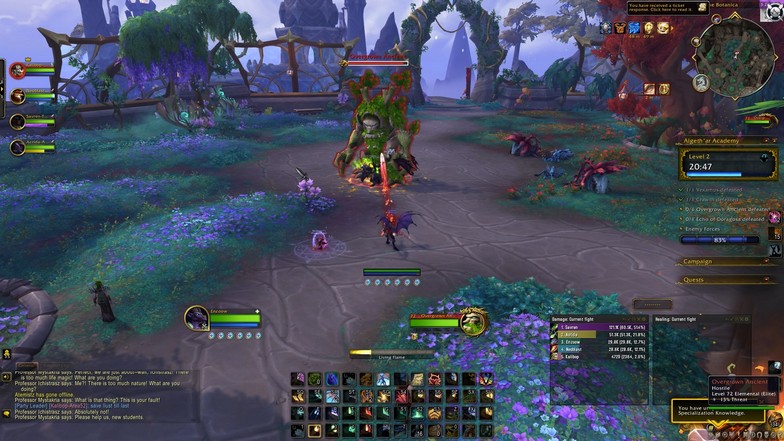
- 32 mins keystone timer
In my opinion, Algeth’ar Academy is one of the best dungeons in Dragonflight in terms of the overall design. However, how easy is the dungeon?
Well, the pacing of the dungeon is really easy. You get to fight a lot of mobs between boss fights and you also get the option to choose which mobs to fight, unlike most dungeons.
You can choose which bosses you want to fight first, and it doesn’t run you around the same area from boss to boss.
There aren’t really any notable mobs that are too hard to fight. However, the Overgrown Ancient (1st or 2nd boss, whichever order you are running) is an insanely hard boss, especially on Tyrannical.
This boss essentially bumps it down to A-Tier, but if you can burn the boss down easily, it should be an easy dungeon.
Ruby Life Pools A-Tier
- 30 mins keystone timer
Ruby Life Pools is the first dungeon available in Dragonflight. It is the shortest dungeon in terms of running distance, and it is one of the shortest dungeons with a 30-minute timer.
The mobs are quite easy, but it can be a little hectic once you reach the fire elementals on the top floor just before the 2nd boss.
Ruby Life Pools is one of the easiest because it is just a short clear, and it doesn’t punish you that much for wiping because of the short distance.
It’s important to note that if you die on top (2nd part of the dungeon), you will respawn under and have to use the dragon to fly up. It eats up a few seconds, and it will add up if you wipe it multiple times.
You want to strategize your 100% mob completion to make the run go smoother. This is because everything hinges on the last boss in Ruby Life Pools.
The last boss, Kyrakka and Erkhart Stormvein, is one of the hardest dungeon bosses in Dragonflight. It involves so much movement because you need to manage the burnt ground with the limited space you have on the rooftop.
This is why you need to adjust your 100% mob completion so that you actually clear mobs on the final boss stage and hit 100% just before fighting the boss while clearing as much space as you need for your group.
You should note that Fortified is also hard to deal with. Even if Tyrannical makes these terrifying bosses even harder, the commander before the final boss and the miniboss dragon before the 2nd boss are insanely hard on Fortified.
These are the reasons why the dungeon is just an A-Tier instead of an S-Tier.
The Azure Vault – C-Tier
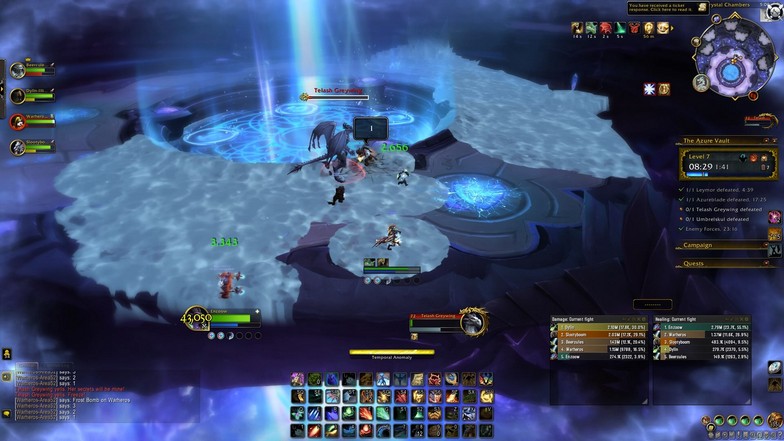
- 34 mins keystone timer
The Azure Vault’s overall dungeon layout is terrible. The 3rd and 4th bosses are a minute apart from each other with no mobs in between them. If you reach the 3rd boss without 100% enemy forces finished, you will need to run back to find extra enemies.
It feels hard to manage Bloodlust or Heroism, especially on Fortified, because sometimes the mobs are too hard to do multiple pulls at once.
Conjured Lasher mobs are hard and need a lot of coordination to interrupt. If your group has bad interrupt cooldowns, you will mostly have to rely on your Tank for this. Since there will be a lot of Conjured Lashers per pull, you can blast a few stuns or knockbacks from your group to help minimize the damage.
Azureblade (2nd boss) is right up there as one of the hardest dungeon bosses in Dragonflight. The fight is absolutely terrible for melees, and it will take a lot of heavy lifting from the Healers to keep them up.
The orbs going around makes it really hard for melee to focus on their rotation and go from add to add during the fight. Without the 1st week of nerfs, this fight was almost impossible, but it’s a good thing no one had to experience this on Tyrannical.
Even after the nerf, it can still be a little hectic, but the adjustment does take off a lot of pressure from the Healer.
Telash Greywing, the 3rd boss, can be hard on Tyrannical because the fight will take longer, and your group needs to adjust every time to put the frost debuff on the ground.
The mechanics are simple, but things can get hectic when players have to run to the bubble and tank Absolute Zero right after tanking some party damage from the Frost Bomb.
Overall, the dungeon can be B-Tier if your group knows the mechanics and has a route planned out. The 34-minute timer makes it a bit longer than most dungeons because most Dragonflight M+ dungeons are at a 30-minute timer.
The timer alone makes the dungeon less desirable, but there are some dungeons that have a worse timer.
The Nokhud Offensive – D-Tier
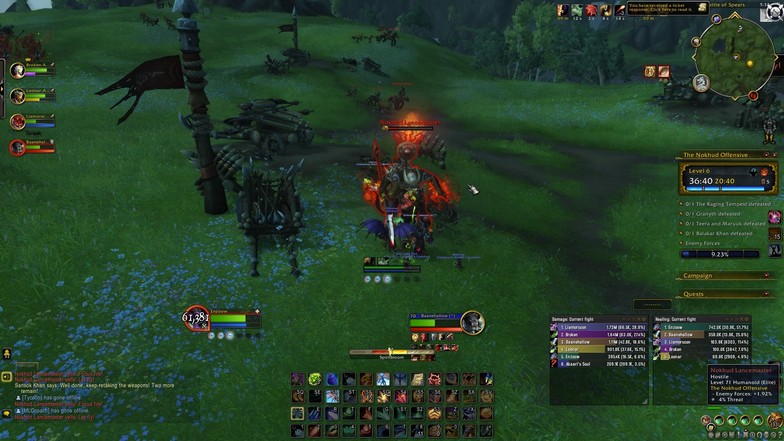
- 40 mins keystone timer
Most players would agree that the Nokhud Offensive is the worst dungeon in Dragonflight. The dungeon is full of traps (things that may look easy but aren’t) and hard enemies.
The bosses are not so easy either. The dungeon also pushes for a unique mechanic based on Dragonflight’s theme of Dragonriding.
Your party needs to use your dragon mounts to get around the areas, which is why there is a 40-minute keystone timer.
For experienced players, this can save some time for planning your route perfectly, but for those casually playing, it will eat up the timer.
Your Dragonriding skills will play a factor, so you need to get all the glyphs to upgrade your dragon fully.
The biggest problem here is that wiping brings you back to the start. There are flight paths available, but using your dragon is faster. Imagine wiping near the 3rd or final boss and having to go all the way back. It will eat up a couple of minutes which is big for a Mythic+ timer.
The dungeon is just too punishing, but that is not the only thing that makes it insanely hard.
The mobs near the Raging Tempest boss are hard. The Raging Tempest is also hard.
The mobs near Teera and Maruuk boss are also tricky to deal with and there are lots of them.
There is an annoying patrol near the Granyth boss (first boss) that can wipe your party if you pull it while dealing with another mob.
To put the icing on the cake, having either Fortified or Tyrannical will make the dungeon hard every single week.
Court of Stars – S-Tier
- 30 mins keystone timer
Court of Stars is a returning Legion expansion dungeon to Dragonflight’s M+ dungeon pool. For experienced players, you already know that the dungeon is incredibly short, and the mechanics are basically the same.
The dungeon is a bit confusing at first because of some unique mechanics like the sentries, playing Among Us before the final boss, or even the mechanic where you need to jump three times against the first boss, which isn’t your typical dungeon mechanic.
There are a lot of mobs that are extremely dangerous.
Guardian Constructs have Suppress, which you absolutely need to kick or interrupt. On Fortified with a combination of Bolstering or Raging, this spell can melt someone in a second.
You will need to focus or CC Duskwatch Sentries so that they don’t spawn additional enemies. If they ever spawn additional enemies, it doesn’t count toward your enemy forces progression in the dungeon.
The trash near Talixae Flamewreath (2nd boss) is difficult to manage at first, but you only have to know the mechanics to make it tolerable.
Felbound Enforcers cast Fel Detonation where players need to LoS (line of sight) to avoid damage.
When the Fel Detonation is being cast, the Felbound Enforcer doesn’t move, so you can ask the Tank to take it near an L-shaped corner to LoS it easier. Each Felbound Enforcer killed will bring a miniboss to your group. Each miniboss has a unique boss mechanic, but they are all easy as long as you don’t pull any additional mobs.
Talixae Flamewreath needs a lot of coordination since you want to move as a group and stack up for the imps.
After Talixae, you will need to find the imposter. You will talk to all the guests to gain clues and accuse the correct NPC.
This will take you to the top to fight a miniboss and wait for more RP (roleplay) until you get to the final boss.
Court of Stars is an S-Tier dungeon in terms of difficulty because it is so short. You also have the ability to choose mobs you want to battle for the enemy forces % before the 1st and 2nd boss.
Halls of Valor – B-Tier
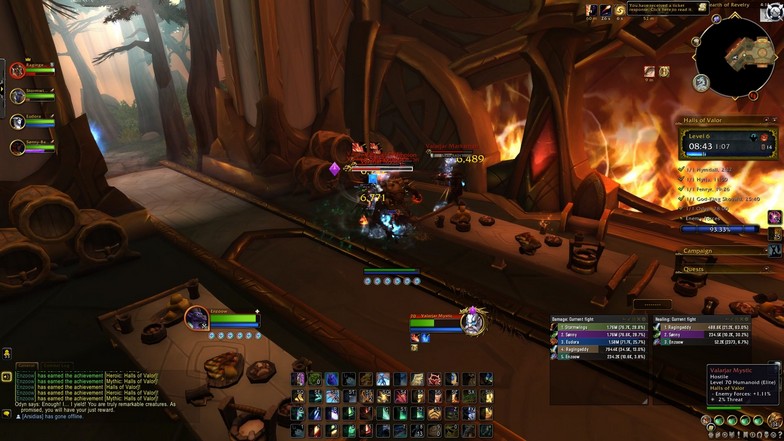
- 38 mins keystone timer
Halls of Valor is another returning dungeon from the Legion expansion. It is one of the longest dungeons from that era (they should’ve brought Maw of Souls back instead), and it is still one of the longest ones in Dragonflight’s rotation.
The dungeon is pretty straightforward. All you need to know is learn how to interrupt the most dangerous abilities in the dungeon.
You have a lot of freedom when it comes to enemy forces %, because of the multiple mobs on the way to Fenryr and after Hymdall in the dining hall.
There is some RP involved, which makes the dungeon irritating and long. However, there are some tricks you can do to make the bosses easier, even on Tyrannical.
For Fenryr, you just need someone to get targeted with bleed or wound skill while having Invisibility (Mage, Rogue, and other classes). If you time the Invisibility as Fenryr leaps, the skill will stop, and you will have removed the most painful mechanic in the fight.
You can combine a lot of pulls in the dining hall area to quickly finish the %. A lot of mobs going to Fenryr are skippable, so you have the luxury of choosing where to finish the bulk of your enemy forces %.
Shadowmoon Burial Grounds – A-Tier
- 33 mins keystone timer
Shadowmoon Burial Grounds is a returning Draenor dungeon that has been added to Dragonflight’s Mythic+ dungeon rotation.
The dungeon is mostly all about interrupts. Fortified is hard, but it is a fairly easy dungeon if you know which skills to interrupt to lessen the damage.
Here are some of the skills you need to interrupt:
- Shadowmoon Bone-Mender’s Shadow Mend
- Shadowmoon Dominator’s Rending Voidlash
- Shadowmoon Exhumer’s Void Bolt
Just interrupt these skills, and you should be fine for the rest of the dungeon mobs. Purge or Dispel shields on spirits to make it easier.
For the boss fight, Ner’zhul just stacks up the boss with the skeleton after Ritual of Bones. It saves a lot of time because your DPS will be cleaving the boss with the mechanic.
Tanks need to be careful with the Malevolence cast from Ner’zhul while Ritual of Bones is happening.
Shadowmoon Burial Grounds is borderline A-Tier and is closer to B-Tier just because of the 33-minute timer. The standard for the M+ rotation is basically just 30 minutes because multiple dungeons have a 30-minute timer.
Temple of the Jade Serpent – A-Tier
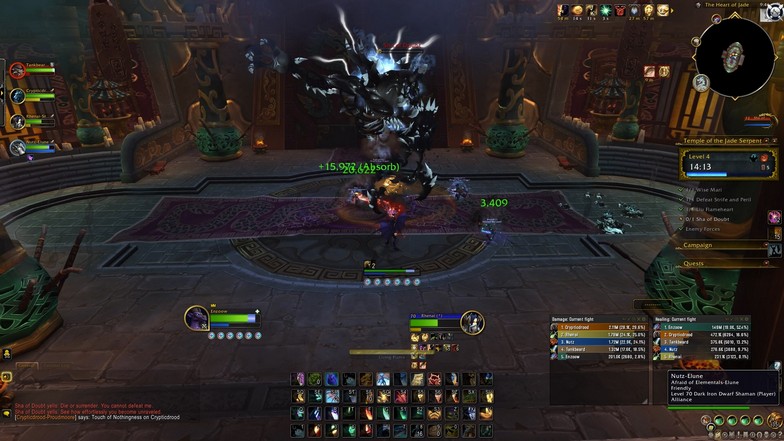
- 30 mins keystone timer
The Temple of the Jade Serpent is a Mist of Pandaria dungeon returning to Dragonflight’s M+ rotation.
The dungeon is quite annoying because of all the RP (roleplay) involved, which is true for most Mist of Pandaria dungeons anyway.
The beginning of the dungeon can be approached in two ways already. You can choose to go left or right first.
Some even suggest splitting the group up with three people going left and two people going right. The group of three goes to the first boss while the other two start clearing mobs to the 2nd boss.
That strategy is a bit risky, and it is better just to go left and go back for the 2nd boss.
For the Wise Mari fight, dodging Wash Away can be tricky, but you just need to look at the Wise Mari’s general direction, and the beam will start from there.
You only have a few seconds to react, but it’s not too impossible. If you die during the fight, you won’t be able to release until Wise Mari stops speaking.
You can tell the Healer to go ahead, and you will release at the start of the dungeon anyway, which is a lot faster going to the 2nd boss.
The trash before the 3rd boss is the next challenge. You will need to interrupt Defiling Mist or it will insta-kill a random member.
The Shambling Infesters will summon Shas, and killing them will make them explode. They are easily dodged, but for melees, you need to be aware of the mechanic, so you can start running as they die.
The last boss should be easy, but it relies heavily on the Healer. There will be big damage coming from Nothingness and the Healer needs to keep everyone topped up.
Wither Will is a big DoT that will be cast on two random members, and you need to dispel them instantly.
Once Bounds of Reality is cast by the boss, everyone will be fighting an image of themselves. Once every image is dead, you can start attacking the boss again.
For the Healer, you can just wait until everyone finishes their image, and they will be able to help you with yours.
On Tyrannical, this boss is extremely hard for the Healer, so be ready to have every cooldown ready or precast heals as big damage comes.
After dispelling one of the Wither Wills, you have a few seconds to dispel the next one. You will have to heal through the DoT or have someone else dispel it. If you are a Priest, you can easily Mass Dispel the DoTs instantly.
What to Do Next
After trying some of the easier M+ dungeons, chances are that you’ll be looking for more content to finish and more gear to unlock. The next step is to review how you’ve been doing so far and see whether there’s anything else you can do to get better at M+ dungeons.
If you’ve attempted some of the dungeons in this list and haven’t found much success, it could be worth looking at your rotation and seeing whether changing specialization might work for you. It’s a good way to refresh your gameplay and approach a difficult fight from a new angle.

