In this guide, I will show you the best FFAR 1 loadout in Call of Duty: Black Ops Cold War.
If you want to truly shred through enemy players without giving them a chance to fire back on open-range maps such as Satellite and Armada, this is the best FFAR 1 class setup that you can possibly build.
With the help of an incredible secondary weapon backed up by overpowered attachments, rest assured that if you run out of bullets in your FFAR 1, my recommended 1911 secondary class will take care of the rest.
Best FFAR 1 Loadout
Primary Weapon: FFAR 1
- Millstop Reflex (Optic)
- Muzzle Brake 5.56 (Muzzle)
- 17.9″ Ultralight (Barrel)
- Steady Aim Laser (Body)
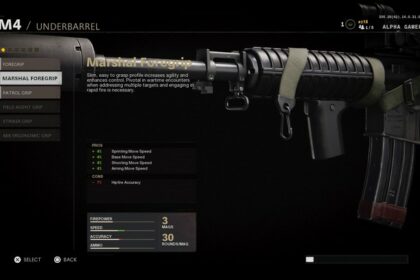
- Foregrip (Underbarrel)
- 34 RND (Magazine)
- Speed Tape (Handle)
- Tactical Stock (Stock)
Secondary Weapon: 1911
- Infantry Compensator (Muzzle)
- 5.42″ Cavalry Lancer (Barrel)
- Swat 5mw Laser Sight (Body)
- 12 RND (Magazine)
- Airborne Elastic Wrap (Handle)
Tactical: Stun Grenade
Lethal: Semtex
Field Upgrade: Assault Pack
Perk 1: Tactical Mask
Perk 2: Scavenger
Perk 3: Ninja
Wildcard: Gunfighter
This FFAR 1 loadout has been designed with the idea of not only helping you to be relatively quick on your feet but also to be able to shred opposing players from a distance from the get-go, even before you manage to level up the weapon. This loadout is only possible as I have opted in for using the Gunfighter Wildcard which allows the FFAR 1 to have 8 attachments rather than 5.
As for the secondary weapon, if you have used the 1911 pistol for some time, you would probably already have the attachments that I listed above unlocked so be sure to use them. The 1911 makes for an incredible close to medium-range secondary weapon which can help you eliminate opponents in no time in tricky situations.
With the help of the Tactical Mask, you will be resilient to enemy flashbangs, stun grenades, and gas. So, if you are defending a Hardpoint, you will have no issues firing with accuracy at rushing enemies. Thanks to the Scavenger, you can replenish the ammo from enemy bodies that you have eliminated. Finally, with the Ninja perk, you can quietly flank opponents or rush inside buildings with you 1911 without being heard.
With the Assault Pack as a Field Upgrade, you will be able to take advantage of the supply cache that contains ammo that gives a bonus score for taking down enemies.
Finally, I decided to use a Stun Grenade as a Tactical because I feel like stun grenades make a lot of difference in the game, especially if you are rushing in tight spaces, they are a great accessory to defuse enemies for a couple of seconds.
As for the Lethal, I have decided to use the Semtex because I feel like it is perfect for not only eliminating enemies that are staying close to each other in tight space but also clear doorways from proximity mines, claymores, and other enemy tech.
Feel free to check out other great long-range classes such as the LW3-Tundra and the best sniper for quickscoping.

