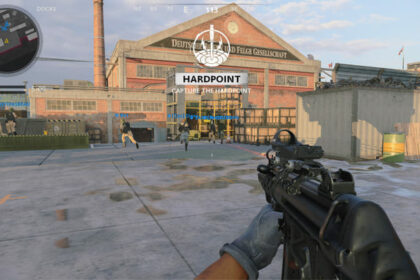
The Gallo SA12 is the second unlockable shotgun in Black Ops: Cold War.
While it does not have the firepower of the pump-action Hauer 77, it has a decent fire rate to be able to finish more enemies in a burst.
This guide will show you the best Gallo SA12 shotgun class setup in Call of Duty Cold War.
Gallo SA12 Attachments
- Duckbill Choke or Agency Choke
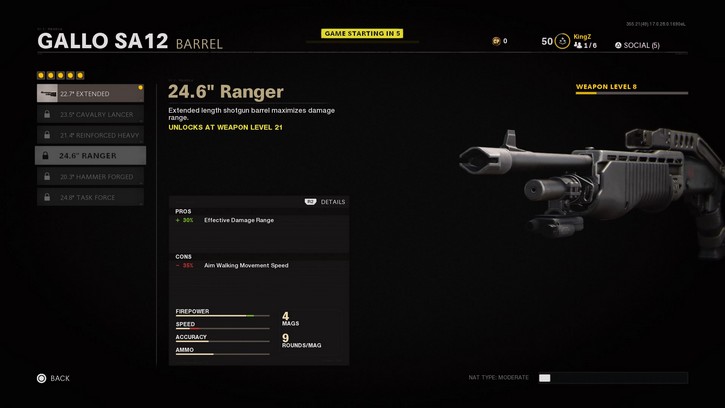
- 24.6″ Ranger
- Steady Aim Laser
- 9 Rnd Tube
- Wire Stock
For a more close-ranged build:
- Duckbill Choke
- 24.8″ Task Force
- Steady Aim Laser
- 9 Rnd Tube
- Field Tape
The Duckbill Choke attachment provides the Gallo SA12 shotgun with a wider pellet spread. It gives it more power in close-range quarters and gives it that much-needed power as the Gallo SA12 takes around 2-3 shots before killing an enemy. This is best paired with the 24.8″ Task Force barrel attachment which gives 81% more damage which is an insane boost compared to most weapons.
Meanwhile, the Agency Choke attachment gives you a more effective range and it is great if you want to add more range depending on the map. Since this attachment adds a significant range to the Gallo SA12, you can go for a faster aim down sight attribute when choosing other attachments. Those usually sacrifice hip-fire accuracy so it is best what you want the Gallo SA12 to be good at; close-range or a close to mid-range hybrid.
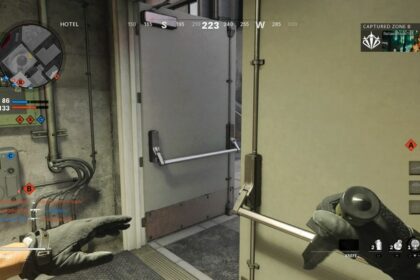
If you want to go all out and run around short corners and small areas like in the video above, you can go for the 24.8″ Task Force and the Duckbill Choke. The 24.6″ Ranger barrel attachment gives another boost to your effective range by 30%. It gives the Gallo SA12 a decent 2-shot power for mid-range combat. The problem is that when the enemies have cover, it is inefficient and you will always lose.
The best choice for the body attachment is the Steady Aim Laser as it increases your hip-fire accuracy by 30% while not sacrificing any other significant attribute like sprint to fire time. 9 Rnd Tube is the best magazine attachment choice as it gives you 2 extra shells per magazine which are significant for the Gallo SA12.
This best Gallo SA12 class setup relies on beating everything and everyone in close-range quarters and if you happen to see more than 2 enemies, you can still get them all in one magazine. It also allows you the ability to have more flexibility when doing pre-fires.
The Wire Stock attachment is the next best attachment as it increases your sprint to fire time without sacrificing anything. One of the best attributes for this Gallo SA12 shotgun class setup.
These are the 5 attachments you want and the Gunfighter wildcard does not add more to this secondary weapon as it only affects the primary weapons. You can choose any good primary weapon you prefer for this as long as they mix well with the equipment and perks below. Some good weapons to pair with the Gallo SA12 are the AK74u, MP5, Bullfrog, and XM4.
Equipment, Perks and Wildcards
Wildcard
The only good wildcard for this Gallo SA12 shotgun class setup is the Perk Greed wildcard. It gives you an additional perk for each perk slot. There are so many perks that can help you with this build and it is almost mandatory to pick the Perk Greed wildcard.
Perks
Flak Jacket and Tactical Mask are the best perks for the first slot. It increases your survivability by a ton and gives you the ability to live through frag grenades thrown near you.
Quartermaster and Scavenger are the next best perks for the second slot. It gives you more of everything that will support the Gallo SA12. Stimshots are important in this build and the Quartermaster perk will help you replenish that without going to resupply crates. Scavenger allows you to go for more killstreaks as you might run out of bullets after getting 5-6 kills.
Gung-Ho is the best and most important perk in this class setup. It gives you the ability to use stimshots while running, fire while sprinting, and fire more accurately when sliding. All are extremely useful and you will be surprised that you actually do all those things a lot. It also allows you to switch faster to your primary weapon when you run out of bullets and there are incoming enemies on the way.
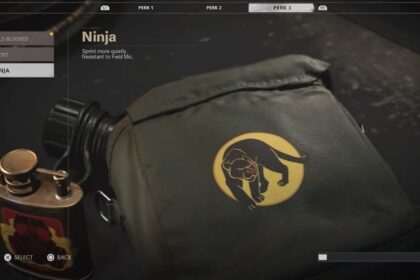
Pair this with the Ninja or Ghost as both are really strong. Ninja makes your footsteps harder to hear while Ghost hides you from Spy Planes. Personally, I prefer the Ninja perk as enemies can easily track you down anyway and you might as well get the silent footsteps as you will be running around in circles in tight areas.
Ghost is more for holding capture points in close areas and camping for the Gallo SA12 shotgun class setup.
Equipment
The staple equipment for this build is always the stimshot. Extremely effective for keeping your advantage after just fighting an enemy. With the Gung-Ho perk, you can also use it while sprinting when you are getting shot from running to get cover.
The lethal slot can be filled with whichever you prefer. Tomahawk can be useful if you are good with it as it gives you a one-shot kill possibility from taking out enemies in a range way beyond the capabilities of the Gallo SA12. Semtex and frags are always good for objective capturing like Domination.
Field upgrades are also whichever you want to use. If you are running around small areas and short corners, you can go for the Jammer or Trophy System just to be efficient in holding those areas more tightly.
Tips and Tricks for the Gallo SA12
- Try reloading as much as possible when you feel that there is time to reload. You do not have to finish the reload and you can cancel it by switching weapons or tapping the fire button.
- Sometimes, you need to use ADS to reduce to somehow reduce the spread of your shots. Gauge and memorize the range of the Gallo SA12 so you know when to use ADS or just hip fire. You can use the video above to get a good idea of when to use ADS.
- The best strategy is to always flank enemies when there isn’t any area that you can compete in close-range.
- When camping, also try to switch up your spots if you successfully kill enemies from the spot.
- Never forget to switch weapons if it is needed. The Gung-Ho perk will be a lifesaver in certain scenarios.
- Without the 24.8″ Task Force attachment, you will need at least two to three shots per enemy when using hip-fire.
Conclusion
Shotguns are the undisputed king of close-range combat and you will always need that first shot to land on the target to win. Be cautious of your surroundings as SMGs are also really fast and you do not want to get caught off-guard. While there are two different loadout attachments mentioned above, the close-range one is more powerful as you will most likely lose in mid-range duels anyway.

