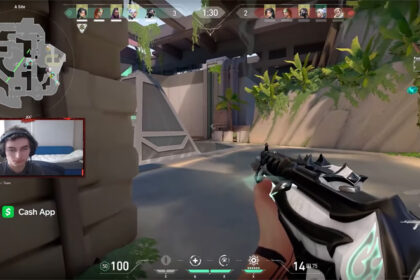
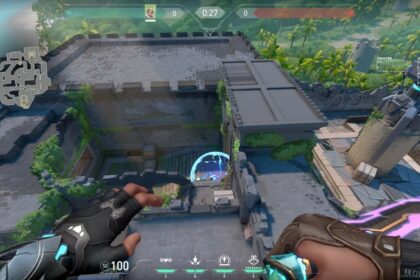
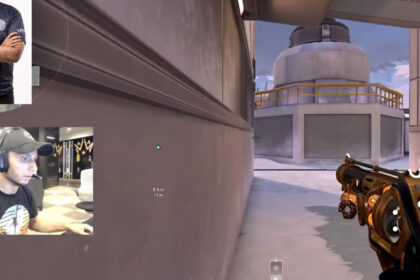
Split has always been unique compared to other Valorant maps. It is designed to heavily favor one side rather than being balanced for attacking or defending.
This guide will break down how to play Split in the most effective way.
We’ll give you the callouts, show you why the map favors one side over another, and explain why your team should pick certain agents when playing Split.
Map Overview
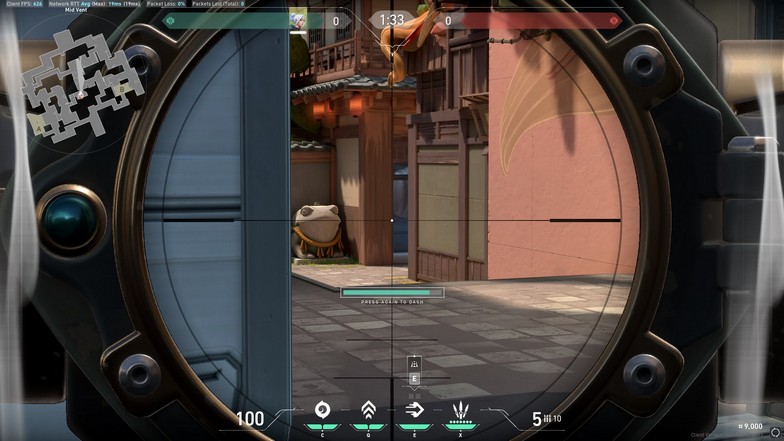
Split is an average-sized map with two sites. Almost every pathway leading to an area is narrow, which makes some agents particularly good on the map.
The rotations can be long for the attackers because they can be forced to rotate all the way back to the attacker spawn if they avoid being heard in mid. If you rotate while walking from B to A or A to B in mid, the defenders can catch up on the rotations and set up.
Every entry point to a site will have many angles to cover, and it can encourage slow and tactical plays every round.
Flanks are effective in the map, as you take more space across the map to gain information or stop rotations.
Operators on the defending team are effective because there are a lot of angles that allow you to disengage while covering crucial angles from different spots.
A Screens, A Tower, B Site, B Rafters, B Tower, Mid Top, and even A Ramps are all decent sniping spots. Even if you get forced out with utilities, you can reposition to another spot.
The A Site screens can also be a unique spot for Operator users as you have a wall to play around with and can disengage to A Back (or ‘elbow’) as a Jett, Yoru, or Chamber.
Is Split a Defending or an Attacking Map?
From reading the map overview, you will sense that the map isn’t equal for defenders and attackers.
Split is a defending map. This means the defenders will have a huge advantage, and a halftime score of 8-4 might still be considered equal.
Pushing B Site from B Main is one of the hardest points to attack in Valorant. There is only one narrow choke point for entry. The defenders will have a field day from uncoordinated rushes to the site.
There are too many angles to cover as you come out of B Main. This forces the attackers to gain mid-control every round and put pressure on both B Tower and A Rafters to have another avenue to attack the site.
If you try to rush A Main, you have the same problem because of the many angles you must clear upon entering the A Site area.
When you hear annoying Sentinels like Killjoy and Cypher, you might want to rotate to the other site or find a way to deal with the traps, such as KA/YO.
Once you rotate, defenders can hear you if you run. If you don’t run, you might be too slow at this point.
If the defenders rotate fast, it is one way to capitalize and steal some rounds on the attacking side.
But, the difficulty of taking the site is too much in Split. Even using Killjoy’s ultimate in B Main to take the B Site will be difficult because the defenders can still throw their utilities to delay the push from B Tower.
Callouts
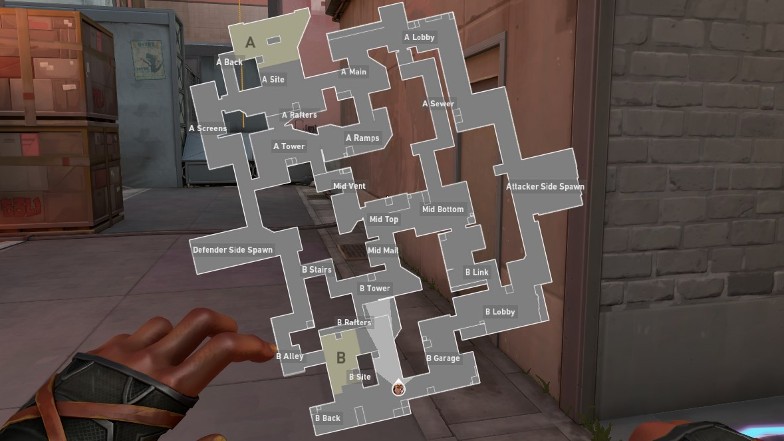
Here are the normal callouts as you see them on the map, but we will also add some common callouts players use as alternatives.
- B Back
- B Alley (sometimes CT to B)
- B Site
- B Rafters (B Heaven)
- B Garage (B Main)
- B Lobby
- B Link (B Connector)
- B Tower (B Heaven)
- B Stairs
- Mid Bottom
- Mid Mail (Just Mail)
- Mid Top
- Mid Vent
- A Screens
- A Tower (A Heaven)
- A Rafters (A Heaven)
- A Back (Elbow)
- A Site
- A Ramps
- A Main
- A Lobby
- A Sewer
Other callouts are more specific to the area but are descriptions of where the target was last seen. These callouts can be anything, but it depends on your teammates to know the map well to understand.
For example, A Lobby is quite big, but players might say ‘ropes’ or ‘benches’ to tell where the enemy is in A Lobby.
There is also a ‘planter’ under the A Rafters that is commonly used as a callout. The same goes for the planters in B Tower or the boxes in A Ramp.
Use common descriptive words to help give more precise information.
Attacking Strategies
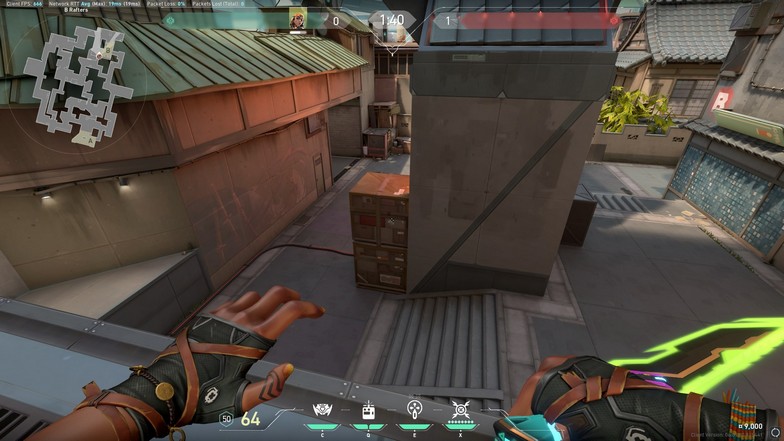
The best way to attack on Split is to always feel out the defenders and gain information. Rushing sites is a really bad tactic unless you have a read on your opponents combined with great ability usages.
Here is how you usually play attacking on Split.
Gain Mid Control
Getting the middle will allow you to put pressure on both sites as you can enter Mid Vents to A or B Tower to B Site.
You don’t have to commit your whole team to gain control of mid since you want to keep the defenders on their toes in the site you would want to push.
Slow push mid or even use a flash from a teammate as you peek in mid. You can preemptively smoke Mid Vents if you want to lessen the risk.
If you see a Sage on the defending team, expect a wall to block off mid completely.
When this happens, shoot at least two parts of the wall to open the way. You don’t have to push, but seeing the middle open as a defender will force them to cover this area as well.
Gain information on the whereabouts of specific agents. If you see Sentinel traps on A Site or B Site, you should try to avoid them if possible.
Gaining information on the whereabouts of two or three specific agents will help you deduce where the other two agents are.
As you try to execute pushing B Tower or Mid Vents, you should try to use a utility like a Nanoswarm, Snake’s Bite, or other mollys to prevent defenders from peeking at the opposite side as you push.
Using a Sage wall is also acceptable, as you are delaying the rotation or even the potential rotation from the defenders going to mid.
Time your pushes
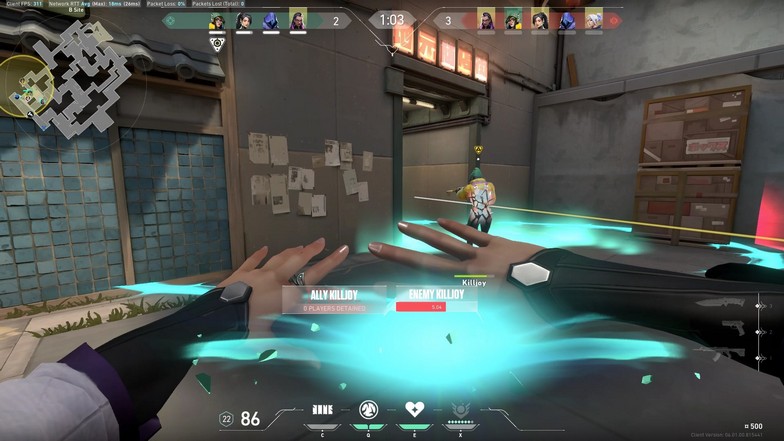
You want to time this mid push with a push on either A Main or B Garage. You need a two-pronged attack because pushing from one area will help the defenders funnel all their utilities on your whole team.
If you have an incoming push on B Garage, B Tower should be pressured or pushed back to the Defender’s Spawn.
The spike should be with someone in the core attacking team going to the site. In this example, it should be with one of the agents pushing from B Garage, as you don’t want to risk the spike getting camped on mid if they fail to take over B Tower.
For attacking the A Site, you can be a bit more flexible. Mid-control is nice to have but not mandatory for an A Site push.
You can attack the A Site by taking A Ramps to A Tower, and another group clears the A Site, A Back, and A Screens.
Again, the key to this is timing your push together. Set up the smokes first and push together. You want the defenders to feel pressured all the time by making them look at many angles.
Losing teammates is unavoidable, but your best bet is always to trade them out. If you trade cleanly, a 3v3 in a post-plant situation benefits the attacking team.
Agent Synergies
Since Raze will be the most used Duelist on Split, you want to synergize with her entries. She has no blinds, so you would have to support Raze’s entry with a flash, Skye’s dog, or Fade’s Prowler.
Raze uses her satchels to enter and get to the B Site from B Garage in an instant. She can use her Paint Shells to clear one corner as she enters while the other agents support her.
If you also have a Jett or a Reyna, they could go with Raze, but push near the B Rafters rather than the back of B Site.
The same strategy could be used on an A Site push as Raze can also satchel all the way from A Main to A Site (or even A Rafters).
Defending Strategies
Defending on Split is very easy. The map is literally built for you to win on the defending rounds. These are the keys you should always remember when defending.
Sage’s Barrier Orb
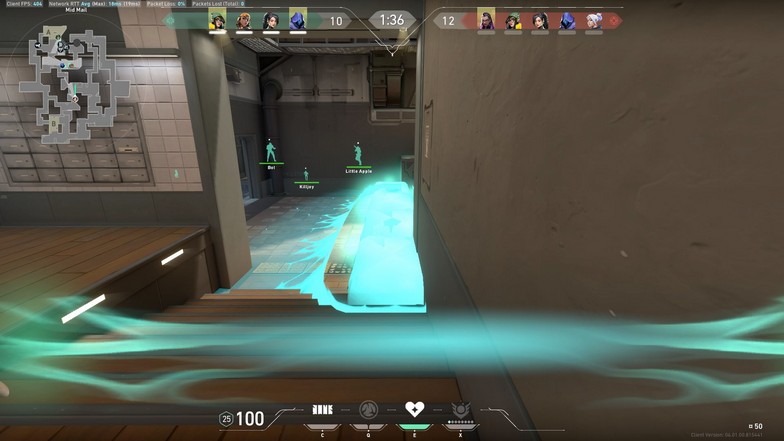
One of Sage’s best maps is Split. This is purely because of how Sage can close mid with a wall. Enemies will need time to destroy the wall before putting pressure on mid.
If the wall isn’t destroyed, defenders can feel free from any flanks coming from mid as the only way to attack is from main on both sites. Some agents can go through the wall, such as Jett, Omen, Chamber, and Raze, but most of them will have a sound cue that can alert defenders anyway.
If enemies want to attack from mid by destroying the wall, they will be attacking at a choke point with two angles to check (Mid Vents and Mid Mail).
The strategy for using the wall is to wait until enemies are pushing before you use it. If you want to leave the area and help other sites, you can preemptively use a wall on mid and use it as a ‘trap’. Since you can see on the minimap if some parts of the wall have been destroyed, you will know if an enemy went through mid.
Patience is Key
The key to defending is always waiting for the opportune moment to duel. Jump-peeks are your best friend as you can get easy information on the enemy without many risks.
Try to get information on A Main by jump-peeking on A Ramps. Once you see an enemy, disengage to A Tower and protect that angle.
Do not rotate your whole team unless you see at least 4 of 5 confirmed enemies pushing. Initiators can try to get information at the start to get the whereabouts of some of the enemies.
The best defending setup is always to have one player on B Site, B Tower, Mid Vents (or Mid Mail), A Tower, and A Site. Some of these are interchangeable, but you want at least a 2-1-2 setup.
The number refers to the number of players, and the sequence refers to A Site – Mid – B Site
On rotations, you always want to check mid if someone is flanking. You can rotate your defending setup like 3-1-1, 1-1-3, 4-1-0, or 0-1-4.
When you have a defender in mid, you can hear the attackers if they rotate. Even if they have the site already, you still want to be patient.
If push comes to shove, you can back off and play for a retake.
Never commit a 5-0-0 or 0-0-5 rotation on a push that hasn’t been fully committed yet. If a flanker gains this information, your whole team will get choked out of position for the whole round.
Risky but smart pushes
If you have trouble getting information on the enemy team, you can try and push a little to gain some information.
For example, if your team can’t figure out where the enemy team would push mid-round. You can get a feel for where they are and try to push either B Garage or A Main for information.
Use a flash to peek, and if you don’t see anyone, you can back off and relay the information to the team.
If you have an Initiator who can do this for you, you can have the Initiator do the info-gathering.
The timing of these pushes matters. For example, if there are only 40 seconds left in the round, the information you gain will be crucial because they won’t have time to rotate at this point, depending on the situation.
The rules for making a push like this should be the following.
- If you are pushing for information on A Main or B Garage, you should always ensure that a teammate is ready to defend the site in case you lose.
- Do not push both points at the same time for information.
- Always remember that your goal is to find out where the enemy is. If a flank opportunity is possible, make sure you act fast.
Agents
As always, good agent picks are usually dependent on your teammates and synergies. However, some agents are specifically good on Split whether or not they have synergies for your team.
Raze
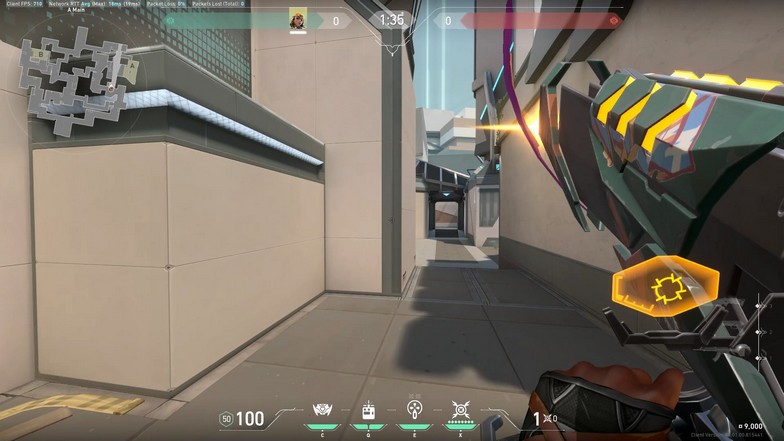
Raze is by far the best Duelist on the map. With all the verticality, Raze can freely use Blast Packs to engage from above and reach places like the back of B or A site instantly.
Since the sites are a bit tight in space, Raze’s Paint Shells can completely clear corners or force the enemies out of an angle to take the site.
These tight angles also make Raze’s Showstopper even more terrifying in Split.
Sage
Sage’s unique sentinel kit makes her a rarely picked agent in professional matches. However, there are specific maps that she is used for because her kit fits the map so well. Split is one of those maps.
One of her best abilities is the Barrier Orb. Using her wall to block off Split’s mid area makes it really useful as the defending team because it acts as a trap and a way to block off a B push from two fronts. It also blocks 3rd front of attack on the A site if the attackers have gotten a hold of the A Ramps side already.
Even if the enemies destroy one part of the wall, it alerts the defenders that someone is already in mid. If they try to push by just breaking one part of the wall, they will all get clumped up in one tiny choke point where they have to look at two sides (Mid Vents and Mail)
Sage’s wall can also block A Screens or B Site (blocking Defender Spawn side) on post-plant situations to delay the incoming retake.
Apart from the great Sage walls, the rest of her kit is below average because healing isn’t that big when you are in lobbies with 15-30% headshot percentages or 40+% Vandal or Phantom headshot percentages.
Any controller except Viper and Harbor
Wall smokes aren’t that useful in the map other than site retakes on defending if their walls are still up.
If you aren’t using the wall before the attacking team plants, there are already controllers that can do the job better.
However, Viper’s long-range lineups paired with her Poison Cloud can be useful if you memorize her lineups. Without knowing these lineups, Viper is terrible.
Brimstone can have a hard time smoking both sites, even if he plays around the A Tower or B Tower. However, Brim’s fast smokes and having three of them are very handy in slowing down the attackers.
Omen can smoke both sites wherever site he is playing. The Shrouded Step also allows him to go on top of boxes or confuse enemies on a potential reposition. Since the pathways are pretty narrow, Omen’s blind is also extremely good on the map.
However, the differences aren’t too bad compared to Brimstone, so you could easily pick any of the two. If you know one-way Omen or Viper smokes, you should use them too.
KA/YO and Breach
Since Split is a defender-sided map, KA/YO can help a lot in attacking by disabling or muting agents on a site.
Catching a Killjoy or a Cypher with its knife can already deter the defenders from the site. With the added molly and flash, KA/YO can be one of the best Initiators on Split.
However, KA/YO does lack information-gathering abilities, so you would want to add another Initiator like Fade or Skye.
A Sova with all the best lineups memorized can also be a good pick, even if Split is Sova’s worst map.
Breach is generally good on long and narrow spaces because of his kit. He can stun, flash, and clear corners to support a big push from a Raze or a Jett.

