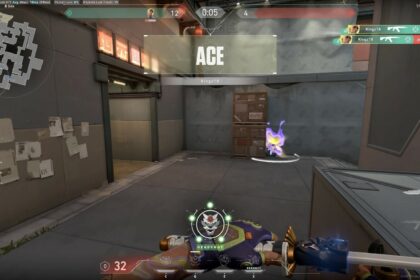
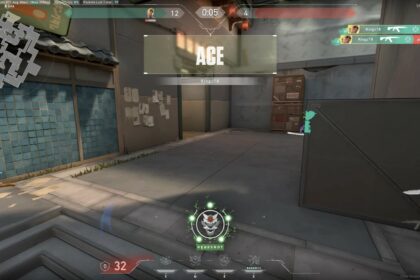
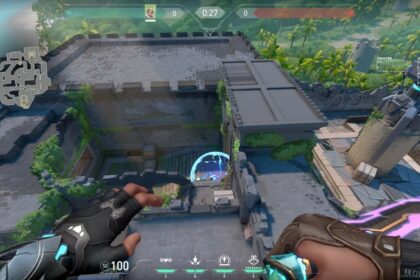
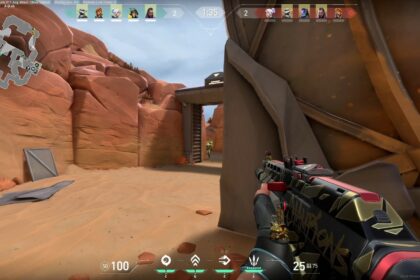
Sova is one of the best offensive scouts in the game. His kit allows him to gather information from anywhere on the map but takes a lot of memorization with crosshair placements and map knowledge to be used effectively.
If you are good with Geometry, you can even come up with creative bounces and lineups on the spot, but it will definitely come from experience as well.
Learning how to use Sova can be quite intimidating but can get you to a high-level rank in no time once mastered. This Sova character guide will teach you ways to creatively use his abilities effectively.
Sova’s Abilities
| Ability | Button | Cost | Description |
|---|---|---|---|
| Recon Bolt | E | Free – 1 charge (35 second cooldown) | EQUIP a bow with a recon bolt. FIRE to send the recon bolt forward, activating upon collision and revealing the location of nearby enemies caught in the line of sight of the bolt. HOLD FIRE to extend the range of the projectile. ALTERNATE FIRE to add up to two bounces to this arrow. Used mainly to scout forward areas and gather information. |
| Shock Bolt | Q | 100 – 2 charge | EQUIP a bow with a shock bolt. FIRE to send the explosive forward, detonating upon collision and damaging players nearby. HOLD FIRE to extend the range of the projectile. ALTERNATE FIRE to add up to two bounces to this arrow. Used mainly to soften players before engaging. |
| Owl Drone | C | 300 – 1 charge | EQUIP an owl drone. FIRE to deploy and take control of movement of the drone. While in control of the drone, FIRE to shoot a marking dart. This dart will reveal the location of any player struck by the dart. Used mainly to precisely scout the area and gather information. Can also be used as bait. |
| Resurrection | X | Ultimate – 7 Points | EQUIP a bow with three long-range wall-piercing energy blasts. FIRE to release an energy blast in a line in front of Sova, dealing damage and revealing the location of enemies caught in the line. This ability can be RE-USED up to two more times while the ability timer is active. Used mainly to get easy kills when you have precise information about the enemy’s location |
How to Use Shock Bolts
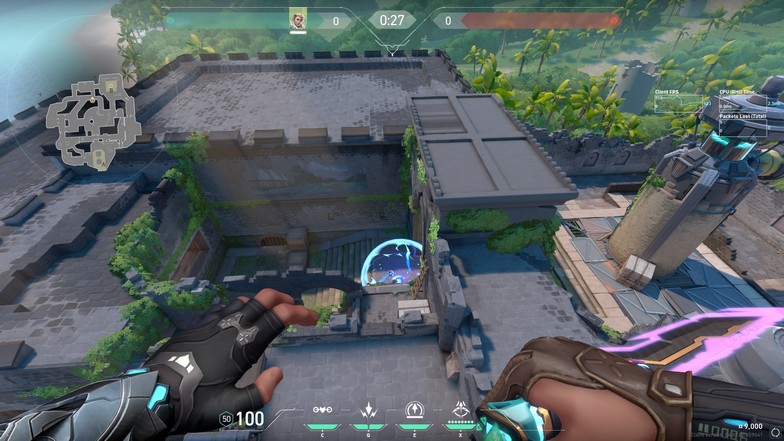
Shock Bolt is usually paired with more area damaging abilities so it can be more effective. It is also used to check and clear the corners but is not as effective as other abilities for clearing. The Shock Bolt can deal as much as 90 damage if the target is right in the middle of the point of impact.
The goal of the Shock Bolt is usually to soften enemies up and make them easier to eliminate. You can come up with a ton of Shock Bolt angles on the spot as long as you make sure you aren’t open.
Always use the bounces and get creative. You don’t want to see enemies with your bow out because you are basically a free frag at this point.
There are strategies where Sova can use a two-bounce Shock Bolt while setting up his second shot to hit the same location. It is hard to pull off and is only possible in some corners of the game.
You can check out our mega guide on the best Sova lineups on each of the maps.
How to Use Recon Bolts
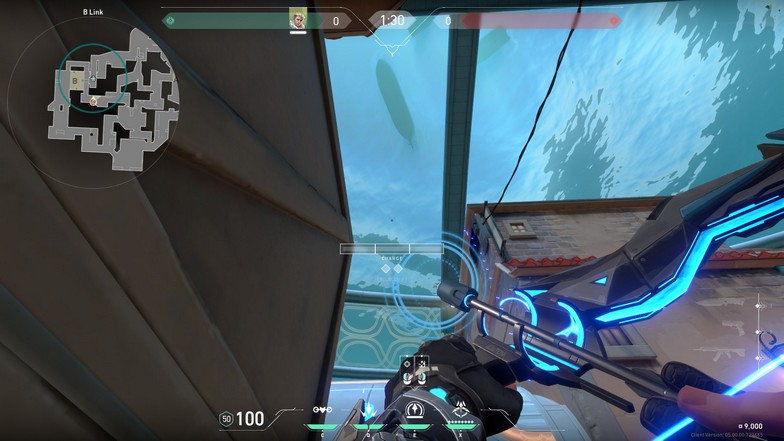
There are multiple ways to use Sova’s Recon Bolt effectively. If you are unsure of the angles at which you can bounce the arrow, you can always aim for the high walls with less obstruction.
Recon Bolt only works if they are within the vision of where it lands so it is best to place it as high as you can.
There are well-placed Recon Bolts you can use to support your teammates or even yourself if you shoot it slow enough.
The goal of the Recon Bolt is to clear a specific area of the map and support your teammates. Timing also matters because a well-placed Recon Bolt can force enemies to destroy it and become open to your teammates for a brief second.
Some Recon Bolt lineups make the bolt hard to hit and it forces enemies to hide and it eventually creates an opening for your team to take over.
It is still best to try and master a single map first and memorize all the useful lineups until it is embedded in your gameplay. Once you are used to some of the lineups, you can do it with ease and in pressure situations.
Here’s a video showing you the best Sova Recon Bolt spots in Valorant:
The video shows you 3 of the best places to fire Recon Bolts on Haven, Split, Ascent, Breeze, Fracture, Bind, and Icebox.
How to Use Owl Drone
Owl Drone is one of his more precise information-gathering abilities. If you are still unsure if there are enemies in the surrounding area after using a Recon Bolt, you can use Owl Drone to carefully sniff out players hiding in obstructed vision from your placed Recon Bolt.
Always use the Owl Drone below head level. It will be harder to kill as players naturally aim at head level.
This can also serve as perfect bait when the enemy decides to destroy it immediately. With a teammate following the Owl Drone, they can hear where and from what angle the Owl Drone was shot from.
One of the Owl Drone’s strongest features is its ability to tag an opponent and track their exact location for three consecutive pings. Aim the Owl Drone’s crosshair at the target and shoot it like you are holding a rifle.
Even if your crosshair isn’t exactly placed on the target, they can still be tagged by the Owl Drone.
Once an enemy is tagged, they are forced to hide because they are at an insane disadvantage if they try to fight while being pinged.
How to Use Hunter’s Fury
Hunter’s Fury is another great ultimate for defending planted spikes. It has an extremely long range that goes through walls. With a great spike placement, you can easily secure the defense with just a perfectly timed ultimate.
Remember to always use it along with your scouting abilities. Adjust to where you can use Hunter’s Fury immediately after scouting with an owl drone or a recon bolt.
This is more practical in long and narrow pathways so make sure to hug the wall next to it before using your scouting ability.
Once you have encountered enemies, they will be easier to kill because of how narrow their escape path will be.
If you think you have no more options in using Hunter’s Fury when the half ends, it is also smart to use the ultimate immediately at the start of the round. Aim for the area where they would push as most of the players will be at the edge of the spawn zone.
You can also combine Sova’s Hunter’s Fury with other abilities from your teammates. If you have a Skye or a Sage who can slow some enemies down with their abilities, it will be impossible for them to dodge your Hunter’s Fury.
Even a teammate who can play Neon and stun everyone in A Main in Haven can be a good setup for a Hunter’s Fury.
Sova Agent Tips and Tricks – Summary
- Practice predetermined Recon Bolts and inform your teammates
- Shock Bolt for corners
- Keep your Owl Drone low and stay active for the dart
- Hunter’s Fury for spikes or on long pathways
Sova’s greatest asset is his ability to gather precise information and requires some practice and memorization to fully optimize his kit. He can also pair up and synergize with almost every agent and is definitely a great addition to any team composition.

