Smithing Stones are one of the most important items you’ll need in Elden Ring, as they allow you to upgrade your weapons and shields to better versions.
They can be used to upgrade most weapons up to +25 and make them significantly more powerful and viable, but they are not that easy to come by when you start your game.
There are many different ranks of Smithing Stones, and players might upgrade the wrong weapon since it might take them a while to find the one that fits their build better.
So, considering how crucial these items are once you start reaching higher-level areas, where can you find them? And more importantly, how do you even know when to use them?
This guide will tell you exactly where to find Smithing Stones in Elden Ring so that you can progress quickly through the game without running into too many bumps along the way.
How to Get Smithing Stones in Elden Ring
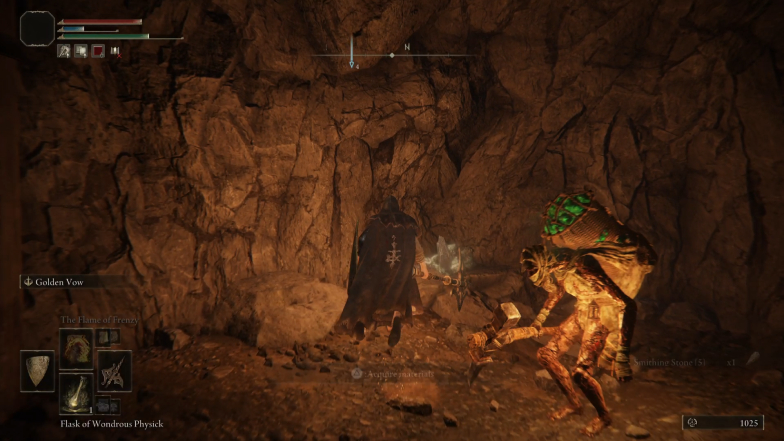
At the beginning of the game, you might end up counting a bit with luck. It will take a while before you can purchase this item freely, and therefore you will have to rely on what you get throughout the Lands Between.
However, if you look in the right place, you will end up with enough Smithing Stones to give you a decent early game advantage.
How Smithing Stones Work in Elden Ring
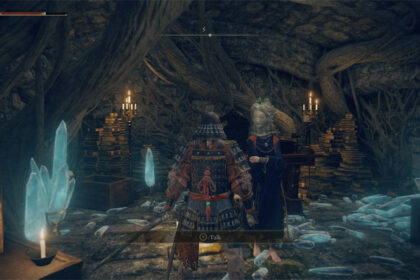
There are items that you must use to upgrade your weapons. You can do it by bringing them to the Blacksmith in Roundtable Hold, or you can just interact with the anvil within the Church of Elleh to use your Smithing Stones.
Note that Smithing Stones have different categories. For instance, weapons can be upgraded up to +3 with a Smithing Stone [1] — two Smithing Stones to make it +1, four to make it +2, and six to make it +3.
In order to get a weapon from +3 to +4 and up to +6, you need an item called Smithing Stone [2] — following the exact same two, four, and six progressions of upgrade materials cost.
As you might have noticed by now, there is a pattern. So, if you want to get your weapon or shield to +7 and up to +9, you need Smithing Stones [3] in the same progression cost mentioned above.
These many different types of Smithing Stones make it a bit complicated to upgrade armaments all the way up to the maximum +25 rank. However, you won’t need all your weapons maximized anyway.
When it comes to the armaments you need at higher reinforcement ranks, you will need a bunch of these items, and they will need to belong to the correct category.
How to Find Smithing Stones in Elden Ring
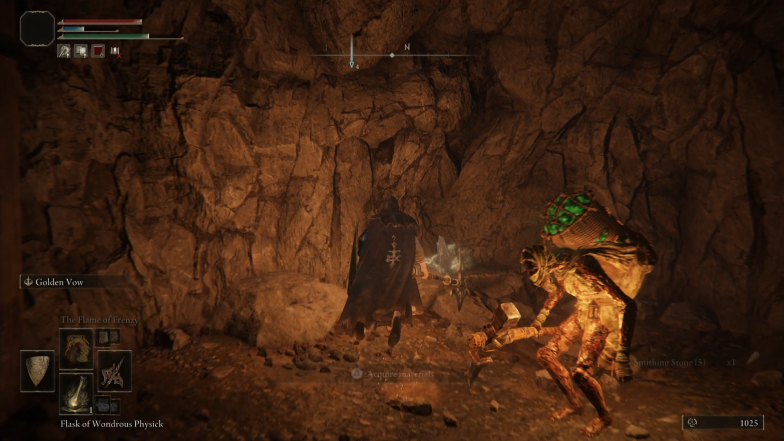
You can find many smithing stones in Limgrave alone. There is one at the Church of Elleh, about ten within the Stormveil Castle, one at the Gatefront Ruins, one at the Limgrave Tunnels, and a few others around Stormhill.
At the extreme South of the Weeping Peninsula, there is Castle Mourne, another location that has Smithing Stones for you to collect. You can also get another one in the same region, on the road. There’s one more for you to get; it is located within the Morne Tunnels.
It would take forever to list every single area in the game with a Smithing Stones. Still, just by normally exploring the regions you visit, you should have enough to upgrade your weapons at least a bit.
Those won’t be enough to make you super powerful, but at least they will help you get going until you are able to buy upgrade materials instead of having to look for them in the Lands Between.
How to Buy Smithing Stones Early in Elden Ring
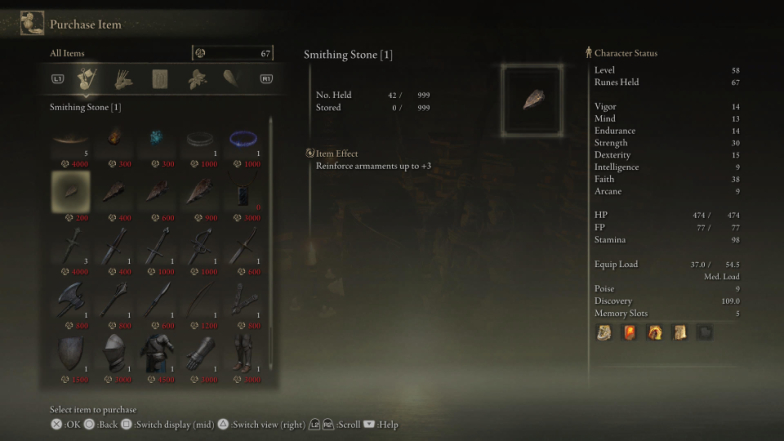
There is a way for you to buy Smithing Stones [1] and Smithing Stones [2] quite early in the game. First, you need to go through Stormvail Castle and defeat Godrick, the Grafter.
However, there is a way to skip Stormveil Castle, which makes this whole process much faster. You still have to beat Godrick, the Grafted eventually, but you can do it later.
Get to Stormhill Shack by following the road north from Gatefront Ruins. When the road bifurcates, keep going north, passing under the giant stone bridge, until you meet a weird old lady.
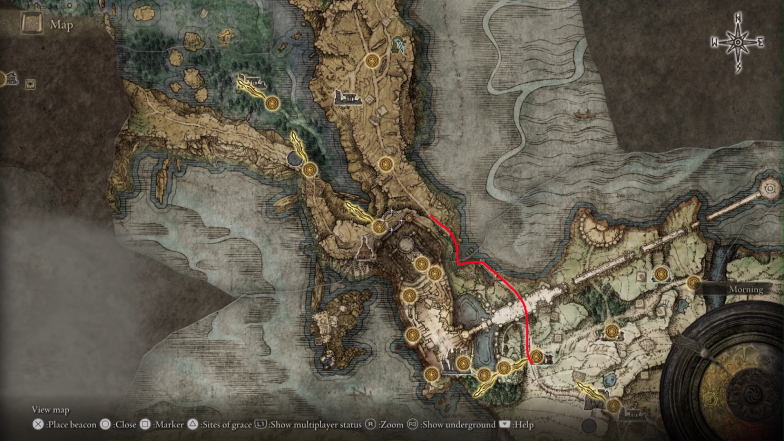
Now you must go to the end of the bridge and look for a ledge that will allow you to advance downward a bit further. From there, you just have to keep going through the only path ahead until you reach Liurnia of the Lakes.
This area might be troubling for you, so it might be wise to avoid enemies. It’s okay to get into some random fights if you have touched a nearby grace, but note that doing so might delay the process a bit.
Either way, if you do battle random enemies sometimes, make sure to always spend all the runes you have to level up as soon as you have enough to do so.
Head north and look for an opening on the west side of the hill. It shouldn’t take you too long to find a cave there called the Raya Lucaria Crystal Tunnel, where there are plenty of Smithing Stones for you to take.
It is very easy to get lost in this area of Lucaria. You can’t really trust the roads that much on your path to this area as there are ruins that work as a maze.
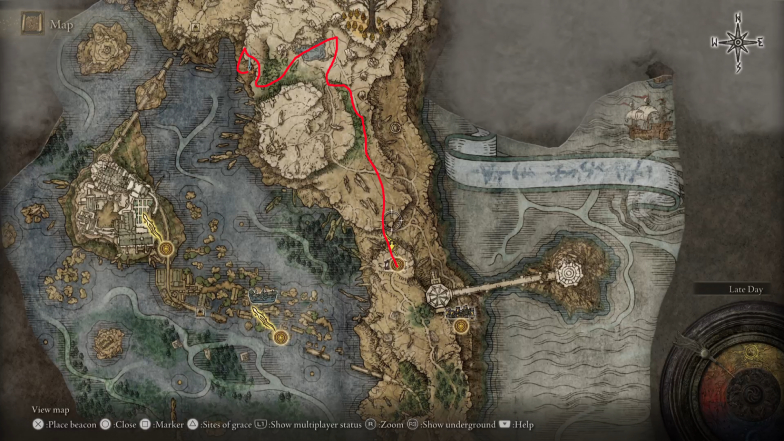
Head north from the Artist’s Shack and take the road through the forest. Eventually, you will be in an area with an archer shooting magic bolds in a tight rocky corridor in the woods. You want to take that path and find the area where that archer is standing.
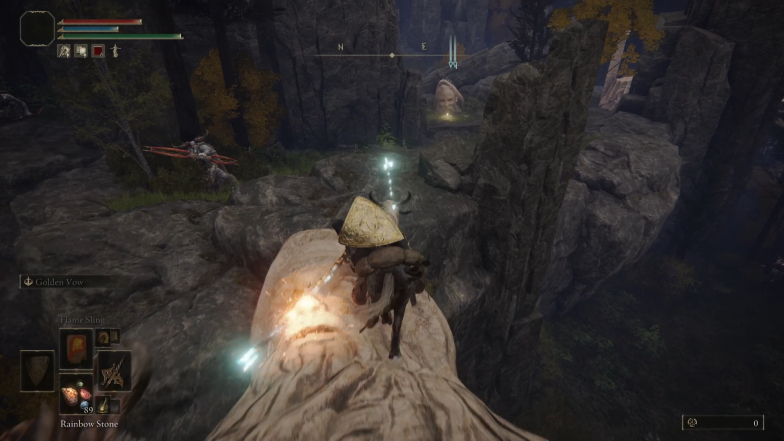
Once you do, go past him to get to a site of grace. Touch it since chances are, you will be swarmed by powerful enemies and taken down nearly instantly.
Once you do, keep heading in the direction you were right after passing over the statue where the archer was standing. Pass through the site of grace, and keep moving. Follow the bell sounds until you see a giant mausoleum. That’s the sign you’re on the right path.
Head west through the lake until you see a cliff. Follow the cliff heading north. At some point, you will see stones on the side of the cliff that allows you to platform your way down.
After climbing down, you will be able to see the other side of the gate. You’re not done yet, though. You still need to go to the cliff and platform down again until you reach the Raya Lucaria Crystal Tunnel.
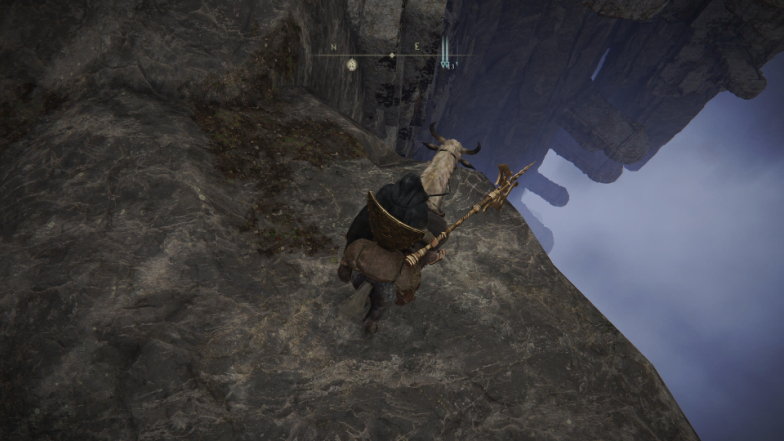
Although there is quite a lot of upgrade material for you to collect in this place, you’re here for something else. Fight your way through until you find the boss within the cave.
Make sure that you have your Spirit Calling Bell with you and the Lone Wolf ashes equipped. Those two items will be crucial for you to win this battle if you are not at a high enough level to face this fight on your own.
Raya Lucaria Crystal Tunnel’s Crystalian has a ring blade that will often throw at you. It also has a decent poise at first.
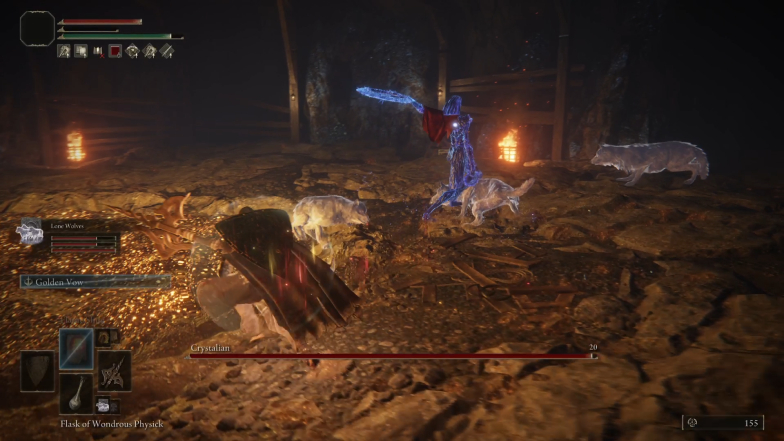
This fight can be a bit difficult if you don’t have enough damage output to handle him. Crystalians are immune to Blood Loss and ignore 40% of all damage taken from Magic, Lightning, and Holy sources.
You might want to deal with Crystalians with physical builds that deal severe damage and have quick enough attacks from a weapon that is not too small but not too big either, like a longsword.
As I mentioned before, summon the Lone Wolf Ash to help you with the fight. After a few attacks, the Crystalian will have its poise broken, and you can stun-lock it with the help of your spirit ash. Once you hit that point, this battle will become relatively easy.
Make sure you use any buffs and your Flask of Wondrous Physicks right before the fight starts.
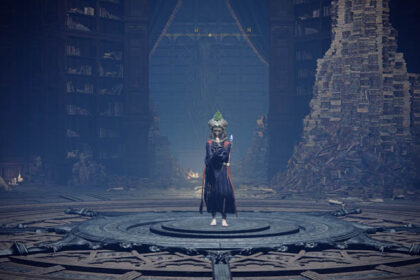
Once defeated, the boss will drop an item called Smithing-Stone Miner’s Bell Bearing [1]. Bell Bearings are items that can be delivered to the twin old ladies in Roundtable Hold, called Twin-Maiden Husks, making them have more things to sell.
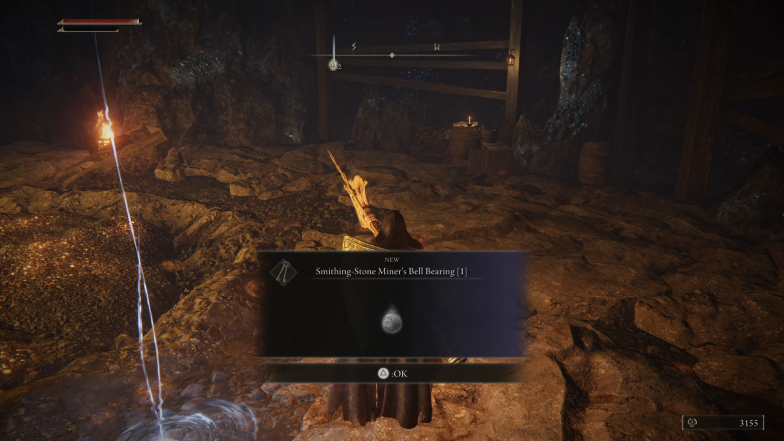
After delivering the Smithing-Stone Miner’s Bell Bearing [1] to them, you will be able to buy Smithing Stone [1] and Smithing Stone [2] from them for, respectively, 800 and 1600 runes.
Suppose you want to buy higher grade Smithing Stones. In that case, you will need the Smithing Stone Miner’s Bell Bearing [2], which demands a lot of horseback riding and avoiding high level enemies.
You will have to learn how to activate the Grand Lift of Dectus in Elden Ring. You need it working in order to get the item you need. Go on a quest for the Left and Right sides of the Dectus Medallion before heading back to the location of the Grand Lift of Dectus.
Once you have both pieces in hand and are able to go to the next area, it’s time to go for the Smithing-Stone Miner’s Bell Bearing [2].
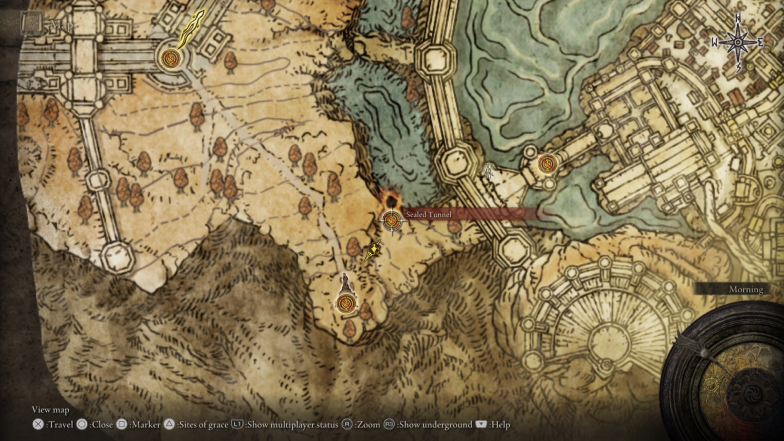
Now that you have access to the Atlas Plateau, head Southeast to find the Sealed Tunnel. The Bell Bearing will be within a chest within the tunnels.
Once you reach the local site of grace, you will see no path at all. That’s because there is a secret passage here that allows you to enter this mining site. In order to be able to see the secret passage, you must attack the wall until the illusion is broken and the path is revealed.
The entrance is right next to a small lamp-like torch, but you just hit the wall until the opening reveals itself to you.
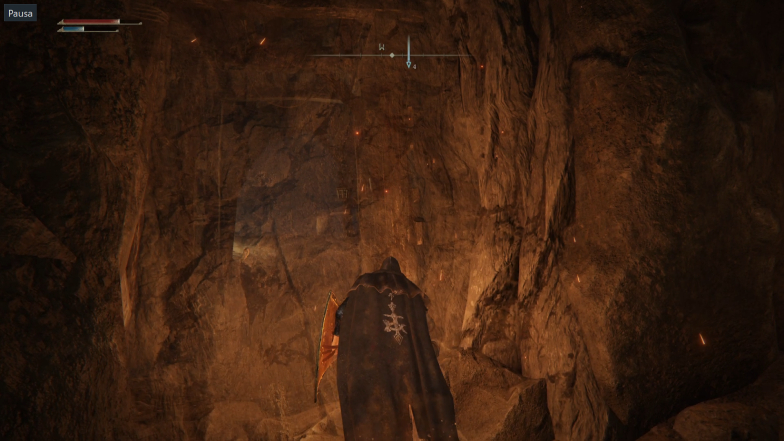
The enemies might be too powerful for you to handle, so just try to run through them and get the item. There is a chance you will be attacked and possibly sent back to a site of grace as soon as you get this Bell Bearing, so don’t carry many runes while doing it.
If you don’t have any runes, they just saved you a trip back to a safe location where you can fast travel anywhere.
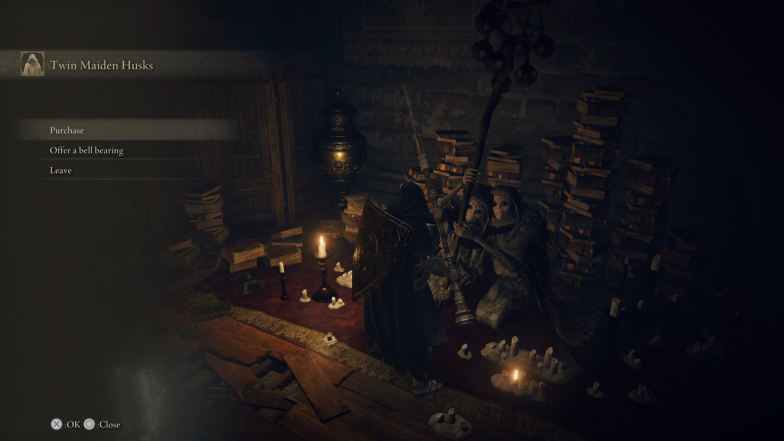
With the Smithing Miner’s Bell Bearing [2] in your inventory, head back to Roundtable Hold and give the item to the Twin Maiden Husks. Now that they have this item, the twin ladies will start selling you both Smithing Stone [3] and Smithing Stone [4].
The first one costs 2400 runes each and will bring you to upgrade your weapons and shields up to +6. The Smithing Stone [4] items cost 3600 runes and will reinforce armaments up to +9.
Somber Smithing Stones
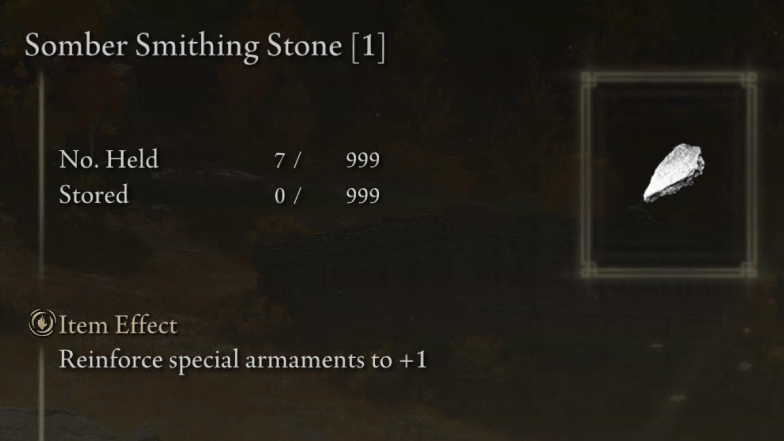
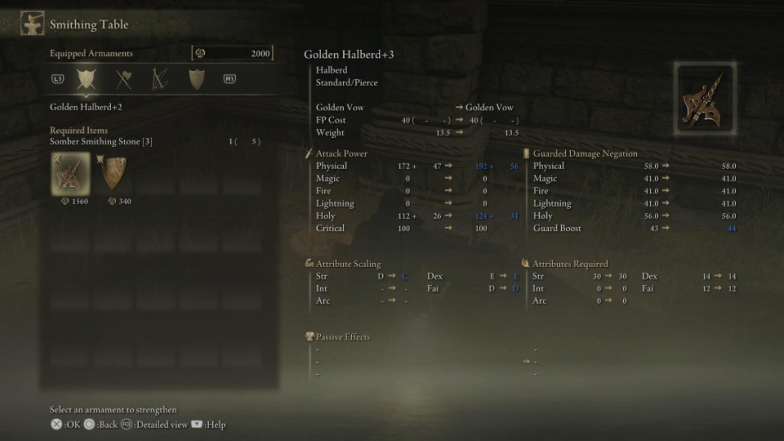
Some weapons can’t be upgraded with your usual Smithing Stones. Those weapons are usually special and unique, like the Golden Halbert that you get once you beat the Tree Sentinel in Limgrave.
Unlike the other items, armaments that require Somber Smithing Stones can only be upgraded up to +10 due to their great, inherent power.
Somber Smithing Stones can be found all over the Lands Between, like regular Smithing Stones, but they are more scarce.
Where to Find Somber Smithing Stones
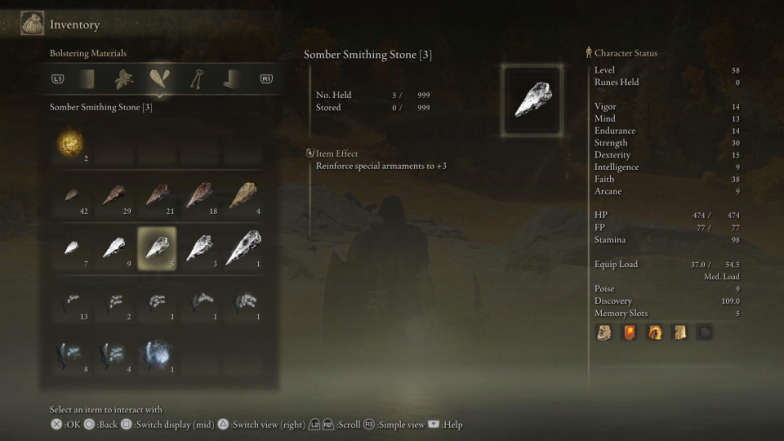
In Limgrave, you get a Somber Smithing Stone by going to Stormhill, near where you go to jump on a tilted building to get the lance.
There is also one within Stormveil Castle and another one in Limgrave Tunnels. You can get another close to the ruins on the northeast of the lake where you defeat Flying Dragon Agheel.
You can also pick up a Somber Smithing Stone in the extreme south of the Weeping Peninsula, beyond Castle Morne. In the same region, in the Morne Tunnels, there is at least one more upgrade material of the same type.
As you can see, these items are much harder to come by, so the best way to upgrade multiple armaments that need Somber Smithing Stones is to quickly find the merchant that sells them.
Where to Buy Somber Smithing Stones
You can buy Somber Smithing Stones from the War Counselor Iji, a gentle giant who smiths for the Carian royals. He will gladly help you and sell you the upgrade items you need.
Although he has an unlimited supply of Somber Smithing Stone [1] and Somber Smithing Stone [2], the better versions of these items are limited. War Counselor Iji can first be found as Smithing Master Iji in the Northeast of Liurnia of the Lakes. He will be near the Kingsrealm Ruins.
If you follow through Iji and Blaidd‘s questline, you will eventually find the dead body of the War Counselor and his Bell Bearing near it. You can bring this item to the Twin-Maiden Husks to be able to purchase Somber Smithing Stones from them.
The Somber Smithing Stone [1] costs 2000 runes each and upgrades your armament to +1. Somber Smithing Stone [2] is the item you use to upgrade armaments to +2, and it costs 3000 runes.
Unlike regular Smithing Stones, each rank of a Somber Smithing Stones only increases by 1 the reinforcement rank of your armaments. However, the power boost is more significant as well.
Additionally, you can also go find Bell Bearings that will allow you to buy Somber Smithing Stones when you visit the Roundtable Hold. The item must be delivered to the Twin-Maiden Husks as usual for that to be possible. In fact, you might have been closer than you imagine to one of these Bell Bearings.
At this point, you might have already spent some time trying to learn how to leave the Sellia Crystal Tunnel due to falling into a transportation trap. If that’s the case, you already know where to go once you need to buy Somber Smithing Stones.
Unfortunately, you won’t be able to speed run your way to getting this item. You get the Bell Bearing that allows you to pay purchase Somber Smithing Stone [1] by defeating the boss in this dungeon.

