Runes are a crucial part of playing Elden Ring because it helps you progress through the story.
Whether that’s via leveling up, weapon and spirit ashes upgrades, buying sorceries, incantations, and ashes of war, runes are equally important as experience points and as currency.
Unfortunately, however, farming for runes is often a tedious affair.
There are items in Elden Ring that helps alleviate tiresome mid to late-game farming — one of them is the Gold Scarab Talisman. This item raises rune yield by 20% when equipped, which is a huge help when and quickly stacks up throughout the game.
The best thing about it is its effects can stack with a consumable item — the Golden Pickled Fowl Foot, to earn even more runes. This guide will show you where and how to get the Gold Scarab, so that you can make more runes throughout the game.
Gold Scarab Talisman Location
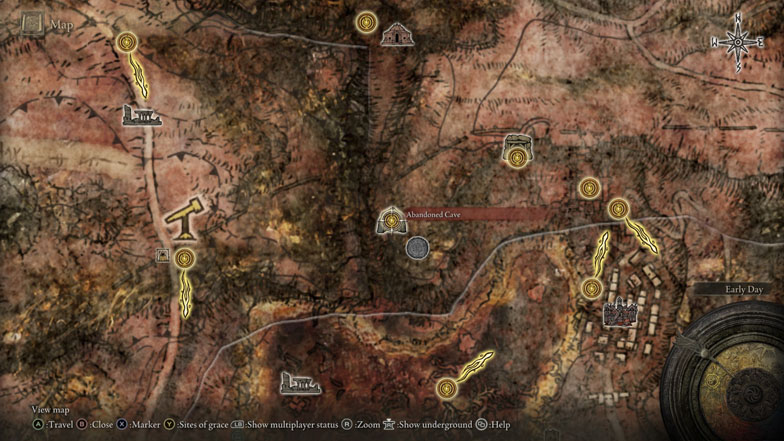
The Gold Scarab is a boss drop found in a part of the Caelid region that can be easily missed — the Abandoned Cave. The cave is full of scarlet rot bog that may be frustrating to traverse.
Additionally, rolling in it will make the status linger a bit more after leaving the bogs, which means it will continue to accumulate even on dry land. Therefore, before stepping inside the Abandoned cave, it’s best to hunt down either of these two Ashes of War to help navigate the cave.
The first Ash of War is Quickstep, a skill that performs a short-range step that can be used consecutively to travel faster. This is the default weapon for skill for a few weapons. For example, the Misericorde dagger looted in Stormveil Castle, and the Hookclaws armament also found in Stormveil Castle.
Alternatively, you can buy the Quickstep Ash of War from Knight Bernahl at the Warmaster’s Shack for only 800 runes. The Warmaster’s Shack is east of the Stormhill Shack, where you first met Roderika.
The second Ash of War is the Bloodhound Step, a skill similar to Quickstep, but it dodges faster, further, and also turns you invisible during the duration. You can receive the Bloodhound Step as a reward for defeating the Night’s Cavalry at the bridge north of Lenne’s Rise.
Be warned that the Night’s Cavalry at that bridge is high level and not easily beaten. If you’re struggling to win, you could lead it to the poisonous flower field north of the bridge. Stay on the move as Vulgar Militia enemies are ready to ambush you.
When you’re at the Abandoned Cave’s scarlet rot-blighted bog, these two Ashes of War are considerably helpful to overcome it. Make sure to take advantage of its low recovery time, and chain multiple casts in a row to get to dry land faster.
Before heading to the Abandoned Cave, make sure to have a torch or lantern (for some dark areas) and Preserving Boluses to remove scarlet rot. There are also spells which provide illumination like the Starlight spell.
Preserving boluses is an indispensable resource when trying to move through the Abandoned Cave. You can easily get 5 at the Shack of Rotting or craft some after acquiring the Armorer’s Cookbook [6] found at Siofra River.
You could also bring restorative incantations such as Heal and Urgent Heal to alleviate the environmental hazard. The Flame, Cleanse Me incantation is one of the best assurances to stave away scarlet rot. The useful incantation is found on a body at the Fire Monk camp, south of Church of Vows.
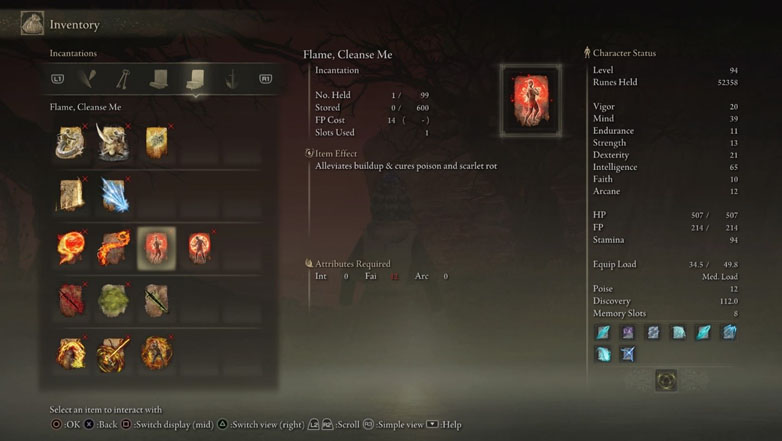
In fact, all classes (except the prisoner) can use the Flame, Cleanse Me incantation without any investment into faith. All they need is to equip the Two Fingers Heirloom talisman which increases faith by 5. Meanwhile, the Prisoner class can supplement this by using a Rune Arc with Godrick’s Great Rune equipped to increase their faith attribute.
The Two Fingers Heirloom talisman is found in the southeastern part of Liuirnia of the Lakes at the Purified Ruins. It’s also the second location of Hyetta if you gave her a Shabiri Grape on her first location near the Church of Irith.
Alternatively, you could opt for rebirth by talking to Rennala and offering a Larval Tear. This makes it possible for you to redistribute your points to have enough faith for such incantations.
Now that you’re prepared, it’s time to find the Abandoned Cave.
The Abandoned Cave can easily be reached by starting at the Smoldering Wall Site of Grace in Caelid. Head east while moving along the wall.
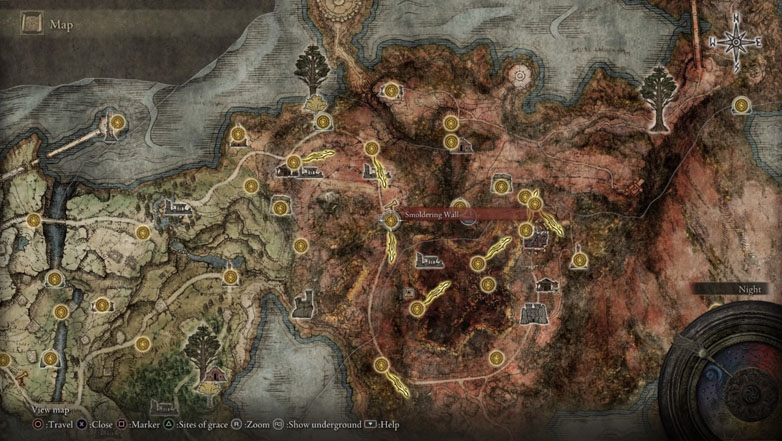
After some time, you would see two black dogs that are roaming an area. You can either run towards this area or kill the black dogs. Head for the branch that has a dead black dog hanging on it then turn left.
To the left is an iron virgin that you could quickly pass by if you feel like not fighting it. Traverse the branch hanging on its left side.
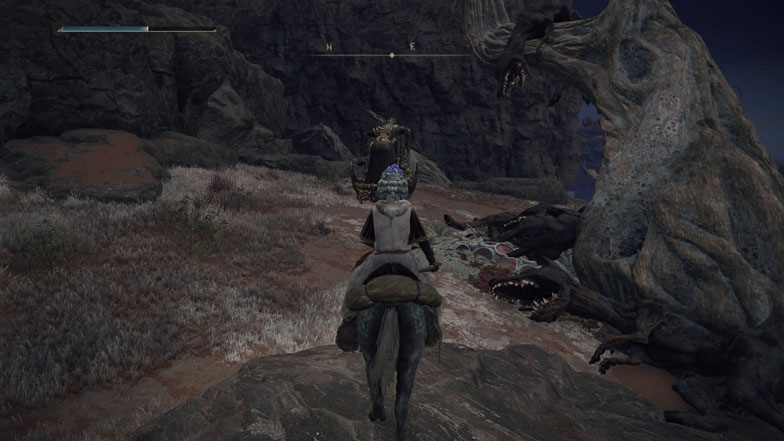
When near the part where you’d have to turn to the right, take your time and stay on the left side of that branch as you might accidentally fall.
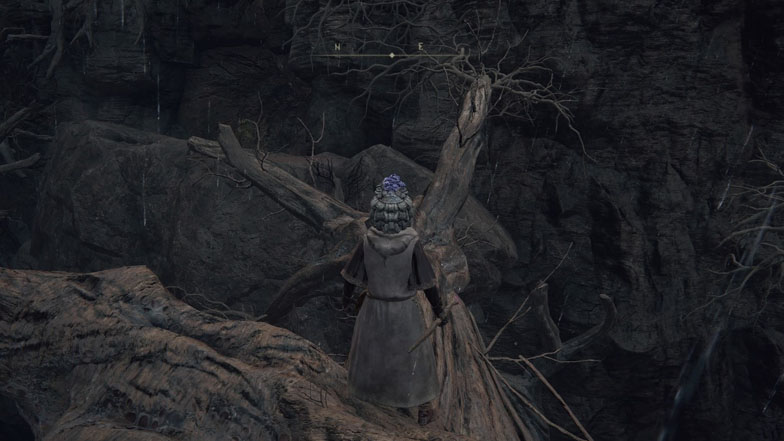
Now, you’ve reached the Abandoned Cave. You can go ahead and light the Site of Grace just a few steps from the entrance.
Before you proceed, know that when you jump down the ledge you can’t go back to the Site of Grace anytime you want as you have already entered the dungeon itself. Be sure to spend or use your runes or have a sacrificial twig equipped so as to not lose your runes.
If you feel ready, walk near the ledge and observe the geyser that spews scarlet rot at an interval. Ready your crimson flask and time your jump just before it spews and leave a scarlet rot mist.
Note that you will incur continuous damage because of the mist. Move over to the ground with an iron virgin husk that has an Aeonian butterfly in front of it.
There will be two openings: the left lead further in and the right leads to a Dragonwound Grease just past another geyser. You can opt to get the loot now or come back for it at a later time.
Going back to acquiring the Gold Scarab, keep jumping or use the previously acquired Ash of War while sticking to the wall. Keep going until you reach a room with another scarlet bog. Move a little closer to see a Servant of Rot near the opening and another loot containing the Serpent Bow.
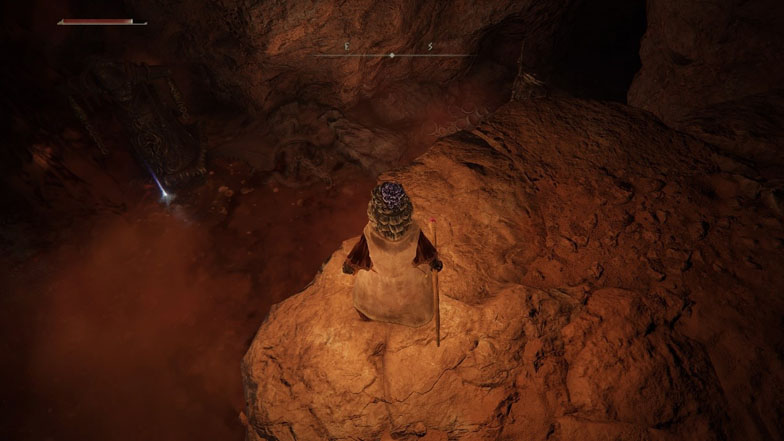
Move the rightmost part of this ledge and jump over to kill the Servant of Rot. If you want to get the Serpent Bow, time your movement just after the geyser spews. It’s a fun bow since it boosts poison build-up when using poison-tipped arrows.
After acquiring the bow, go further in the opening. There will be 2 enemies here, a Rat and a Servant of Rot, hidden by the darkness. You can utilize your auto-aim to know where these enemies are.
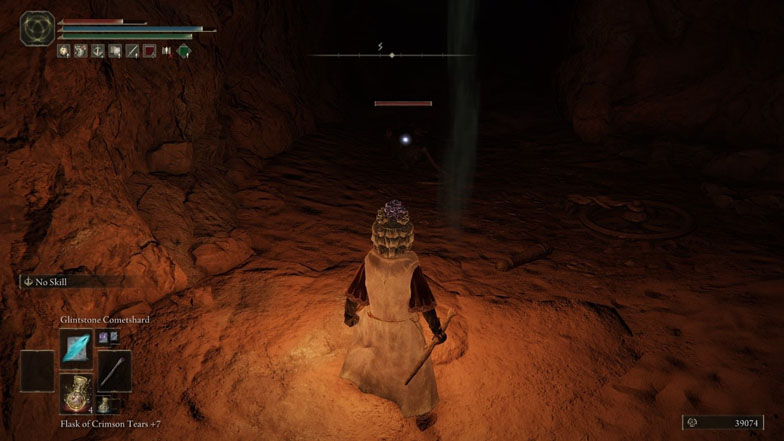
After defeating the two, proceed further and there will be another room with two Rats guarding a Fire Grease loot. The next room has a scarlet rot swamp and contains a big Scarlet Rot Miranda Flower with four smaller variants (appearing once you get close enough) and two Servants of Rot on the ledge to the right. There will also be tons of Aeonian Butterfly in this room.
You can try killing the two Servants of Rot first and lure the smaller Scarlet Rot flowers away from the big one. Facing the big Scarlet Rot flower 1v1 is more advisable because of its relatively high health. There will be another loot to the left containing Venomous Fang that can be reached by jumping on the husks of Iron Virgins.
After getting the Venomous Fang, go back to where the two Servants of Rot were. Keep going along the tunnel that you see until you encounter a fog gate. Behind that is the dual boss Cleanrot Knights that you have to defeat in order to get the Gold Scarab Talisman.
How to Defeat the Cleanrot Knights
The last obstacle that you will face in your adventure to get the Gold Scarab is the dual boss Cleanrot Knights. These bosses are also field enemies found in the Swamp of Aeonia, you can farm those enemies for the Cleanrot set and the powerful holy Halo Scythe.
It is important to know that the boss room also contains patches of scarlet rot waters so be careful when you dodge attacks. Additionally, this boss can be made more accessible by summoning a Spirit Ash of your choice to draw aggro away from you.
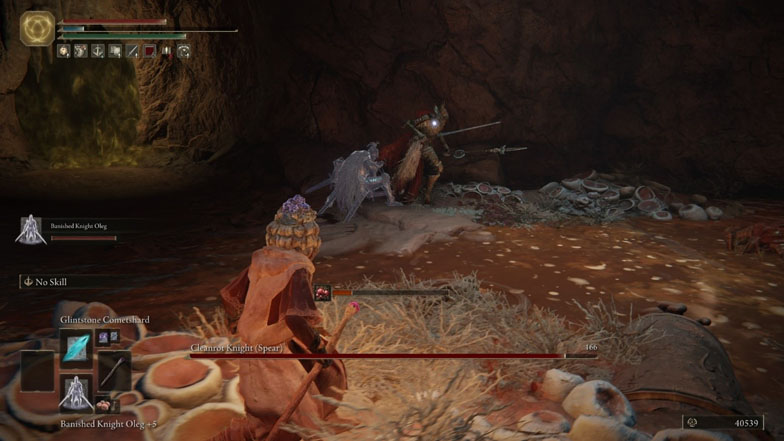
It is possible to take this dual boss alone as each of them has a relatively low health pool. An enormous consequence of losing, though, is that there is no Stake of Marika near the boss battle. You would have to repeat the dungeon from the Site of Grace at the entrance.
The initial boss is a dual-wielding Cleanrot Knight Spear variant. This boss is very easy to deal with once you’ve got your Spirit Ash to grab its attention. The attacks of this variant are relatively easy to dodge as they are not that fast.
There are two attacks to take note of if you have a melee playstyle: an upward spear slash followed by rain of spears and a spear charge. To safely avoid the first, you have to keep in mind that most of this variant’s attacks are always a combo and not one-and-done (except for a spear thrust).
The second attack can be easily noticed because the Cleanrot Knight’s spear will light up as he changes his stance to charge at you – this attack also afflicts you with the scarlet rot status.
The Scythe variant of the Cleanrot Knight isn’t really much of a threat. It will, however, be annoying when you are battling these bosses alone as it will keep pitching rings of light at you from afar.
During melee combat, it will usually utilize its scythe by using wide swings and uses a 3-hit combo using both weapons. There is a variation of its wide swing where it follows up with a ring of light attack.
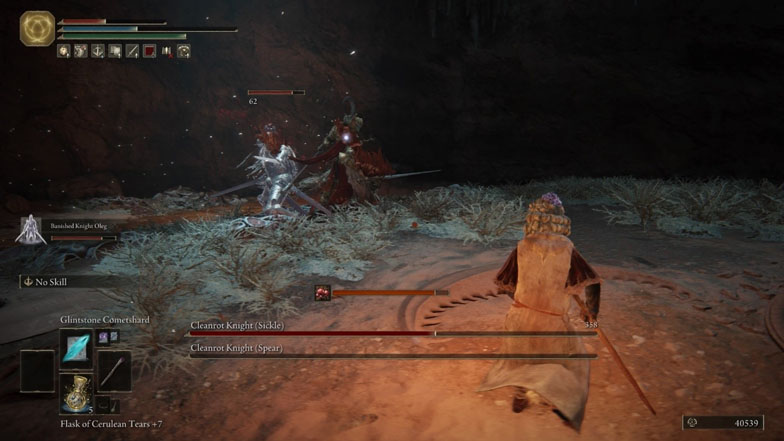
Once you’ve defeated both Cleanrot Knights, you will now be in possession of the Gold Scarab Talisman. You can try it out and farm just outside Bestial Sanctum (also in Caelid) by picking on some Vulgar Militia or in the catacombs on the northern side of Starscourge Radahn’s boss arena.
It is definitely one of the best talismans in Elden Ring, and it’s an item I have a hard time removing from my loadout.

