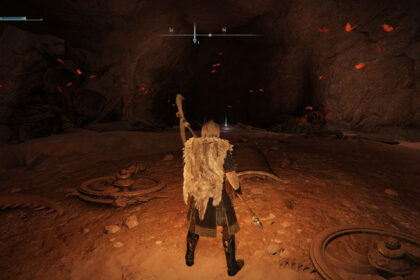
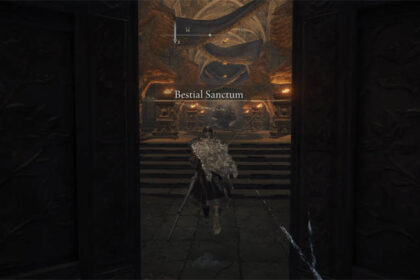
While traveling near Mistwood Ruins in Limgrave, you can hear eerie howling somewhere in the forest. The source of the sound is from a wolfman perched on top of a tower on the ruins.
You can’t talk to him no matter where you circle the tower. Additionally, there’s no way up there, and he won’t interact with you no matter how hard you try.
Please don’t get frustrated and shoot him down with an arrow. His name is Blaidd the Wolfman, a friendly NPC you can talk to in Elden Ring.
As usual with the Soulsborne franchise, NPC questlines are often obscure and shrouded in mystery. This guide will show you how to bring down the wolf knight from the tower in Elden Ring.
It will also show where and how to complete the first part of his personal quest.
How to Bring Blaidd the Half-Wolf Down from the Tower
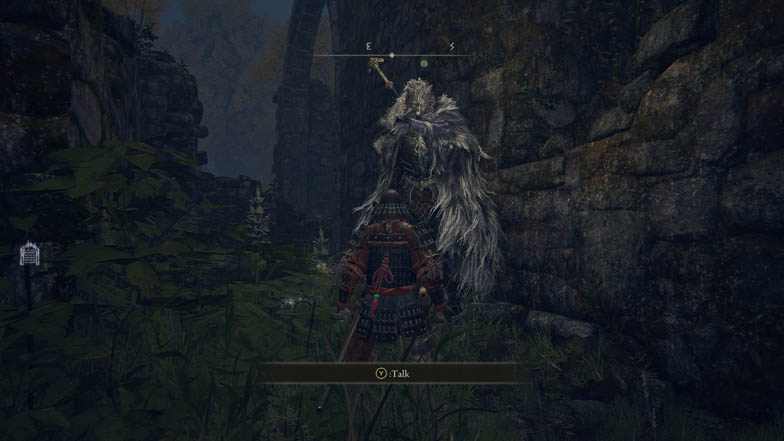
Blaidd the Half-Wolf is found on top of a tower at Mistwood Ruins. First, you have to find the location.
Starting from the Site of Grace at Garefront Ruins, in front of Stormgate, follow the main road towards the southeast. You should pass the bandit camp at Gatefront ruins and reach the bridge.
When the road diverges, head to the north, and stay on the main road. The forest is already next to the path; don’t wander inside just yet.
You could take a fast pitstop at Waypoint Ruins to the south. There’s a sorceress here that allows you to buy sorcery spells in Elden Ring. Her spells can help mage characters with the upcoming battle.
Find the Site of Grace at Mistwood Outskirts. It should be near large stones; it’s hard to miss if you’re on the main road.
Teleport to this Site of Grace whenever you need a quick escape away from Mistwood. You could also reset your search here whenever you’re disoriented.
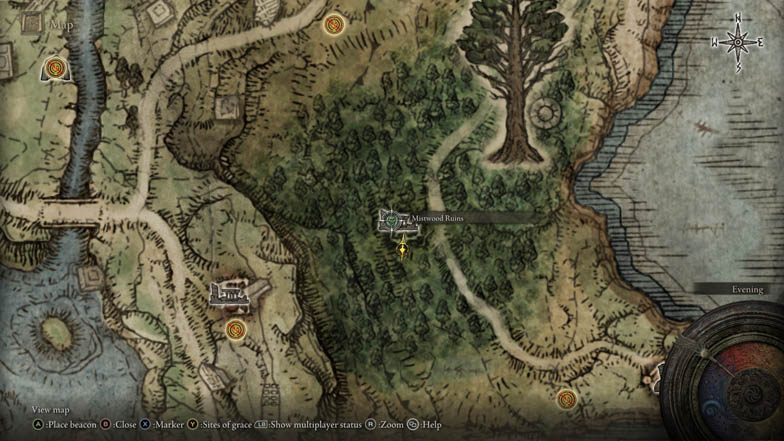
From here, head south into Mistwood. Unfortunately, there are a lot of dangerous enemies who can catch you even while on your horse, Torrent.
In particular, watch out for the group of flying monsters who can attack you on the move. And, do your best to avoid the giant bears who are extremely agile, durable, and can dismount you from Torrent with one swipe. Falling off your horse puts you in a vulnerable position, leaving you open to critical hits.
For a safer but longer travel time, you could stick to the main road to avoid most enemies. You could even find the map marker for East Limgrave, which reveals the topography of the surrounding area.
Once you hear a howling wolf, you should be nearby Mistwood Ruins. Investigate the ruins to find him on top of the tower. However, you can’t do anything right now to progress the quest, so you should leave the area.
I left a written message on the ground advising players what to do next. For the next part, you need to travel back to the Church of Elleh.
Before you do, there’s a treasure chest below the tower. And, there’s a treasure chest underneath a cellar containing Ashes of War. A giant sleeping bear guards it, but you could easily take it and summon Torrent to outrun it.
Where to Get the Snap Gesture
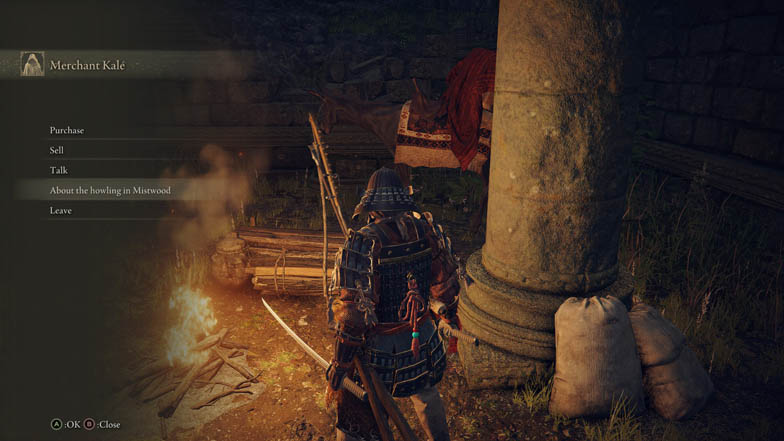
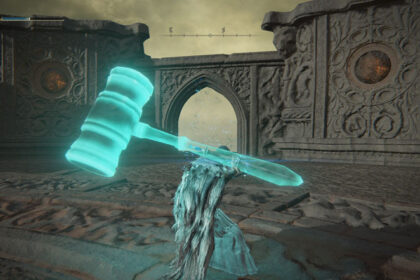
To bring down wolf knight in Elden Ring, you’re going to need the snap gesture.
Fast travel back to the Church of Elleh and talk to Kalé, the merchant. Select the option to mention the howling in Mistwood. You have to find the wolf knight first to trigger this option.
Kalé knows exactly who you’re talking about and even suggests that you two would get along. He tells you that his name is Blaidd Half-Wolf, and gives you the snap gesture to call his attention.
Afterward, fast travel back to Site of Grace at Mistwood Outskirts and make your way to Mistwood Ruins.
Stand near Blaidd’s tower, preferably in front of him, and use your new snap gesture to bring down wolf knight. You can access your gestures through the player menu.
After you bring down the wolf knight from the tower, you can approach Blaidd to talk to him.
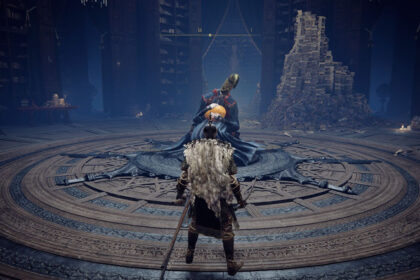
As soon as I set my eyes on him, I’ve never experienced as much NPC envy as I did then. I instantly wanted to kill him for his cool-looking armor, but unfortunately, he won’t drop the set upon death.
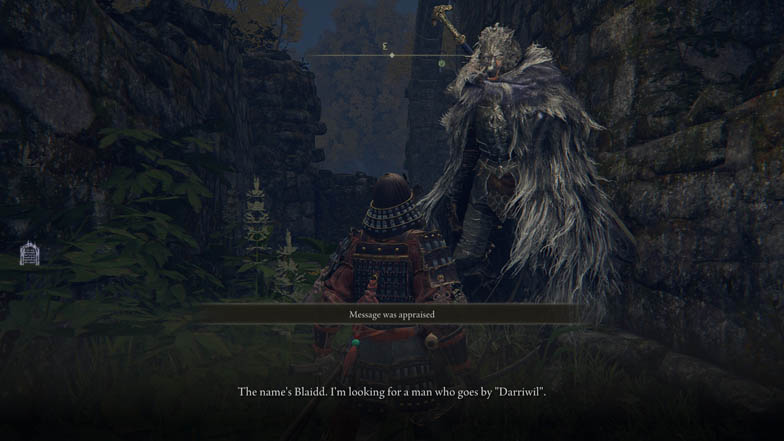
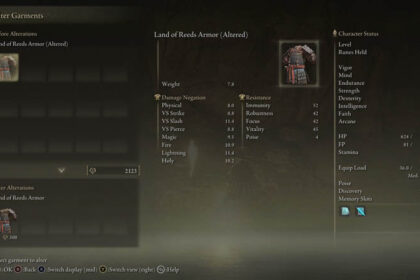
There go my hopes for a wolfman cosplay Elden Bling. Guess I’ll settle for altering armor in Elden Ring for now.
Segue over, Blaidd introduces himself once you talk to him. He also requests you speak with him if you find Bloodhound Knight Darriwil anywhere.
To progress his questline, you have to find and defeat Bloodhound Knight Darriwil.
How to Defeat Bloodhound Knight Darriwill
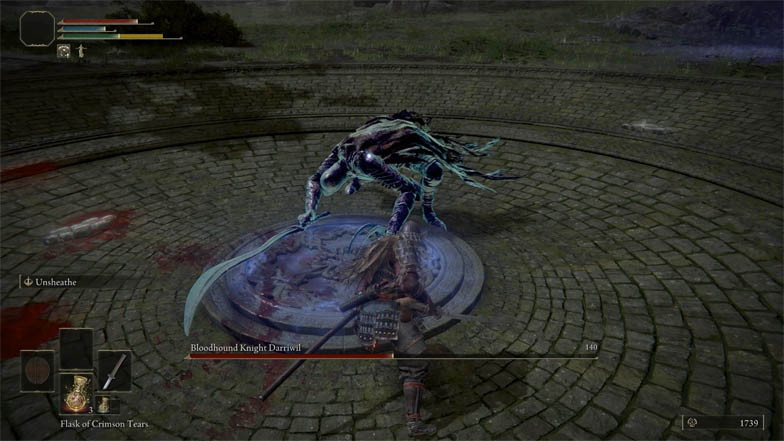
Bloodhound Knight Darriwill is located at the Forlorn Hound Evergoal in Limgrave. Evergoals are magic prisons used to detain the most dangerous creatures in Elden Ring.
They appear as mystic circles on the ground that you can access to visit them. Usually, there are bizarre worms made of stone with purple eyes surrounding them. Perhaps they’re used to supply the Evergoal’s arcane energy. I won’t speculate any further and just wait for VaatiVidya to cover the subject.
To find Bloodhound Knight Darriwill, start from the Site of Grace at Stormgate, and head towards the bridge again. This time, turn south and follow the main path.
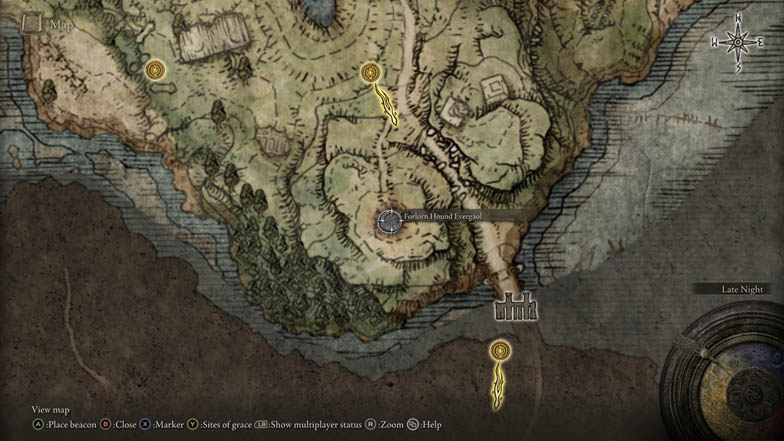
Keep following the main road south until you find a Site of Grace at the south of Agheel Lake. Here, diverge from the main road and head uphill.
Once you’re prepared, step inside the circle and interact with it. The Evergoal will transport you into another realm where the prisoner is contained.
Don’t move forwards! You’ll start the boss fight immediately and can’t summon the wolf knight. So instead, look behind and look for the golden mark on the floor.
You can summon Blaidd to assist you in this fight. Players who previously visited this area know they can’t use their spirit calling bell inside to summon spirit ashes. Fear not, Blaidd is more than capable and can dominate his adversary.
If you’re a Souls veteran looking for a challenge, you don’t have to summon Blaidd to complete his questline. In fact, you don’t need to bring down wolf knight at all to complete his request.
I certainly didn’t have his assistance the first time around. But I was still able to complete his request.
Once you’re ready, head towards the purple rift to challenge Bloodhound Knight Darriwill.
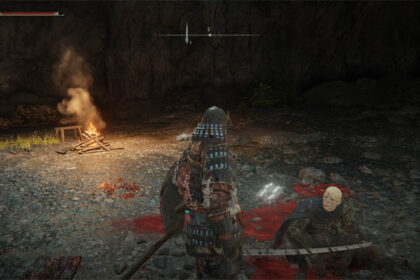
Bloodhound Knight Darriwill is fast, relentless, and can quickly stack the bleed status ailment on you, even while blocking. As a result, you’ll receive a hemorrhage at maximum bleed build-up, which takes a large chunk of your health based on your maximum hp.
Darriwill carries a massive curved greatsword and roams the arena like a savage hunter. He also has the ability to teleport in front of you instantly.
However, Darriwill has long recovery times after his attacks which can you punish. His patterns aren’t that unpredictable and are easy to dodge. Though, as mentioned, he’s fast, so execution will take some practice.
Punish him after he uses his attack where he drags his greatsword. There’s a delay between the start and the attack, so don’t panic dodge. Dodge his swing, then punish his long recovery.
Against his attack where he swings three times in a row, the first is attack is the hardest to dodge because of how fast it appears. It almost isn’t telegraph. However, the second and third swing has a long delay between them, so you should aim to dodge that.
You can attack 1-2 times before getting ready to dodge. Then, there’s a delayed sweeping attack after he slams his greatsword down after the third swing. If you’re feeling aggressive, aim to guard, then counterattack this hit to deplete his invisible stagger bar.
Otherwise, dodge that last sweeping strike, then punish.
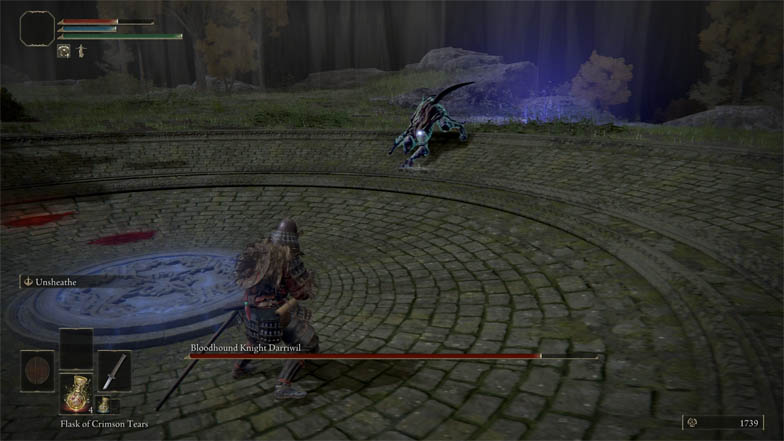
If you’re some distance away from him, watch out for his telegraphed animation to teleport. He’ll use the triple slash combo with the delayed swing again.
But this time, there’s a delay to his first attack after the teleportation. So account for this delay this time and evade the follow-up as usual.
He has an attack where he swings his sword and jumps away from you. Don’t chase after him and heal up. Most likely, he won’t teleport but instead gallop towards you.
After bringing him down to a certain threshold, Bloodhound Knight Darriwill starts incorporating his claw offhand to his offense.
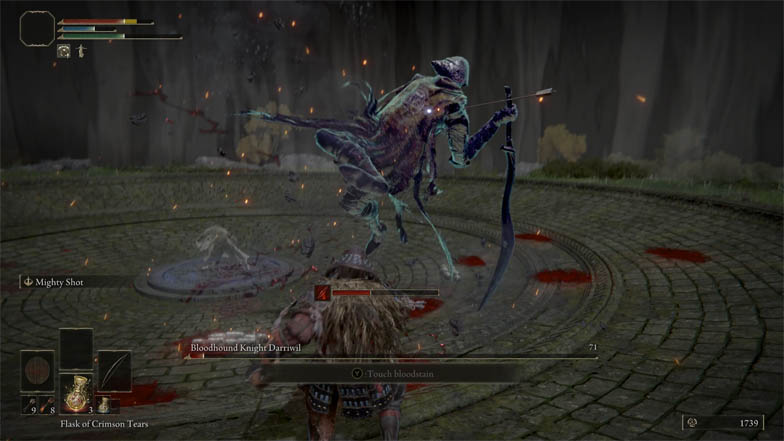
Watch out for the attack where he drags his claw towards you. It comes in two parts: first, he performs a rising slash with his slash, then, he slams his greatsword downwards.
Dodge away from his strike, then dodge towards him for the downward plunge. As usual, after using his greatsword, he’s left vulnerable. Perfect time to punish and end the fight.
But, of course, you don’t need to know how to defeat Bloodhound Knight Darriwill if you took the time to bring down wolf knight from the tower. Blaidd is such a force to be reckoned with, trivializing the fight.
For your reward, you’ll receive the Bloodhound’s Fang greatsword. It’s a curved greatsword that scales with both strength and dexterity, perfect for quality builds. It requires 18 strength and 17 dexterity to wield effectively.
Aside from that, it has a unique weapon skill called Bloodhound’s finesse. You can use the weapon skill to strike at your opponent while backflipping away from danger—an excellent weapon to balance offense and defense.
Finally, after defeating the Bloodhound Knight, you can talk to Blaidd near the Evergoal. He’ll thank you and reward you for your trouble.
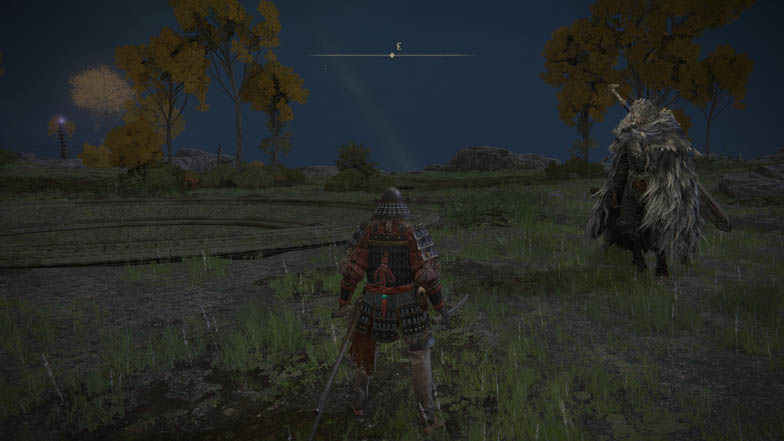
Additionally, he tells you to seek a large blacksmith in Raya Lucaria to repay his favor. This marks the end of the first part of his questline, and I’m hoping to see more from his down the line—hoping for that sweet armor set!
Finally, you can return to merchant Kalé in the Church of Elleh to ask about Blaidd. There he’ll tell you a bit more about our new half-wolf friend.

