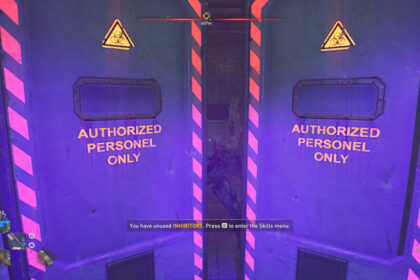
One of the most difficult nighttime encounters in Dying Light 2 is the GRE anomaly. The game describes GRE anomalies as a corrupted lair that can reanimate the dead inside it. It is also home to the dangerous and agile Revenant.
The Revenant acts as a miniboss controlling the area. It can leap away from your offense, spit poisonous projectiles, and summon infected, virals included. The fight is frustrating if you’re not prepared to deal with its hit-and-run tactic.
Don’t worry, with a bit of preparation and practice you’ll know how to defeat the Revenant as well. It’s a challenging task, but the rewards you get from the fight are more than worth it.
Where to Find the Revenant
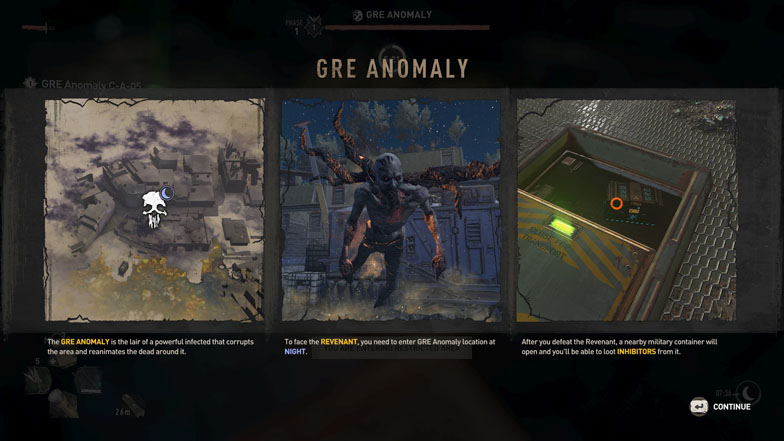
Revenants can be found lurking within their lair at GRE anomaly zones. GRE anomalies use a skull icon on the map, and you can enter them any time. However, the Revenant only spawns at night time.
There are twelve in total scattered across Villedor. You can find the first three GRE anomalies in Old Villedor, while the other nine are at Central Loop.
All you have to do is wait in the area until nighttime to spawn it. Better yet, wait for the Revenant to spawn outside the site so you can get the drop on it.
How to Beat the Revenant
Prepare Your Equipment
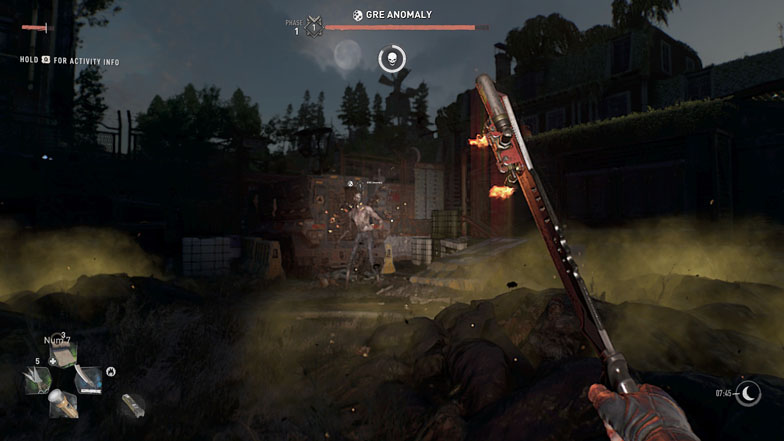
Before jumping into its lair, you want to take time to upgrade your weapon and craft a few items to defeat the Revenant.
Preferably use a one-handed weapon with fire mods attached to it. This is because one-handed weapons strike faster than two-handed weapons, which means you will get a few more hits on the Revenant before it leaps away. Also, it consumes less stamina, reserving your precious resource to chase after it quicker.
Revenants aren’t particularly weak against any element; even electricity doesn’t stun it in place. That’s why fire is the best choice to kill the Revenant. Fire mod’s damage over time effect helps deplete its health bar, and it’s handy against the swarm of common infected.
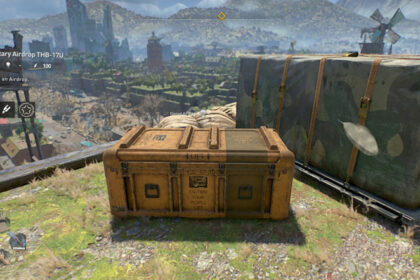
If you don’t have any strong weapons equipped, you can try looting a few military airdrops for a chance at artifact weapons. You can find military airdrop THB-17U early on in the game. You can also find military airdrop THB-22B nearby.
Save up a few military medkits for this fight. You need to be able to heal in a pinch before the fast-moving virals, or the Revenant’s spit attacks can interrupt you. Likewise, craft a few throwing daggers so you can interrupt the Revenant’s projectile.
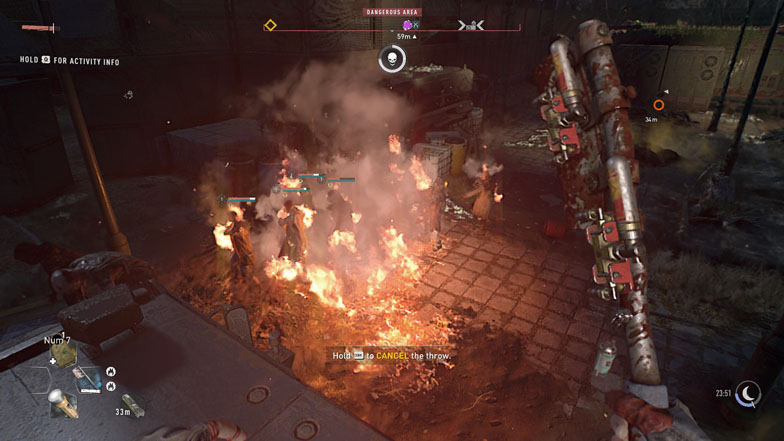
Molotovs are also great to whittle down the common infected. Avoid using loud explosives like grenades that could attract infected from outside the area.
Boosters can also enhance your abilities in a fight. I use both the Regeneration Booster and the Muscle booster often. The former passively regenerate health so you can shrug off the weaker attacks while chasing it. And the latter lets you hit harder when you do reach it.
Arrows also help to attack the Revenant from afar. But I find that keeping yourself mobile is the best way to defeat the Revenant. You have to stay on the move to avoid the pesky virals.
Exploit the Environment
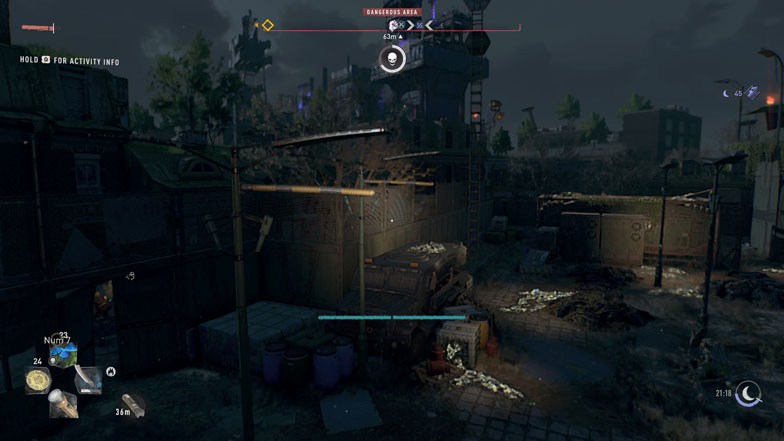
The key to beating the Revenant is scouting out the GRE anomaly zone beforehand. Each lair is unique with its own set of obstacle challenges and environmental hazards.
Familiarize yourself with the location and how to traverse inside the zone effectively. For example, the site in GRE anomaly C-A-01, located in Quarry End, has streetlamps in the center of the arena. You can use these to efficiently jump from one military container to another, avoiding the dangerous street level.
If you’re having a hard time keeping up with the Revenant, you may want to increase your stamina first.
Often, there are gas canisters and opportunity weapons scattered around. It’s good practice to know their spots so you can use them to defeat the Revenant.
Fighting the GRE Anomaly
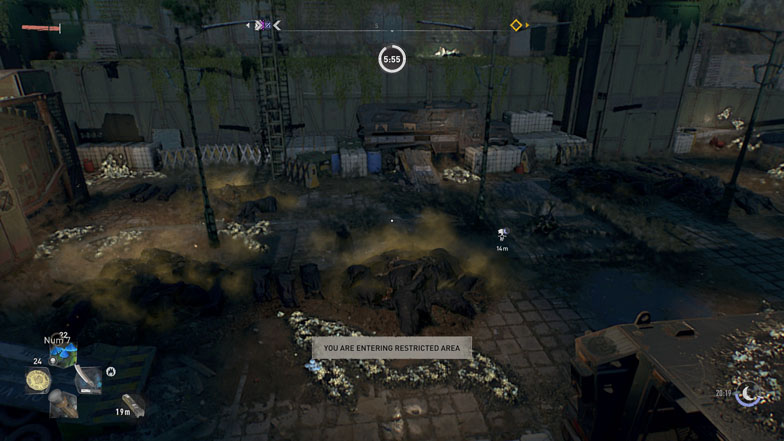
For starters, don’t start the encounter against the Revenant too close to morning. The Revenant will ditch you and crawl back inside the military container when the sun comes up. Unfortunately, I had to learn about this the hard way.
Next, don’t rush into the zone without knowing the location of your target.
Usually, the Revenant would be jumping from container to container. Use this information to find a high vantage point near one of the containers. When it is under you, take a Muscle Booster and either Air Kick or Ground Pound from above.
You can land a few free hits plus the additional from the landing attack before it has a chance to react. When it leaps away, immediately chase after it. Remember to throw a dagger to interrupt its projectile or block/deflect the toxic goo if you have that perk.
Avoid approaching it directly from the street. It could trigger a deadly attack where it sends a wave of toxic bile at you if you do. Moreover, the tide is fast and wide enough that you might get hit even if you dodge on the side.
The Revenant has three phases giving it new moves and enhanced stats. Check the number beside its health bar during the fight. When you bring its health low enough to the second phase, that’s when it starts reanimating the dead around it.
Use either a propane tank or a Molotov to deal with the swarm of common infected. They’re easy to avoid as long as you stay on the move and keep off street level. Virals, on the other hand, will cause some trouble.
If you scouted the area ahead of time, you should know the locations of the different opportunity weapons. The spears are incredibly useful because they can deal lethal damage to virals in one shot.
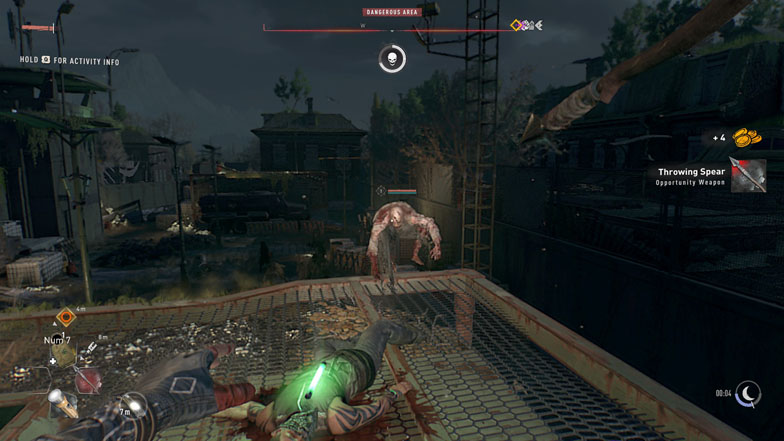
Whenever the Revenant leaps from one side to another, and you can’t reach it on time, you can opt to kill the virals instead. Doing so ensures that nothing will bother you when you finally catch the Revenant.
Get in as many hits as possible on the Revenant. Be ready to dodge its counteract because it deals a sizable amount of damage; it will either jump, ground pound, or slash back. However, if you manage to Perfect Dodge, you can sneak in a hit or two before it leaps away.
The Revenant enters a rage state during its third and final phase. You really don’t want to approach it from street level because it’s wider projectiles. There’s still its infected allies waiting for you to come down.
At this point, using brute force is a tempting tactic to kill the Revenant. But its attacks can surprise you, so don’t attempt to tank its hits unless you have invested into your health and took a defensive boost.
Keep dodging and weaving around its attacks as usual. This time don’t feel bad if you have duck out earlier. If you don’t, you’ll take a massive hit to your health, and the ravaging virals might finish you off.
Stay careful, stay mobile, and you’ll eventually defeat the Revenant.
Rewards for Defeating the Revenant
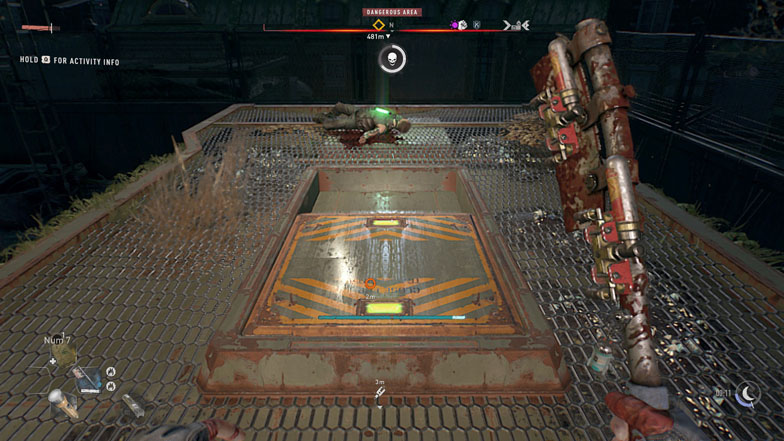
Even after the powerful Revenant unceremoniously dies and limps over, the infected it summoned will still linger on. Kill the remaining infected, so you’re free to loot the area.
You can find your reward waiting for you inside the military container. Unlock the hatch from the top and drop down inside. There’s a special cache with good gear, valuables, and, most importantly, two inhibitors to increase your stats.
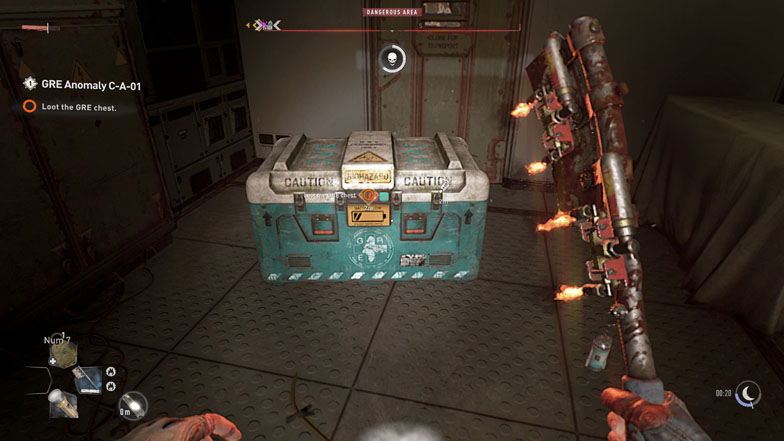
Completing GRE anomalies is one of the best ways to find more inhibitors in Dying Light 2.
The first time you defeat the Revenant, you’ll be awarded the “It Wasn’t That Hard, Was It?” achievement. For finding and beating all GRE anomalies in the game, you’ll get the “Revenants” achievement.
Keep finding those achievements and you might stand a chance to win on the official DiamondLobby trophy race!

