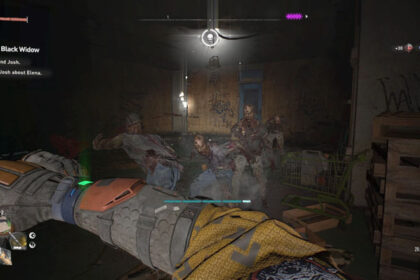
Let’s Waltz is probably one of the most iconic quests in Dying Light 2. It fills many gaps in the story and has a lot of thrilling moments. It is a relatively short one, but you can get lost or have troubles in certain areas of the quest.
Let’s Waltz starts when Aitor calls you, and you relay all the information from Hakon’s confession. From here, there will be some tricky parkour detours you have to take to get to specific objectives during the main story quest.
This guide will walk you through how to finish Let’s Waltz in Dying Light 2 and finally try to get Aiden to the Fish Eye.
Story Recap
After talking to Hakon when he gets shot by the sniper, you gain all this information about Lazarus’s murder and how Waltz influenced or forced Hakon to do his dirty job for him.
You will need to find the sniper and make sure the ghost is clear. After getting through the sniper and letting the sniper escape, you will get a call from Aitor, and Let’s Waltz will finally start.
There were a lot of decisions made where you have to side with a person or a faction if you have made it this far. However, you learn more about the 3rd faction, the Renegades, where your previous decisions do not affect this point of the story.
Getting to the Car Dynamo Factory
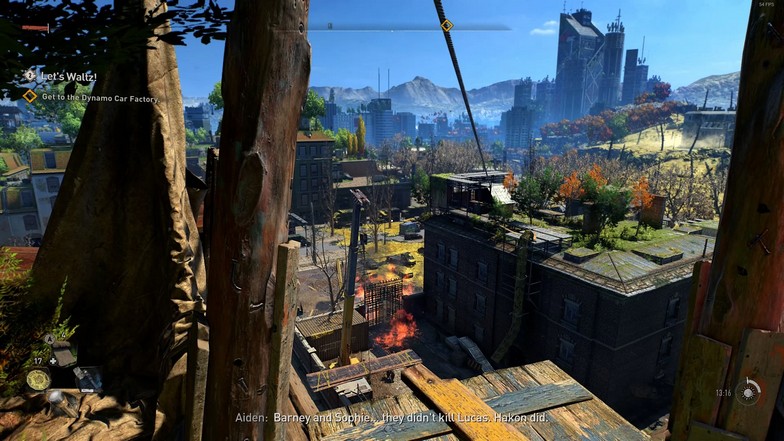
To start finishing Let’s Waltz, you need to get to the Dynamo Car Factory where Hakon and Waltz were supposed to meet. From the rooftop where you encountered the sniper, the destination is around 350 meters away from your current location.
You can proceed normally to the quest or finish some side quests, activities or get some more Inhibitors to increase your stamina. If it is nighttime, you can do some activities like defeating revenants or wait until the day comes. It will be much harder to complete the quest during the night, and this quest can last for about 30 to 40 minutes.

After making your way to the entrance, the button to open the gates will not work. You will have to find another way, which is pretty cliché at this point.
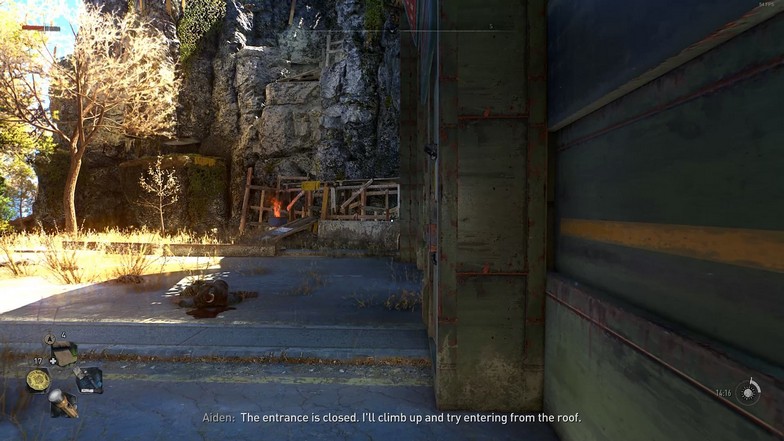
Go to the left side of the gates, and you will see some construction ahead. Climb up the wooden planks and jump up to the ledge in front of you.
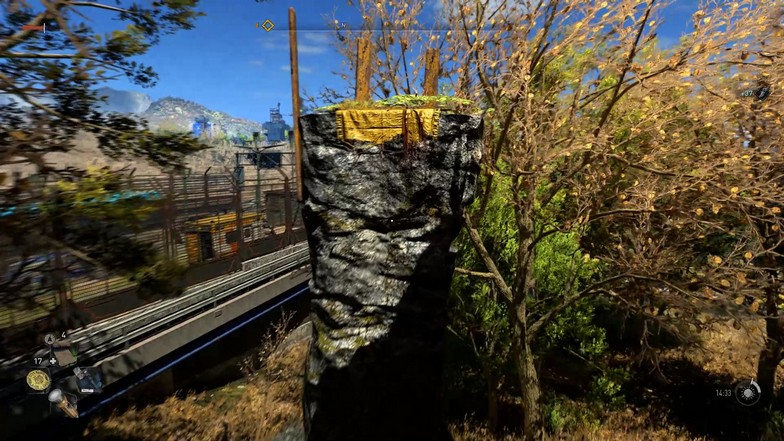
After reaching the end, you will see a tall rock. Avoid the other ledges that look like the correct path and go up to this rock. Those yellow mats usually indicate the correct way when it comes to the main quest. Once you are up the rock, turn back and go to the next highest rock you can stand on.
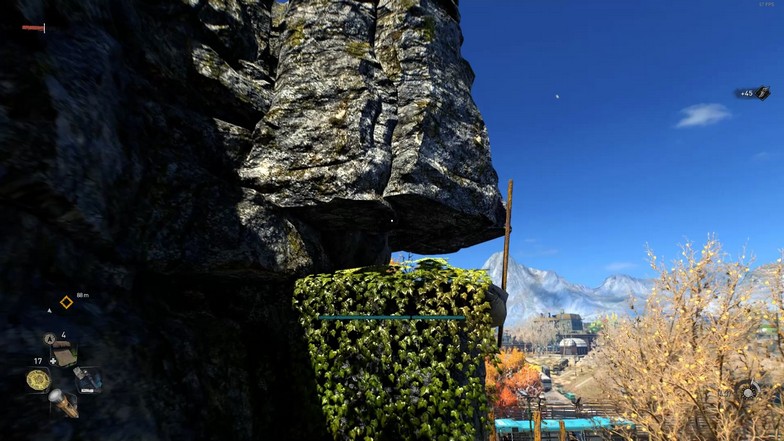
Follow the path and jump on the wall seen in the image above. You can climb up through this, and you will automatically crouch to get up—no need to hang on the ledge and swing.
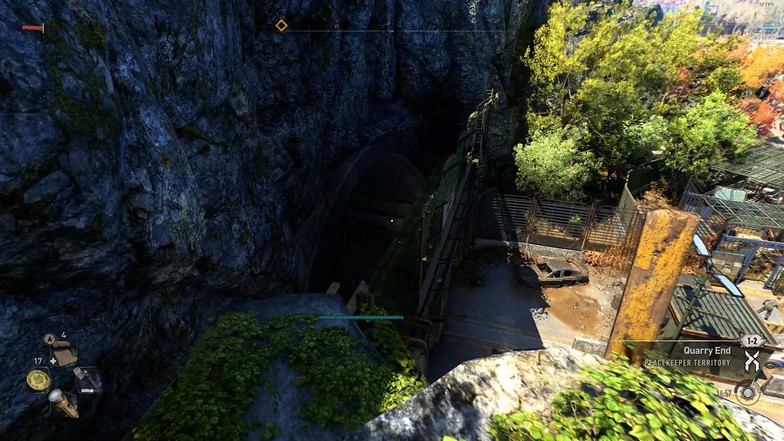
The path will be linear from here, and keep following the path until you reach the end. Drop down to the corner of the closed gates and open the generator.
Defeating the Charger
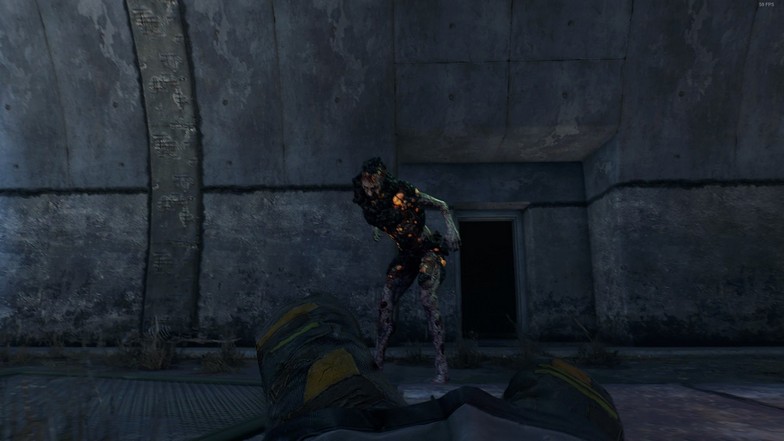
After trying to interact with the generator, a Charger will destroy the door near you and attack you. It might be your first encounter with this special monster, but the Charger is easy to defeat because it only has one attack.
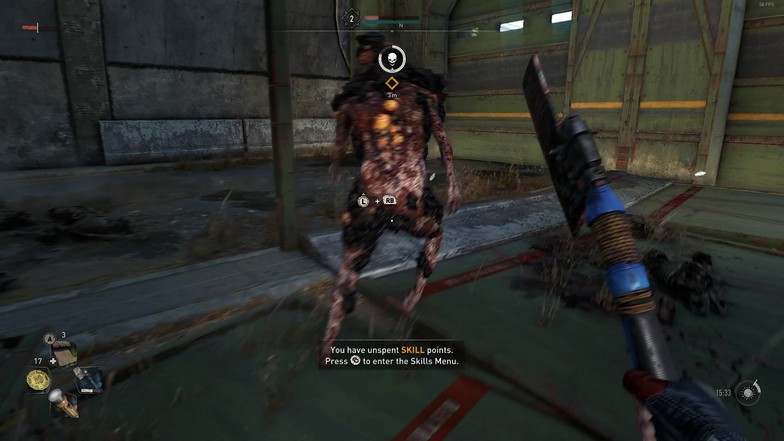
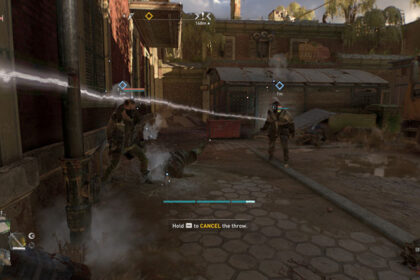
The Charger will start to charge at you, but it can never change directions once it starts to charge. It will be easy to dodge as long as you aren’t too close to it. The best way to deal with the Charger is to bait his charges to obstacles like poles and walls.
The Charger will stagger after hitting these obstacles with its charge, and you can get some free hits. If you have noticed the Charger’s charred figure, it is because of its rock-like tumor growing out of its body.
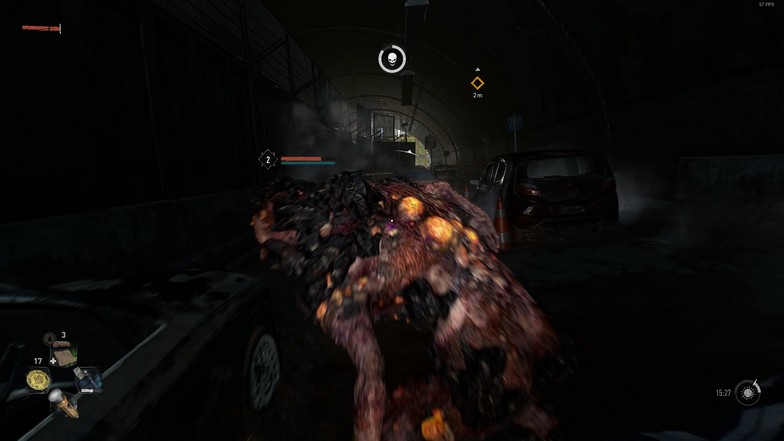
These parts of the Chargers body will be immune to attack, and it is best to focus on its back where its body is clearly exposed.
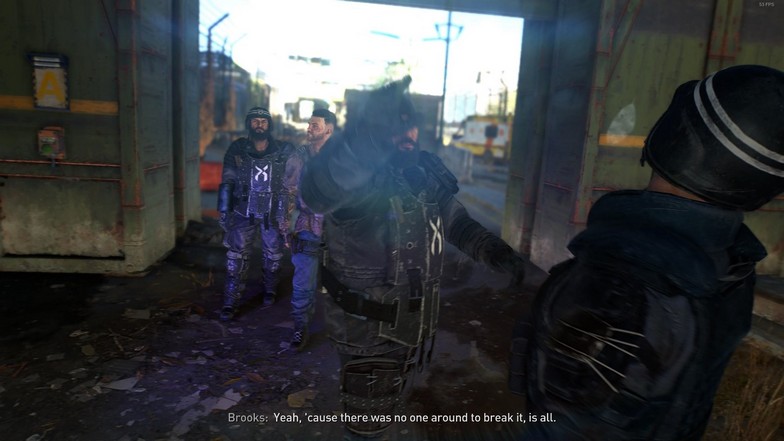
After dealing with the Charger, you can open the generator, and it will open the gates for Aitor and the other Peacekeepers. The generator will suddenly stop working, and Aitor will tell you to fix it from the source.
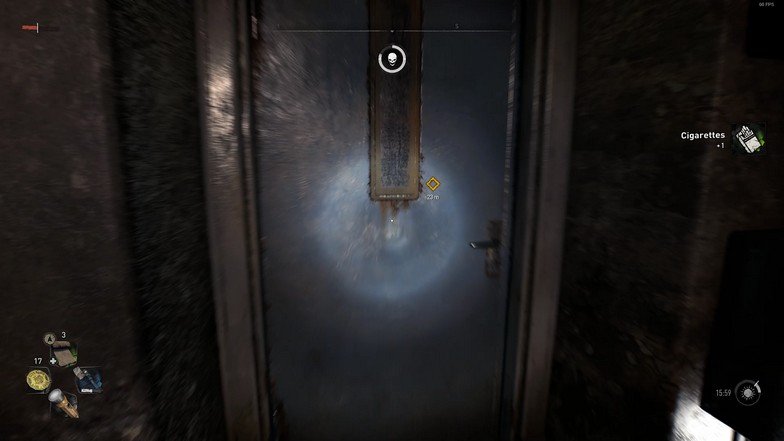
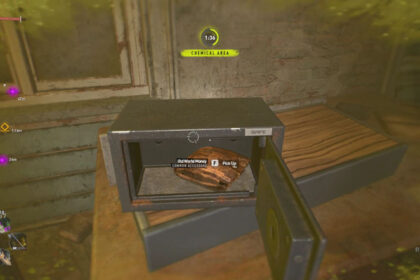
Loot the area first and proceed to the end of the tunnel where the objective marker is located. Open the door on the left and follow the path. You will see a tiny vent you can squeeze through and parkour all the way up until you reach the power source.
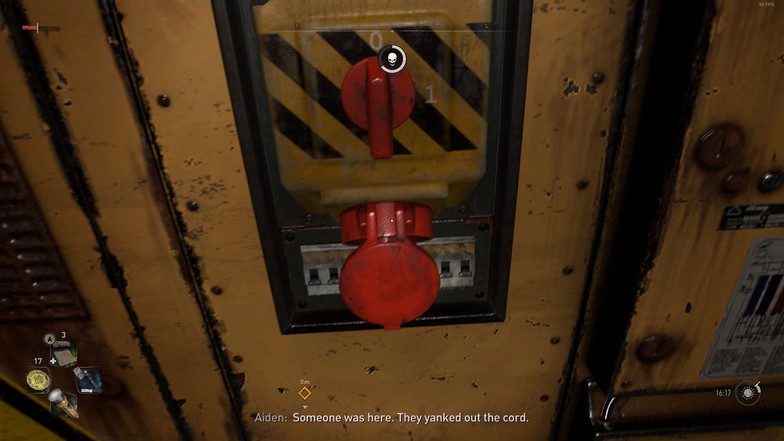
Plug the cable in to restore the power and make your way out. The path is also linear and keeps your eye for vents you can crawl into.
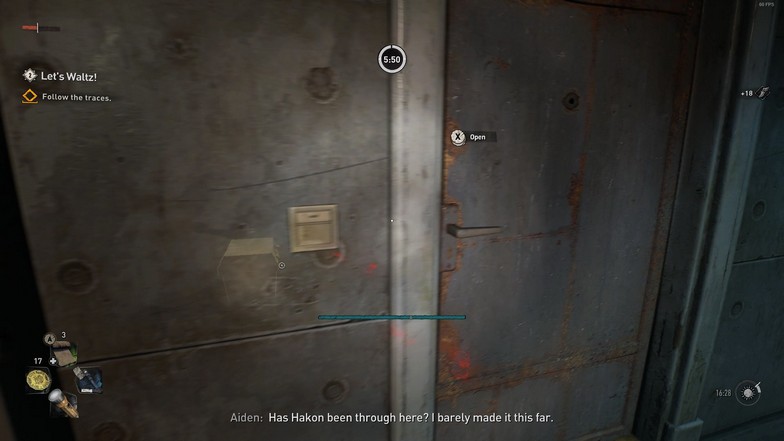
Aiden was able to notice that the power source was unplugged recently by someone nearby. You can use your survivor senses to track the footsteps, which will lead you back to the tunnel.
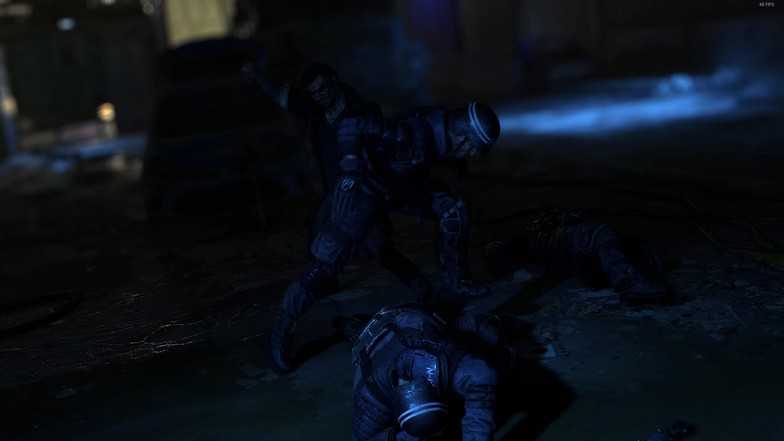
After getting back to the tunnel, you will see a cutscene where Aitor and the Peacekeepers were able to capture Waltz. However, he turns berserk and knocks everyone out, including Aiden.
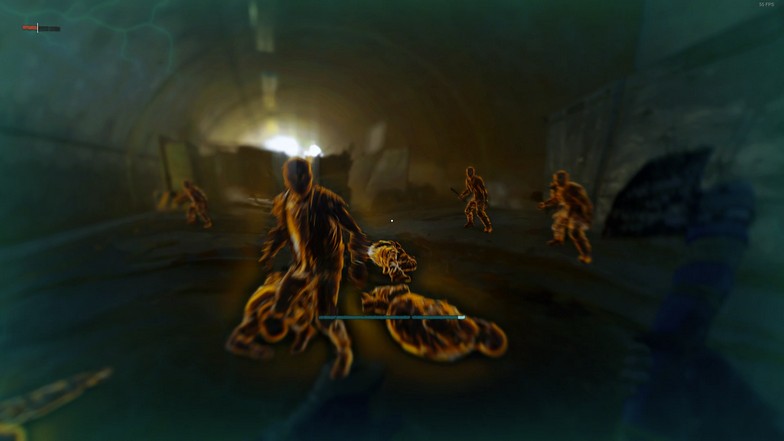
After regaining consciousness, you will be greeted by five Renegades. Once you start fighting them, Aiden will trigger his berserk form, which you will learn more about after progressing through the story. Rip the Renegades apart, and you will start your pursuit against Waltz.
Going to the Car Factory
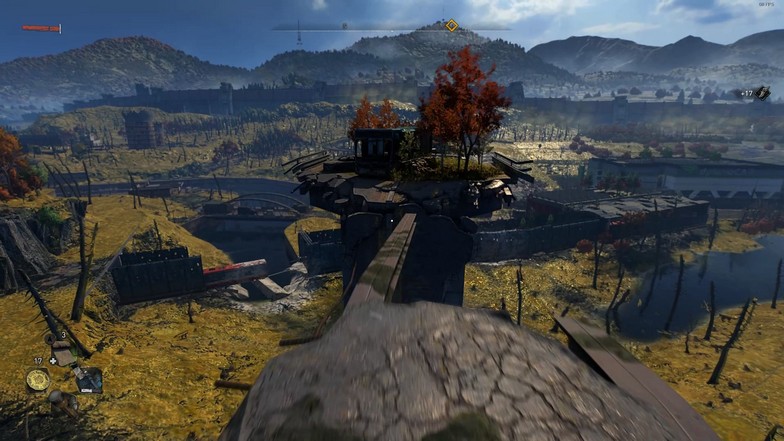
Follow the other end of the tunnel by following the objective marker—Parkour your way through the broken bridge. Use your survivor senses to check for loot on each location before you jump, and you will get some much-needed resources along the way.

Once you reach the end of the bridge with the rope, climb on it and work your way slowly towards the end. It is worth noting that this isn’t a zipline. You cannot slide all the way, and you will fall down if you press jump.
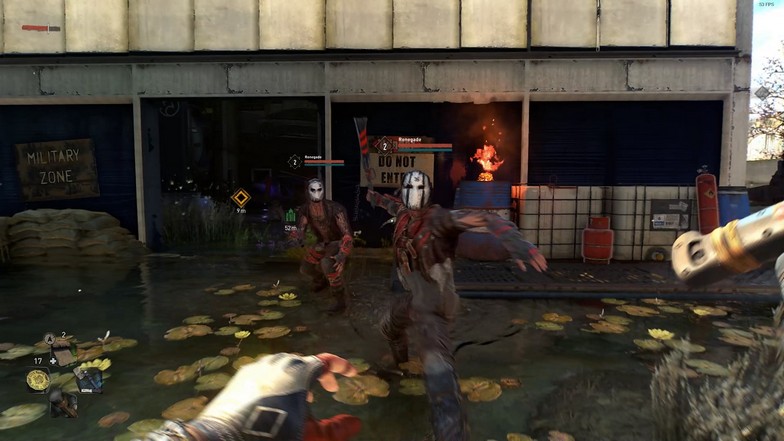
Follow the objective marker and go to the car factory. You will fight around eight Renegades in the area, but you can make use of the propane tanks nearby to deal with them easily.
There are also some throwable spears inside. They can instantly kill an enemy with a perfect hit, but you have to work your way to get inside because these enemies will be smothering you.
Pursuing Waltz
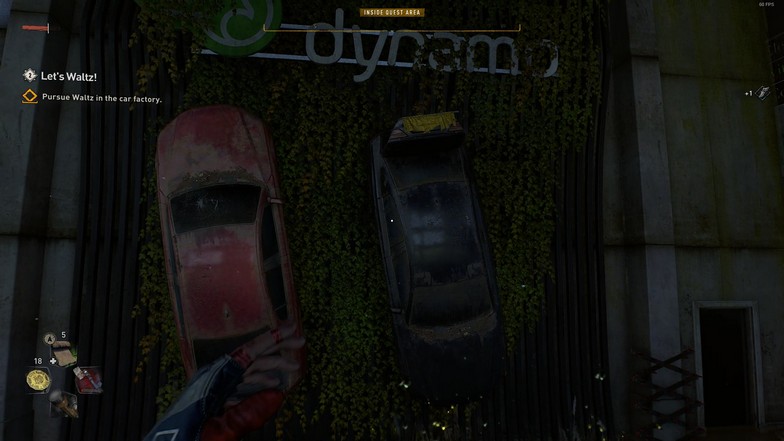
After dealing with the Renegades, go inside the car factory and look for the car hanging on the wall. Hang on the black hanging vehicle and look for the pole hanging on the ceiling.
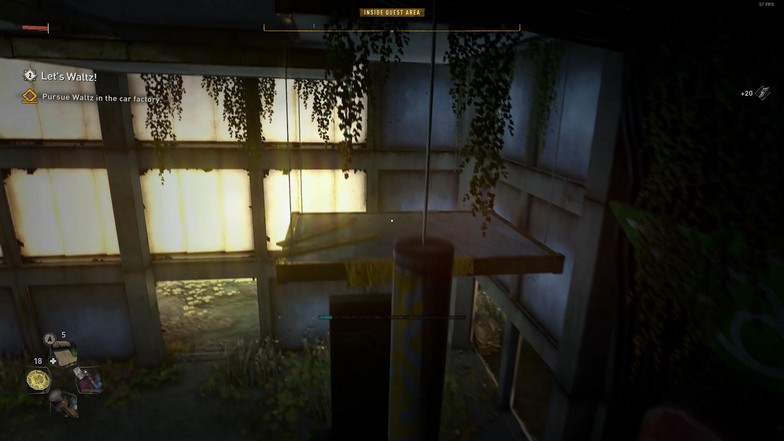
Jump to the nearest one and work your way towards the nearest platform near the cars.
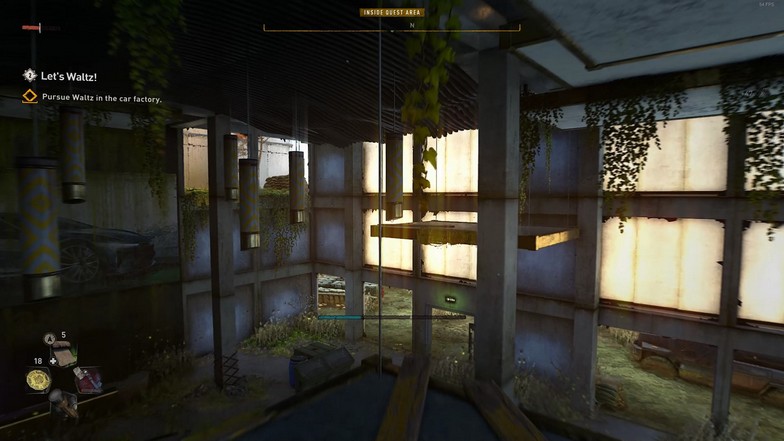
Use the same poles hanging on the ceiling to get to the next platform. Keep going from pole to pole until you reach the hole on the other side of the wall.
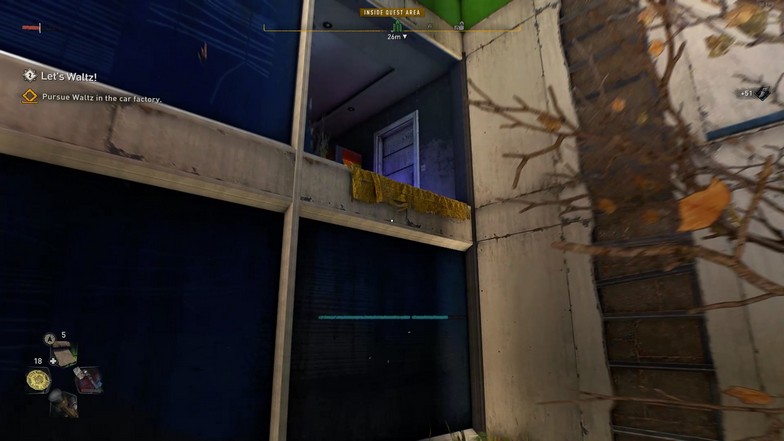
Follow the path and jump up to the nearby room. There will be three Renegades in this area. You can either deal with them or go past them.
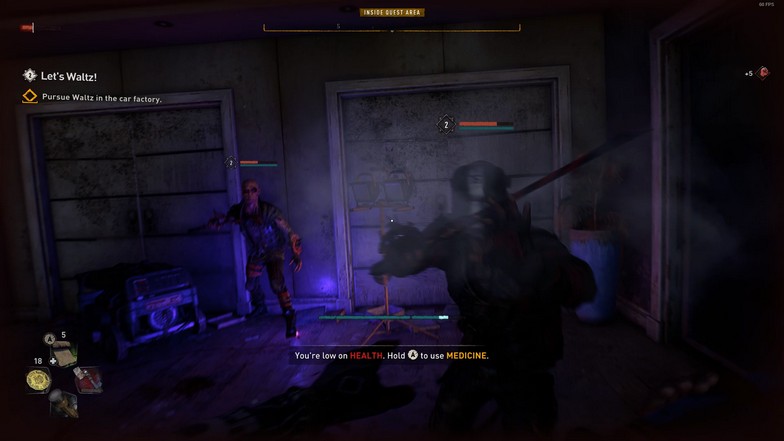
Use your survivor senses to track Waltz’s footsteps, and you will eventually reach the control room.
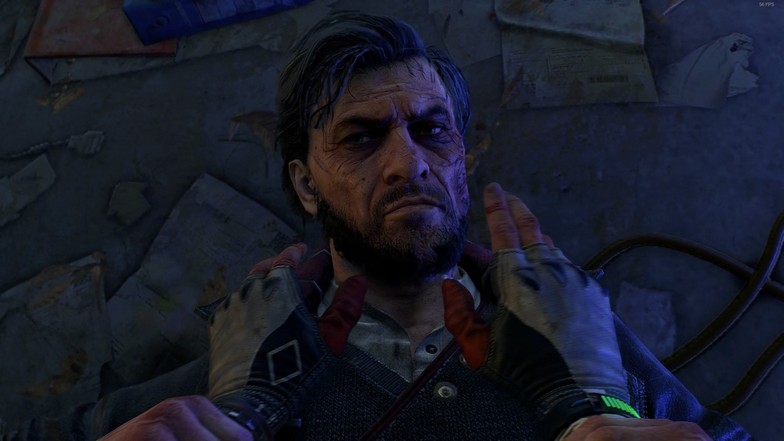
Once you reach the control room, you will enter a cutscene, and you will have a glimpse of what Waltz is planning.
Escaping Waltz
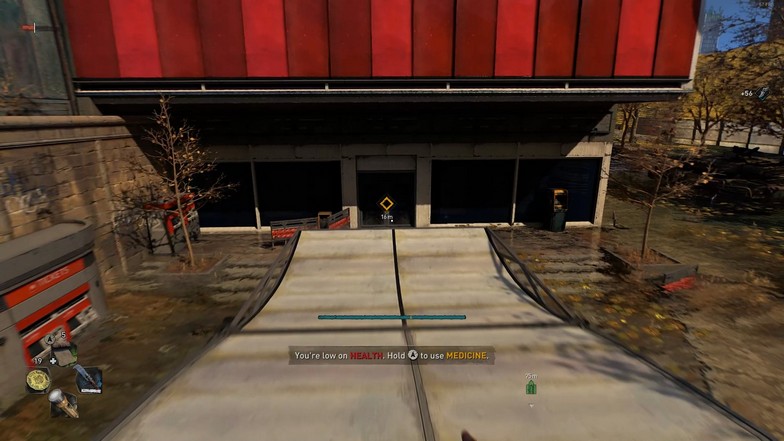
After the cutscene, you will have the sniper, who shot Hakon and Waltz, help you escape from Waltz. However, after taking a shot from the sniper, Waltz transforms into a deranged monster who will kill you instantly once he gets near you.
This chase will make your heart race, but the path to your escape will be completely linear as long as you follow the sniper helping you. Keep following the objective markers and forget about Waltz completely.
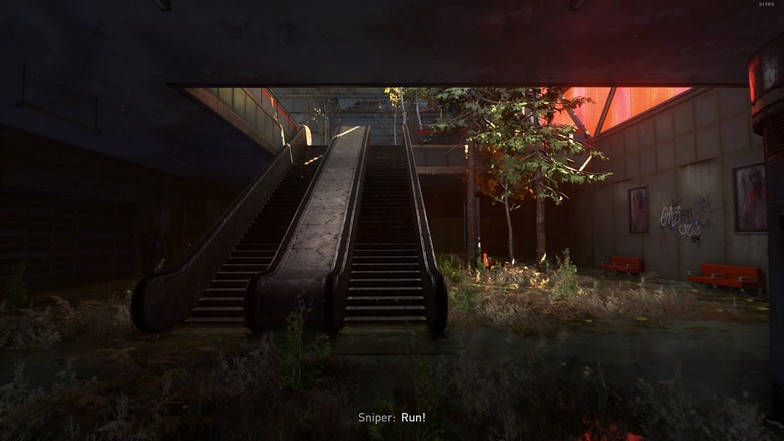
Parkour your way to the door and jump from train to train until you see the sniper. Keep following her until you reach the underground tunnel.
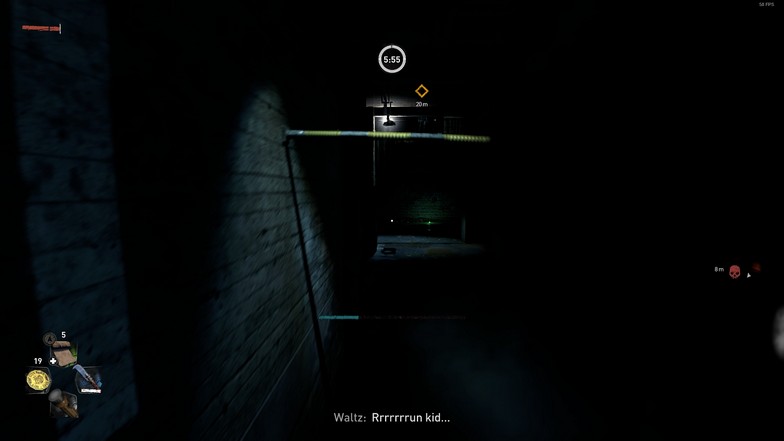
Keep following the objective markers and keep your eye for monkey bars and jumps you can easily do while running.
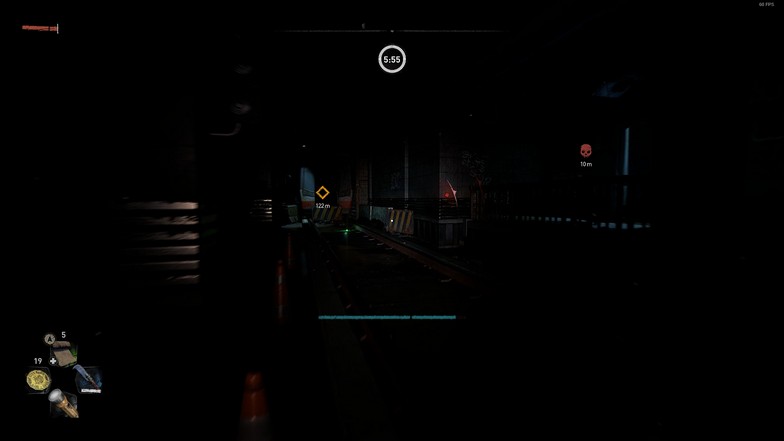
Waltz will continuously surprise you with entries, but as mentioned before, keep ignoring him and follow the sniper. Waltz will run the same speed as you, and if you don’t look behind, he will get left behind.
You will gain an edge on him after going through obstacles and jumping from ledge to ledge, and running from train to train.
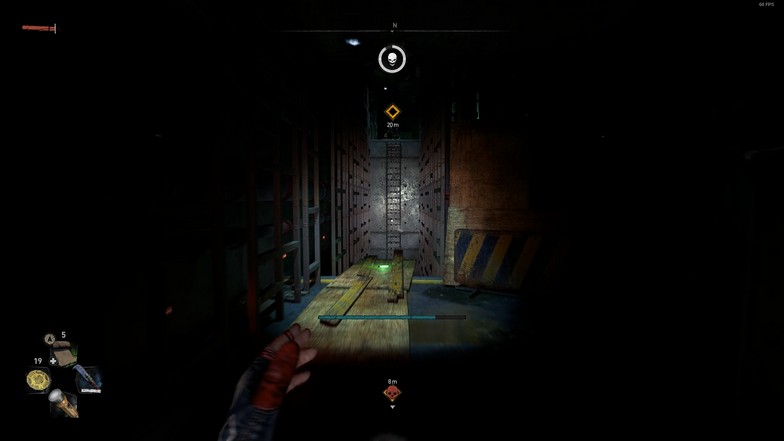
Once you reach the end with the second ladder, where it seems like Waltz is creeping up on you (perfect run, but Waltz is just 8 meters behind), jump towards the ladder, and it will trigger a cutscene.
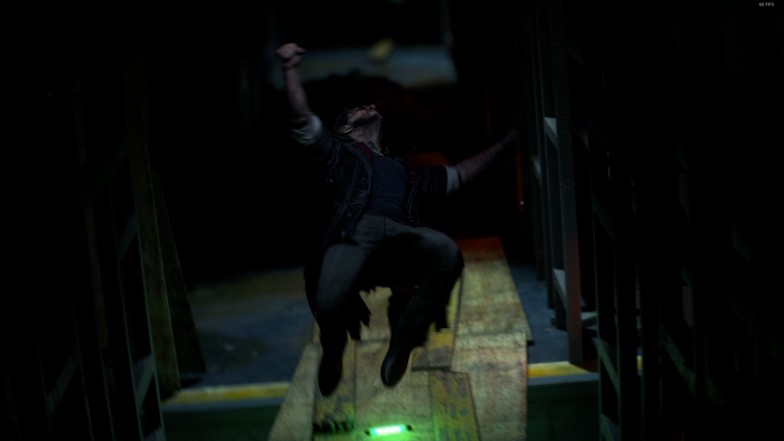
The sniper will help you out and bring Waltz back down to the tunnel. Follow the sniper, and you will enter a few cutscenes and dialogues. You will learn a ton of information about the story, including who the sniper is and even Dylan’s (person who gave you the GRE key) connection with the sniper.

