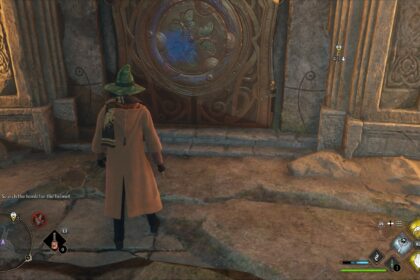
Lockpicking doors isn’t possible in Hogwarts Legacy. You are a wizard. Your skill set isn’t cut out for mechanical lockpicking.
You’ll be using spells instead to unlock these doors throughout the whole game.
There are countless locks filled with rewards, quest items, and collectibles.
Learning the lockpicking spell fast is crucial. You want to avoid going back and forth to unlock these doors.
The guide will be long. Unlocking the lockpicking spell involves collecting Demiguise Statues or Demiguise Moons.
We will show you all these Demiguise Statues or Demiguise Moons by location.
Unlocking Alohomora
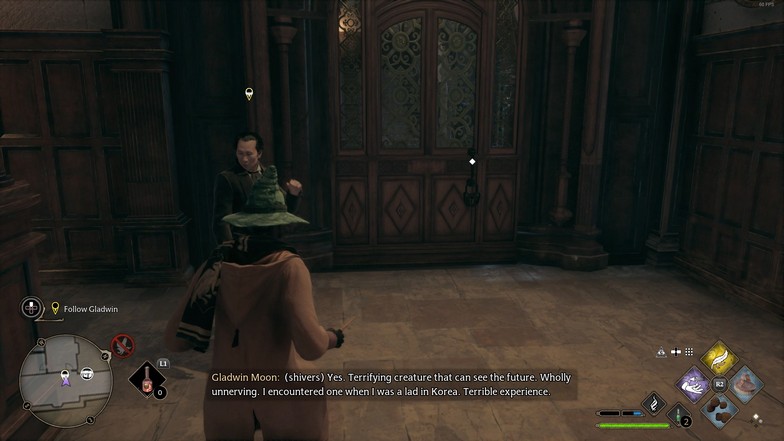
Alohomora is the spell needed for lockpicking the doors. It is part of the main storyline, a bit after setting up your Room of Requirement.
The quest is ‘The Caretaker’s Lunar Lament.’ Technically, it isn’t part of the main storyline, but it is an important skill to learn.
Other main storyline includes ‘The Helm of Urtkot‘ and ‘Beasts Class.’
The quest revolves around Gladwin Moon and the Demiguise Moon statues scattered around the map.
Gladwin will immediately teach you the Alohomora spell and lockpick the door in front of you.
Gladwin will now ask you to sneak past the area using the stealth spell to get the Demiguise Moon and return it to Gladwin.
Lockpicking Doors
Lockpicking doors is tricky. You need to have a very calm hand when you are lockpicking doors.
The goal is to hold both the right and left analog sticks at a position where the gears on the lower-right corner shine green while the middle gears start rotating.
The right analog stick moves the outer circle while the left analog stick rotates the inner circle.
Once you find the sweet spot for each circle, you need to hold it for a couple of seconds to open the lock.
Alohomora II and Alohomora III
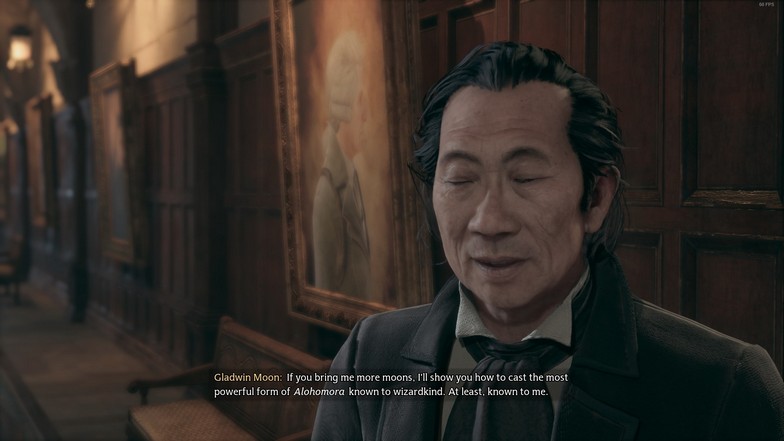
When you finish The Caretaker’s Lunar Lament quest, you’ll already be able to lockpick level 1 locks.
Talk to Gladwin Moon again. He will ask you to recover more Demiguise Moon statues for him.
Collecting all these Demiguise Moon statues will unlock the level 2 and 3 versions of Alohomora.
You’ll be able to lockpick level 2 locks with Alohomora II and level 3 locks with Alohomora III.
Alohomora II unlocks after collecting a total of 9 Demiguise Moon statues for Gladwin.
After collecting 9 Demiguise Moon statues and turning them over, you’ll get the next quest for Alohomora III.
The next quest requires a whopping 13 Demiguise Moon statues for Gladwin.
The first quest you finished doesn’t count. You would need 22 Demiguise Moon statues to unlock the highest lockpicking level.
Demiguise Moon Statue Locations
Important notes:
- You can only pick up Demiguise Moons when it is nighttime
- Revelio spells will detect the location of Demiguise Moons (the spell is also upgradeable with a talent point to increase the radius)
- Some Demiguise Moons are locked behind level 2 locks. You must grab the others first to learn Alohomora II to access them.
- A lot of these locations contain more than the Demiguise Moons. There are chests and bags filled with collectibles and gear. You might need a bigger gear inventory to grab them all in one go. You might need to visit the shop to sell items regularly
Hogwarts
Divination Classroom
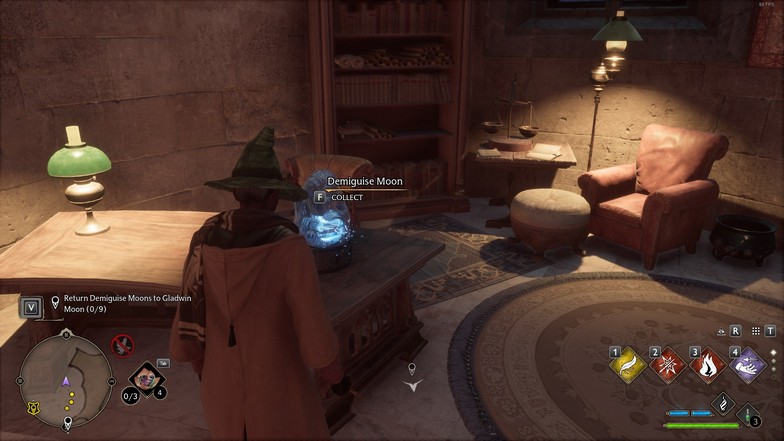
Go to the Divination Classroom Floo Flame and head up the ladder to the classroom. Near the professor’s table, you’ll see the Demiguise Moon.
Gryffindor Tower Toilets
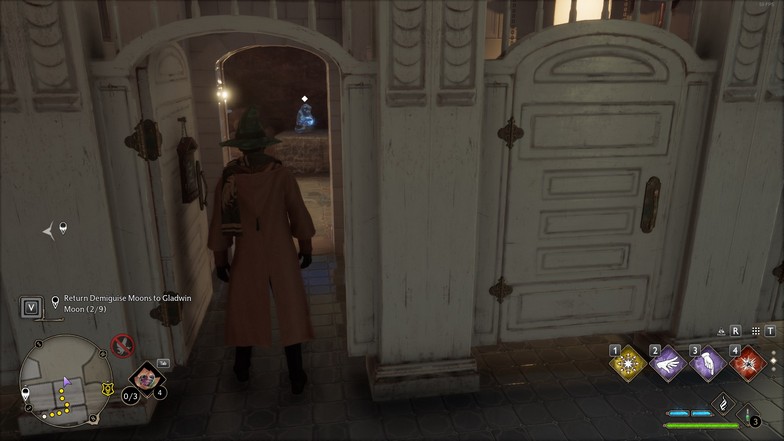
Fast travel to the Faculty Tower Floo Flame location. Head south, past Gladwin Moon, to the One-Eyed Witch’s Passage. Go down the spiral staircase and keep going down. Take a right when you see the big portrait with a magical room (there’s a Moth to a Frame puzzle here).
Go down the stairs and take a left. You’ll see a locked door on the left. Use Alohamora I to unlock it. Inside the third cubicle, you’ll see the Demiguise Moon immediately.
Professor Fig’s Classroom
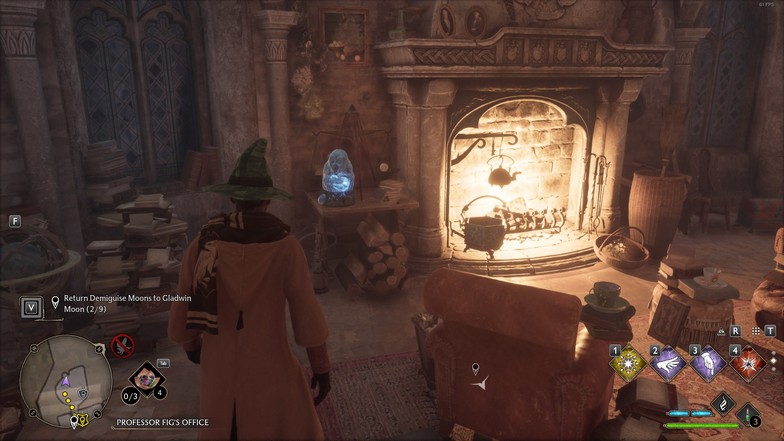
Go to Professor Fig’s Classroom through the Floo Flame. Head to his office or quarters, and the Demiguise Moon is located near the fireplace.
Muggle Studies Classroom
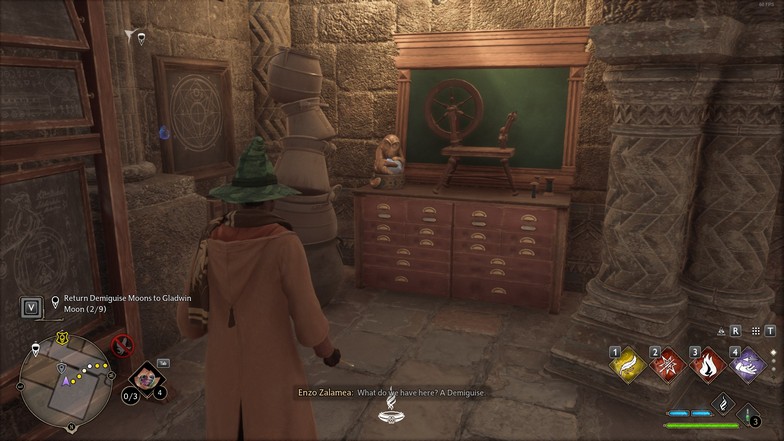
This one is a bit far from the Floo Flame. Go to the Bell Tower Courtyard Floo Flame and head towards the History of Magic classroom. Don’t go inside and look for the stairs going down.
Head down until you see the sleeping dragon. Open the locked door going into the Muggle Studies classroom, and you will see the Demiguise Moon on the desk.
Great Hall
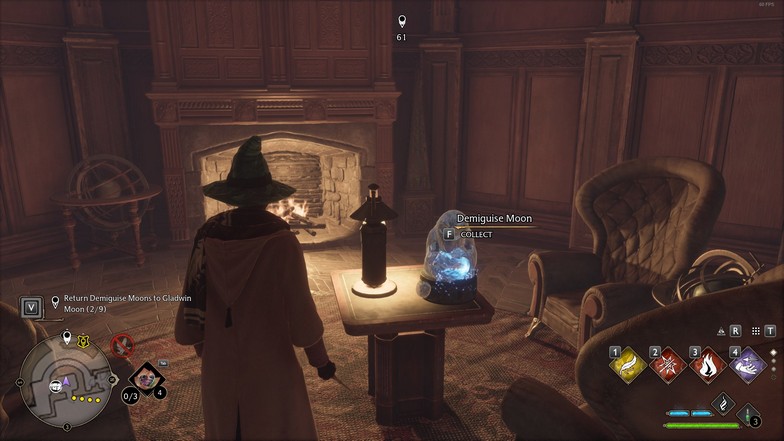
Go to the Great Hall Floo Flame. Go straight and hug the right side of the hall. You’ll see a locked door. Use Alohomora I, and you’ll find the Demiguise Moon inside the room.
Library
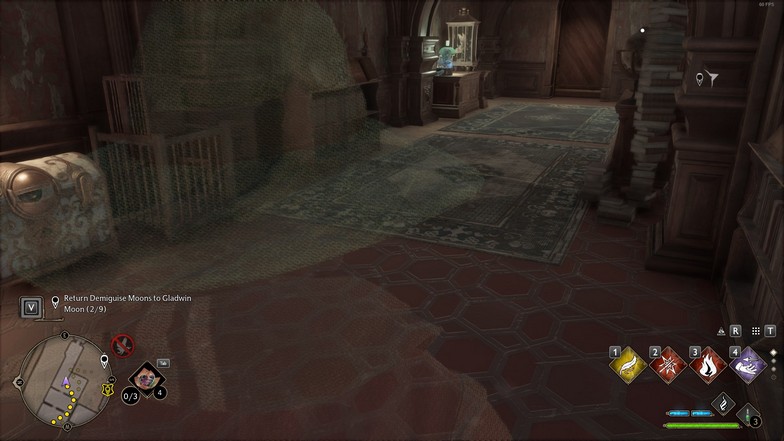
Fast travel to the Library Floo Flame and head towards the gated area in the library. Head down the stairs and follow the path forward.
Keep going until you see one of the mimic chests, and the Demiguise Moon will be on the counter.
Beasts Classroom – Alohomora II needed
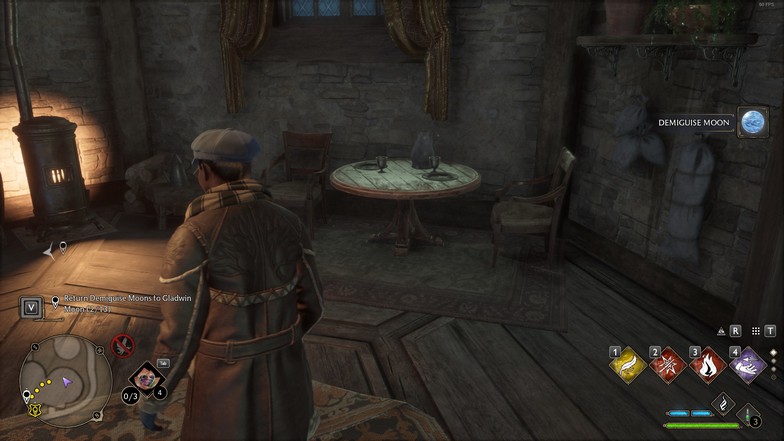
Fast travel to the Beasts Classroom Floo Flame. Go inside the hut and unlock the door with Alohomora II. The Demiguise Moon is just inside the hut.
Hogsmeade
Hogsmeade is a very small village, which makes Demiguise Moons easy to spot. You can cast Revelio outside and scan Demiguise Moons inside the houses.
Three Broomsticks
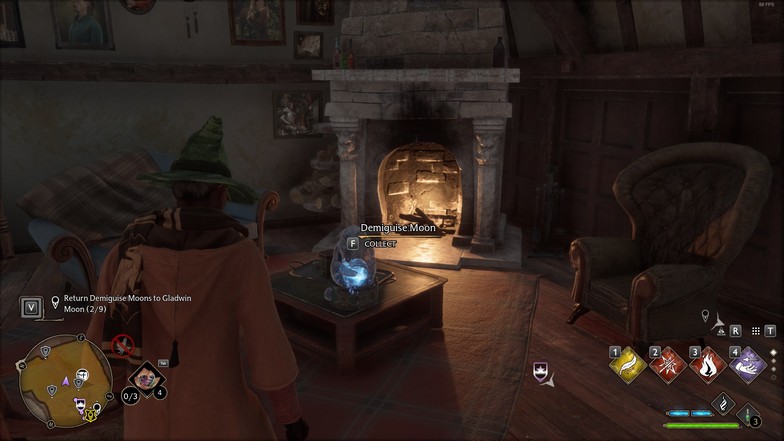
Enter the Three Broomsticks pub and head up the stairs. On the top floor, there is a locked door. Use Alohomora I and enter the room. The Demiguise Moon is on top of the table.
Hog’s Head
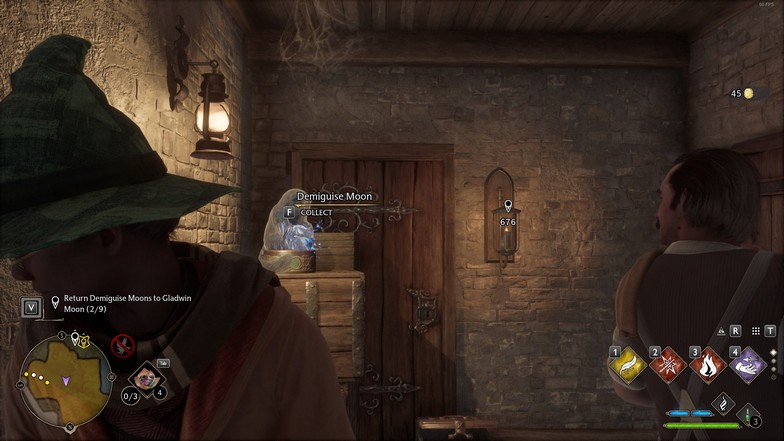
Go inside Hog’s Head and look for the bar counter. Go to the back of the bar counter and grab the Demiguise Moon on top of the boxes.
Hog’s Head 2 – Alohomora II needed
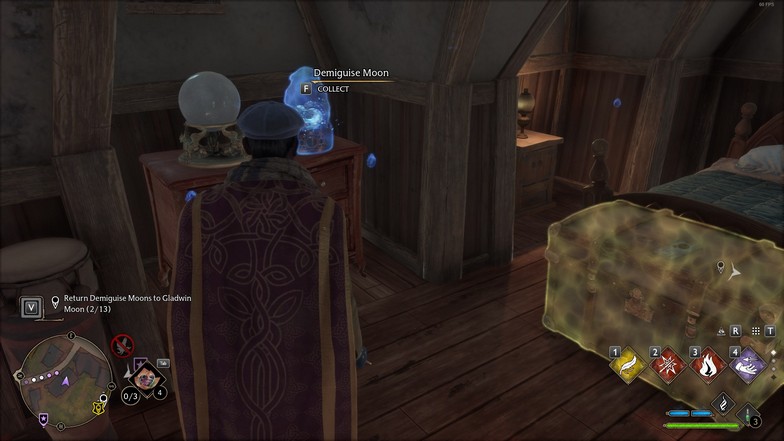
While standing outside Hog’s Head, look at the food stall outside. Walk straight and keep hugging the houses on the right. You’ll find a level 2 lock on one of the houses (not the one close to Hog’s Head).
Go inside and head up to the top floor. The Demiguise Moon is on top of the dresser.
Tomes and Scrolls
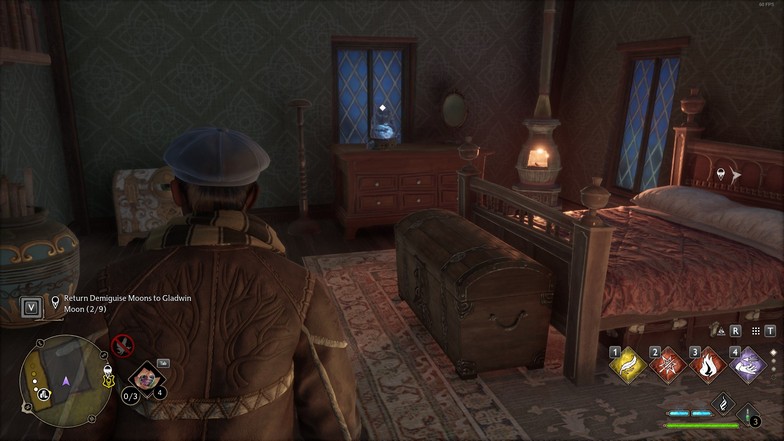
Inside the shop, go behind the counter to the shopkeeper’s room. The Demiguise Moon is found on top of the dresser.
Gladwrags Wizard Wear
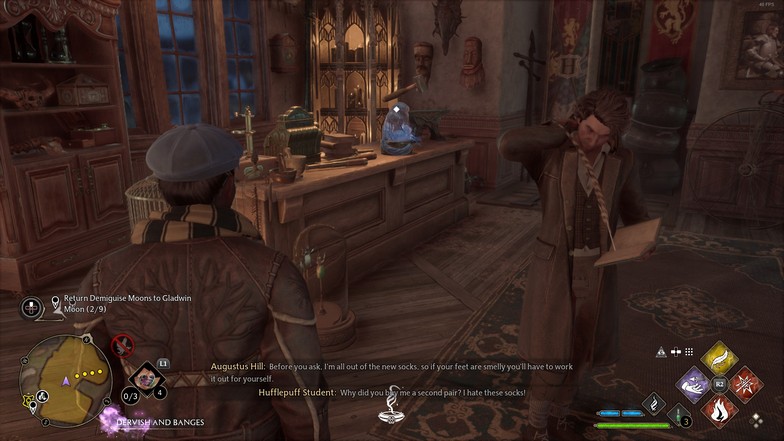
The Demiguise Moon is on top of one of the counters in the Gladwrags Wizard Wear shop.
J. Pippin’s Potions
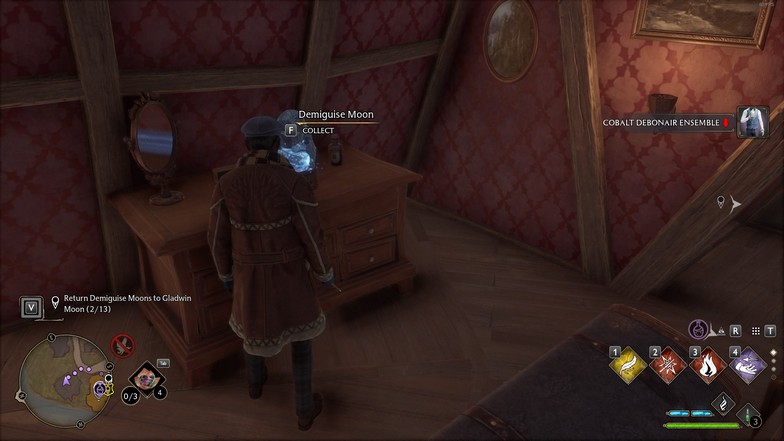
This one is not inside the J. Pippin’s Potions store. Go to the house next to J. Pippin’s Potions with a level 2 lock. Unlock the door and go inside. Head to the top floor and grab the Demiguise Moon on the counter.
House near Honeydukes
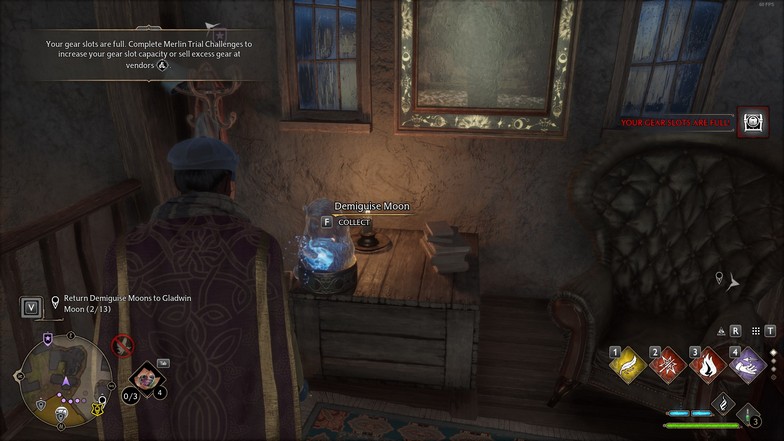
From Honeydukes, go to the right side until you see a dirt path going down. Go down the path and look to the right for a level 1 locked house.
Open the house, and the Demiguise Moon will be on the small table. Use Revelio while you are on the dirt path to help you locate the house.
Waterwheel House
Located north of Hogsmeade, you’ll see a big waterwheel with a broken house. There is a Demiguise Moon inside the broken house (use Revelio). There is also a Moth to a Frame puzzle here.
Highlands
The Highlands area is by far the easiest Demiguise Moons to locate. You can hover over key locations and see ‘0/1 Demiguise Statues’ under them.
The key locations are really small. You can cast Revelio and locate the Demiguise Moons easily.
Lower Hogsfield
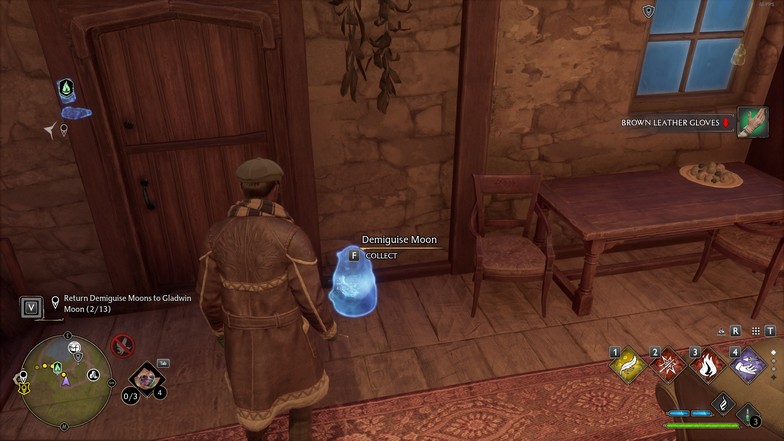
The first house to the right of the Floo Flame will contain the Demiguise Moon.
Arranshire
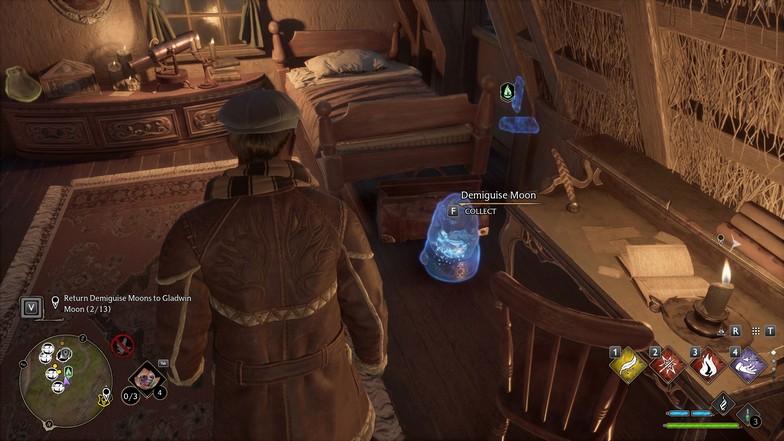
Fast travel to Arranshire’s Floo Flame and walk straight. Look for the level 1 locked house far ahead. The Demiguise Moon is between the bed and the table.
Brocburrow
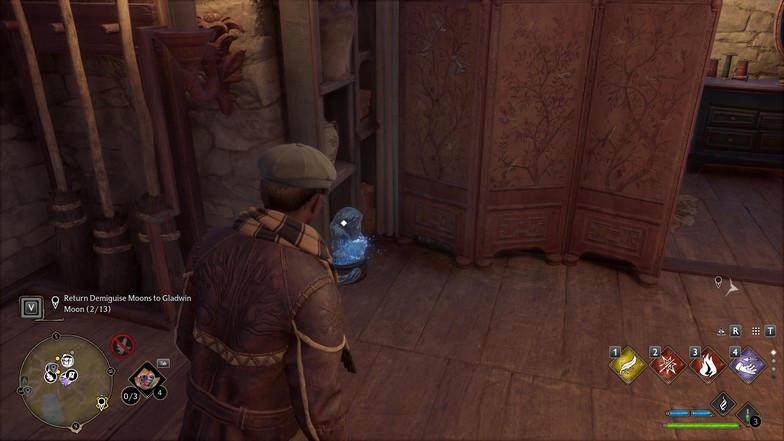
Head to the center of Brocburrow and look for the level 1 locked house. You can look at the minimap or use Revelio to scan the statue.
The Demiguise Moon is found under one of the shelves inside the house.
Keenbridge
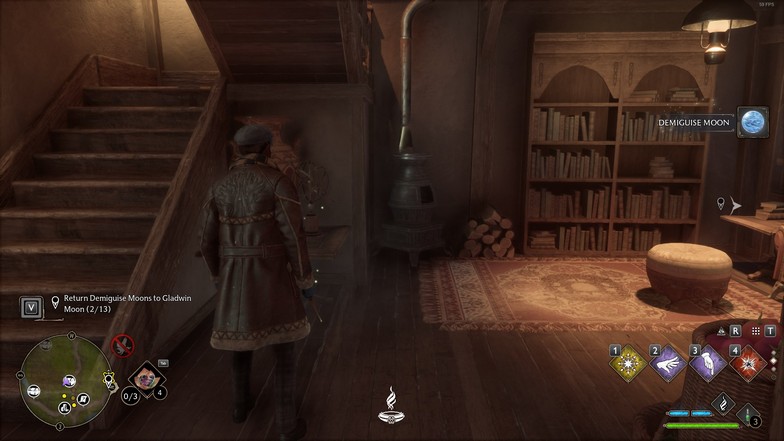
Travel to Keenbridge or use fast travel if you have unlocked it already. Go to the house with the pumpkins outside.
Go inside and grab the Demiguise Moon on the floor near the staircase.
Feldcroft – Alohomora II needed
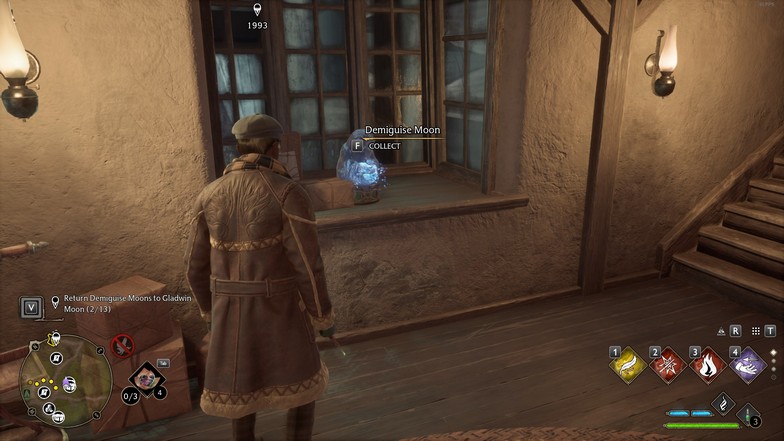
Fast travel or fly to Feldcroft. Walk straight from the Floo Flame and look for the house with a bunch of vines. Cast Alohomora on the level 2 lock and enter the house.
The Demiguise Moon is on the window.
Irondale
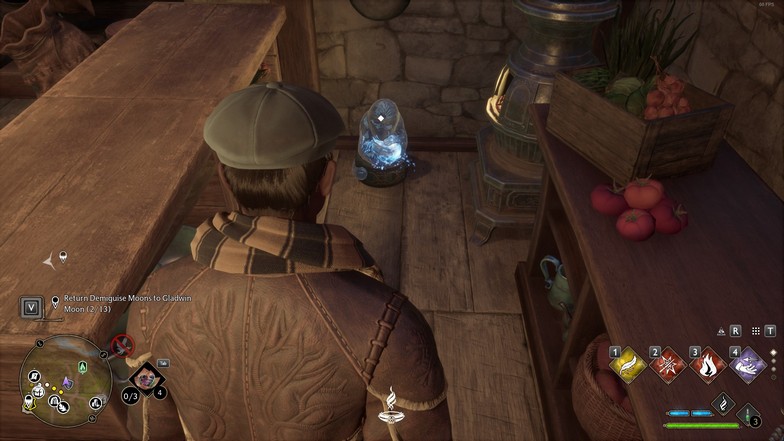
Go to the Irondale Floo Flame and look for the first house on your right. The Demiguise Moon is located behind the wooden table next to the fruits.
Upper Hogsfield
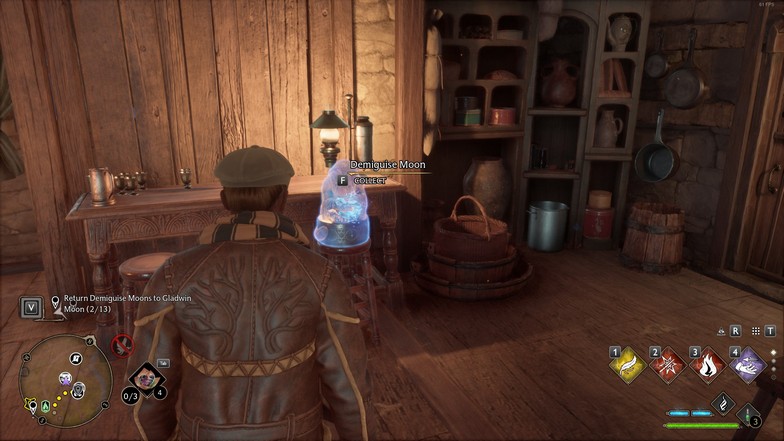
From the Upper Hogsfield Floo Flame, walk straight and look for the house on the left. Use Revelio to scan the house. The Demiguise Moon is on top of one of the stools.
Pitt-Upon-Ford
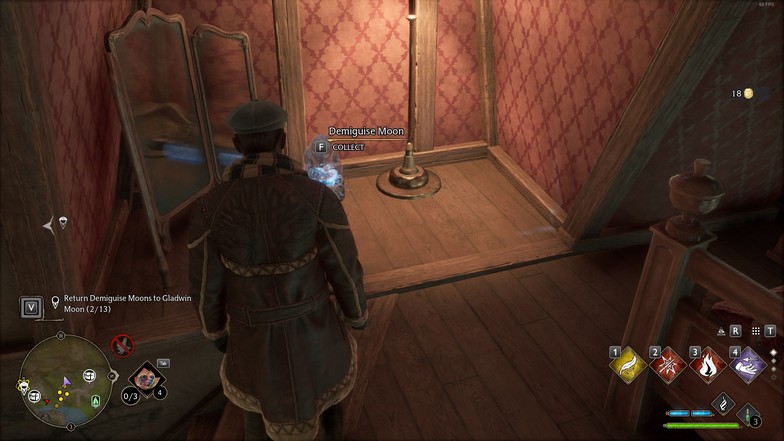
Fast travel to the Floo Flame and head down the path. Before the bridge, enter the house on the right. You’ll need to unlock the door with Alohomora I. Go to the top floor, and the Demiguise Moon is beside the mirror.
What to Do Next?
With Alohomora II unlocked, you have the power to unlock every locked door and chest in the game. You can revisit old places and obtain some gear, collectibles, wand handles, gear appearance, and more.
Some locked doors even lead to more puzzles, especially the beast doors scattered around Hogwarts.

