Sometimes you’d rather get more creative than simply playing an accurate representation of what you see on the court on TV when you play NBA 2K23. NBA 2K23 can also be a good tool to play out fun scenarios that you’ll never get the chance to see happen in real life.
A good way to do that is with the game’s fantasy draft option, which allows you to shake things up by sending top players to different teams all around the league and gives you the chance to bring your favorite players to your own team.
What star players may wind up on entirely different teams, and what interesting teammate combos that have never happened in real life can form?
But to have the most successful and fun NBA 2K23 fantasy draft experience, you’ll first need to know how to actually get that ball rolling, which is what we’ll help you out with in today’s guide for how to set up a fantasy draft in NBA 2K23 MyLeague.
How to Set Up a Fantasy Draft
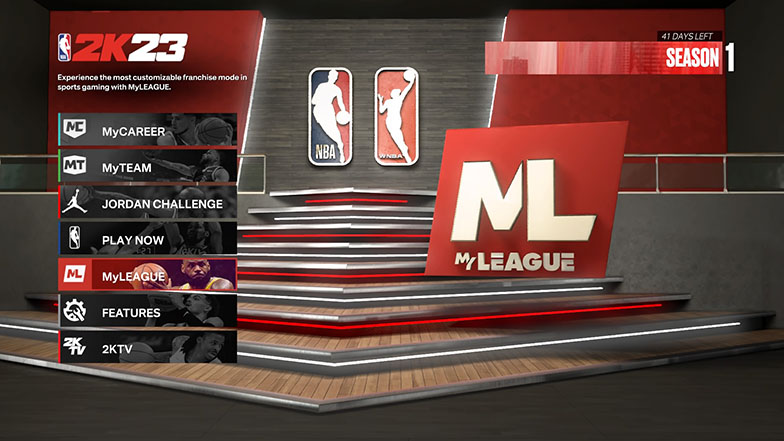
To begin your fantasy draft, your first step will be to enter the screen of MyLeague options. To do this, you’ll want to navigate to the “MyLeague” option on the main menu screen and press X (or A) to select it.
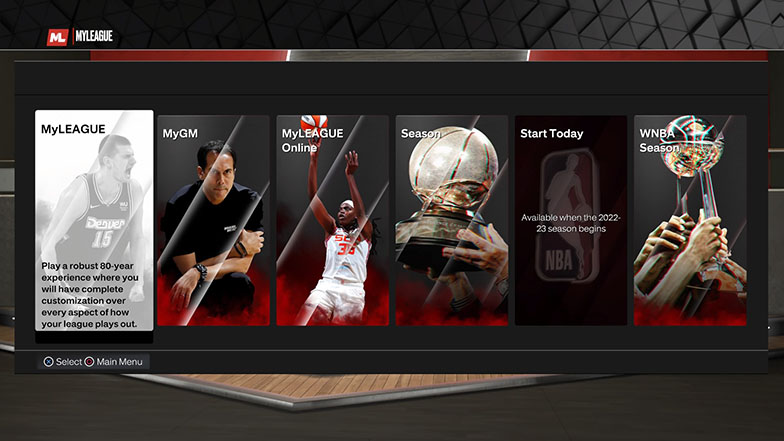
From there, you’ll want to select the “MyLeague” option on the far left, represented by a picture of Nikola Jokic. If you’d like to play a fantasy draft online with your friends, you can select “MyLeague Online”, but for today’s purposes we will be sticking to the offline MyLeague fantasy draft option.
Next, you can choose any of the ten available save slots. It doesn’t matter which one you choose, just be careful to not accidentally overwrite any save files for leagues you may have already started!
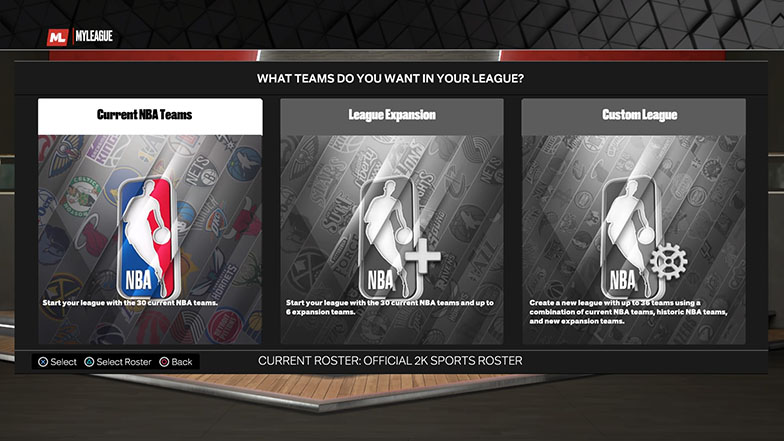
After choosing a save slot the game will present you with three options as to what teams you’d like present in your league, with those options being “Current NBA Teams” (the default 30 real life NBA teams), “League Expansion” ((the default 30 real life NBA teams plus the ability to add up to six expansion teams), and “Custom League” (free reign for you to create a league of up to 36 teams from your choice of current real life NBA teams, historic NBA teams, and added expansion teams).
You’re free to choose any option you’d like, as all three options allow you to play via a fantasy draft. For the purposes of today’s guide, we’ll be selecting “Current NBA Teams”.
From there you’ll be presented with the option to either start in the regular season (your league will begin on the first day of the 2022-2023 NBA season) or start in the offseason (your league will begin at the beginning of the 2022 NBA offseason, allowing you to play thru free agency and the draft).
Once again, you can choose either option, as both options allow for you to play a fantasy draft.
After choosing your league’s starting point, if you previously chose either “League Expansion” or “Custom League” you will now be provided with the opportunity to set up your league’s teams however you see fit.
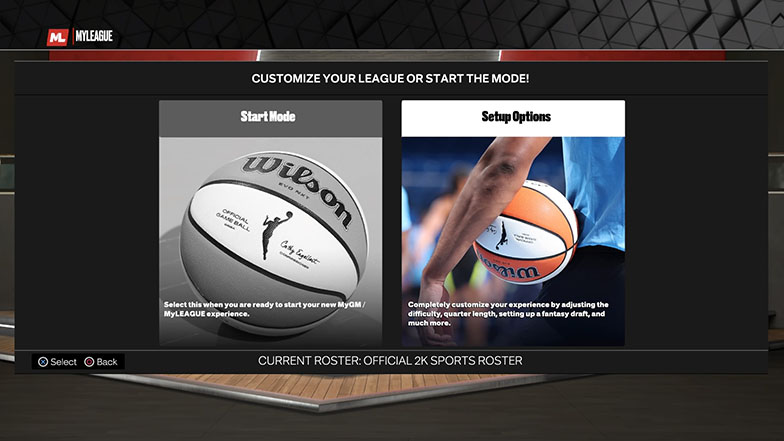
Once you’ve completed setting up the structure of your league, you’ll then reach the same screen that immediately follows the selection of a starting point for those who chose “Current NBA Teams” with the title of “Customize Your League or Start the Mode”.
On this screen, you’ll want to navigate over to and select the right most option of “Setup Options”.
Once in the set up options screen, scroll down to the “Fantasy Draft” option and toggle it to “On”. This will then light up and allow you to select the more in depth options for your fantast draft below the fantasy draft toggle option such as “Draft Order”, “Draft Type”, “Player Pool”, and “Allow Duplicates” as they apply.
You’re free to put these settings on whatever options best fit how you’d like to play through your fantasy draft and the following league.
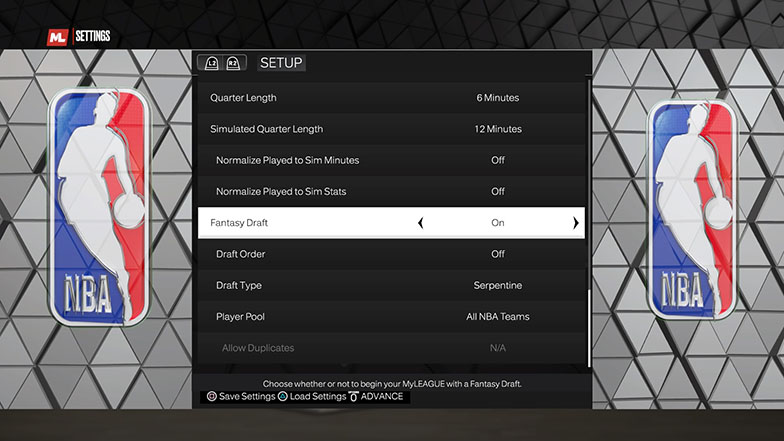
After selecting your preferred fantasy draft options, make sure to advance using the options (or start) button, as if you back out with circle (or B), your selections will not be saved.
After advancing from the fantasy draft set up options, you’ll now be able to select which team or teams you’d like to control in your fantasy draft and league. Once you’ve selected your team (or teams), you’ll be able to choose your general automation settings for your league such as prospect scouting and injury settings.
Once you’ve made your selections for these settings, you’re ready to begin drafting!
The Draft
After going through and completing all the settings for your league, the fantasy draft process will automatically begin. You’ll be able to watch the teams with picks in front of you make their selections as your own pick inches closer.
Once the draft reaches your first round pick, a pop up screen notifying you that you’re on the clock will appear presenting you with the options of “Choose Player”, “View Draft Summary” and “Sim Entire Draft”.
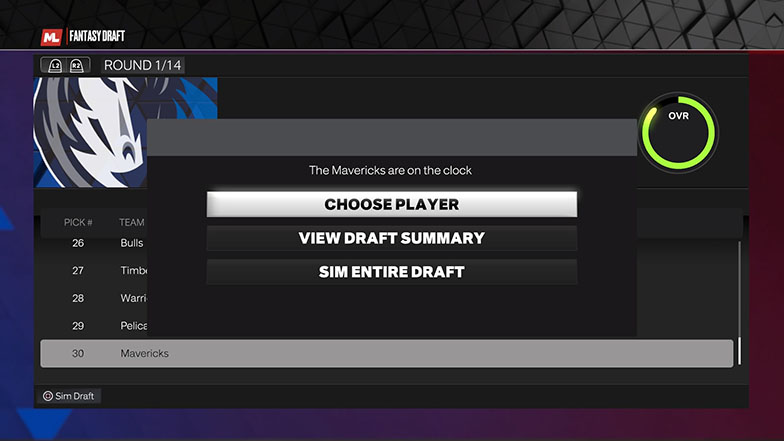
Choosing “View Draft Summary” will allow you to go back and scroll through all the previous draft selections (including the ability to toggle through all fourteen rounds, which you can do with the left and right trigger buttons).
Looking back at the already drafted players can help to let you know what players are no longer available as well as what the AI controlled teams are valuing when making their picks (are they prioritizing the highest rated players, the best young players, a mixture of the two, etc) in order to help you form a plan for your own drafting.
Once you’re satisfied with your observations from viewing the already drafted players you can press X (or A) to make the pop up of draft options reappear. You can then select “Choose Player” and make your own pick.
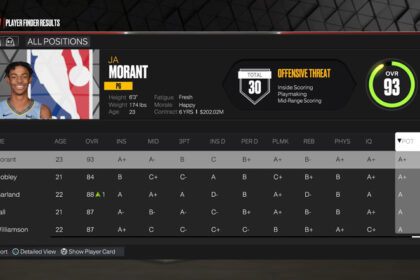
After selecting “choose player”, you’ll be presented with the entire pool of players still able to be drafted. You can use L2 and R2 (or LT and RT) to toggle your view by position (or view all positions) as well as scroll up and down to look at all the available players at your toggled position.
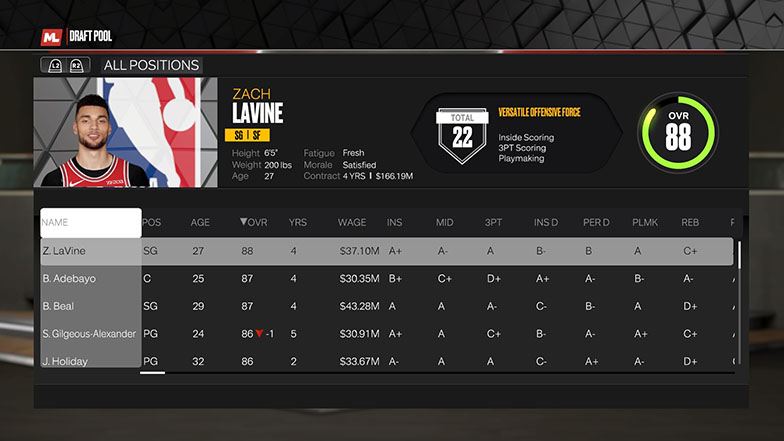
Scrolling left or right will allow you to look at the players’ information such as their height, age, and important ratings. Moving your selection over a player will also give you a more in depth look at their badges.
Once you’ve decided what player you’d like to draft, simply press X (or A) over that player and choose Yes on the following “Are you sure you want to draft this player?” pop up option.
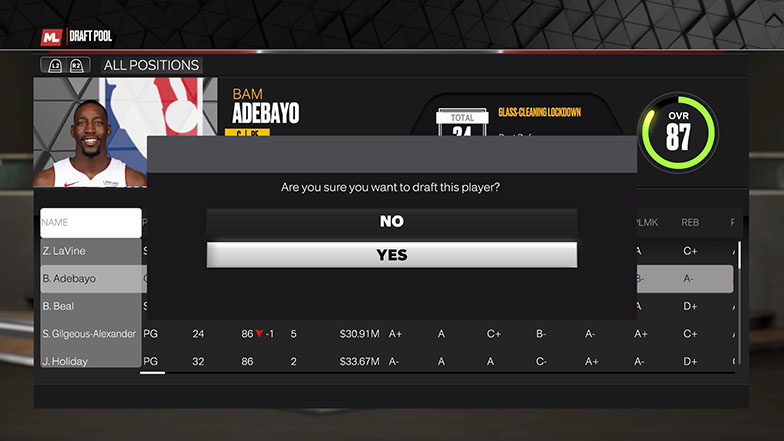
After selecting your player, the draft will automatically resume as you watch the rest of the league’s teams make their own selections until your pick comes up. This process will continue for the entire draft.
Outside of selecting “Sim Entire Draft” from the draft options pop up that appears at your pick, you can also press square (or X on XBox) at any time during the other teams draft picks in order to sim forward to to the end of the draft.
Once the draft has been finished, you can press X (or A) to advance out of the draft. Simply choose “yes” on the pop up option that will appear when you attempt to advance forward out of the draft.
Once you’ve advanced out of the fantasy draft, you’ll be greeted with a pop up screen asking you to choose how you’d like the incoming draft class of rookies to be handled (such as auto generated, downloaded, etc).
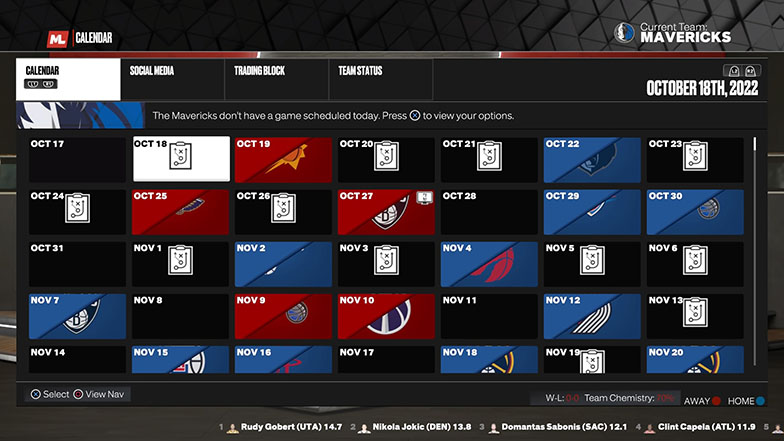
If you couldn’t already tell from this appearance of this draft class option, that mean your fantasy draft has been completed and your league is now ready for you to get underway! You’re now completely free to move forward with playing games, making trades, signing players, and anything else you see fit to enjoy and have fun in your new fantasy drafted MyLeague!
What to Do Next?
You can now try to boost your roster with these tips, such as trading for superstars and starting a superteam.
Final Word
The fantasy draft feature in NBA 2K23’s MyLeague is one that allows you to have fun creating and playing though interesting scenarios that you won’t get the chance to see in real life. A star player on a completely different team, two players that have never played together now being teammates, or any other player scenario is possible to experience thanks to NBA 2K23’s fantasy draft.
After today’s guide, you now have the knowledge to move forward and be able to enjoy the NBA 2K23 fantasy draft as best as possible in any way you see fit.

