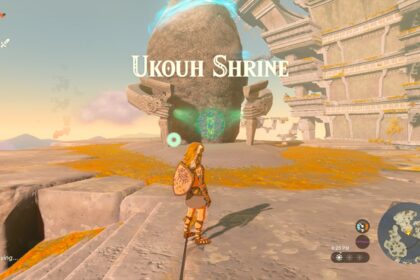
The Ultra Hand ability in Tears of the Kingdom is one of the most interesting abilities in the game by a mile. It’s useful in almost every Shrine after Ukouh, and it comes into play with a lot of the other puzzles, too.
One of the Shrines that will test your Ultra Hand abilities the most in Tears of the Kingdom is the Sinakawak Shrine, which many players come across as their seventh or eighth Shrine.
Some of the puzzles have multiple solutions, which is interesting. This isn’t true for every Shrine in the game, but there are quite a few ways to beat the Shrines if you look for them. Another good example of this is the Ishodag Shrine.
Here’s a guide on how to beat the Sinakawak Shrine in Tears of the Kingdom.
How to Solve Sinakawak Shrine
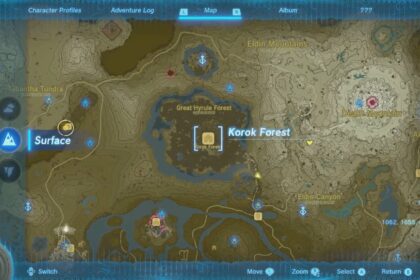
The Sinakawak Shrine can be found directly to the East of the New Serenne Stable.
This is a worthwhile location to check out, as it’s one of the first places you can use if you’re looking to stable any horses that you’ve tamed.
To begin the process, interact with the Shrine entrance. A short animation will play, but you can skip it by hitting the X button if you want to get stuck in immediately.
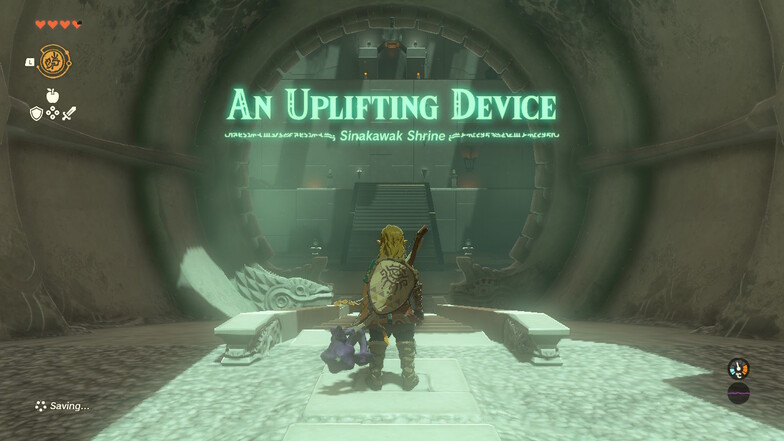
Run up the staircase in front of you to start the first puzzle.
The main point of the Sinakawak Shrine is to show you how to use balloons and fire together in order to get the balloon or another device to float. Generally, the solution for every puzzle in this Shrine follows this premise.
For the first puzzle, you’ll need to build a wooden platform with balloons attached to it. Use the Ultra Hand ability to stick two wooden platforms together, in a sort of L shape.
Then, attach a balloon either side of the platform.
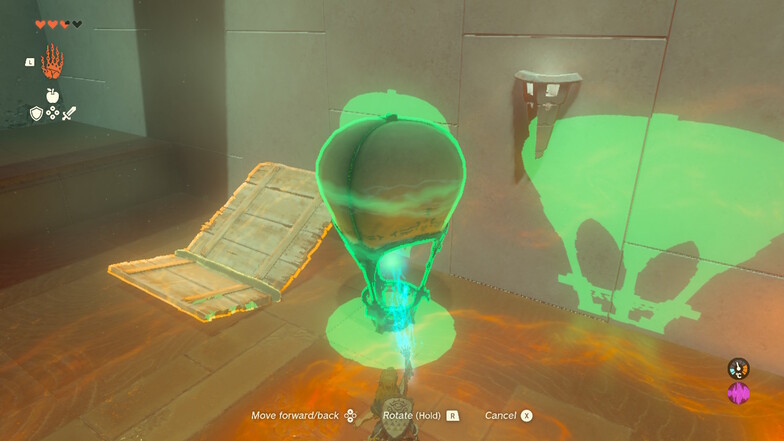
After that, grab the nearby candles and use Ultra Hand to attach them to the balloons so that they’re activated.
I’d recommend standing on the platform while you do this as they’ll activate immediately.
Be careful, as the candles can easily set fire to the platform.
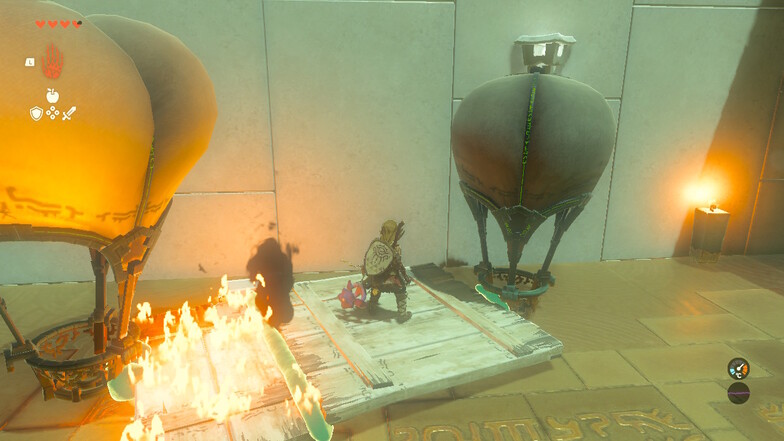
Once both the balloons are activated, you’ll be able to fly up to the next stage of the Shrine.
Jump down and keep running forwards to progress with the Shrine. Remember to use your Paraglider so you don’t take any fall damage.
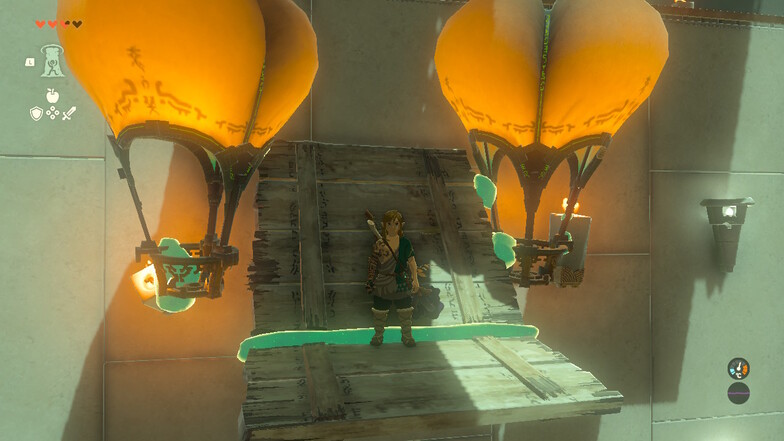
The next Shrine involves lining up a balloon to hit a button.
When you jump down off of your balloon machine, you’ll see a locked gate in front of you. If you look up, there is an orange swirly button. This is what you need to hit with a balloon.

Grab a nearby balloon and line it up so it’s near the button.
Then, pick up a candle with Ultra Hand and activate the balloon so it hits the button.
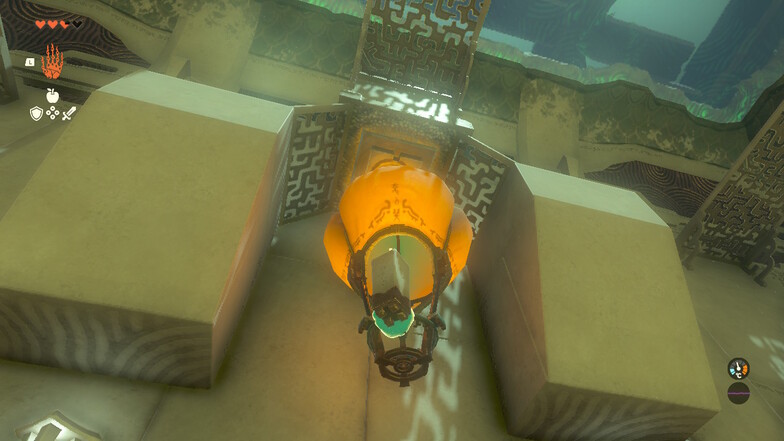
Once you’ve done this, the button will turn green and activate, then the door will open.
There are two puzzles to solve next, but one of them is optional.
I solved them both with exactly the same method.
I’d recommend doing them both if you have time, as the hidden treasure chest will reward you with an Opal which you can sell for a fair few Rupees.
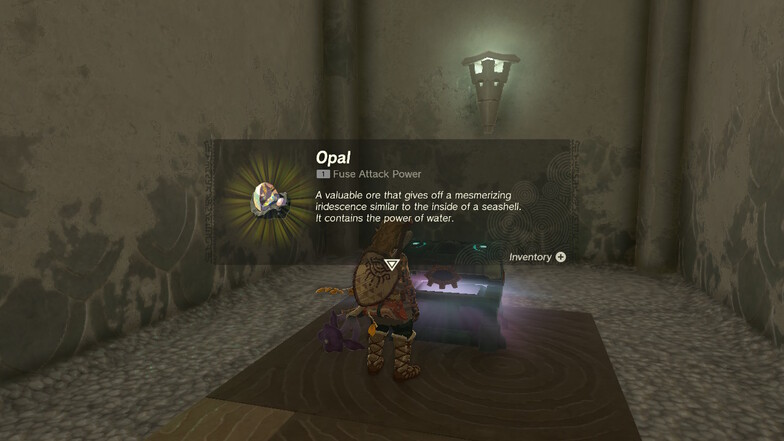
Use Ascend to reach the platforms above you, run forward, then use your Paraglider to drop down safely to the next chamber.
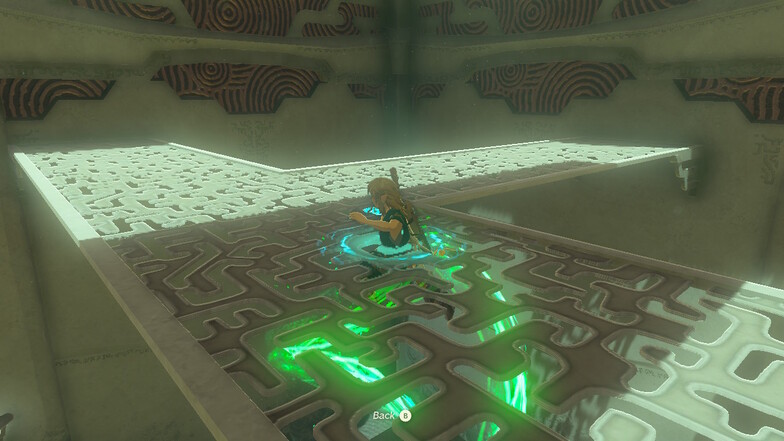
Here, you will find a number of items, including a large ball, a small ball, some wood, candles, and some flamethrowers around the corner.
The large ball is what you’ll need for the optional treasure chest puzzle and the smaller ball is what you’ll need for the main puzzle.
Essentially, you need to drop the correct ball from this room into the corresponding holes in the previous room.
You can use Ultra Hand to create a number of machines to get the large ball and the small ball from A to B easily.
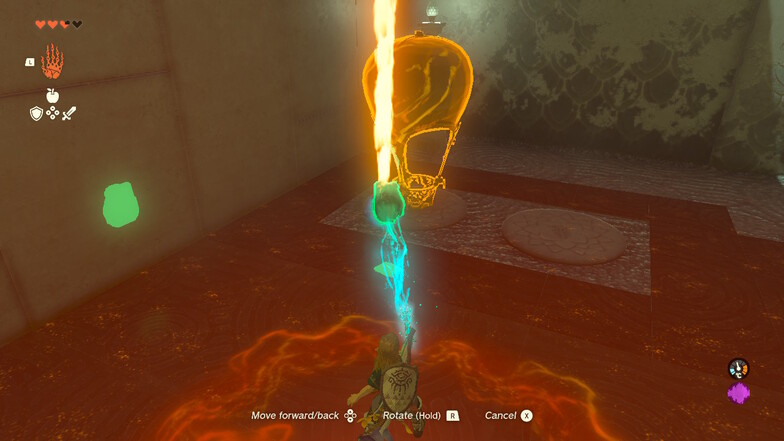
The easiest way I found to do this for both puzzles is to:
- Attach the ball to a balloon
- Attach a flamethrower to the balloon so it activates
- Let it float up to the top platform
- Run and ascend back up to the top platform
- Catch the balloon and shake it free from the balloon and flamethrower
- Run to the side of the room with the holes below it and drop the ball
- Paraglide down and put the ball into the correct hole
Some players may choose to use the wood and candles to create a flying machine in a similar fashion to the first puzzle, but I found it much quicker to skip this and just use the flamethrowers instead.
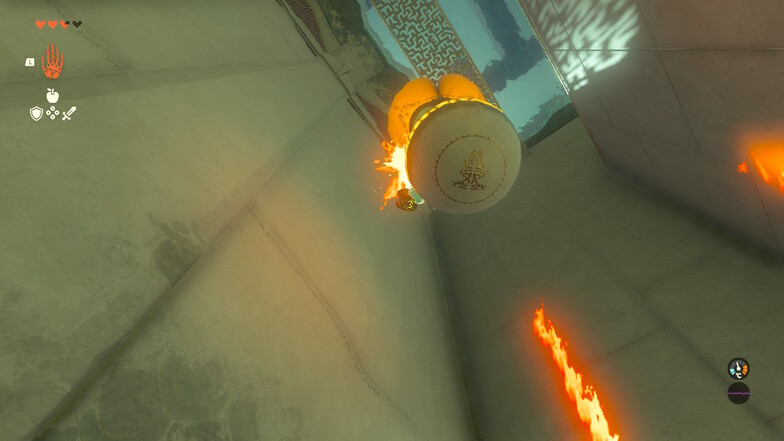
There’s no risk of losing a ball, as there is a roof to the Shrine and you will be able to reach it from the tallest platforms.
Make sure to use your Paraglider when you jump down, as the fall damage could kill you, especially if you don’t have many heart containers.
Once the ball is in the correct hole, a small animation will play and the corresponding door will open for you.
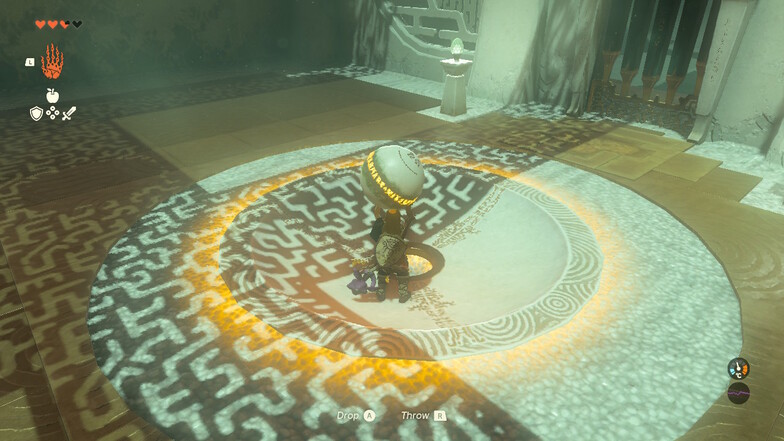
If you decide not to get the treasure chest this time, you can always come back and get it at a later time. Shrines remain unlocked and available throughout the game.
When you’ve opened the exit door, you’ll be able to interact with the Shrine exit to get your Light of Blessing and leave the Shrine.
What to Do Next
Once you’ve finished Sinakawak Shrine, it’s likely that you’ll only need one or two more Lights of Blessing before you can get your next health or stamina upgrade.
Hop on your favorite horse and use your Scope to map out the path to your next Shrine.
While you’re exploring the world, make sure to keep an eye out for any ingredients or collectibles as you go. There are plenty of food recipes and useful elixirs to learn as you explore, and almost everything that you can pick up that isn’t a weapon can be cooked with.

