While the majority of Shrines in Tears of the Kingdom focus on different special abilities, like Ascend and Ultra Hand, some aim to test your skills in other ways.
The Kyononis Shrine is a great example of this.
Most players come across it when they reach Hyrule Castle for the first time, usually just after the Nachoyah Shrine and the second visit to the Temple. Some may refer to it as the fifth temple in Tears of the Kingdom, but there isn’t really a set path in the game.
Here’s a quick guide on how to beat Kyononis Shrine in Tears of the Kingdom, looking at the different ways it’ll test your combat skills.
Before You Start
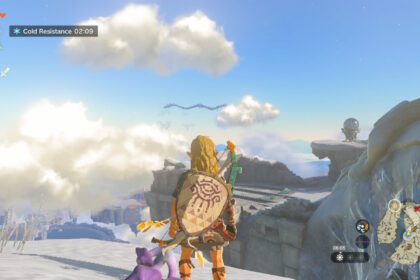
To get to Kyononis Shrine, you’ll need to be in the Central Hyrule region.
In order to get there, you must:
- Complete Ukouh Shrine
- Complete In-isa Shrine
- Complete Gutanbac Shrine
- Complete Nachoyah Shrine
- Complete the quests The Closed Door and To the Kingdom of Hyrule
- Leave the Sky Islands
Once you’ve finished these steps, you’ll be able to get to Lookout Landing. This is the closest settlement to the Kyononis Shrine.
How to Finish Kyononis Shrine
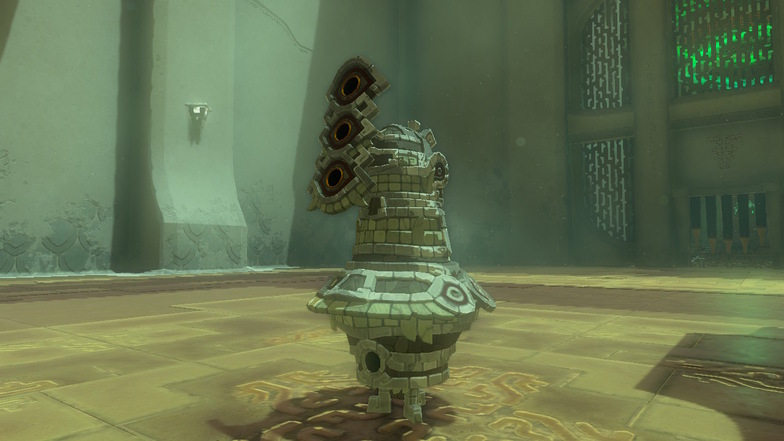
The Kyononis Shrine is quite different from the other Shrines in Tears of the Kingdom. This Shrine focuses exclusively on combat training, pitting you against a fearsome Captain Construct and tasking you with various types of attacks and blocks.
To start, interact with the Shrine. A small introductory animation will play, explaining the point of the Shrine.

Once the animation finishes, head into the main room.
A Captain Construct will appear and begin a series of repetitive attacks. You’ll need to pull off the correct moves in order to progress with the Shrine.
First, you’ll need to practice a perfect dodge while the Construct attacks you.
Hold down ZL to target the Construct, and watch for its attacks. The gap between its attacks is around 3 seconds, and you’ll need to move out of the way with the left trigger and the jump button in order to dodge.

You’ll know when you’ve done it successfully, as you’ll enter the Flurry Rush mode and be able to lay into your enemy properly while time slows down.
Next, you’ll need to do a backflip when the Captain Construct attacks.

This is roughly the same as a perfect dodge, but you’ll have to move the left trigger backwards when the Construct strikes.
Then, you’ll need to practice your perfect guard. This is essentially a parry.

To do this, you’ll need to put your shield up and wait for the opponent to attack. Right before the attack lands, press the A button to parry.
The final task is to do a charged attack.

Hold down the Y button and use ZL to lock onto the Construct. Once you’ve held down Y for a few seconds, let go.
This will automatically unleash your attack and this should defeat the Captain Construct so you can move to the final room.
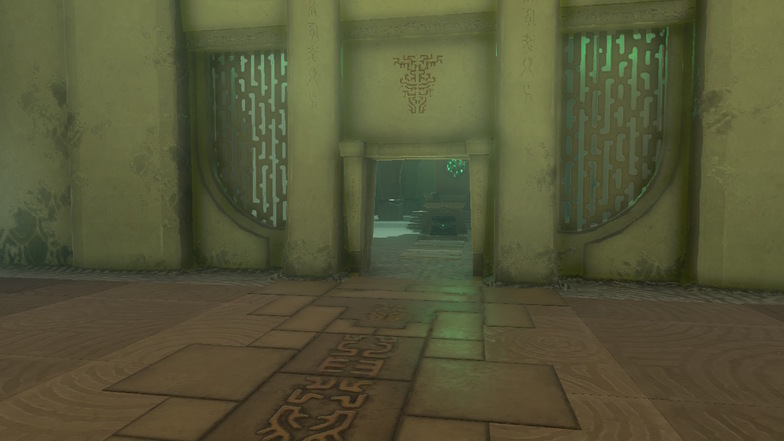
In the final room, you’ll be able to open a chest to get a Zonaite Sword.

Then, you can interact with the Shrine exit to get a Light of Blessing and leave.
What to Do Next
After beating Kyononis Shrine, push on with the main story quest. You’ll still have plenty of time to explore and complete side quests, but keeping an eye on the main objective will help you get stronger and get your hands on better weapons.
Don’t skip any Shrines along the way, though. They’re essential for getting more Lights of Blessing, which are in turn essential for getting more heart containers.
Use your Scope to keep track of where any nearby Shrines are.
If your equipment took any damage at all during the Kyononis Shrine trials, make sure to get to grips with the in-game repair system so you don’t lose any of it.