In Valorant, the sentinel role handles the defensive part of the match. They excel at anchoring down sites and slowing the enemy down on their pushes. Sentinels are also great for controlling more space for your team with their useful traps.
However, if you dive deeper into a sentinel’s role, each agent is extremely different from the other. You cannot compare Cypher and Killjoy to a Sage or Chamber.
In this guide, we’ll give you general tips for playing the sentinel role, which is applicable to any sentinel agent you want to play.
Play Around Your Utilities
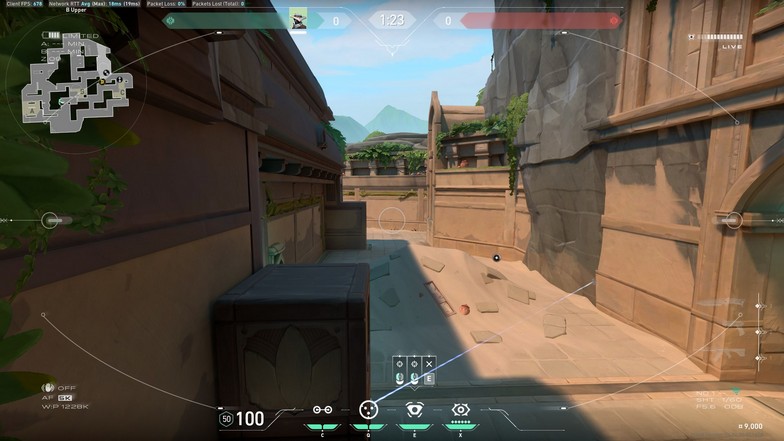
This tip is more applicable to Killjoy, Cypher, and Chamber. The most common mistake sentinels make in defending is exposing their location.
Once you have shown yourself on the minimap, they can pinpoint which angles you are most likely to be holding. If they have a KA/YO, you can get suppressed, and your traps will all deactivate.
In higher rank lobbies, the enemies can even predict where your traps are. For example, if you are Killjoy holding B Site in Ascent and you have your turret in CT facing B Main, you are most likely playing the stairs or boathouse.
Sentinels usually swing with their traps, so you want to be more unpredictable.
Do not overextend or be aggressive. In most cases, it isn’t worth it. Sentinels cover way more space than any other agents on defense.
Communicate Your Defensive Setup
Only Killjoy and Cypher can have multiple traps active to cover a lot of space on the map. In defensive setups, you want to inform your teammates where your traps are, even if they can see them on the minimap.
Some players might not have the time to look at the minimap if they are busy covering an angle or defending from an attack.
For example, if your Killjoy setup in B Site’s Ascent covering the market and B Main, teammates in the A Site won’t be able to pay attention to it the whole time. They might be fighting enemies on A Main, and one of the enemies might be flanking.
If the enemies go to the B Site with the same defensive setup, players in A Site rotating to B Site will know if someone was in Market since Killjoy has a trap there. If it isn’t triggered, they can safely run through the defender’s spawn to rotate quicker.
There are some instances where a Jett would flank in mid and Cloudburst the trap to sneak through. It rarely happens, but as long as your defensive setup is communicated to the team, these little things will help you win more rounds as a team.
Imagine a very fast rotation from A Site players for a B Site defense because your teammates know your traps weren’t triggered.
Your teammates can even play with your traps if the enemies haven’t committed to a push yet.
Prepare Different Setups
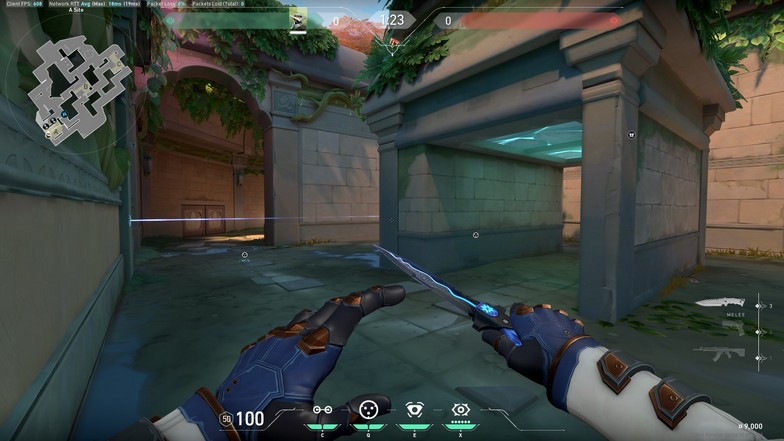
When the duelists or enemies get used to the same traps round after round, they’ll adjust immediately to it. You want to switch up your trap placements as well as your position while defending.
Once you have played the first few defending rounds with a different trap setup each time, the enemies will always be curious about where the traps would be.
If your traps are always in the same position, enemies can use their utilities to destroy them. Skye’s dog, Fade’s prowlers, and even Sova’s drone can activate Cypher’s trap.
Once the traps are activated, the enemy’s duelist will have an easier time entering the site.
With regard to your position, you would want to play with your traps. This means that when your traps activate, you can peek immediately since you know the enemy’s location.
This can hurt you as well if you are playing against a KA/YO. They can tell if you are playing with your traps and suppress the surrounding area so your traps get deactivated.
Mix everything up and not just your traps.
Know Your Weaknesses
A sentinel does have its weaknesses. For this tip, we are specifically focusing on the areas of the map that your team doesn’t control.
Let’s say you are playing Cypher on Haven’s A Site. Your trap placements are in B Site (entrance) and in A Main. You’re left with A Sewer to cover yourself. If the enemies attack the C Site and you rotate, you’ll know that no one crossed B Site.
But you need to be aware of a flanker looking at your trap and waiting outside for someone to cross from Mid Courtyard’s cubby. Since your trap cannot detect this, your enemy will play around with it.
Players will feel safe crossing from A Link to C Link, but if you are aware of this weakness, you can win the duel against the flanker.
You can also set up a ‘weakness’ where you place a trapwire that an enemy can jump over. A player may see this and feel that they can jump over the wire, and no one will expect this location.
However, you can play around the area of that trapwire where you can hear the sound of the jump. You can immediately pinpoint the location and track the enemy.
A sentinel’s job is to control more space than a regular agent. Since they can secure spaces on the map with traps, you’ll know the areas that are clear.
Don’t Lurk Every Round
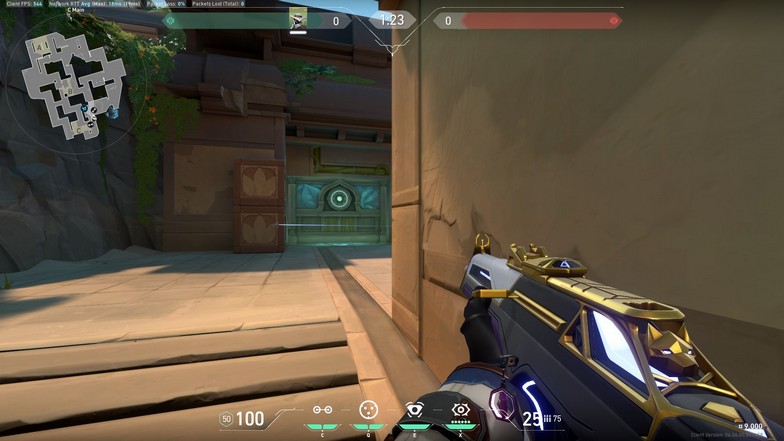
On attack, it is important that you are also unpredictable. It is fine for sentinels to flank every now and then, but not every round. If you flank or lurk every round, the enemy will notice.
They can easily deduce that if you lurk on A Site while your teammates push B Site, they’ll know that a push will come to B Site beforehand. When they see you, they’ll immediately suspect an attack opposite of your position.
Sentinels are good at lurking because they can control a lot of space with their traps, even on attacking. Their utilities aren’t great for supporting a push, so it is best that they do the lurk and flanking.
Just don’t do it every round and mix it up. You can even pair up with a teammate to confuse the enemies.
Test Out Mechanics in Custom With a Buddy
There are a ton of crazy mechanics in the game. For example, Gekko’s Wingman (planting the spike) can trigger Cypher’s trapwire, but doesn’t actually stop it. Wingman will continue to run to its destination even when trapped.
Testing out all the crazy interactions can help you use your utilities better. Some mechanics are quite important to learn, such as Killjoy’s Alarmbot range. There is a point where the enemies can see the Alarmbot without triggering it.
If you know the measurements of the activation range, you can adjust accordingly.
Adapt to the Enemy’s Entries
On defending, you’ll learn about the enemy’s strategies and habits. You can adjust how you position yourself and your traps to have a stronger hold of the site.
Let’s say we are on Ascent’s B Site. There is an enemy Jett who Cloudbursts the switch for B Market and dashes towards it. It is a great entry because Jett is hidden inside her smoke while the B Market closes. She is also hidden from B Site’s stairs, and CT is always smoked.
As a sentinel, you can adjust and place traps in this area. Killjoy can place two Nanoswarms on the switch and force Jett to be out in the open. Cypher can place a trapwire and play inside B Site. If that Jett activates the trap, Cypher can wallbang the wall from the site.
Learning how they attack can get you easy round wins. Make sure to be a step ahead of the enemies. If you put yourself in the enemy duelist’s position, you can try and predict how they will change their entry based on how you got them with your traps.

