
Riot introduced a lot of game-changing mechanics by releasing Gekko in Valorant.
If you were ever given a choice to choose the craziest and most unique agent, Gekko is up there among the first choices.
With Gekko’s complicated kit, you’ll want to know everything about his abilities before playing ranked games.
His Wingman ability alone can win a lot of rounds when used correctly. It can also be detrimental to your team if used incorrectly.
We’ll discuss each of Gekko’s skills, giving you a lot of synergies and combinations to familiarize yourself faster with his amazing kit.
Gekko’s Abilities

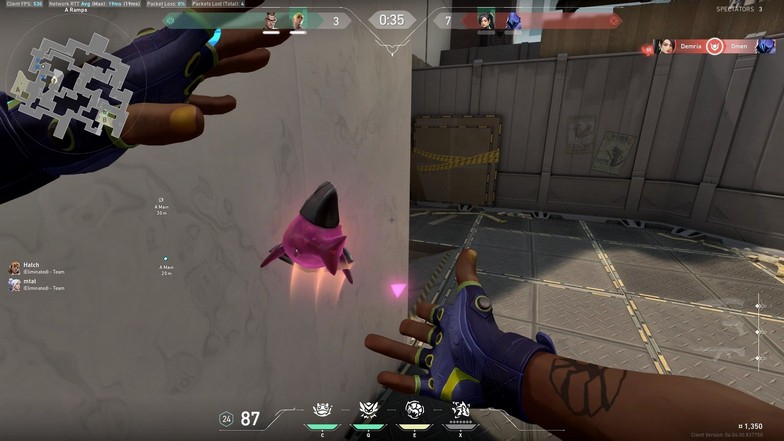
Mosh Pit – 1 Charge – 250 Credits

The Mosh Pit is like a giant molly but only does damage after a few seconds. Those stuck in the middle of the pulsating acids die instantly. Those who stay outside the acid but are still around the molly take 100 damage upon explosion.
Mosh Pit is a bit of a weaker Paint Shell from Raze. Players can easily get away from Gekko’s molly, but there are some abilities you can combine to make it effective.
Fade’s Seize can hold enemies in place when hit. Breach can stun them so they can’t wiggle their way out of the Seize area. A perfectly-timed Mosh Pit combined with the two other abilities can drop an enemy.
Without the Mosh Pit, this Breach and Fade combination is pretty common in pro play, where they combine this with Brimstone’s ultimate.
If you don’t pair the Mosh Pit with other abilities, you can use it to clear angles out. The radius of Mosh Pit is so wide it can clear big areas. Some examples of these are Ascent A Site’s generator, half of Ascent’s B Boathouse, Pearl’s Dugout, and many other anchor spots.
Wingman – 1 Charge – 300 Credits

The Wingman is like a pet that goes in a linear direction to blast enemies. This is a concussive blast that will shoot the first enemy seen. There is a small triangular radius on the blast, so multiple enemies can get stunned if they are close to each other.
When ALT FIRED, you can have Wingman defuse or plant the spike for you. You must have the spike to let Wingman plant it for you. You also need to look at the direction of the site (when planting) or spike (when defusing). Enemies can easily destroy the Wingman with a few shots. It does have 100 HP.
When Wingman expires, he turns into a glob, which you can pick it up again to use later after 10 seconds.
Here is where things get interesting. Since Gekko’s Wingman has the ability to plant or defuse the spike, it drastically changes how players defend or attack.
While combining other abilities from other agents with Wingman is situational, here are the things you need to know to guard Wingman.
If Wingman dies, Wingman will turn into a blob and leave the spike. It is a double-edged sword when you fail because you give the spike to an unretrievable location.
Most players will use Wingman to plant the spike, but in high-rank lobbies, they’ll use it as bait and try to trade Wingman as if it were another player.
When you are engaging or pushing a site, you want to flood the defenders as much as possible. Once the duels start, Wingman can plant the spike while the attackers and defenders trade each other. If the attackers somehow lose, at least the spike is planted.
This leaves other attackers who are slightly late on the site to set up for a post-plant. Without Wingman, they still have to plant the spike and play post-plant. Those few seconds matters.
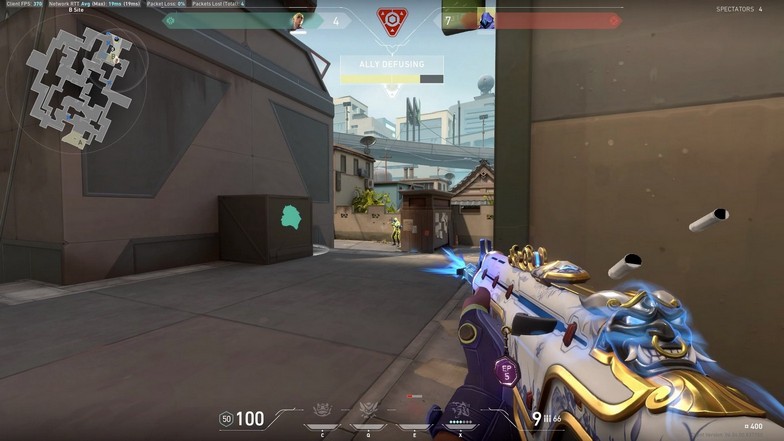
Since Wingman can also defuse spikes, it is almost used similarly.
The only difference is that defenders can force attackers to peek and stop the defuse. Wingman can bait a peek from attackers, which is probably its strongest usage. Imagine being forced to peek while a defender holds your angle.
You’ll be at an insane disadvantage. Wingman can defuse the spike and win the round if the attacker doesn’t peek.
Wingman’s unique mechanics
Here is where it gets tricky again. When you use Wingman to plant the spike, you can pinpoint where Wingman will go to plant the spike.
You need a direct line of sight on the exact area to let Wingman plant the spike. It doesn’t have to be in a straight line. Wingman can freely move to get to the designated spot.
Wingman or ‘lil bro’ will take the shortest route to the spot and plant the spike. You can even choose a spot on a different floor level as long as Wingman can go to it.
You just have to know that Wingman can’t use the ropes, but it can jump over boxes to reach the spot.

The perfect example would be the map Icebox. In the A Site, you can tell Wingman to plant the spike in A Nest, and it would jump on top of the box to get to A Nest.

If you do the same to B Site (B Nest), it would say ‘Invalid Wingman Path.’ It is because the pathway to the spot isn’t accessible from the ground floor, and Wingman can’t use the ropes to get up to the spot.
Harbor’s Cove and Gekko’s Wingman
Harbor’s Cove combined with Gekko’s Wingman has amazing synergy. Since Harbor’s Cove isn’t only a circular smoke, it protects whoever is inside until the shield outside breaks.
What is even better is Harbor can throw the Cove from far away. It is up to Gekko to find a clear path to send Wingman to a specific spot on a site.
While Cove and Wingman are planting the spike, some of the attackers can take more space on the site.
The same goes for defenders. You can use Cove and Wingman to defuse a spike while clearing the site of attackers.
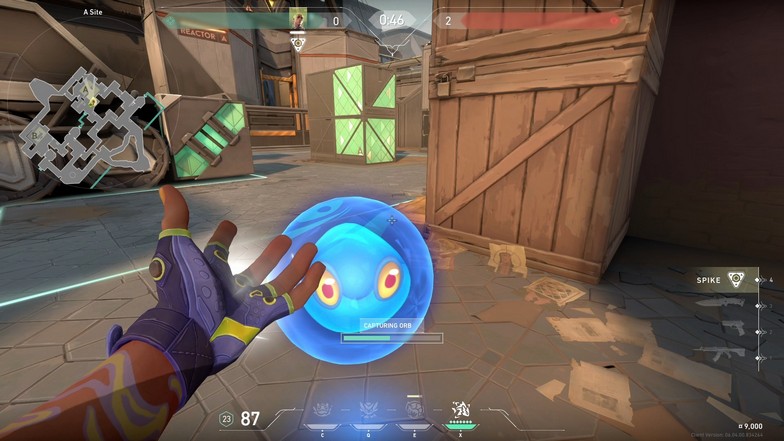
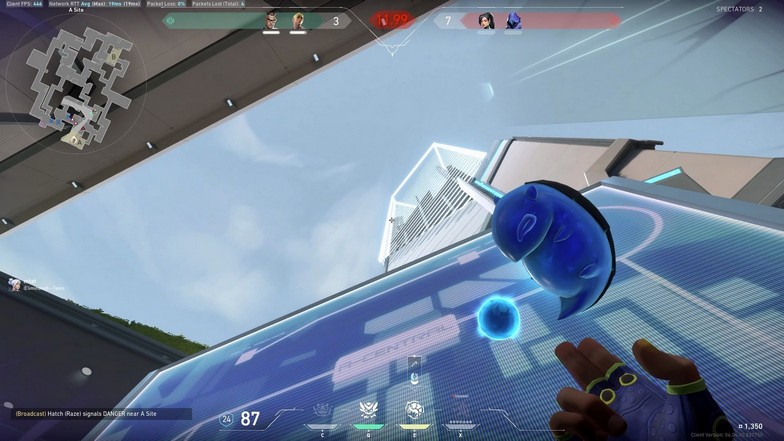
Dizzy

The Dizzy is thrown into the air looking for enemies to shoot. When Dizzy sees an enemy, it will send out beams to the enemy and blind everyone in its sight.
When Dizzy expires, it turns into a glob, which you can pick up to be used again.
Dizzy works like Fade’s Haunt. As long as Dizzy has a line of sight on a target, it’ll blind the enemy. The trick here is using Dizzy on an off-angle.
You don’t want to throw Dizzy where their crosshair already fixates on you. It is the same logic as throwing Reyna’s Leer on entries.
Once Dizzy stops shooting flashes, it turns into a blob. You can pick up the blob and use it again after a 10-second cooldown.
You can use Dizzy 6 to 7 times in a round, making it slightly overpowered. Throw it to a spot where you can pick it up again.
It only takes a single shot to stop Dizzy, and there is a split-second delay before Dizzy shoots the blind. Once Dizzy finds enemies, it can shoot multiple times at once.
On high-rank lobbies, Dizzy gets instantly shot. However, that split-second they have to adjust their aim makes the difference. Since Dizzy’s mechanics involve line-of-sight but can move, you want to throw it high and away from your entries.
For example, if you attack A Site on Haven from A Long, you want to throw Dizzy in A Site, specifically between A Sewer and A Long. Make it hover above the default plant site with the boxes, so it hits everyone behind as well.
When combined with more utilities, this push is hard to stop.
Thrash – 7 Ultimate Orbs
When Thrash is used, you’ll control Trash to find enemies (works like Skye’s Trailblazer). Use the FIRE button to lunge Trash forward and explode. Upon explosion, it detains enemies within the explosion radius.
When Thrash expires, it turns into a glob, which can be picked up again with a 10-second cooldown. However, you can only reclaim Thrash once in a round.
Thrash is Gekko’s ultimate. It is kind of hard to use because it relies heavily on other teammates to make it more effective. If you detain the first few agents, they might have other players defending them.
You have to combine your teammate’s abilities to make Thrash effective. Breach or Neon stuns can help you get to them quickly because they can shoot Thrash before it gets to them.
The best way to use Thrash is by working with a teammate. Your teammates can go with your Thrash and peek when the enemy shoots the Thrash or if they get detained.
It is hard to follow up as Gekko and chase the enemies you have detained.
Use it for your teammates like Skye’s Trailblazer, Sova’s Owl Drone, or Fade’s Prowlers.
Common Strategies
Dizzy Tricks

Dizzy is one of Gekko’s most powerful abilities (signature ability). It is either used to flash enemies or gain information, which is what Initiators usually do.
There are a lot of angles you can try to use Dizzy for the latter. For example, in A Site of Ascent (near the A Switch), you can throw Dizzy directly straight up in the air.
When it reaches the peak, Dizzy shoots everyone in A Lobby, assuming they aren’t hiding in any of the boxes there.
You can immediately tell how many people are staying in A Lobby based on how many spitting sounds Dizzy makes.
It doesn’t cover A Main, so you have to rely on hearing footsteps or game sense that they could’ve walked there.
The main idea is that when you use Dizzy this way, it returns back to you. It needs to be thrown straight up in the air so the blob lands at your feet.
Full Utilities – Attacking
Gekko is an underrated agent in terms of entrying a site for the team. While his main job is to support teammates as an Initiator, you have the kit/tools to take over a site.
When you attack a site, you want to go with the main team while having the spike. For example, when you push A Main in Fracture, there are a lot of close angles.
Smoke A Ropes and CT before entering. Upon entering A Site, use Wingman first to plant the spike (you can also use it to clear angles).
When Wingman starts running to the site, throw Dizzy and push with Wingman. Your duelist or other teammates will also use their utilities to push the site.
From the enemy’s point of view, they’ll see Wingman with a spike, a Dizzy floating in the air, a Gekko ready to fight, and other teammates + their utilities.
If Dizzy doesn’t shoot, you just have to clear the hiding spots, which gives you an advantage on where to look.
They’ll be overwhelmed and try to use their utilities to negate the push. Even a well-placed molly with a cloud of smoke will make it hard for the enemies to stop it – if your team commits to pushing through the smoke with Gekko and his friends.
You can do this strategy on most sites. The hardest sites to use this strategy on would probably be Ascent. As Gekko, you can even throw in an ultimate for good measure.
It doesn’t matter if you don’t catch anyone. As long as you clear the site, gain information, or support your teammates, it has done its job.
After taking the site, you can get Thrash again and use it for post-plant.
Mosh Pit on Smokes
When defending sites or defending post-plant situations, throwing Mosh Pits a little outside the smoke can catch players off-guard.
This all depends on timing. Once you have planted the spike, you can throw it a little outside the smoke, but close enough that it can still catch enemies staying in the outer rim inside the smoke.
When they try to push out of the smoke, which in most cases they will because of the time, they might get caught in the Mosh Pit; if not, they have to reposition themselves far enough out of the smoke to avoid it. In this case, you have the opportunity to shoot them.
Mosh Pit does have a sound cue. The opponents should know when it was thrown or where it landed, but the smokes hide the position.
If it doesn’t work, it still delays the enemy from pushing earlier.
Wingman + Thrash
Combining Wingman and Thrash is like having an additional player. Wingman has 100HP, and Thrash has 200HP. They can take a lot of bullets, and if they choose to avoid them instead of shooting them, your teammates can play around them better.
Not only do you have sight of the enemies while using Thrash, but Wingman can also clear out other angles. The trick is to use Wingman first and immediately use Thrash after.
Thrash can chase Wingman. When timed perfectly, enemies should see both Wingman and Thrash at the same time.
This combination is perfect for attacking sites with a lot of corners and closed angles, such as Fracture’s A site, Haven’s A Site, and much more.
Combine Dizzy with other flashes
While throwing two flashes at the same time isn’t effective, the other flash can support Dizzy getting to the farther areas.
There are a lot of occasions where a flash from Skye, Breach, or other instant blinds won’t hit the enemy.
They can either delay their peek or have the game sense to flick away from the incoming flash. Dizzy will make sure they get flashed because it doesn’t matter if they don’t look at Dizzy. They will get hit no matter what.
The enemies that come late will be forced to wait for a little until Dizzy expires unless they can shoot Dizzy instantly. This poses a risk for the enemies as they might get hit by your teammates when they do try to destroy Dizzy.
Best Maps for Gekko
Fracture
Fracture is an amazing map for Gekko because of all the tight angles for Thrash. His Wingman is also perfect for clearing sites or forcing a plant from a relatively safe spot.
Dizzy is amazing on both sites as well. It can cover those hard-to-reach places such as the boxes in B Site and everyone daring to peek outside the smoke.
Since A Site has two floors or levels, they can also get caught out by Dizzy, depending on how you throw it. The only places you need to check are the cheeky blind spots on the site, which you can clear with Wingman or Thrash.
Mosh Pit is a normal damage ability, which can be compared to Breach’s Aftershock or KA/YO’s frag. You can use it in B Tower to prevent the enemy from peeking at that angle when your team is clearing the site.
Breeze
Breeze’s wide open area makes Gekko a powerful initiator. Double initiator compositions are quite common now because one is in charge of getting information while the other supports the team with utilities.
Gekko can replace a second duelist and flash for teammates entering sites.
Wingman is incredibly powerful in A and B Sites on attacking. You can let Wingman plant by the pillar in B Site without clearing the back of the site. Once Wingman starts planting, they’ll be forced to peek or let it plant for a retake situation.
When they peek, players in B Main or B Window can defend Wingman. However, the entrance is always smoked. You’ll find it difficult to get this situation, but you can always cover Wingman while clearing the site.
Even if the defenders get you, they might not get Wingman down from fighting. Once it is planted, some of your teammates are already well-positioned in B Window for post-plant.
The same goes for A Site and A Cave/A Main.
Thrash is going to be a bit bad on Breeze because of the wide space. It will only be useful in very specific areas on the map, such as B Halls, A Shop, Mid Doors, and Mid Rafters/Heaven.
Split
Split is great for Gekko because his entries for B and A Sites are very efficient. When entering B Site from B Main/B Garage, Dizzy can hit enemies from the left and the right (including B Tower/Heaven/Rafters).
The same goes for entering A Site. Planting the spike is incredibly hard on Split, which is why Split is highly considered a defender-sided map. Players in B Tower can put pressure on attackers even if they have already taken the site.
Wingman can do the job while the rest can focus on defending and clearing.
There is also a strategy for planting in A Site where you can just clear A Tower/Rafters and plant it from there. You can use Wingman to plant from the top, and you just have to defend Wingman from the rafters.
Enemies in A Elbow and A Site will have to expose themselves to stop Wingman, which means they are either forced to peek or let the spike get planted.
Mosh Pit is great in clearing out the back of B Site. It can also be used to prevent enemies from peeking at Mid Vents, the B Tower staircase, or A Screens.
Thrash is also effective because of all the tight spaces everywhere.
Haven
Haven’s map layout makes Thrash and Wingman really powerful. You can use Wingman to clear A Sewers as you enter the site.
Thrash is also hard to stop in A and B sites because there isn’t much space to destroy it.
In C Site, you can use Wingman to plant all the way from C Long. You can support Wingman once it gets close to the site with Dizzy and a good Mosh Pit in the C Platform or the back of the C Site.
Dizzy is also effective in spotting enemies on A Long. Jump on top of the planters and aim it straight up. It’ll catch defenders trying to peek at A Long.
There is also a good B Site attacking play relying on Wingman to plant the spike open to Mid Window. You can have a Sage wall on one side of B Site while the others can focus on the other side.
For retakes, Gekko can also use Dizzy from A Link to A Site and blind anyone still covering the site, excluding A Hell and A Graffiti.
Lotus
Lotus is another map with a lot of tight spaces. In fact, every site is extremely tight. Gekko will have a field day using Wingman and Thrash.
Mosh Pit is also amazing for clearing A Pit. On defending, you can even use Mosh Pit at the start in A Main. This prevents the enemies from pushing A Main up until the defenders take control of the area.
Once the defenders take control, attackers will find it extremely hard to push it back again because of the chokepoint.
Apart from the Mosh Pit, you can use Wingman or Dizzy when they try to push. The wide area helps Dizzy get more enemies. The added wall outside the revolving door can make it your peek more unpredictable because you can go left or right.
For Wingman, you can have Wingman plant in C Site from C Mound. It will run all the way there. Once Wingman is approaching the site, you can throw Dizzy right in the middle and clear the site.
B Site is also great for a Wingman plant because the only defenders that can stop it are from the connector.
In A Tree, you can let Wingman plant and force defenders to peek in A Site. You can defend Wingman from A Tree. Just make sure that your team controls the other half of A Site.
Pearl
For Pearl, Gekko’s goal is to plant the spike behind the box in B Site (close to B Halls). As a player planting the spike, it is too risky to plant on this spot.
The box can easily be shot and eliminate the player planting from CT. For Wingman, it would be much safer and a lot riskier for defenders to shoot the box because Wingman will have an additional backup.
The point of planting at this spot is that it is open to B Ramp, as well as headshot (the rectangular ramp in B Ramp). For defenders trying to defuse, you rarely have the option to push up to B Ramp because it is too far away.
When you let Wingman plant on that specific spot, you can throw Dizzy across B Site and throw Mosh Pit on B Halls. Dizzy tracks where the enemies are and blind them. Mosh Pit will prevent enemies from B Halls from peeking out.
In A Site, you can use Wingman to plant on default and force enemies to peek left or right. Players in A Art won’t be able to stop Wingman, so in this situation, you can cover the angles from A Main if it isn’t smoked.


