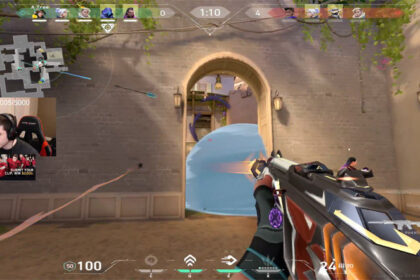
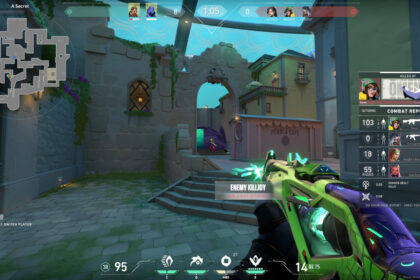
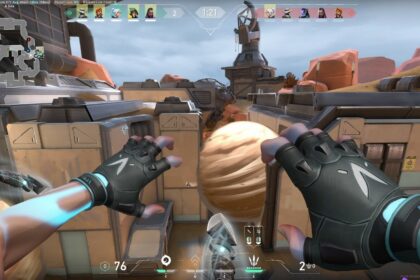
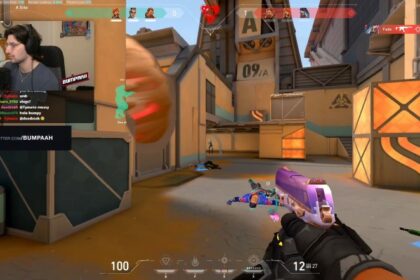
Killjoy is one of the best sentinels in the game with her abilities having a mix of Cypher’s defensive ability and Raze’s offensive abilities. This guide will aim to teach you how to use Killjoy in Valorant with detailed strategies about all her abilities.
Killjoy’s Abilities
| Ability | Button | Cost | Description |
|---|---|---|---|
| Turret | E | Free – 20 second retract cooldown | EQUIP a Turret. FIRE to deploy a turret that fires at enemies in a 180 degree cone. HOLD EQUIP to recall the deployed turret. Used mainly to distract and also damage enemies in an area it covers |
| Alarmbot | Q | 200 – 1 charge | EQUIP a covert Alarmbot. FIRE to deploy a bot that hunts down enemies that get in range. After reaching its target, the bot explodes, applying Vulnerable. HOLD EQUIP to recall a deployed bot. Used mainly to soften enemies by applying VULNERABLE and gives them a disadvantage from rushing or entering doors and entrances |
| Nanoswarm | C | 200 – 2 charges | EQUIP a Nanoswarm grenade. FIRE to throw the grenade. Upon landing, the Nanoswarm goes covert. ACTIVATE the Nanoswarm to deploy a damaging swarm of nanobots. Used mainly to prevent enemies from rushing as a team with a very strong damage per second area ability |
| Lockdown | X | Ultimate – 7 Points | EQUIP the Lockdown device. FIRE to deploy the device. After a long windup, the device Detains all enemies caught in the radius. The device can be destroyed by enemies. Used mainly to stop defuses or plants and control an entire site |
How to Use Alarmbot
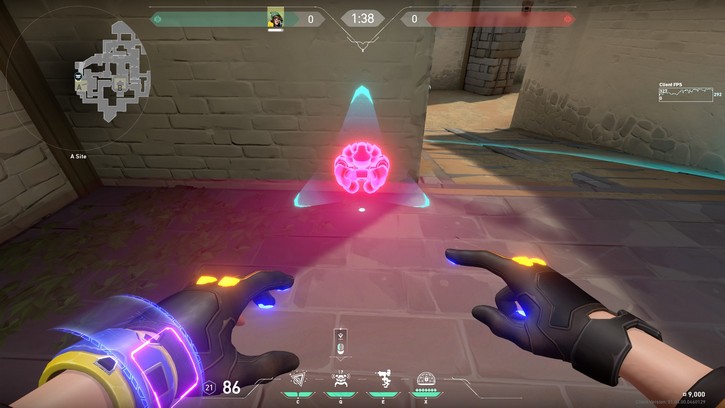
The Alarmbot is used to distract enemies in the area and give them a disadvantage when it hits. It is complete invisible until it detects an enemy unlike the Nanoswarm. This gives enemy ‘Vulnerable’ and the debuff works the same way as Viper’s Snake’s Bite.
A good Alarmbot placement will be at the edges and corners of entry points. This forces the enemy to think about shooting the bot by looking left and get exposed from the right side. If the enemy ignores it, you will be at a disadvantage with the debuff. This same strategy works like Raze’s Boom Bot but in a much more defensive manner.
This is also retractable and can be placed somewhere else if you choose to relocate in the middle of the round. It takes around 2-3 shots before the Alarmbot is taken out.
How to Use Turret
This is probably the most controversial ability addition in the game. It is an automated turret that shoots enemies within its cone-shaped range. It is also Killjoy’s free ability and can be retracted as well with a 20 second cooldown.
The turret is not that strong in terms of damage but it is quite annoying when it is constantly shooting at you and you are trying to find out the location of the enemies. The turret hits for 12 damage per burst and shoots 3 bullets per burst. An enemy with shields up will take significantly less damage and will take 3-4 damage per burst.
A good strategy shown above is how you can quickly place the turret at an angle where it can spot enemies crossing to the site. You should take the opposite angle from the turret and set up your own crossfire. You can get a feel for where the enemy will be once your turret shoots. This can give you a chance to pre-fire a few milliseconds faster which is just enough so that the sound cue of your gunshot does not give away your location.
Combine this with a well placed Nanoswarm and Alarmbot and you can hold down sites single-handedly with ease. Turrets can also be placed above boxes and crates as long as you have the line of sight to place them.
The turret can shoot enemies that are below its level of placement as long as it has vision of the enemy. This might require some boosts from a Sage’s Barrier Orb and might be inefficient just to get a good turret placement. The turret can be taken down with at least 4 shots from the Phantom or Vandal and 5 shoots with a pistol so it is quite fragile.
The turret can also be blocked by line of sight such as smokes and walls which can be a great strategy to use against Killjoy. However, Omen’s Dark Cover are hollow inside and if the enemy goes inside the hollow smoke with the turret, the turret will still shoot at the target.
Sova can also somehow tag the turret with an Owl Drone and ping the location of it for his teammates.
How to Use Nanoswarm
Nanoswarm is Killjoy’s area controlling ability that prevents enemies from passing through because if its high damage output. It works like Cypher’s Cyber Cages where you have to place it first and manually activate it when you want it to deploy. It can also be detected by Sova’s Owl Drone.
The Nanoswarm is also detectable when an enemy approaches it and can be quickly taken out if you do not activate it in time. If you decide to place this above crates like the one at the A site of Bind, it will not damage enemies who are below the line of where it was deployed. Do not bother throwing this at high structures if you are thinking of a way to disguise it.
Best way to make it effective is to have teammates smoke the area and simply throw the Nanoswarm on or in front of the smoke.
How to Use Lockdown
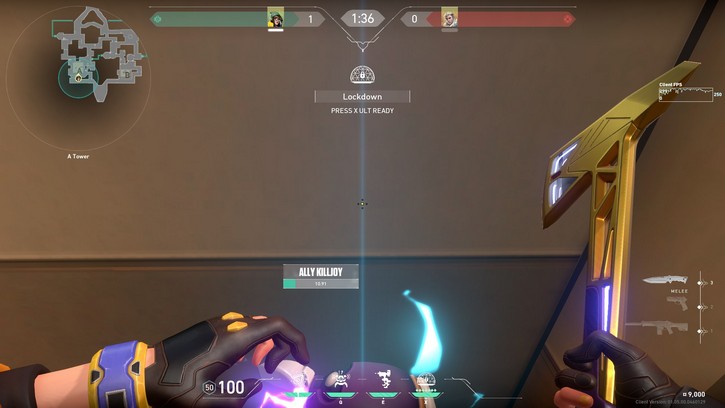
Lockdown is Killjoy’s ultimate ability that costs 7 points. It has a 13 second windup before it activates so it can be hard to time it right. When activated, this sends a signal to all enemies within its huge radius and detains all enemies within it. When detained, enemies are crippled and are unable to use their abilities or shoot their weapons.
This is incredibly overpowered when executed perfectly in a site. You have to place this Lockdown in areas where enemies cannot reach. It only takes 4 shots from the Vandal or the Phantom to destroy it. Detained enemies will also not be able to plant or defuse the bomb which is a great way to just delay plants if the round is about to end already.
Its radius is large enough that it can delay a plant in the A Site from the left side of B Site in Haven. In certain situations, enemies will be forced to find and destroy the placed Lockdown so make sure you can capitalize on this situation because a 13 second windup is incredibly long when an entire team is suddenly rushing towards you.
Killjoy Agent- Tips and Tricks Summary
- Remember that most of your gadgets are fragile and can be destroyed easily.
- Always think of ways to set up a crossfire when using the turret.
- Nanoswarm is incredibly powerful and works like Brimstone’s Incendiary at a discounted price with an additional charge.
- Lockdown’s 13 second windup is a long time.
Killjoy is a powerful defensive agent in Valorant and will give more advantage to the defending side in the game. She has a unique kit that allows her to not only delay but completely stop an entire team from rushing down a site.

