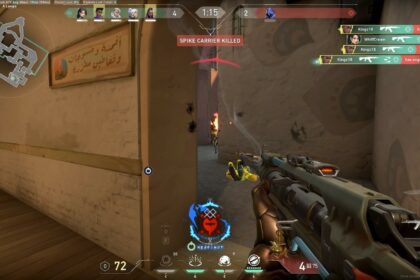
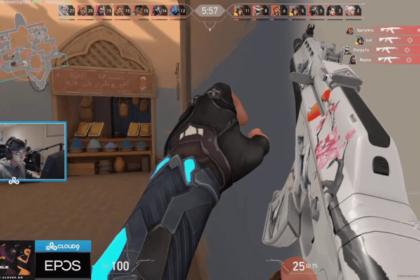
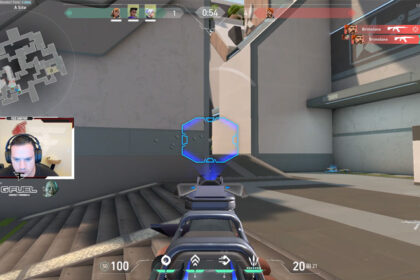
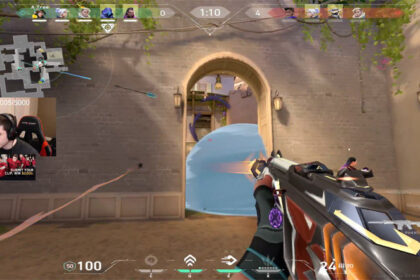
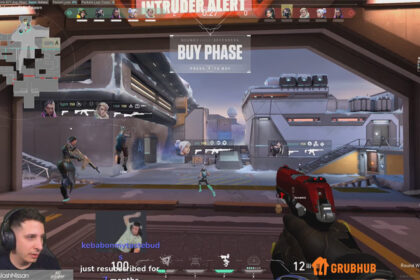
Fade’s kit and her role as the team’s information-gathering initiator will force you to do a lot of work during the rounds. Her skill usages depend a lot on timings rather than placements because the distances are not that long.
While most of Fade’s abilities are pretty self-explanatory, you can use some tactics and synergies to make Fade’s support extremely effective, especially when taking over sites or even using her as a sentinel to slow down pushes.
This guide will focus more on teaching you how to use Fade’s Seize in Valorant and use the ability as efficiently as possible. There won’t be any tricky lineups, but you will learn how to throw them where they could maximum value.
How Does Seize Work?
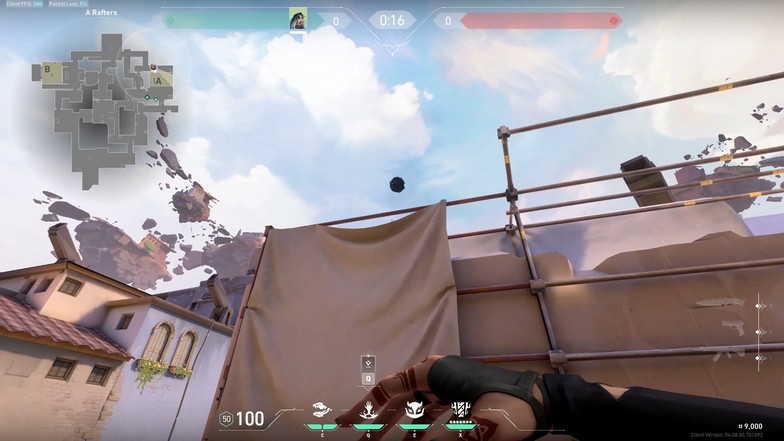
EQUIP an orb. FIRE to throw the orb. The orb will travel in the air for 1.5s until it drops to the ground. Upon hitting the ground, it will be stuck in place and begin to cook for .5s. After .5s, a zone will expand out to 7m, and all enemies caught will be tethered to the center. Tethered enemies suffer 75 decay damage, are deafened, and cannot escape the zone by normal means for 5s. It can be reactivated in flight to drop earlier.
Seize is a unique skill where you can tether an enemy while inflicting 75 decay damage and deafening them at the same time. Anyone hit by the radius of Seize cannot escape the 7m zone for 5 seconds.
When you get hit by this, you have an insane disadvantage from dueling other opponents. The debuffs are too much when you get hit by Seize, where you are practically a free kill already. You can learn how to play Fade better if you can combine all her skills and either support other players or coordinate abilities with each other.
How to Use Seize Effectively
Measuring Seize’s distance
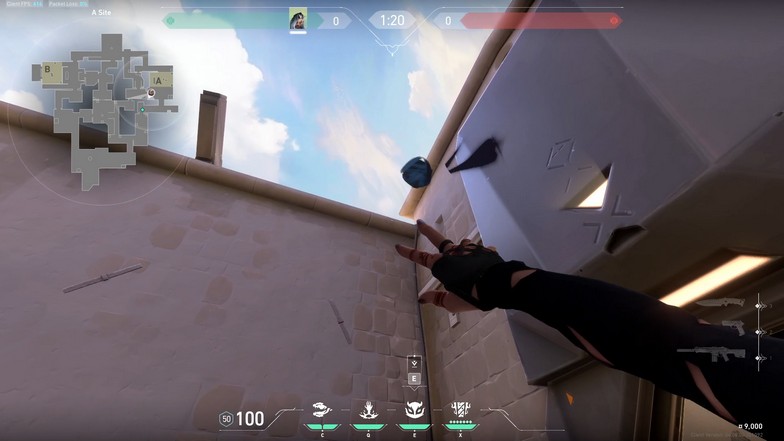
To perfect the distance of Seize, looking at the minimap first will be the best way to learn the distance of the ability. For starters, you can ping the exact location on the minimap where you want Seize to land. After the location is pinged, aim your crosshair directly at the location and move the crosshair up if there is any obstacle on the way.
The higher your crosshair is, the shorter the distance. Make sure the projectile barely goes over the obstacle to get the perfect distance over a wall or an obstacle. If Seize cannot reach the location, you can try a running throw, so the projectile can have more velocity and reach a farther distance. The same goes for Fade’s Haunt ability since they both have the same projectile mechanics as Seize.
Since the projectile distance is short because it drops automatically after 1.5s, you want to throw each orb as far as you can. If you want it to hit a closer area, you can use the Seize ability button again so it can drop immediately. You will see a green arrow on the ground while the projectile is in the air, and this will be your marker on when to drop the projectile.
Using Seize on attacking
Seize is hard to use on attacking, especially on a map like Breeze. However, it is better to know the purpose of using Seize on attacking and how to use it effectively. Fade’s Prowler ability is better for supporting entries because it latches on trails and gives information to your teammates whether there is an enemy close.
The Haunt ability will be able to spot enemies quickly and give even more information on the enemy’s whereabouts. So, where does Seize work in these attacking situations? The best way to use Seize during attacking situations is by throwing it on an angle where rotations might come from.
Let’s take Ascent’s B Site, for example. When you are trying to push the site from B Main, you will be looking at areas like B Market, B Stairs, CT, Boathouse, Switch, Logs, and Lane. Those are a ton of areas to clear after taking control of B Main. Once you have cleared the close angles like Lanes, Logs, and Switch and have your team smoke CT and B Market, you can throw Seize on CT and force them to stay there until everyone gets set up.
It isn’t a good idea to throw Seize to clear angles. An enemy with an Operator or rifle can still defend properly since Seize only inflicts Deafen and Decay. Blinds and stuns are still better in these situations.
Using Seize on defending
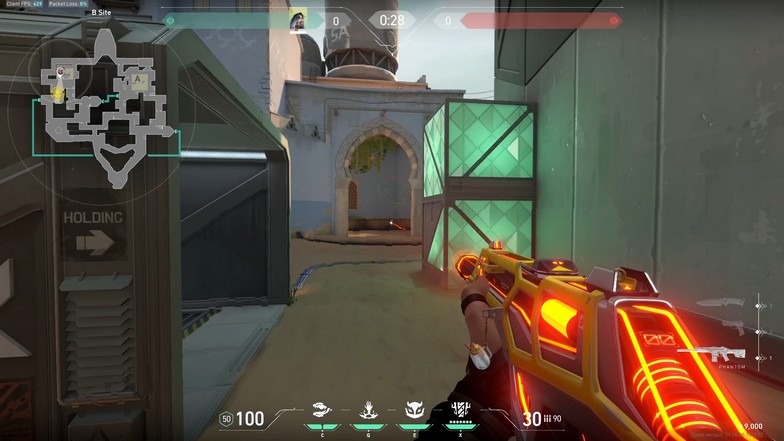
Fade’s Seize shines more on the defending side. Imagine enemies throwing all their utilities, including their ultimates, to take over a site and having a perfectly placed Seize to keep them from pushing and entering the site. Once Seize hits the enemies, they are inflicted with Deafen and Decay but Seize’s best usage for defending is keeping enemies within the 7-meter radius, thus preventing them from doing anything.
Defenders and attackers will tend to trade utilities when playing in high-ranked games. The goal is to always get the advantage before dueling, like gaining information, throwing blinds and stuns, or playing numbers and trading each other. Once utilities have been exhausted, you can time your remaining utilities and force them to fight at a disadvantage.
Fade’s other skills, Haunt and Prowler, are decent for defending. Getting information will always be a good asset for the team. Seize is just there for an insanely good utility for stopping or slowing a committed push by the enemy team.
For better synergies, once you connect other enemies with Seize, you can have teammates like Viper, Brimstone, Phoenix, or any agent that can burn the ground and get an easy kill. Since Seize also inflicts Decay, you can get a player down with utility usage and not firing a single shot.

