Chamber is the well-dressed French agent in Valorant. He plays the role of a sentinel where you can easily anchor sites, delay the enemy’s push, and gather information. Chamber’s overall kit is a bit unique for a sentinel agent.
It requires you to play much smarter with your movements because you do not have much utility to work with, unlike Cypher, Killjoy, and Sage. However, Chamber’s offensive capabilities are beyond any sentinel as he plays more like a duelist at times.
In this guide, you will learn synergies, in-depth strategies, skill usages, and playstyles on how to play Chamber in Valorant.
Chamber Team Synergies
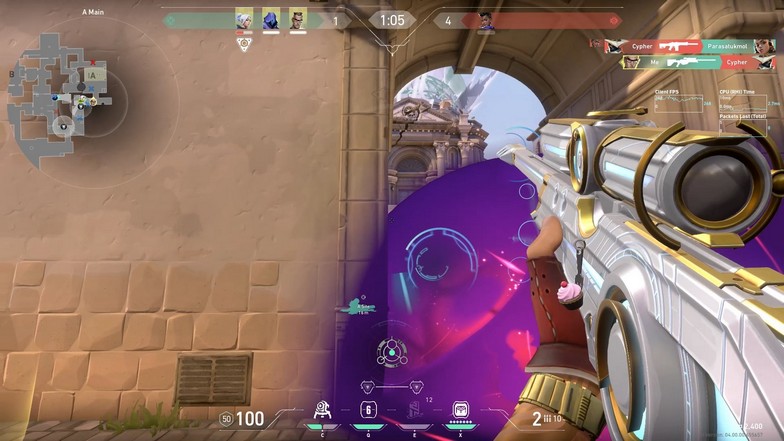
Chamber’s role in the team is to be the sentinel and hold the sites properly and gather some information. While his info gathering is quite weak compared to some agents, he can hold or delay the enemy’s push greatly with Trademark.
Rendezvous helps you hold aggressive angles to gain information or get a pick-off before getting back to a much safer position on a site. Chamber’s abilities make him a mix between a pseudo duelist and a sentinel.
He replaces Killjoy and Cypher on a team because you will always have to get your controller, duelist, and initiator compositions.
Chamber can give some offensive power to your team composition where you can opt for dual initiator comps with one duelist.
Team lineups like Chamber, Jett, Skye, Sova, and Viper can be troublesome for both defending and attacking comps. The number of info gathering abilities on your team is crazy, and your team can try to play for picks every round until you find a hole in the opponent’s defenses.
Some pro players think Chamber is a pseudo-duelist because he can fight against any agent with his Headhunter, Tour de Force, and Rendezvous. He can be used that way, but you will have to win your 1v1 fight before getting out safely with Rendezvous.
In most team compositions, Chamber will try to lurk while playing on the attacking side and try to gather information while trying to fight at the same time. It is a double-edged sword because once Chamber loses or dies, his traps become inactive.
Chamber does not have any unique synergies with other agents. It would just be weird to add Killjoy’s Nanoswarm to his Trademark trap; however, it is possible to try pushing double sentinel lineups and play on defense.
You can have both a Trademark and Killjoy’s Nanoswarm on each site on defense. It takes a lot of time to set up, so it would be easier to do in maps like Bind, Haven, or Fracture. If you have a teammate that knows how to play Killjoy well, you can have Killjoy anchor the hardest site to defend.
Chamber’s Skills
All skills listed are the word-for-word description inside the game, and the mechanics will be discussed thoroughly later on in the guide.
Trademark
Place a trap that scans for enemies. When a visible enemy comes in range, the trap counts down and then destabilizes the terrain around them, creating a lingering field that slows players caught inside of it.
Headhunter
Activate to equip a heavy pistol. ALT FIRE with the pistol equipped to aim down sights.
Rendezvous
Place two teleport anchors. While on the ground and in range of an anchor, REACTIVATE to quickly teleport to the other anchor. Anchors can be picked up to be REDEPLOYED.
Tour de Force
Activate to summon a powerful, custom sniper rifle that will kill an enemy with any direct hit. Killing an enemy creates a lingering field that slows players caught inside of it.
What to Buy on Each Round
Pistol round
For pistol rounds, it is always one Trademark and six shots of Headhunter. The Headhunter is probably the best gun in the game. It works the same way the Sheriff does but a lot better. The Headhunter does not have damage drop-off, so you would deal the same amount of damage for whichever range you are shooting from.
The recoil is more controllable, and you can even use ADS while using the Headhunter. If you cannot utilize this gun properly, your Chamber will be lacking utilities for a pick that replaces a sentinel.
Eco round
Eco rounds are still Trademark and Headhunter. It is easy to manage Chamber’s credits because you can always adjust by 100 credits for each Headhunter shot sold or bought. You can opt to get half or full shields if you can afford to buy a full kit in the next round.
Half buy round
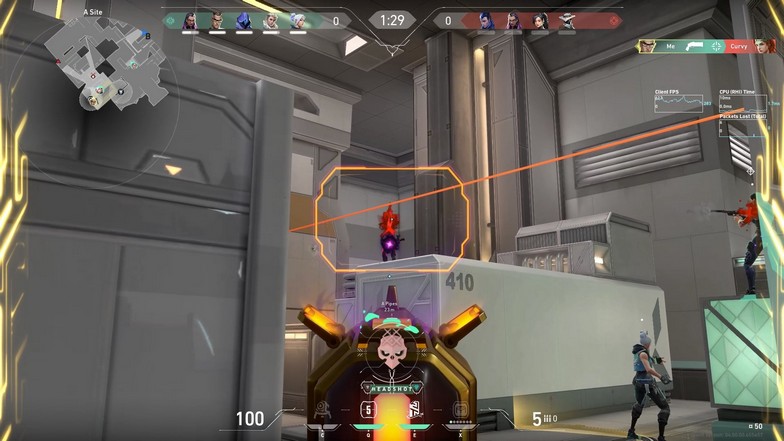
Half buy rounds or “force buy rounds” are powerful for Chamber. With the Headhunter, you can easily save more money and have more firepower than weapons like Ares, Bulldog, Guardian, and Spectre. Guardian and Headhunter are basically identical, but you only have eight shots to work with for the Headhunter.
In most cases, you do need more than that unless you are spamming through smokes or wall banging. Headhunter is good enough to compete with every single gun because it can one-tap enemies at any distance.
Full buy round
A full buy round is unique for Chamber as well. You can opt to reuse Headhunter if there are any shots left, but you don’t have to buy all the rounds completely. You can just buy two Trademarks and your preferred weapon.
Since Chamber usually uses an Operator without his ultimate active, it will be wise to save some credits for the future rounds if you can. Sometimes, you will run out of bullets during a gunfight, and you can easily swap to your Headhunter since it swaps almost instantly compared to your pistol.
With that being said, it is great to have a few shots of Headhunter every round (maybe three to four shots would suffice).
Ultimate is Ready!
Chamber’s Tour de Force is the best weapon in the game. The gun shoots faster than the Operator, and you do not have to buy any weapon when your ultimate is ready. Since you only have five shots for Tour de Force, you will need to make every shot count.
You have five shots for five enemies on the other team. You will most likely miss some shots, but you will definitely get to kill one. If ever you run out of ammo on your Tour de Force, you can just get a weapon from one of your dead teammates or even enemies.
In the worst-case scenario where you run out of ammo on your ultimate ability, and you did not get any kill, you can use the Headhunter.
How to Use Trademark
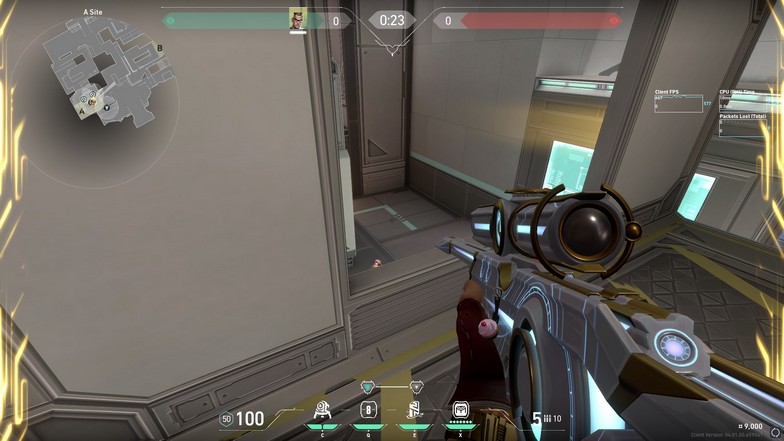
Trademark is easy to use because you can see the trap’s radius on the minimap before you can even place it. The placements of Trademarks do not matter that much because their only goal is to get information. If they do not break the trap and it triggers, it will place a slow field around the trap that will delay their push.
Even if the enemy shoots the trap, you will be alerted that it has been destroyed. If they try to push it, it will still trigger even if a Neon slides through it and avoids it. However, a Yoru or an Omen can get past these traps.
As a defender, you want to stop the team’s push or gather information where there are holes in your defense. For example, when you are defending Bind, you can place traps under Hookah and B Garden to notify your team when they enter.
If the Trademark is placed under Hookah, it will only trigger when an enemy jumps out of Hookah. With this information, you know someone is already on B Site. When the trap triggers, the enemy will have a chance of shooting the Trademark, but it will make him aim at the ground (literally under him).
The enemy will have no choice but to let the Trademark activate the slow field because defenders from the B Site could peek at any moment since they also know that the trap has been triggered.
It also prevents other enemies from pushing out of Hookah because of the slow field. If you are playing against a good Jett player, she could drop a Cloudburst right below Hookah before entering so that the traps do not activate. With that said, you need to mix up your trap positions so that enemies do not get used to it.
How to Use Headhunter
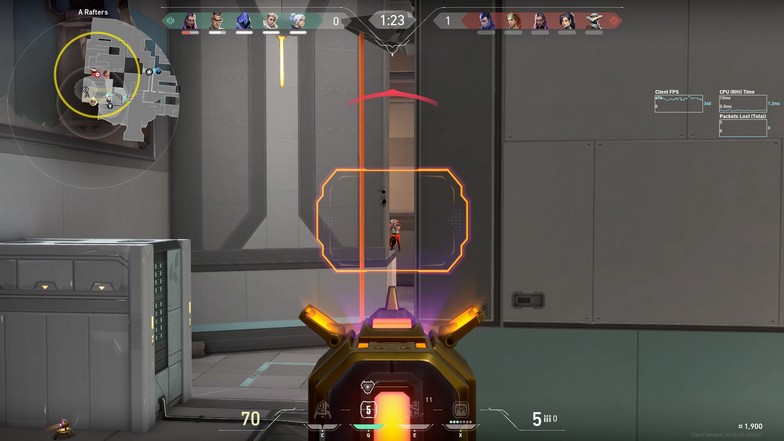
Headhunter is literally useless to those who cannot aim that well. Chamber requires a player with a precise aim to make use of the ability. It is one of the most potent weapons in the game, and it takes up one utility slot on an agent for it.
Always aim at head level wherever you go. You can get away with hitting the body because the Headhunter does not have any recoil compared to the Sheriff. Even if your headshot rating isn’t above 20%, you can still win your fights.
Remember to adjust when using the Headhunter. Some players confuse it with the recoil from the Sheriff and try to wait for a little after shooting the first shot.
You can get used to using ADS if you are used to it. There aren’t any clear disadvantages when you aim down your sight or not.
How to Use Rendezvous
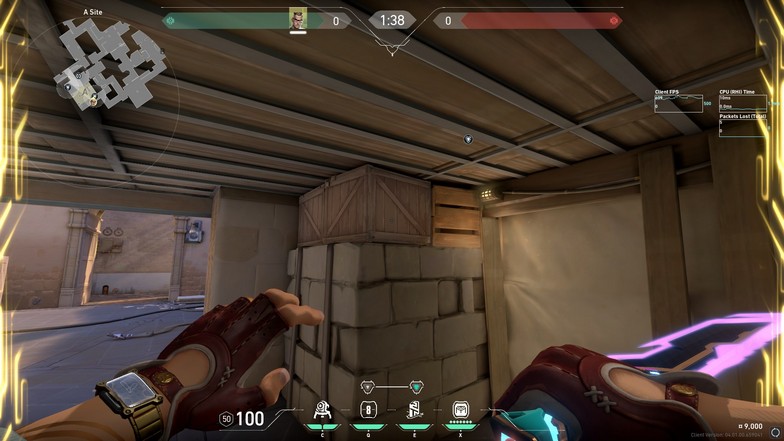
Rendezvous is Chamber’s mobility skill to get him quickly out of trouble, rotate quicker, gain information, or boost himself to unique angles. Again, the minimap is your friend as the radius for Chamber’s Rendezvous is seen before you can even place it.
First, you have to place a teleporter in a specific location. Once you have chosen a teleporter marker, you will see a circle on the teleporter which means you can use that teleporter as long as you are inside the circle.
Once you are placing the second teleporter, you will see another circle on your minimap. This circle will be the max distance where you can place your second teleporter on the map. Stepping into one of the teleporter’s radius will give you the ability to use Rendezvous and teleport to the other one.
You will see a gold indicator on the sides of your screen when you are near a teleporter. There are also sound queues when you enter or exit a teleporter’s range.
From the point of view of the enemies, Chamber’s jacket will glow gold when he is near a teleporter. This could give enemies information about your current setup. If the enemy sees and analyzes that you are defending a site and your jacket isn’t glowing, they could assume that you rotated quickly and the other site should have one less player defending.
There are hundreds of mind games that could be played in Valorant, and you will get better with experience. Information is always the key to winning rounds if we consider both teams equal (no smurfs and everyone is playing up to their ranks).
During the buy phase of a round, you will be able to use Rendezvous every three seconds. You can use this to set up faster. Chamber can put traps on both sites without the need of being near one to have it active.
How to fake teleport with Rendezvous
If you have encountered a good Chamber player, you might have seen the teleport tricks with the Rendezvous already. How do they do this trick? The fake teleport trick is simple. You should set up both Rendezvous teleporters and have the ability ready to use.
While standing near a teleporter, aim towards the second teleporter and use F + E. If you didn’t change your keybinds, it should be the recall and the teleporter skill buttons pressed at the same time.
The tough task is doing this and making the fake teleport confuse the enemy. Not only are you setting these teleporters down and becoming an open target, but you also have no idea where the enemies are coming from.
The fake teleport works because it sends the enemy a sound cue that Chamber has teleported. When the enemies hear your teleport, the sound will come from the second teleporter.
For example, if you place a teleporter in B Main and a second teleporter on B Site in Ascent while positioning yourself in B Main, you can use the fake teleport on the second teleporter and the enemies will think that you retreated to the B Site.
While the enemies may still check corners while pushing the B Site, you are already playing mind games with the enemies. Using the same example, you can reverse the positions and use a fake teleport on B Main from B Site and let the enemies think you are close. You can have a teammate on B Market and the enemies could get baited into a crossfire that isn’t there.
These tricks are better for those who are cerebral assassins (great game sense) because the setup is tricky since you have to place two teleporters fast while in the heat of battle. Knowing the general position of each enemy will help you set this up faster.
While the fake teleport trick has some uses, it isn’t necessarily good because you will likely have a setup already to play around your Trademark traps or for fast rotations.
Best Rendezvous spots
Breeze A Site
For holding Breeze’s A Site, you can position your teleporters near the left side of the pyramid. Chamber can be the main Operator user, and this spot is great for peeking A Cave. Attackers usually bombard this area with utilities, and blinds are always annoying to deal with.
However, you can play a little more aggressively and try to get a kill because you know that you can teleport your way out of the madness instantaneously. Place a teleporter here and one near A Bridge or even A Hall (if you have another defender holding it safely).
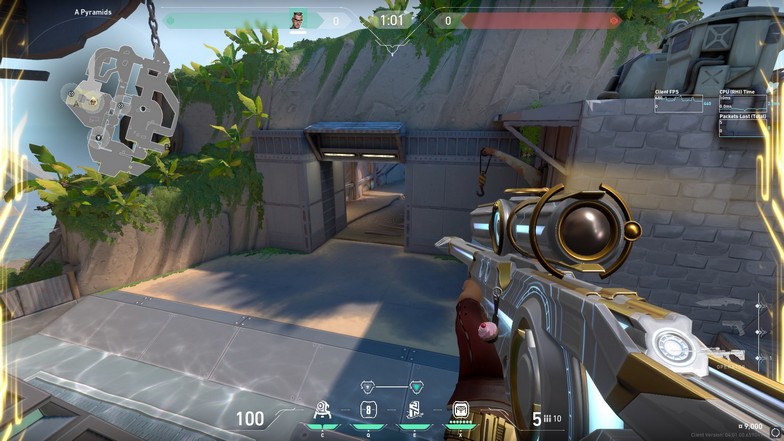
Another sneaky spot you can place your teleporter is on top of the pyramid on A Site. Once you are near the water next to the pyramid, you can jump until you see your teleporter reaches the top of the pyramid and place it there. Go back to your second teleporter and use Rendezvous to get on top during the buy phase.
This spot only works if there are no Sova or Skye players on the other team. Once you are spotted, the play is over. Beware of KAY/O’s Zero/Point (suppressing knife). You will not be able to wiggle your way out of dangerous situations when suppressed. If you see the knife, shoot it immediately. If you do not react fast enough, you are forced to fight without an escape route.
Breeze B Site
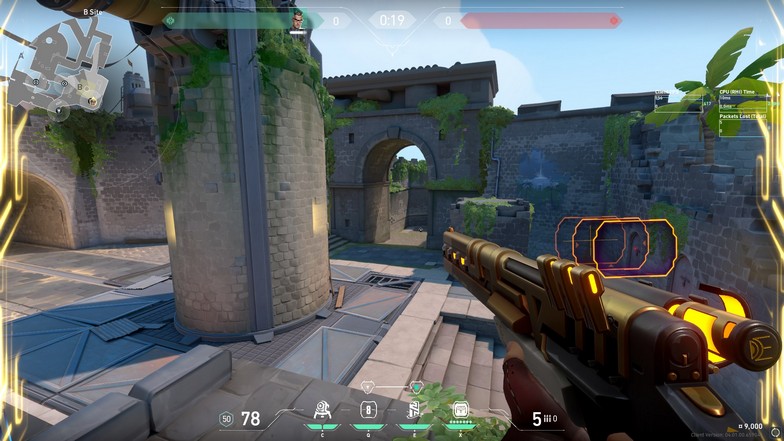
Breeze B Site has two pillars on the back site. You can get on top of those two if you use your teleporters. It is an off-angle peek where the attacking side will see both the peeking player at the back of B Site and the top of the pillar.
When you are on top of the pillars, you are vulnerable to B Tunnel, and enemies attacking from the middle will be able to see you. If you do not see anyone peeking, you can just teleport back and play safe. You can adjust your position on top of the pillar to take a pixel peek of the window as well.
Bind A Site to B Site
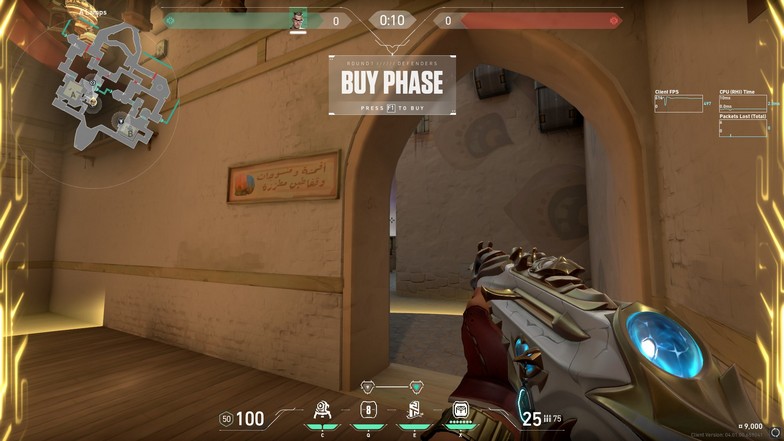
Just because of Bind’s map design, you can have two teleporters on each side of the site. The first one can be placed in A Lamps or U-Hall by the corner closest to the B Site. The next teleport can be placed on the small Cubby in B Site.
However, this strategy requires you to have someone getting information in Hookah, B Mid, and B Long. If you teleport from A Site to B Site and the enemies are already in Hookah, they will hear the sound queue, and you get stuck in that Cubby.
You cannot do this every round as enemies will get used to it. A teleporter near the B Labs is also fast enough for a rotation. You have to get in fast before they take over the site. Communication is the key, and you would have to rely on your instincts and your team’s callouts.
Icebox A Site
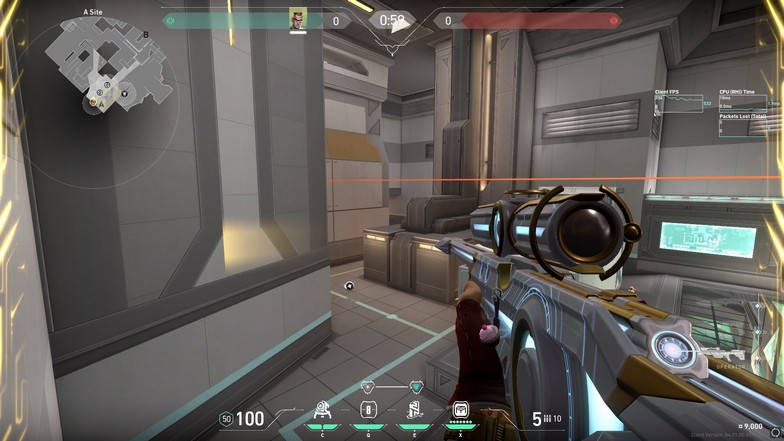
Icebox has a lot of angles to cover from the attacking side. However, the safest way to defend the A Site is by placing a teleporter outside the A Site for a quick reposition. It is easy to clear out angles as an attacker, but the site is hard to hold once you get into position for a plant.
By placing a teleporter on the top of screens or even an aggressive angle like 410 or maze, you can try to get one enemy first before retreating with Rendezvous. For a much safer peek, you can position your Trademark on top of the A Pipe near the maze (right side closer to A Screens). Once it triggers, you know someone is pushing maze, and then you can peek and shoot.
Ascent A Site
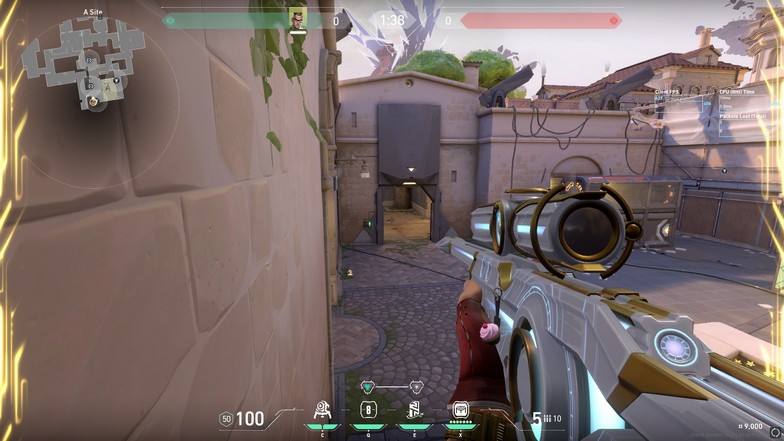
Ascent has a lot of boost spots you can take advantage of on the A Site. While you can naturally jump above the generator on the corner, you can also use the double boxes right next to the attacker’s entry point. Your retreat teleporter could be placed just above A Heaven near the peeking spot. This teleporter position allows you to use the teleporter again even if you are under A Heaven (Hell). However, you will be open to enemies pushing mid if they choose to go to A Tree.
You need a Trademark there or another teammate to cover this area for you. Naturally, controllers like Brimstone and Omen need to be in the middle so they can immediately smoke on both sites. Since Sova is extremely popular on this map, you can immediately get spotted by his Owl Drone or Recon Dart.
You can retreat immediately since you can still hold the site from your other teleporter. If they have a Raze that throws her Paint Shells (grenade) on A Heaven to prevent defenders from peeking, your teleporter will get destroyed. You can adjust your teleporter placements accordingly.
Remember to always place your teleporter where you can immediately defend the site again if possible. You do not want to give the site for free. Let them use their utility or try to get a pick-off. A 4v4 retake is easier than going 5v5 (unless you have significant ultimates available).
Ascent B Site
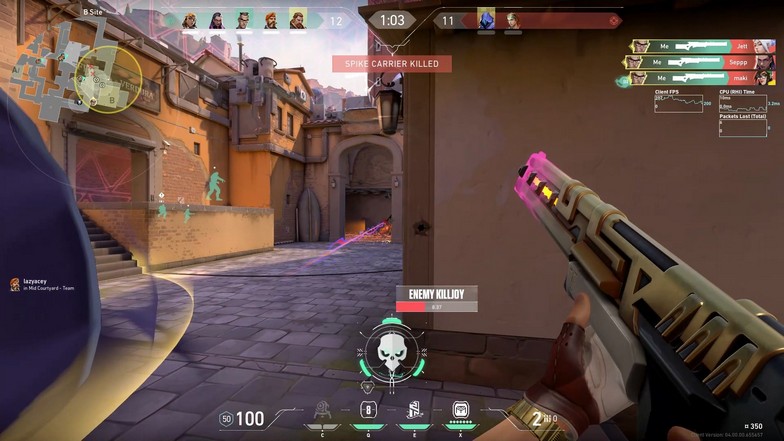
The most conservative way to defend a site is holding two power positions with your two teleporters. In Ascent B Site, you can have a teleporter near CT looking at B Main and another behind B Site in the Boathouse.
Assuming it is at the start of the round, you can place both teleporters mentioned above and place a Trademark near Logs (sneaky corner below B Market). When the enemies start to push, you will be alerted when they are about to enter B Site from B Main. You can peek right after as you know there will be an enemy committing already.
If this area is smoked, you can change your position from the stairs. You will be more open here, especially if they have B Market control, but you have the advantage of knowing their general area. You can ask assistance from the mid-player to blind or throw their utilities for you if there is a teammate near you.
You can place another Trademark near the lane on B Site. Once it activates, you know there is someone on the site (or still in lanes) and peek from the stairs or Boathouse.
Attacking Rendezvous
For attacking, you want to place your first teleporter close to your team. If you are gathering information and trying to play for picks, you still want to support your team when the situation calls for it.
Chamber usually lurks away from the team to get information or fight other enemies alone. It would also be great to have Skye help you out in case you need to play for trades. She can also blind for you when you need it.
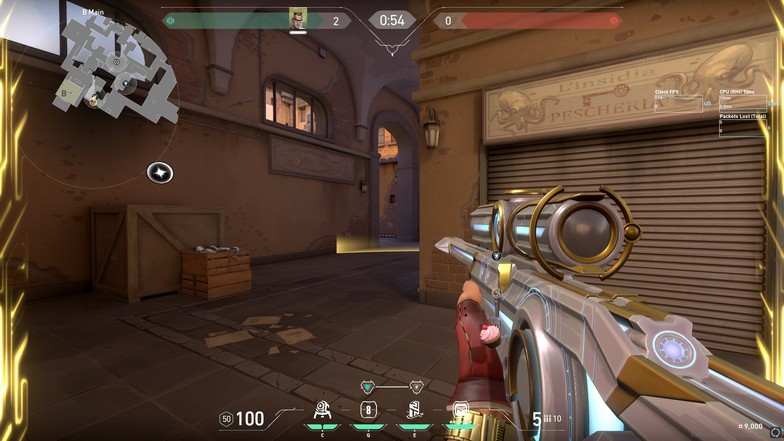
However, your main job is to find rotations. Let us take Ascent, for example. When your team wants to get mid control and ultimately push to the A Site, you could sneak to B Main and hold that position. Place a teleporter there and one near B Link.
Since your team has mid control and is also preparing for a push on A Main and A Tree, you will be able to hear players on the B Site trying to rotate when your team has already committed to the A Site push. You can try to sneak and catch them on their back or teleport out to B Link and force them to rotate from their spawn instead.
There is a chance they could hear your teleporter when they rotate from B Site -> B Market -> Mid (since your teleporter is at B Link). You do not even have to fight them. You can pre-emptively place a Trademark on Mid to prevent them from going to A Tree from A Catwalk.
Relaying all this information to your team is already good enough. Your team would know which areas the enemies will go to.
A shorter example would be holding A Main while your team is pushing B Arcade and B Main on Fracture. With how noisy the metallic flooring on the defender’s spawn is, you can hear them rotating from A Main. Use your teleport and get back to B Main to help your team on the B Site.
Trademarks can also be placed between B Arcade and the attacker’s opposite spawn area. You have the power to gain all the information on the flanks and where your teammates should be expecting them.
Summary
There are a ton of positions on each map you can place your Rendezvous. You can get on top of unreachable positions like Jett or Omen, so the options are limitless. It depends on how you read the enemies and how you can identify where they could possibly commit. Chamber requires a player with a great aim to utilize his kit.
It does not matter if you have the information without having the ability to kill them and win the round.

You need to play mind games with your enemies. Mix up your Rendezvous so that they have to check each angle. The placements of the teleporters do not matter as long as you know what you are using them for.
Is it to cover more angles on the defending side? Do you want to play aggressively and surprise them with a push and teleport back to safety? Do you want to strengthen other areas of the map by placing a teleporter where you can rotate quicker?
The purpose depends on what your team needs or what you can do to get kills and take advantage.
How to Use Tour de Force
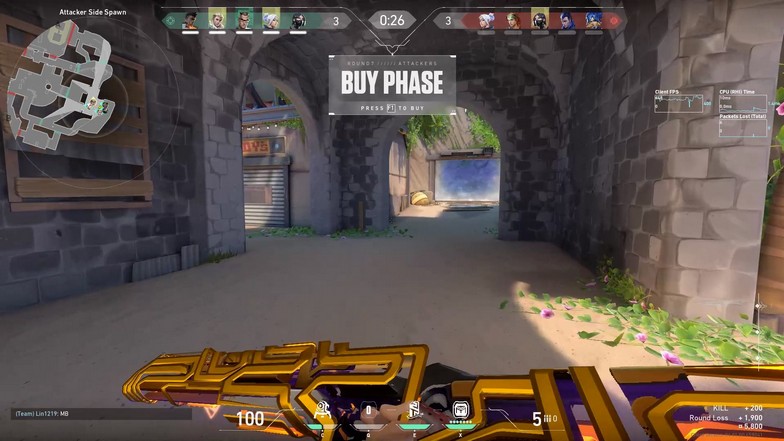
Tour de Force is Chamber’s ultimate that gives you an overpowered Operator. It does more damage than the Operator because you can actually hit the leg and still kill the enemy. Getting a kill with Tour de Force drops a slow field on the fallen enemy. It works the same way as his Trademark ability.
Landing the first shot while playing on the defending side has additional benefits for the kill. It slows the enemy team’s push, and it will be a lot harder to trade Chamber for the kill. On attacking, it can be a double-edged sword because you might land the shot and get a kill but slow your team’s push down because of the slow field, which allows the enemy team to rotate faster.
Tour de Force only has five shots, but you only need five shots anyway. You are forced to avoid “smart-spamming” through walls or smokes. Tour de Force is easier to manage than Jett’s Blade Storm or Neon’s Overdrive. Since most of these ultimates mentioned above are rounds where you do not have to buy your own rifle, you are forced to make use of your ultimate ability to help your team and get frags.
Getting kills would be easy, and you can even get a new weapon if you run out of ammo from fallen teammates and enemies. If you have a player who knows how to play Jett with an Operator, you can have two Operator compositions on defense, and it is extremely strong.
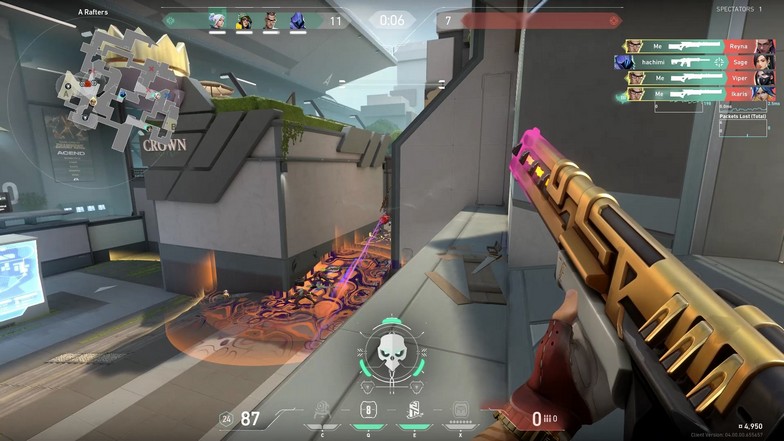
Even then, the two-Operator setup has a lot of risks because it heavily disrupts the economy. You can opt to use Tour de Force during the match even if your team’s Jett is using an Operator, but you can avoid buying Operators since Jett can utilize the weapon better than Chamber in certain situations.
If you know about power positions, you can position two Operators to take important areas on the map. An example of a power position is holding middle on Ascent. Placing a player with an Operator there will require the enemy team to smoke it constantly when they cross or take mid control. The other Operator can play A Site. If Chamber holds A Site, he can take control of A Main and A Tree with his Trademark and Rendezvous.
Tour de Force is an insanely powerful ultimate for seven ability points. However, it puts Chamber as a pseudo duelist because of his lack of utility. His Trademark is the only ability that can gather information, so you have to find other ways to be useful when you are not getting kills.

