Wingman or ‘Lil bro’ is a game-changing skill in Valorant’s competitive landscape.
This Gekko ability can plant and defuse spikes, which essentially adds a 6th player to your team in site takes and retakes.
However, things can change drastically if you don’t know how or when to defuse or plant the spike.
Sometimes, you can hurt your team’s chances of winning the round because you gave the spike or got caught with Wingman out.
In this guide, we’ll show you the ins and outs of Gekko’s Wingman ability.
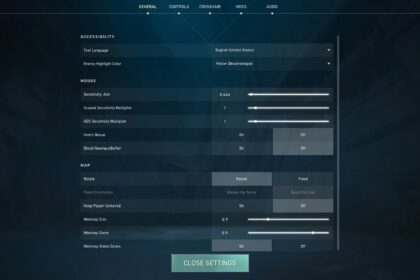
Wingman Mechanics
Wingman has 100 HP and costs 300 credits. When you use Wingman, it turns into a blob after it expires. You can pick up the blob and use Wingman again after 10 seconds.
If you pick up the blob and the round ends, you’ll still have to buy the ability again. As long as you have used your abilities, you have to buy them again.
Wingman having 100HP is a big deal because it takes around four shots to get Wingman down on pistol rounds.
When the ability is used without the spike, it runs in a straight direction looking for enemies. Once it finds an enemy, it’ll stun the enemy and everyone around the small vicinity of the explosion.
Planting the spike
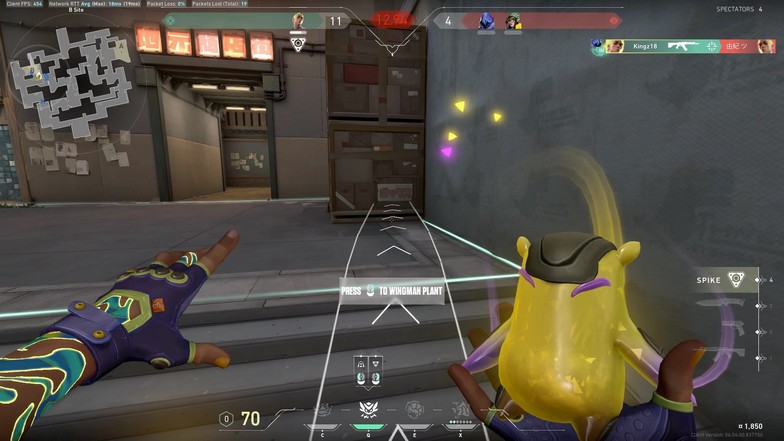
To use Wingman for planting the spike, you need to carry the spike as Gekko. You won’t have the option to plant the spike with Wingman if you don’t have the spike.
Once you are carrying the spike, go to a site and bring out Wingman.
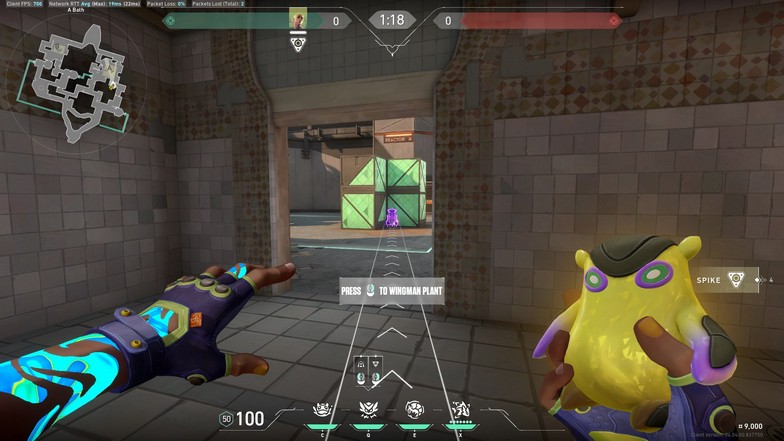
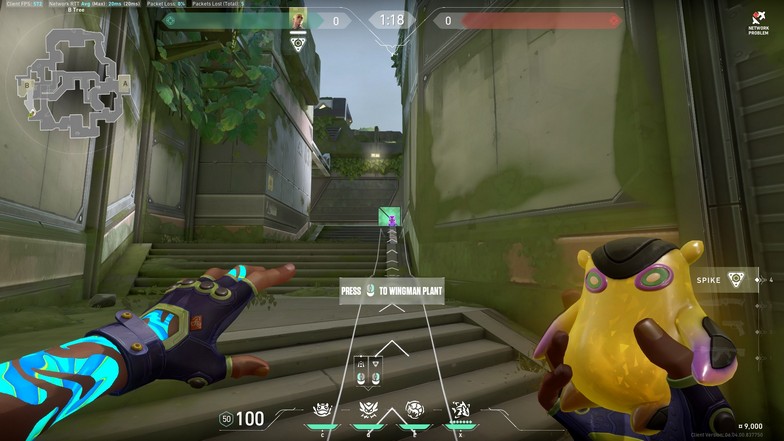
Gekko can plant the spike by looking to a spot inside the site. You need a direct vision of the floor, meaning you need to be elevated or standing up to pick a spot easier.
Once you have a spot, press ALT FIRE, and Wingman will take the closest route toward the destination to plant the spike.
If the route is too far, it’ll say ‘Invalid Wingman Path.’ This means that Wingman can’t reach the target destination because of the spot’s distance.
The best example would be planting in Icebox’s B Site nest. Using Wingman to plant in B Nest from B Yellow will be an invalid path. However, if you are from B Orange, you can plant it. In this situation, Wingman will go through the kitchen to B Nest.
Gekko is amazing at clearing sites. Once you enter a site, you can let Wingman plant the spike and start clearing. Most players might say to clear first before planting, but Gekko is ‘built different.’
Players can get baited from a planting spike sound, which you can use to your advantage.
If you die as Gekko but are able to bring out Wingman to plant, Wingman will still plant it. It only stops if the round is lost already.
Defusing the spike
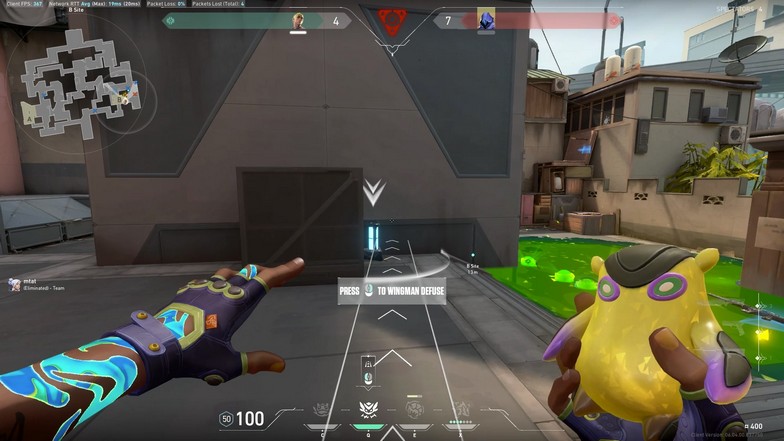
Defusing has the same mechanics. If you die, Wingman continues to defuse, but if everyone dies, Wingman stops defusing.
To defuse the spike with Wingman, you must see the spike to order Wingman to defuse it. Since there is a small circle around the spike, this defuse circle only applies to players.
This means that for default plants where you can’t see the spike, you have to go close to defuse the spike with Wingman.
There are so many situations where this is extremely dangerous. The perfect example would be B Site in Pearl.
When the spike is planted near the box in B Hall or default, your body will be exposed to B Main to get a vision of the end.
Without any smokes, utility, or support from teammates, you can’t bring out Wingman because it is too dangerous not to have a weapon out.
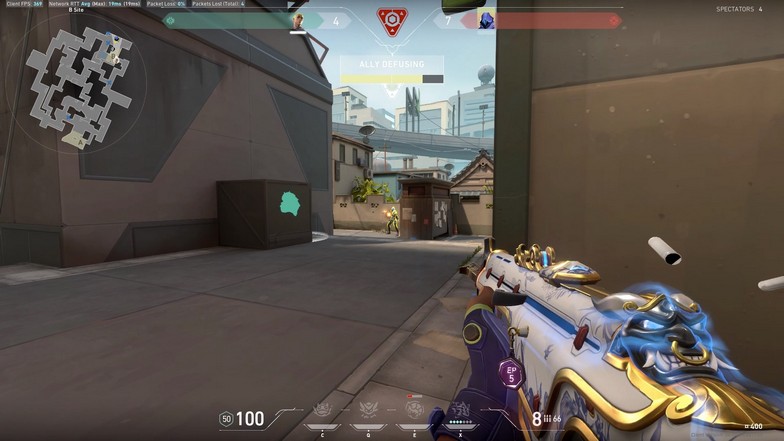
If it is out in the open, you can bring Wingman out and force attackers to peek. Once you order Wingman to defuse, you have to cover Wingman like you would cover a resurrection from Sage.
Other unique mechanics
- Wingman will not attack Yoru clones.
- Wingman can activate Cypher’s trip wires, but Wingman will not get affected.
- Wingman will run in place if Sage suddenly walls the direct path.
- Players can dodge Wingman’s stun if they instantly strafe after Wingman activates.
- Wingman cannot be detained by Killjoy’s ultimate.
- Wingman can get pulled out while defusing the spike.
- Wingman’s defuse will stop when hit by Breach’s ultimate. If Wingman is still on the way to the spike while getting hit by the ultimate, Wingman will still defuse.
Best Plant Locations
Pearl A Site

This plant requires some protection. The spike is open to A Art and half the site. When you plant like this, you want to have one or two players entering with Wingman, excluding yourself.
You can throw Wingman and Dizzy right after. Clear the sites, and it should be an easy plant and post-plant.
This side is always smoked, so you would need to memorize the position without any visuals. You can start spamming shots left and right (ideally with a Phantom) to protect Wingman from enemies closing in.
Pearl B Site

This long Wingman plant is one of the best for post-plant situations. It is wide open to B Ramp, making it insanely hard to defuse if enemies exist.
You’ll have to care about three things – Screens, B Link, and bullet spam from enemies on the box.
Icebox A Site

This spot is perfect for post-plant situations. It’ll be open to A Belt, nest, and A Pipe. These places are hard to clear for defenders because they are so far.
It is hard for Wingman because it’ll be running up the site and jumping up the boxes. It won’t be open to defenders in A Screens because Wingman is too small.
Icebox B Site

This spot is for when you push mid. You can’t tell Wingman to plant here from B Yellow. Defenders will have to clear every single part of the site for this plant location.
Haven B Site

You can choose to plant in the middle or in one of the cubbies. This one makes them more exposed if you ever have control of either A or C Link.
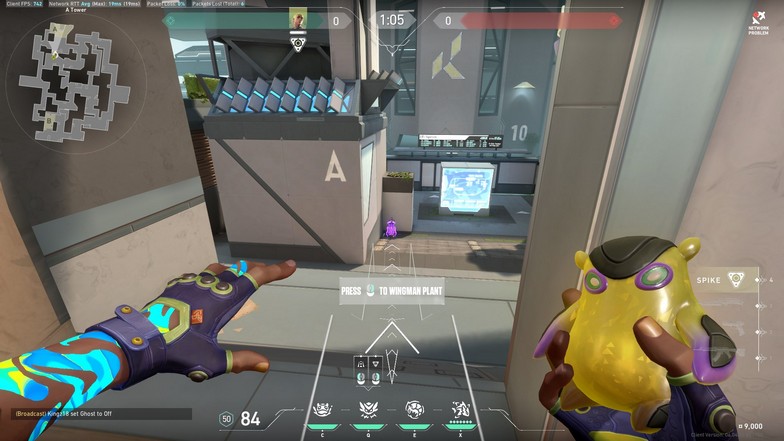
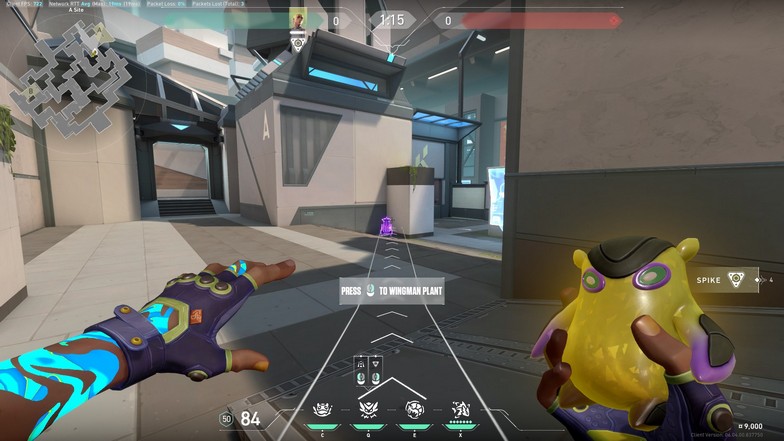
Ascent A Site

This plant spot is great because it forces enemies to clear A Main for post-plant situations. You want teammates to clear the site as Wingman plants. If they lose, at least Wingman gets to plant the spike, and attackers can play around A Main.
Bind A Site
A Shower is usually smoked, so it would be hard to plant and cover Wingman. However, you can have support from teammates in A Short to help. A Shower attackers can spam the triple boxes’ right side to ensure it is covered.
Split A Site
Both plants are from different positions, but it is the perfect spot for playing post-plant while controlling A Tower.
When defenders try to clear A Tower, you can delay them first. Once they drop down, you can reposition to A Tower and wait until they tap the spike.
Split B Site
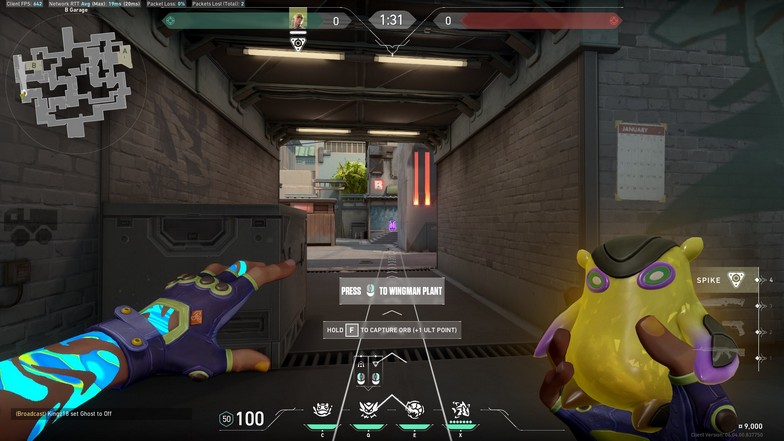
This one is a bit risky because B Site is insanely hard to clear. You want to go as a team and protect Wingman while planting. Defenders will be forced to trade against players instead of shooting Wingman.
This strategy ensures that Wingman will get the spike down, and the rest can play B Garage for post-plant.
Fracture A Site

This plant isn’t as open as other locations, but it is open from A Main. If you have a Sage or a way to protect Wingman from planting in the middle, that would be a better option.
However, this plant location is best if you want to clear the site while Wingman plants. Players left behind will be playing post-plant in A Main while having the option to take A Ropes.
Fracture B Site
This plant is great for pushing B Site. It forces the player on B Tower to peek deeper while your team clears out the site. Post-plant would be open to B Main, which makes it even better.
Breeze A Site

You’ll need to jump to find the spot for this plant location. If you stand there, you won’t see the option for Wingman to plant the spike.
Support Wingman by throwing Dizzy behind the A Site. The smoke or wall should leave it clear from the other directions.
Breeze B Site

This spot is perfect because Wingman wouldn’t be that exposed to enemies. You’ll only need to clear half of the site, while the rest can cover Wingman from B Main.
Other sites
Maps or sites that aren’t included are pretty straightforward. Some require you to push first, like Ascent’s B Site to plant.
Lotus has close-quarter sites that require you to push with the team. As long as you throw your utilities or even offer your life for Wingman, it would be best if you did everything to get the spike planted.
In a worst-case scenario, you’ll lose the spike deep into the enemy’s territory.